
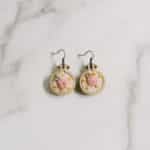
Learn how to make mini embroidery hoop earrings in this easy DIY craft tutorial. Embroidery hoop earrings are intricate, beautiful, and fun to make!
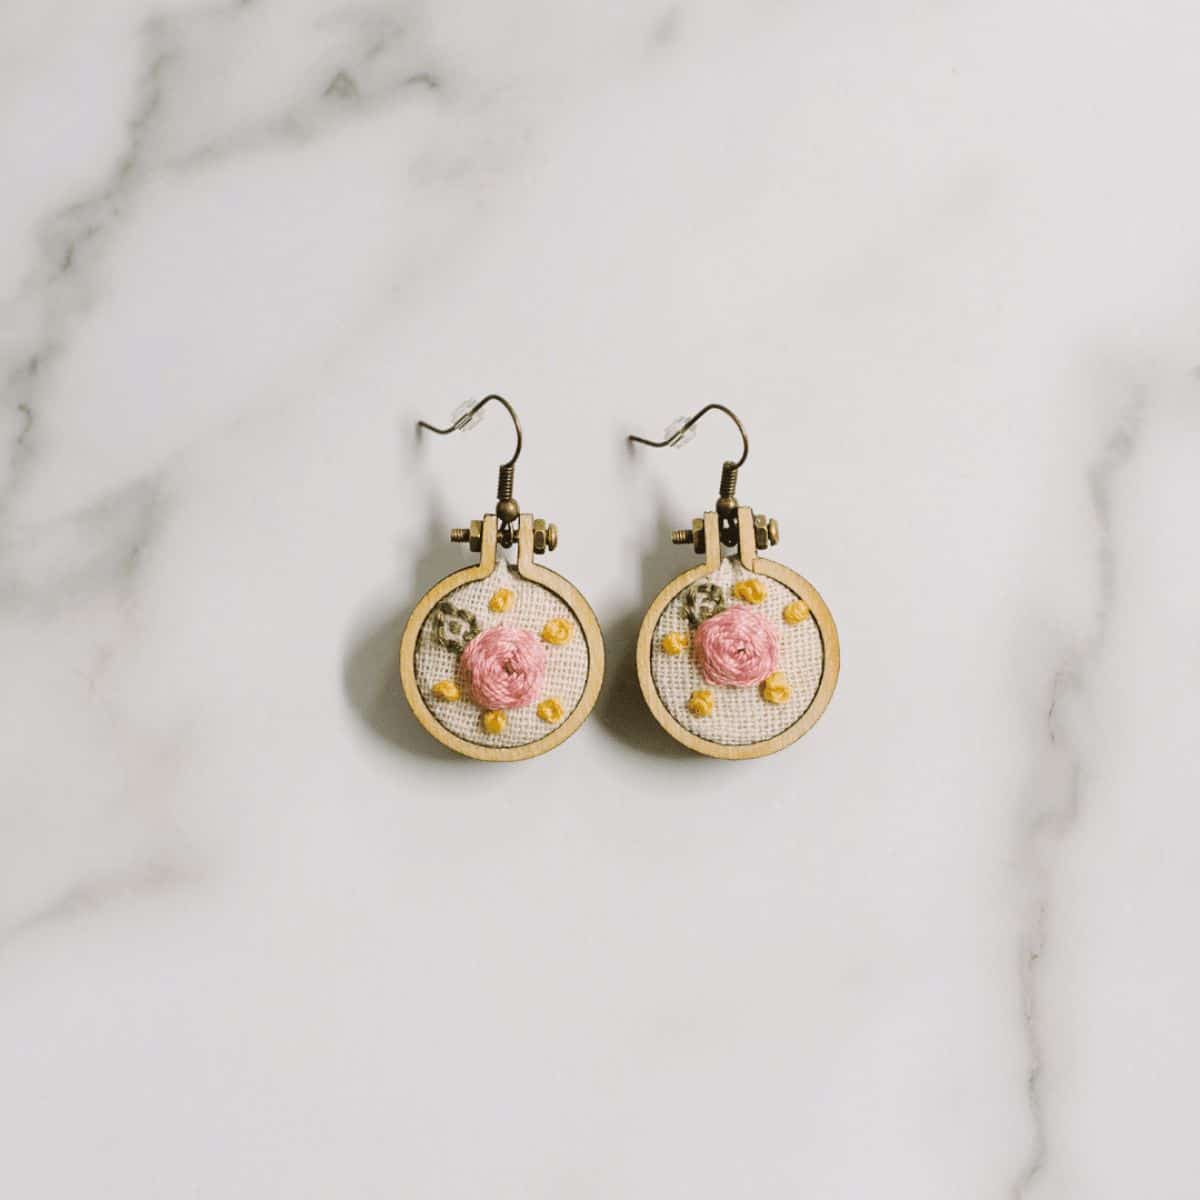
DIY earrings are fun projects because you can customize them for any outfit, season, or holiday.
You can make diy leather earrings, embroidery floss tassel earrings, or felt ball pumpkin earrings, but what about mini embroidery hoop earrings?!
Here is a fun new option for embroidered earrings that will make people stop and ask you where you got them!
Jump to:
Why You'll Love This Craft
- Cute earrings are a conversation starter and a statement piece. We've made darling felt ball pumpkin earrings, awesome leather earrings and faux leather earrings, and even yarn tassel earrings. These mini embroidery hoop earrings are another fun jewelry project!
- There are so many different embroidery stitches you can use to make these mini embroidered earrings your own!
- Handmade gifts are always a hit, and these tiny embroidered earrings are a winner every time!
Craft Supplies Needed
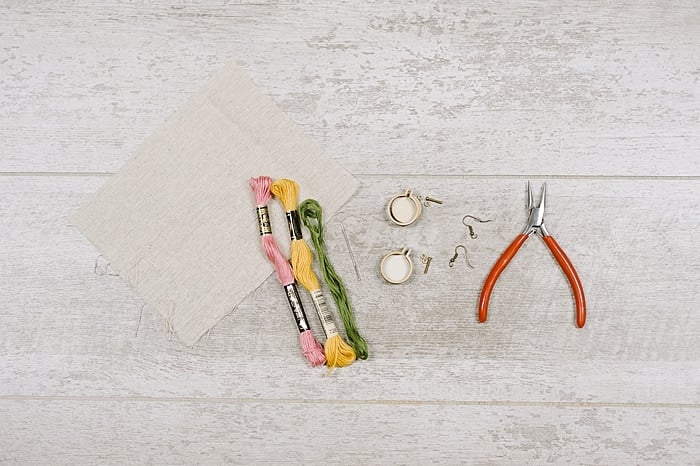
- Fabric - I love to use muslin, linen, osnaburg, or other simple cotton as the background fabric.
- Embroidery Floss - Choose your favorite colors!
- Embroidery Needle - The eye should be large enough to fit the embroidery floss through.
- Pliers
- Mini Embroidery Hoops - You need two embroidery hoops for a set of earrings. (Each hoop comes with a circular hoop and 2 flat wooden circles.)
- Earring Hooks - Two earring hooks for each earring set.
- 3” (or bigger) Embroidery Hoop - This is what you'll use to make your embroidered designs in the fabric.
- Scissors & Hot Glue Gun and Glue - Craft project staples!
How to Make Mini Embroidery Hoop Earrings
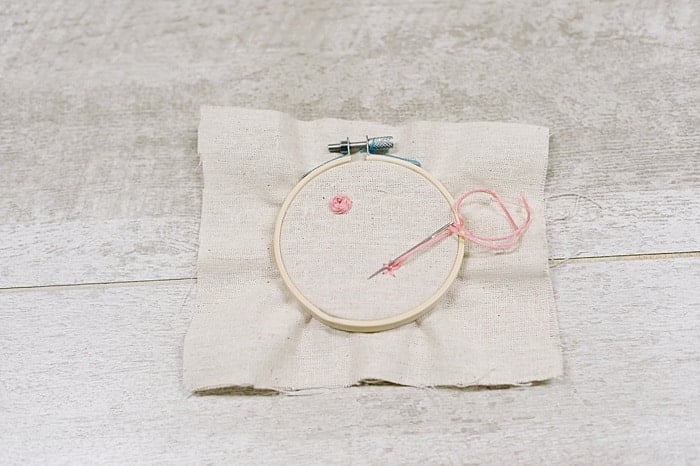
Step 1: Using an embroidery hoop that fits your fabric piece (the one pictured is a 3” hoop), embroider a design onto your fabric.
You want the design to be small enough to fit into the mini embroidery hoop for the earring.
I used pink floss to make a woven wheel stitch that looks like a rose once it’s completed.
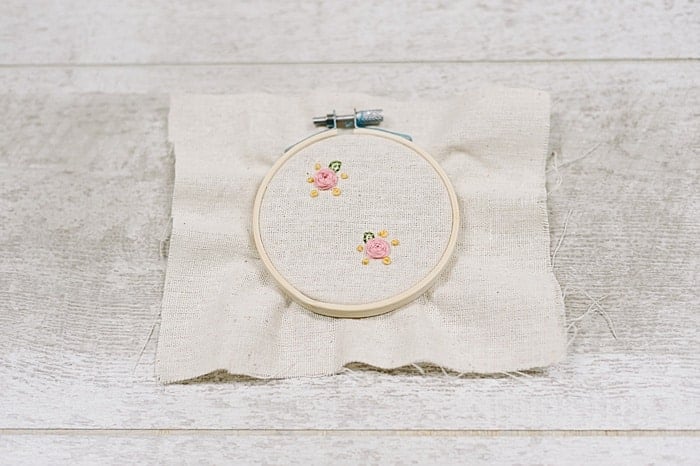
Step 2. I used green floss for the backstitch leaf and yellow floss for the french knots.
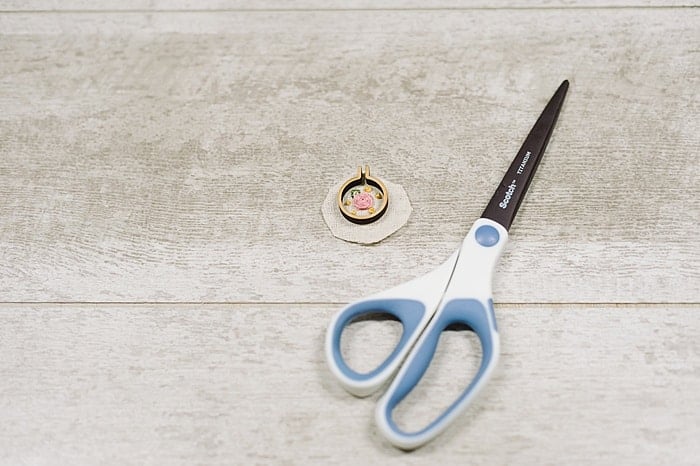
Step 3: Cut the design out of the fabric, leaving ½” extra fabric bigger than the mini embroidery hoop.
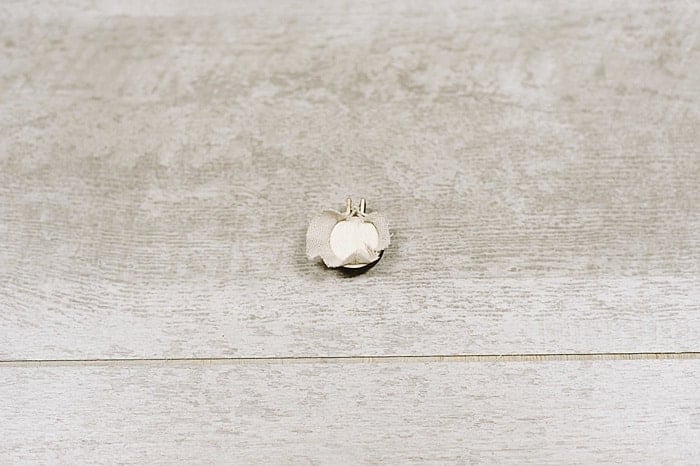
Step 4: First, lay the smaller back circle down on the tabletop.
Then, lay the fabric on top of the back circle.
Next, put the mini embroidery hoop on top, centering your design inside.
Push the mini hoop back over the wood circle, stretching the fabric tight as you do this. (This is similar to how a typical embroidery hoop works.)
NOTE: The photo shown for this step is the back view after the hoop has stretched the fabric over one back circle.
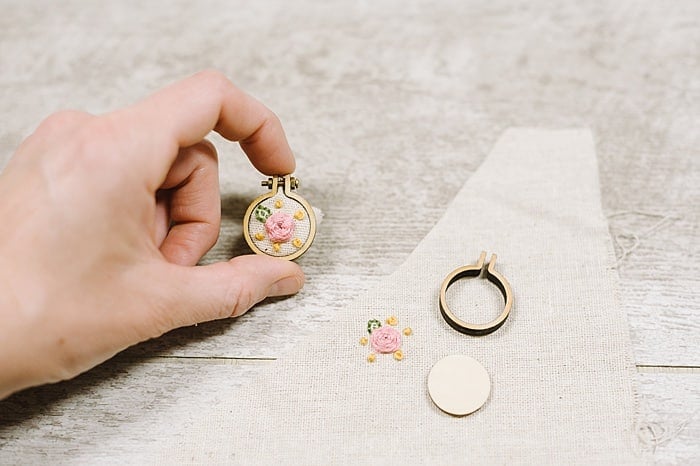
Step 5: Place one nut onto the screw, twisting it all the way toward the screw's head.
Put the screw through the hole at the top of the embroidery hoop, and twist the second nut onto the screw. Tighten until the embroidery hoop is secure.
Then, hot glue the excess fabric to the back of the smaller circular disc on the back of the hoop.
Add more hot glue and press the second (larger) wooden disc in place to cover the whole back of the mini embroidery hoop.
This makes everything secure and gives the back a finished, clean look.
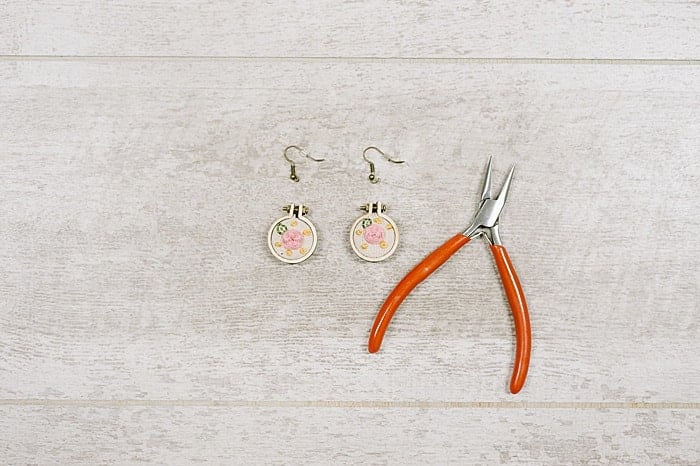
Step 6: Use a pliers to open up the loop at the bottom of an earring hook.
Loop the earring hook over the screw, and tighten.
(If you aren’t able to fit the earring hook into the top of the embroidery hoop, you may need to loosen the outer nut to make more space so you can get the earring hook inside.
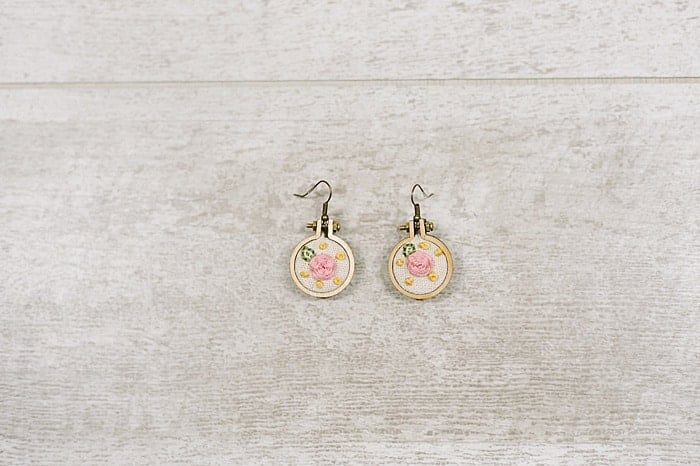
Repeat for both mini embroidery hoop earrings.
Common Questions
Embroidery is an awesome hobby; it is easy to start and doesn't require many fancy or expensive supplies. It's portable too. You can start by learning just a few basic embroidery stitches and make lots of projects with only the most basic skills.
You can make embroidered projects using bigger hoops, or make some fun embroidered Christmas ornaments with 3" hoops. One of my favorite projects was the Minnesota State embroidery project I made - you could customize this for whatever state or country you live in, or just use any shape you want!
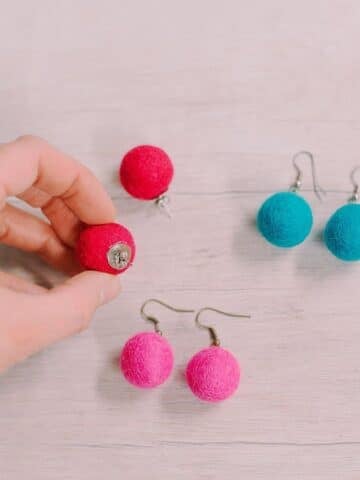
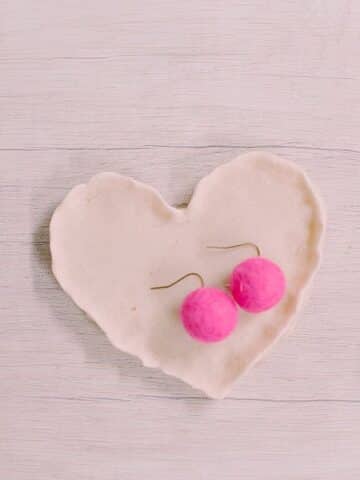
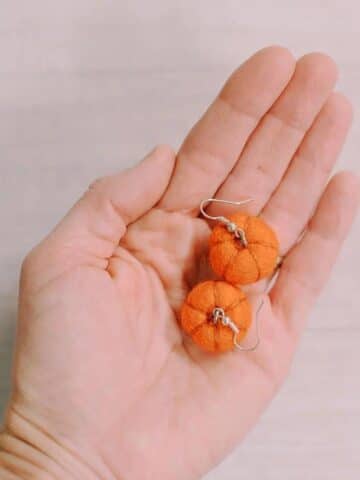
We love DIY jewelry around here! If you like these DIY earrings, you can try making super cute mini felt pumpkin earrings, or simple but chic felt ball earrings. You can also make yarn tassel earrings or embroidery floss tassel earrings too.
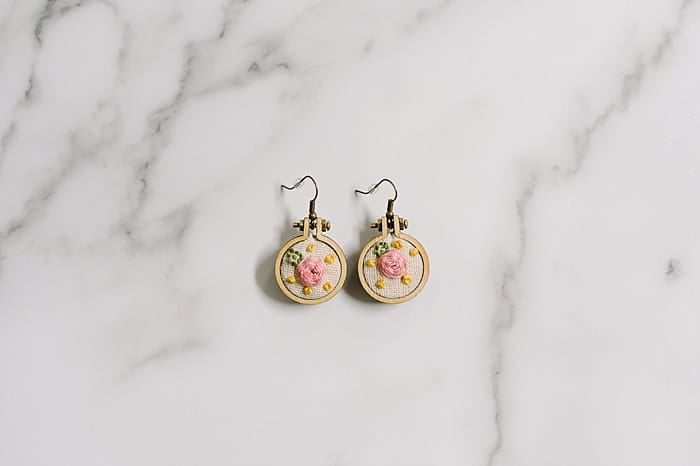
Embroider the design of your choice inside, and you can make earrings for any occasion.
A mini Christmas tree for the holidays; red, white, and blue for the 4th of July…
Embroidery hoop earrings are the perfect mix between creativity and elegance!
More Embroidery Crafts You'll Love
---
⭐️🧶 Did you enjoy this craft and want to see more like it? ✂️ Join our FREE email community and get inspiring craft ideas sent right to your inbox! 🧵 ⭐️
---
How to Make Mini Embroidery Hoop Earrings
Materials
- Fabric
- Embroidery Floss
- Embroidery Needle
- Pliers
- Mini Embroidery Hoops
- Earring Hooks
- Embroidery Hoop 3" or bigger
- Scissors, Hot Glue Gun and Glue
Instructions
- Using an embroidery hoop that fits your fabric piece (the one pictured is a 3” hoop), embroider a design onto your fabric.You want the design to be small enough to fit into the mini embroidery hoop for the earring.I used pink floss to make a woven wheel stitch that looks like a rose once it’s completed.
- I used green floss for the backstitch leaf and yellow floss for the french knots.
- Cut the design out of the fabric, leaving ½” extra fabric bigger than the mini embroidery hoop.
- First, lay the smaller back circle down on the tabletop.Then, lay the fabric on top of the back circle.Next, put the mini embroidery hoop on top, centering your design inside.Push the mini hoop back over the wood circle, stretching the fabric tight as you do this. (This is similar to how a typical embroidery hoop works.)NOTE: The photo shown for this step is the back view after the hoop has stretched the fabric over one back circle.
- Place one nut onto the screw, twisting it all the way toward the screw's head.Put the screw through the hole at the top of the embroidery hoop, and twist the second nut onto the screw. Tighten until the embroidery hoop is secure.Then, hot glue the excess fabric to the back of the smaller circular disc on the back of the hoop.Add more hot glue and press the second (larger) wooden disc in place to cover the whole back of the mini embroidery hoop.This makes everything secure and gives the back a finished, clean look.
- Use a pliers to open up the loop at the bottom of an earring hook.Loop the earring hook over the screw, and tighten.(If you aren’t able to fit the earring hook into the top of the embroidery hoop, you may need to loosen the outer nut to make more space so you can get the earring hook inside.Repeat for both mini embroidery hoop earrings.
Notes
- You can make these embroidered earrings with the most basic embroidery stitches!
- Use the 3" (or larger) hoop and make a larger project once you get the hang of embroidery with this project.
- If you love these DIY earrings, try our other earrings like yarn tassel earrings, embroidery floss tassel earrings, felt ball earrings, and my favorite - mini felt ball pumpkin earrings!

Tahir Ragab
Hi
Excellent work
If there is thrifing lucrativr market for such earings we would like to get help from your sweet soul to set workshop for poor african women to earn income
Regards
Thank you