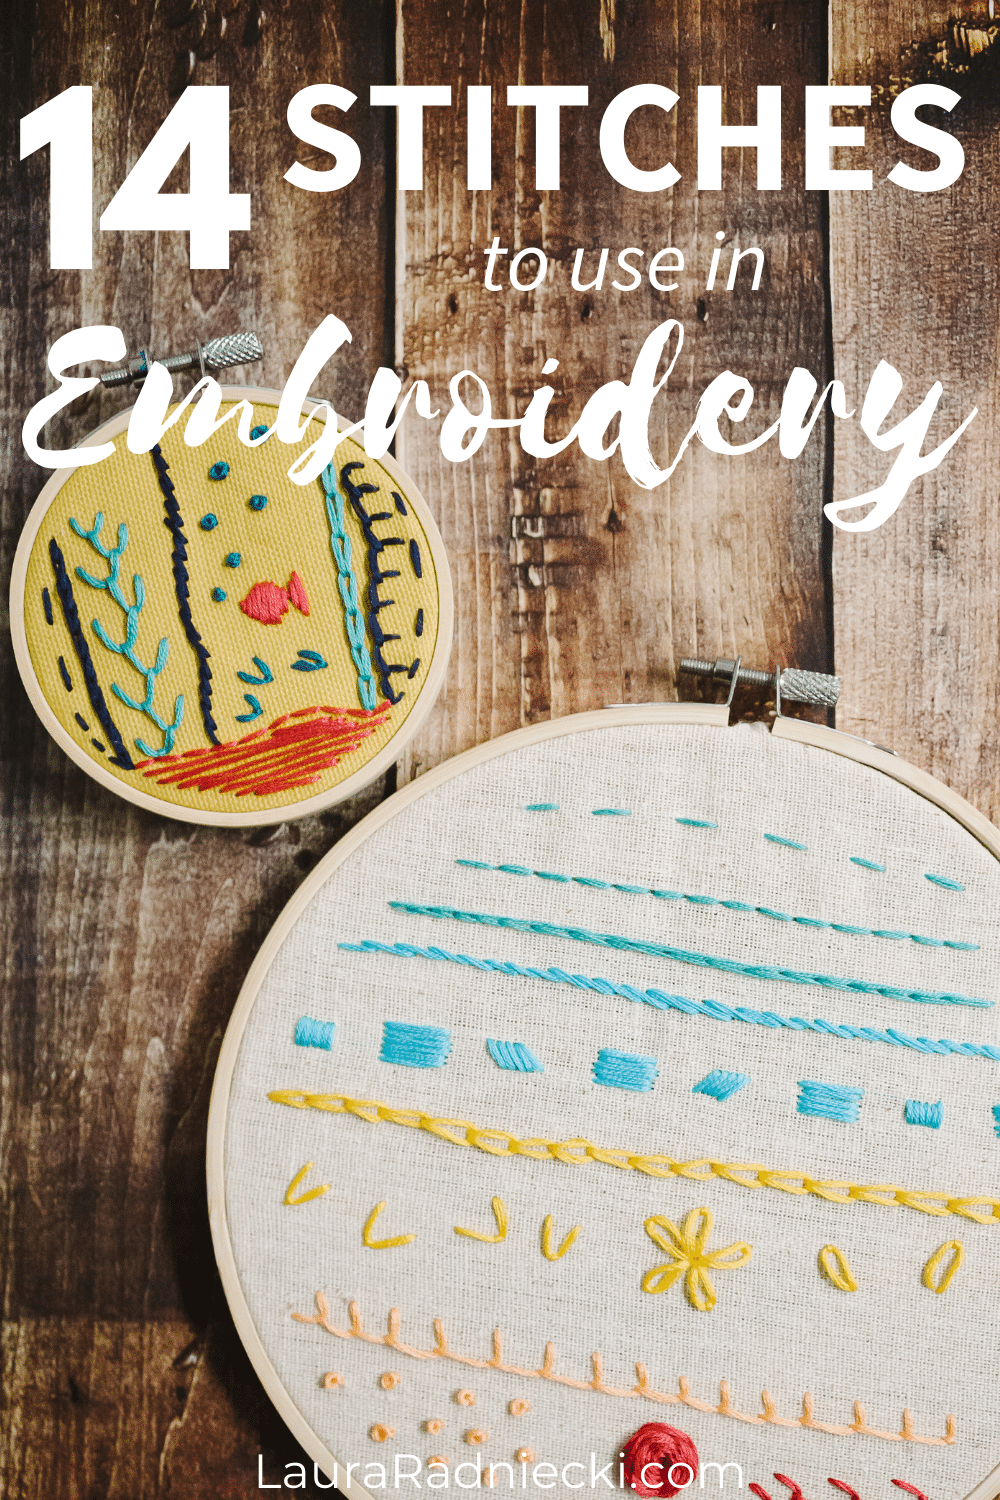
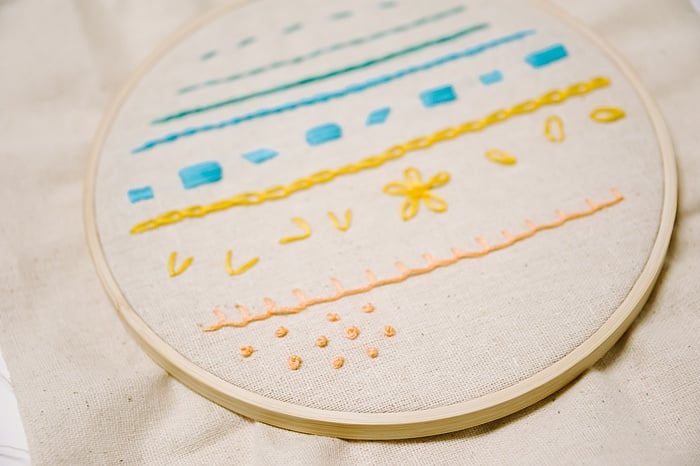
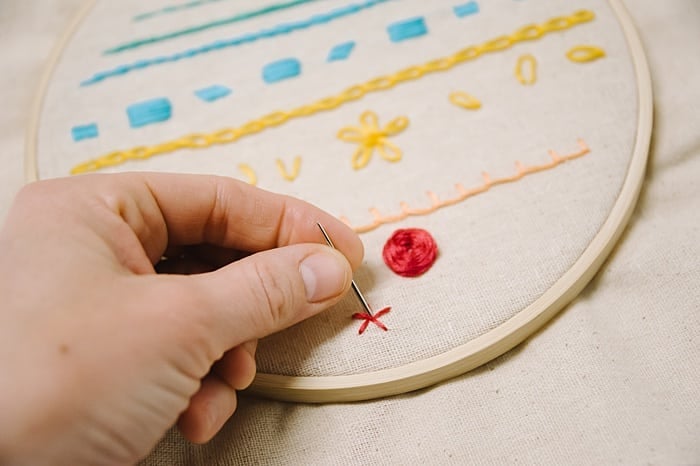
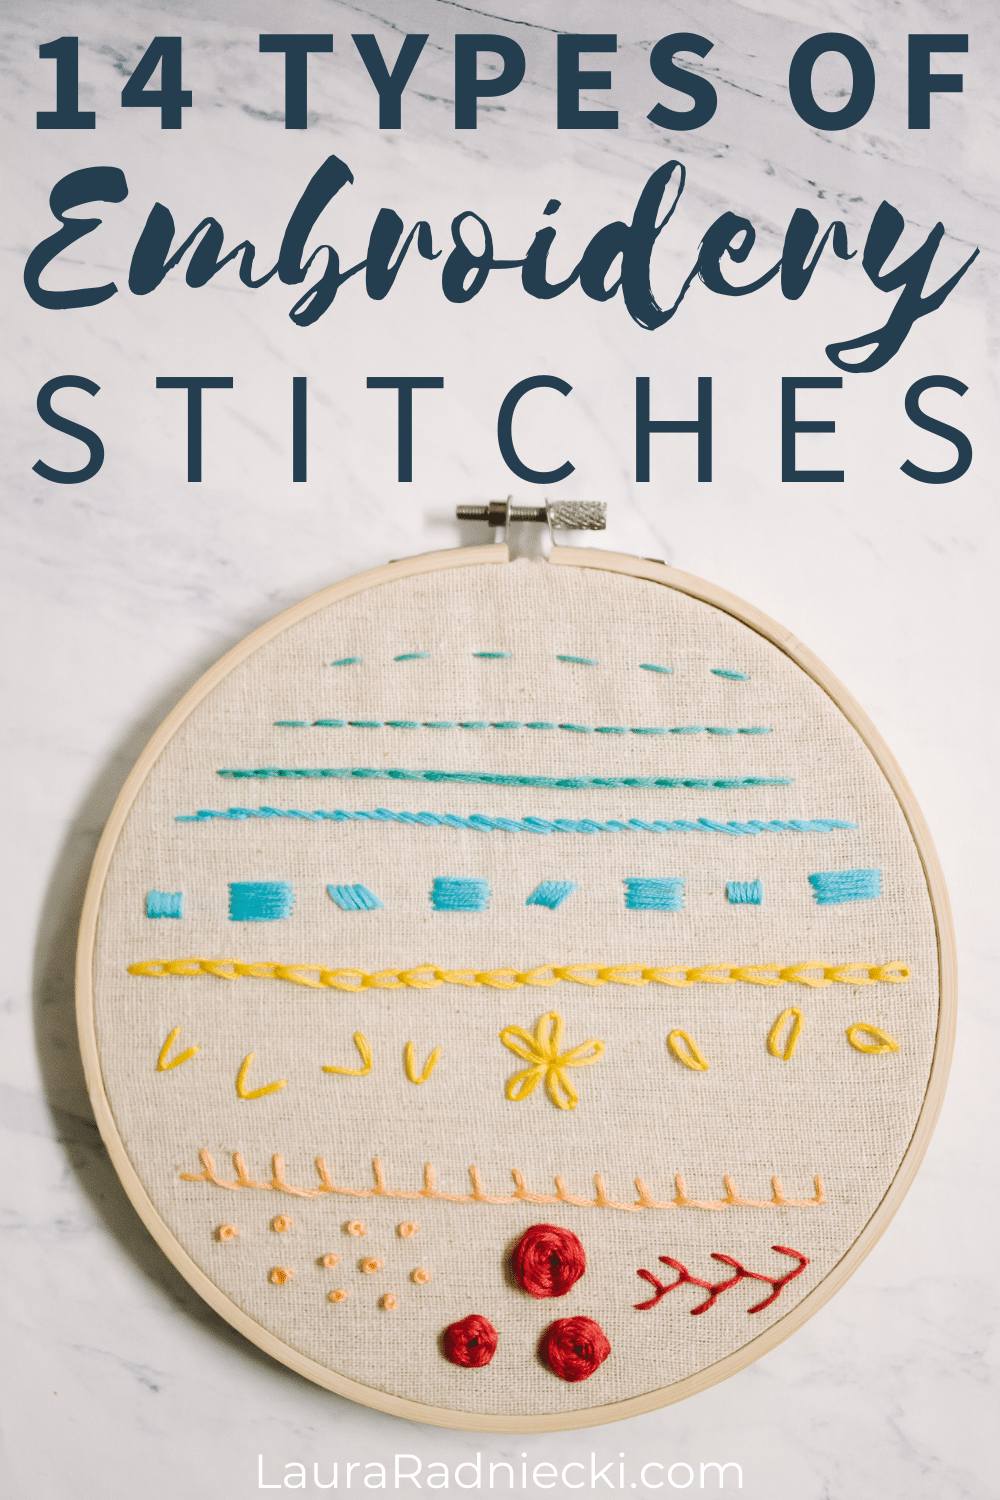
A look at 14 types of embroidery stitches in this basic embroidery stitch guide covering fill stitches, outline stitches, and more.
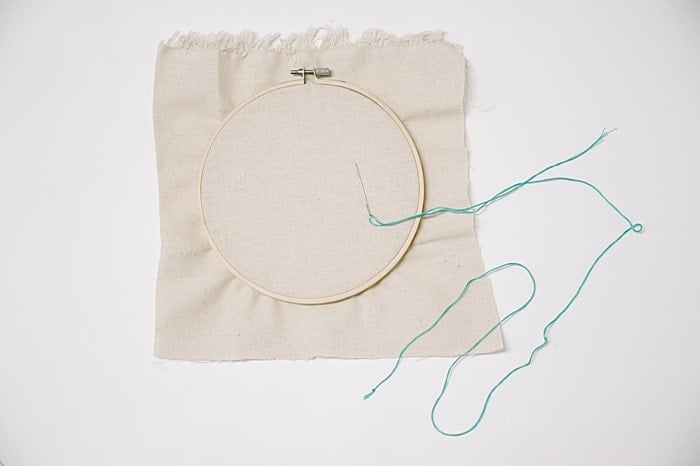
Embroidery is the perfect hobby. It requires only a few supplies (all of which are very affordable like fabric, embroidery floss, and an embroidery hoop), it’s portable so you can take it with you, and you can get started in only a few minutes.
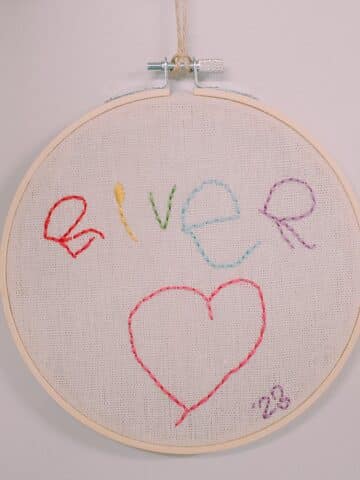
You can learn one of the many types of embroidery stitches, and create a masterpiece you’ll be excited to frame and hang on your gallery wall.
Now, imagine what kind of embroidery masterpieces you could create if you mastered all of these 14 different types of embroidery stitches?!
Here are the types of embroidery stitches you should learn as you start on your embroidery journey.
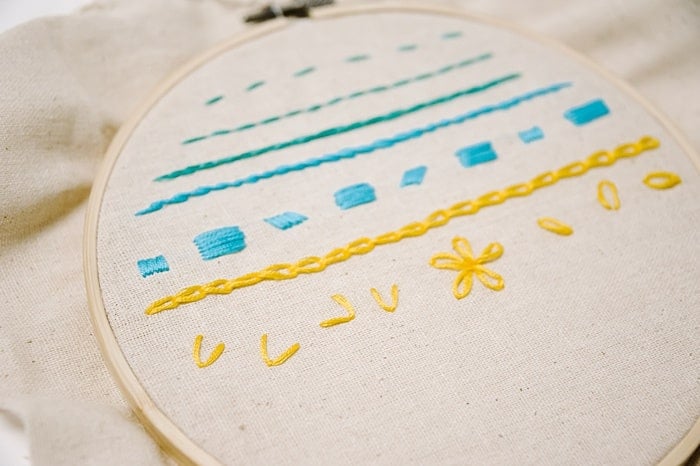
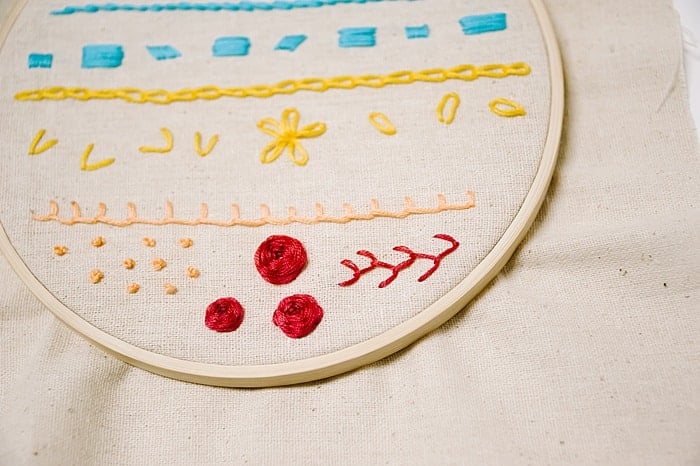
14 Different Types of Embroidery Stitches
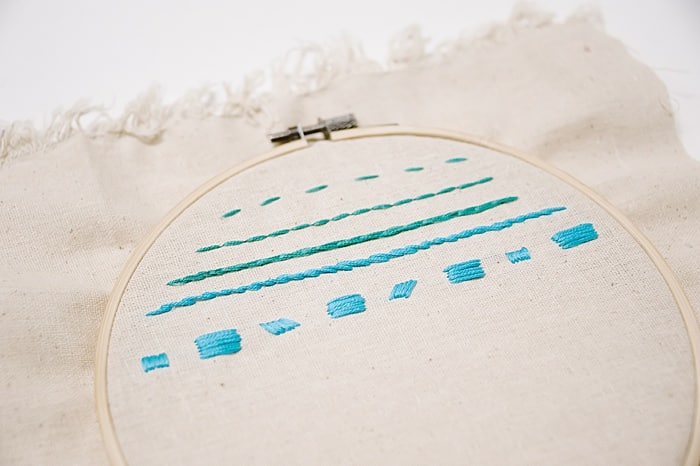
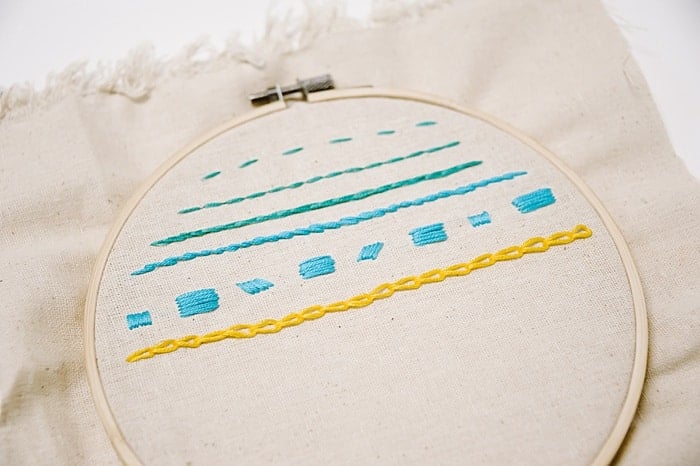
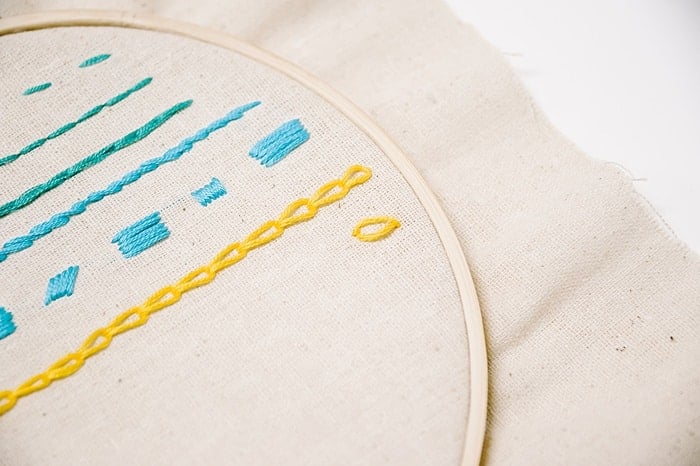
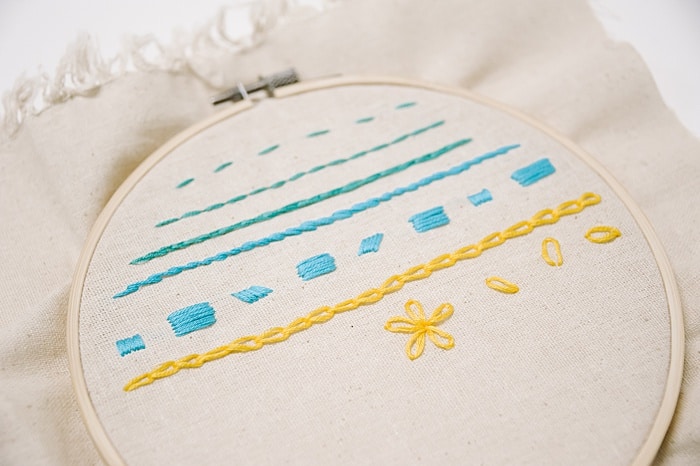
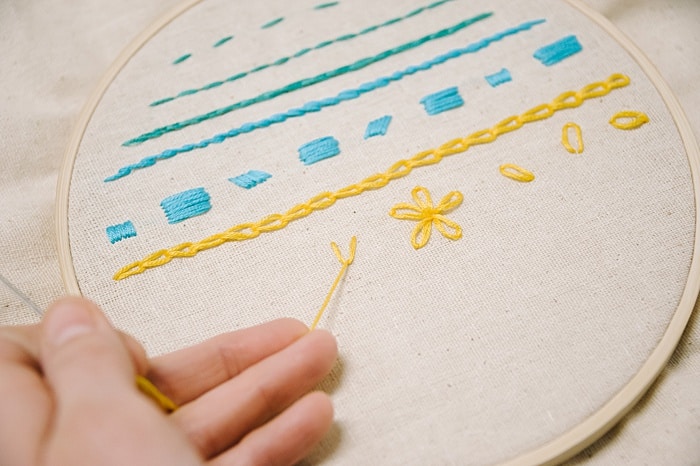
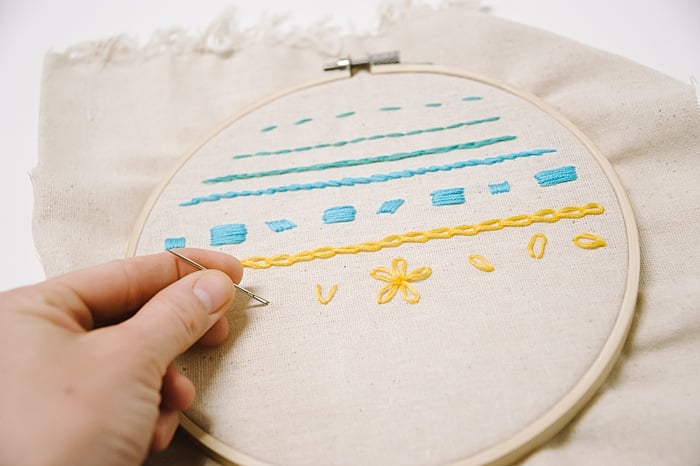
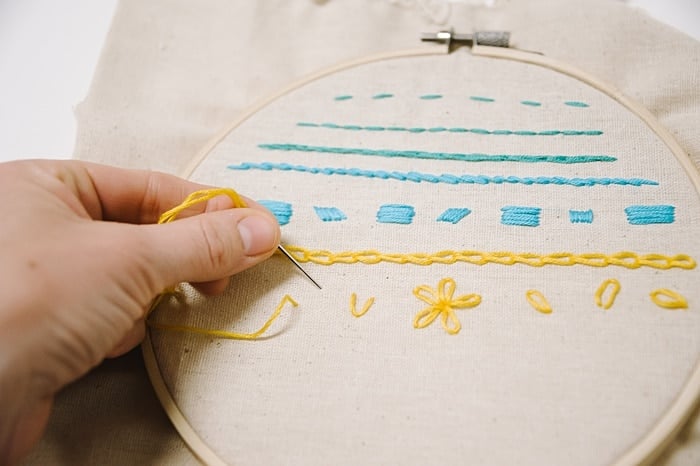
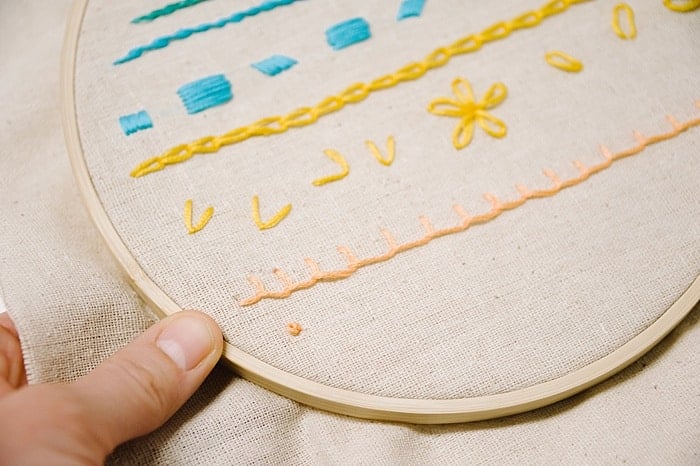
#1. Straight Stitch
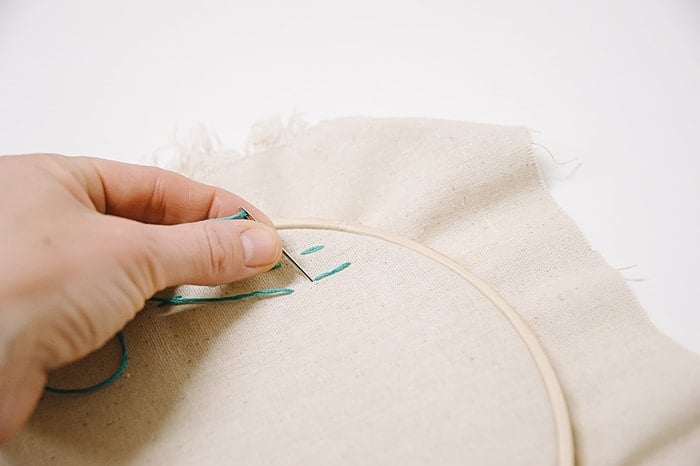
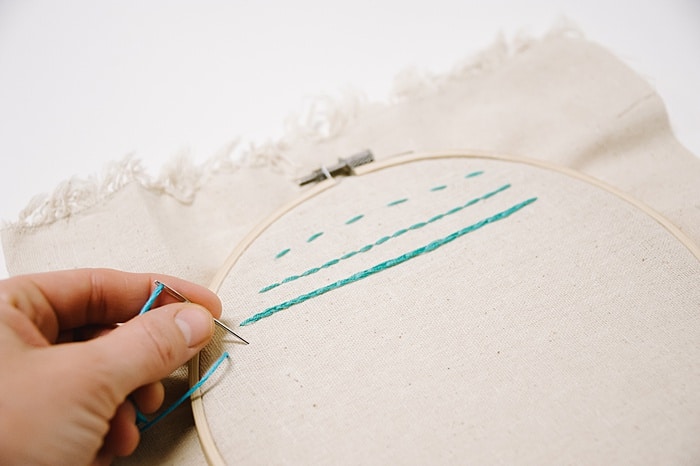
A straight stitch is the most simple of all embroidery stitches.
You simply come up to the front of the fabric with your needle and embroidery thread and then go back down.
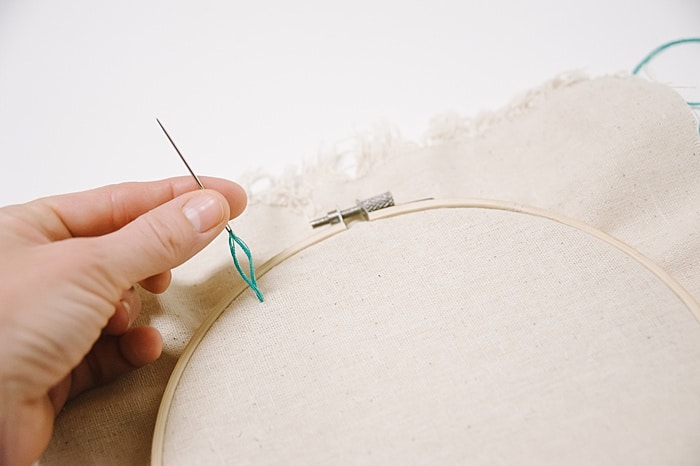
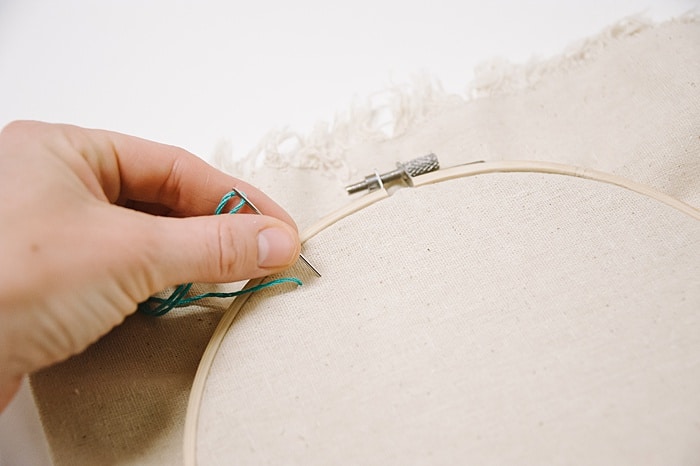
That’s it!
This simple up and down stitch is what is used to make a running stitch and a satin stitch too.
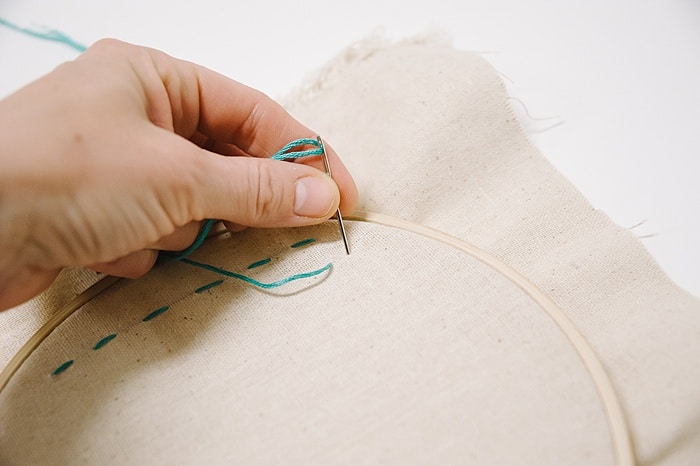
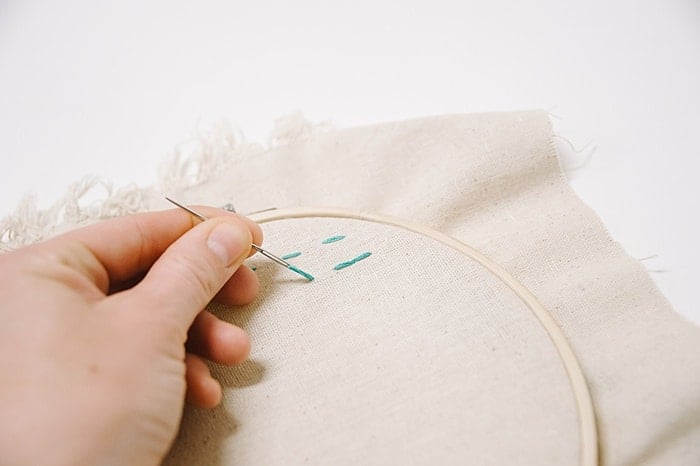
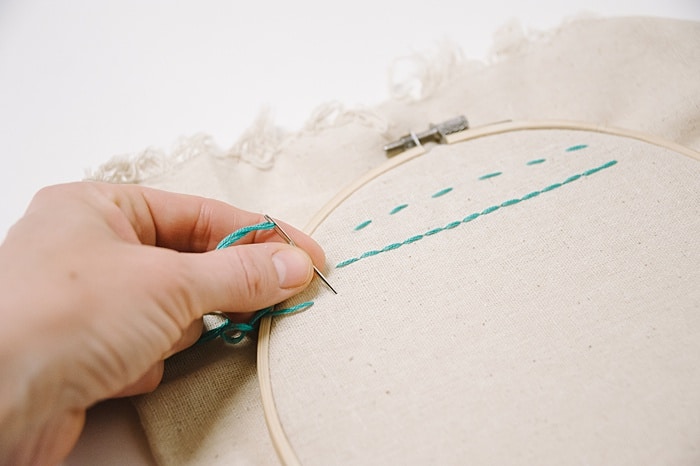
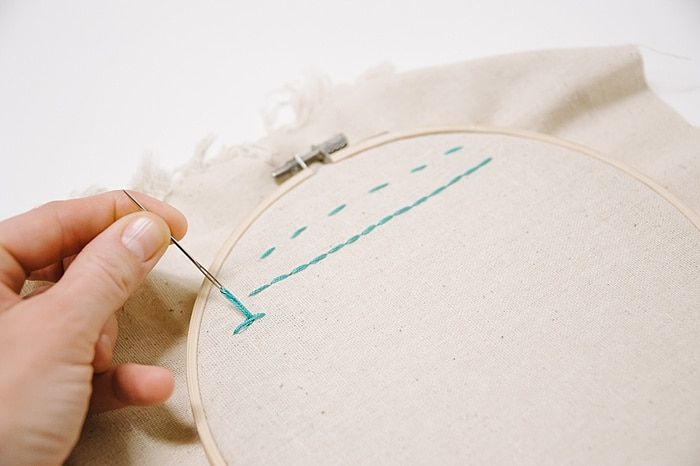
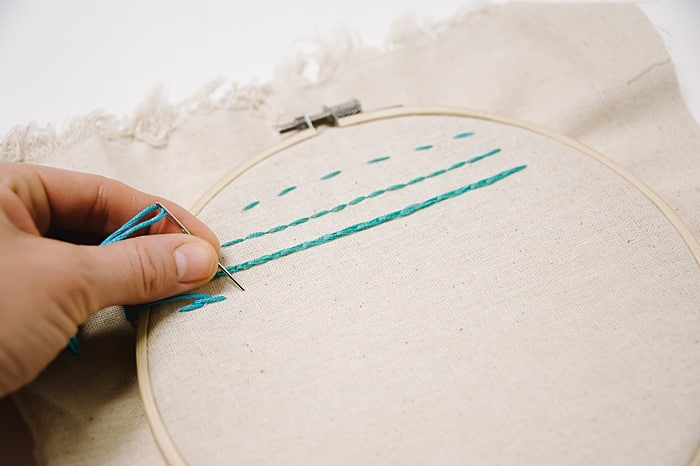
#2. Running Stitch
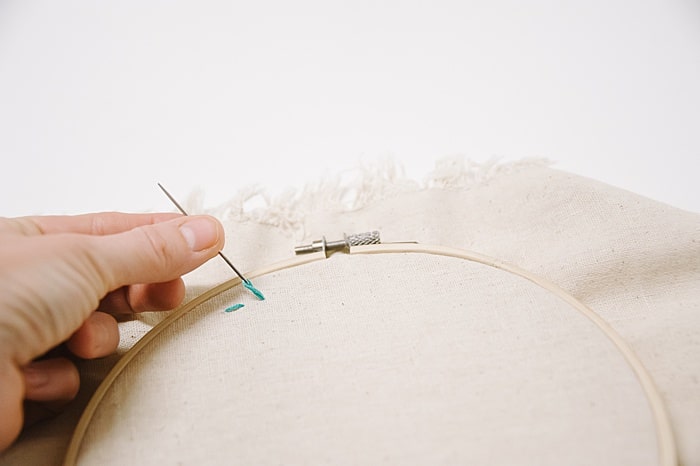
A running stitch is when you make a series of straight stitches, all in a row.
Make a straight stitch like pictured in #1 above. Move a stitch-length away. Make another straight stitch.
Repeat.
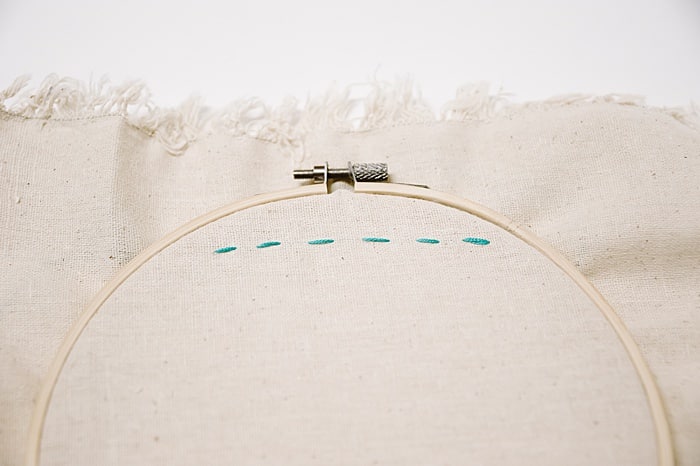
You will see a line of running stitches form.
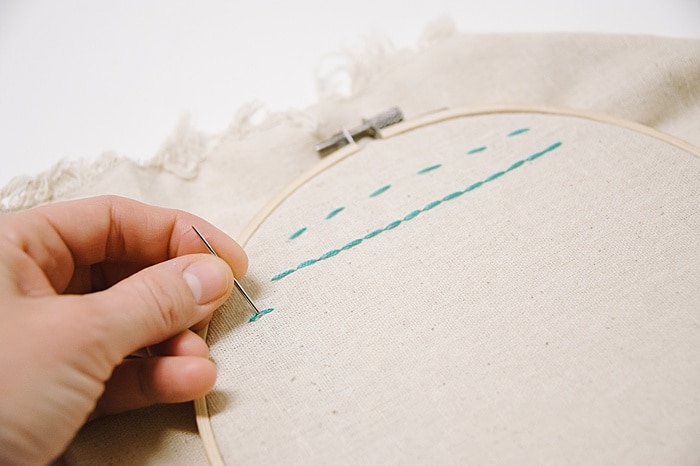
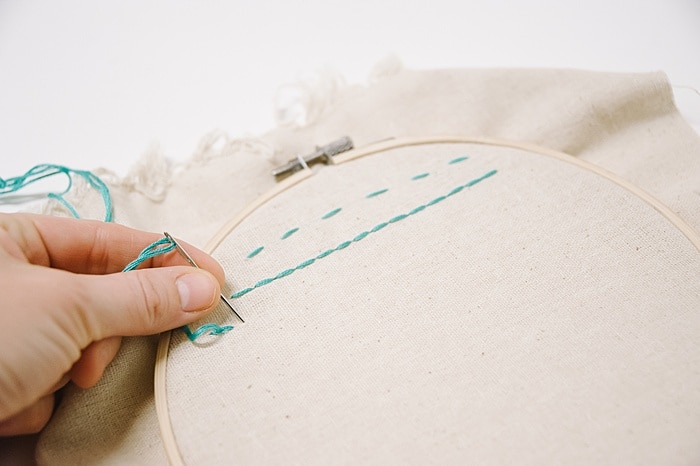
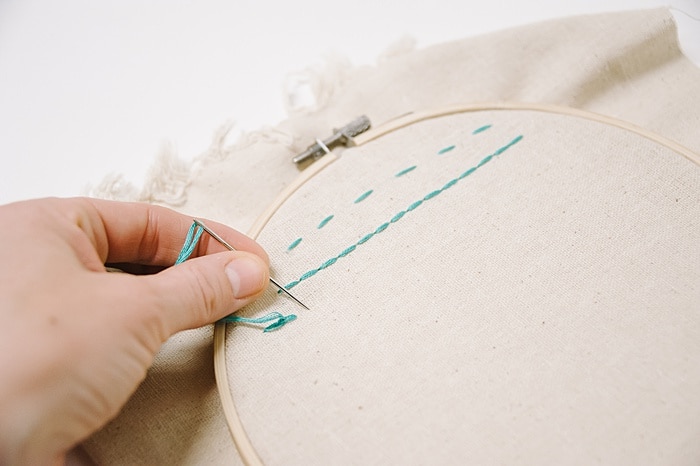
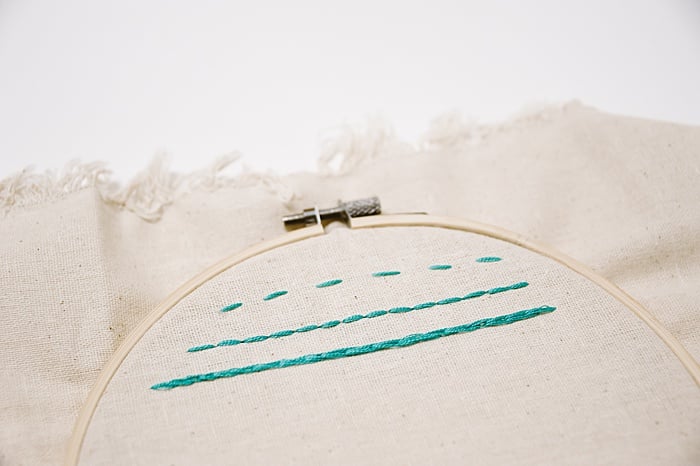
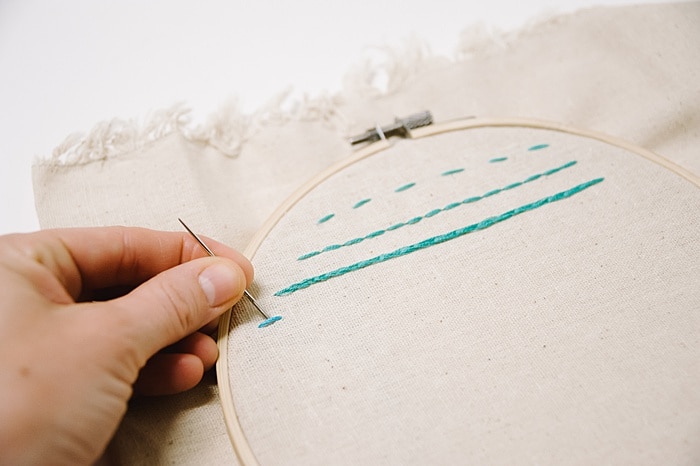
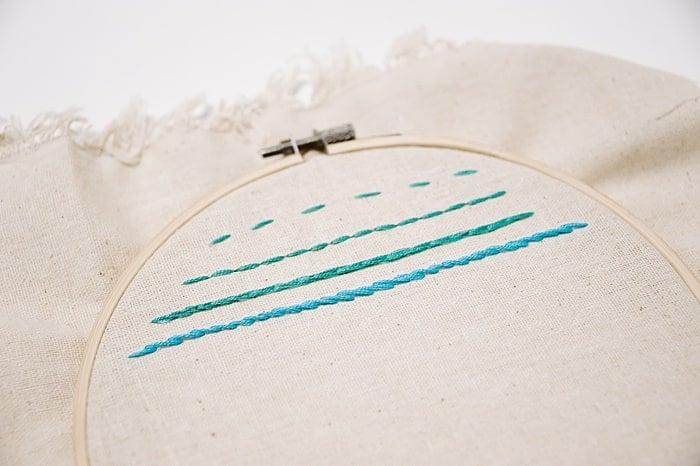
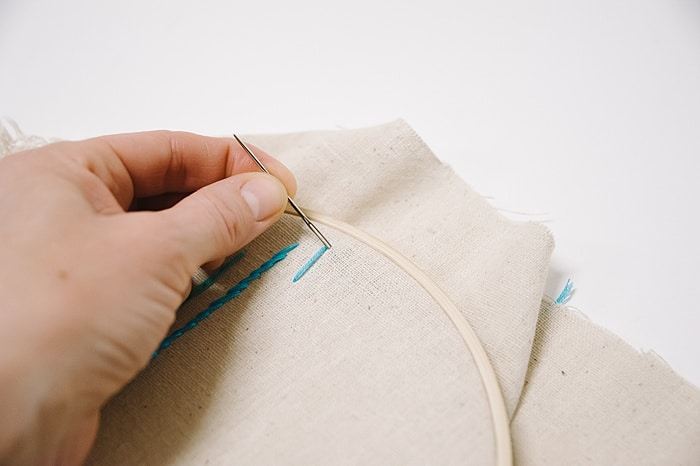
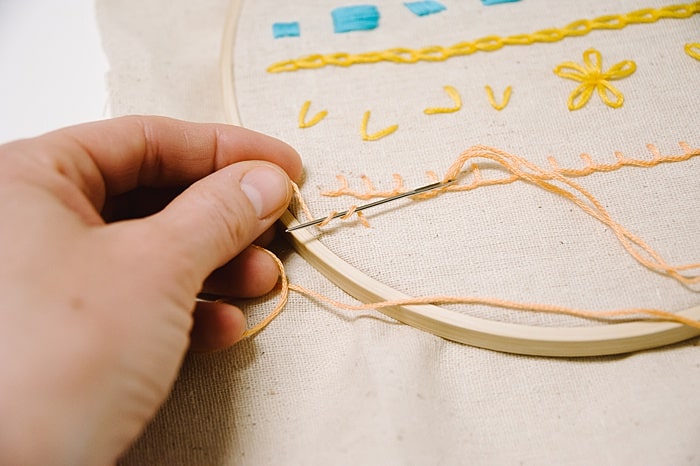
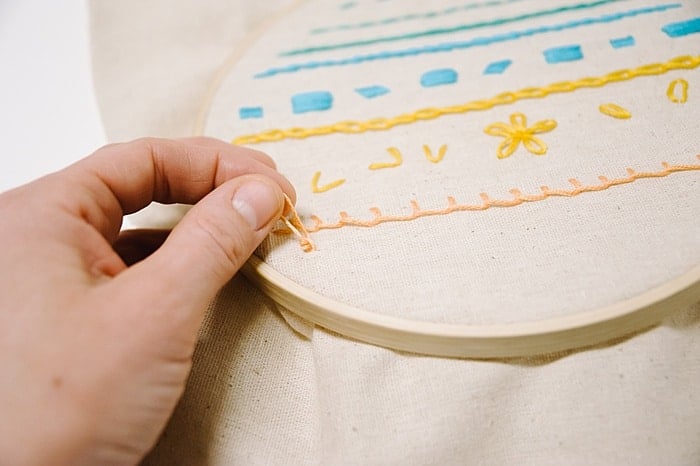
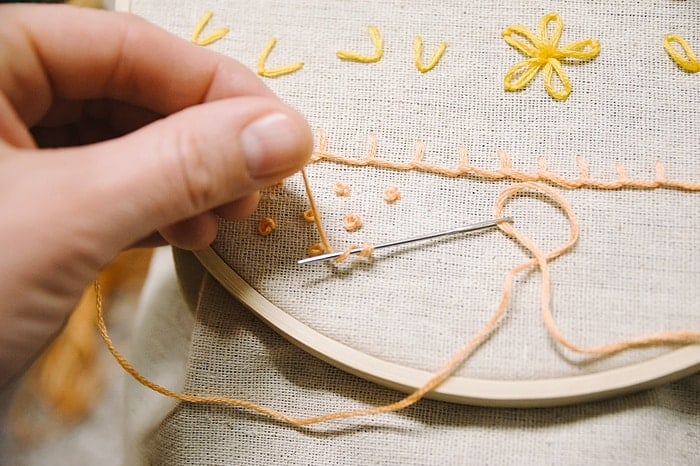
#3. BackStitch
A backstitch is similar to a running stitch, except it forms one continuous line of stitches.
To make a backstitch, you come up to the front of your fabric and go back down, making a stitch.
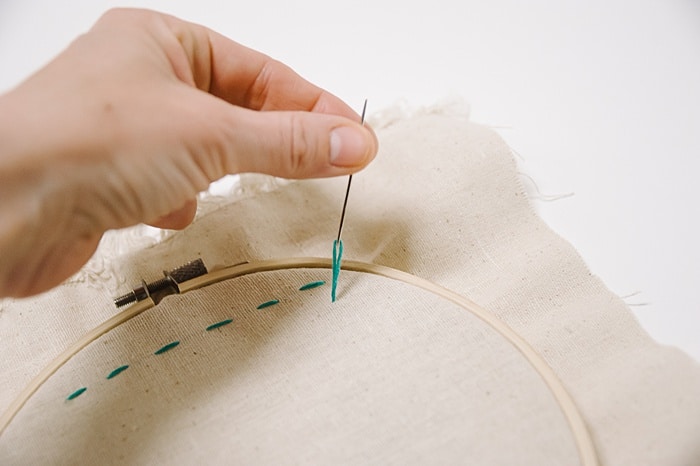
Next, come up a stitch-length away.
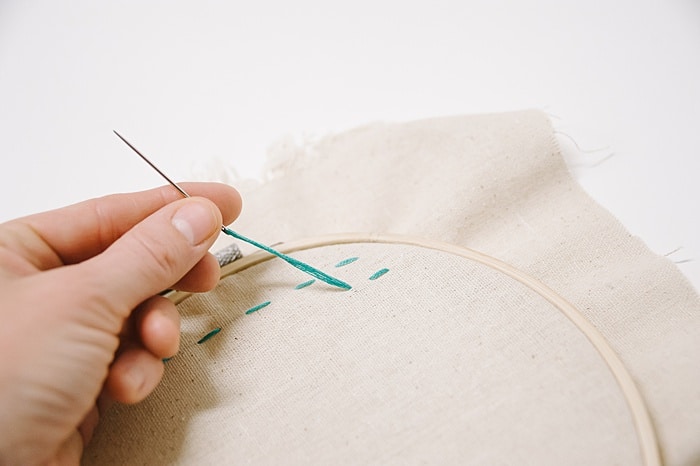
Put the needle into the fabric so it’s touching your last stitch and pull tight.
This should create a stitch that touches the previous one.
Repeat.
Each back stitch you make will add to a line of stitches that are all consecutive.
The backstitch is one of the most common types of embroidery stitches and can be used as a great outline stitch.
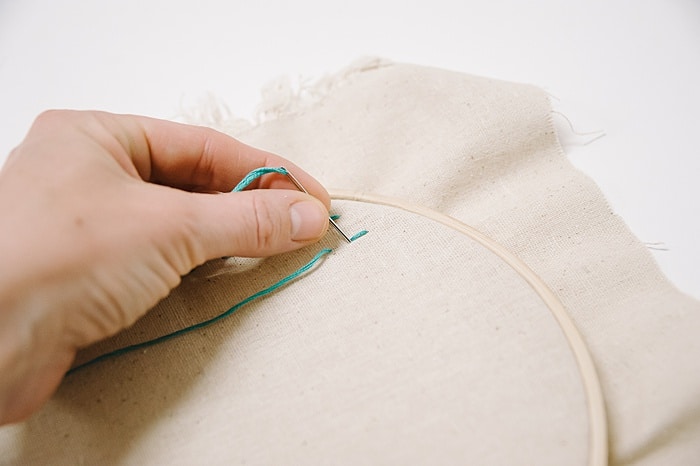
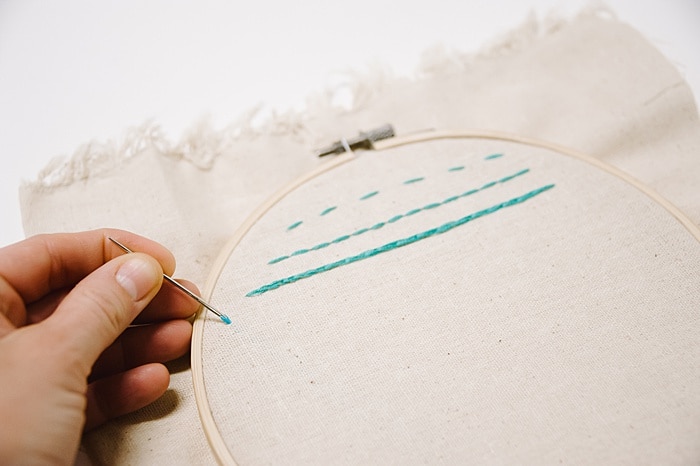
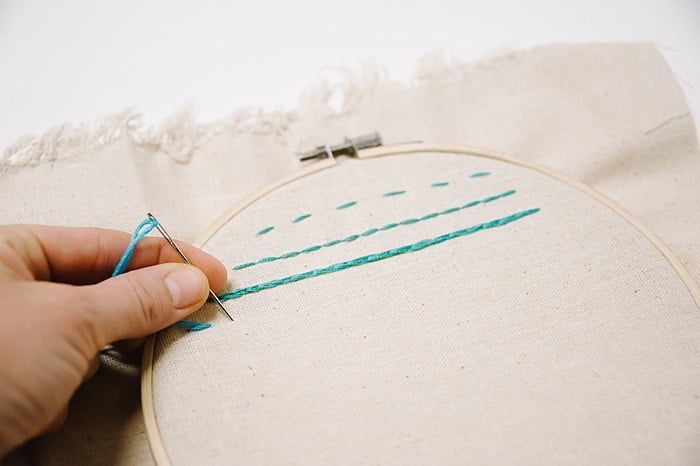
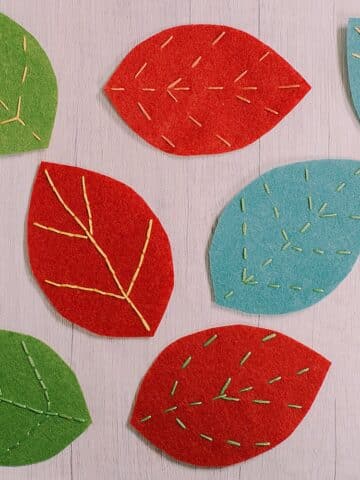
4. Split Stitch
For the split stitch, first - make a straight stitch.

Come up to the front of the fabric in the middle of your last stitch.
Your needle should split the embroidery threads of the last stitch in half.
Go to the back and pull tight to make a stitch.
Repeat the process.
Come up to the front of the fabric again, in the middle of the last stitch you just made.
Each time you come to the front of the fabric, your needle should pierce through the previous stitch, separating the threads to either side of the needle.
Go back down, pulling tight to make a stitch.
Repeat.
The split stitch is ideal for making borders with visual interest.
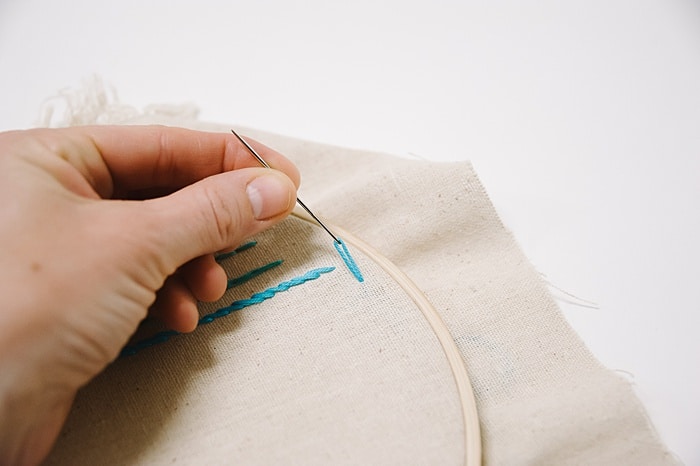
#5. Stem Stitch
To start the stem stitch, first, make a straight stitch.
Now, when you come up to the front of the fabric, come out just ABOVE the middle of the previous stitch.
(With the previous split stitch, you came out in the MIDDLE of the previous stitch, splitting the threads around your needle. This time for the Stem Stitch, you want to come out on TOP of the mid-point of the previous stitch.)
Put your needle back down into the fabric, in line with the previous stitch you just made.
Repeat.
- Come to the front right ABOVE the middle of the previous stitch.
- Go back down in line with where the previous stitch ended.
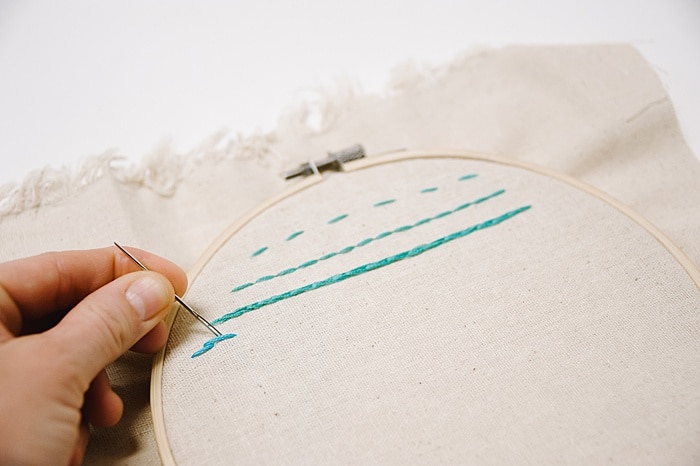
The stem stitch is great for stems, making curved lines, and creating borders with visual interest.
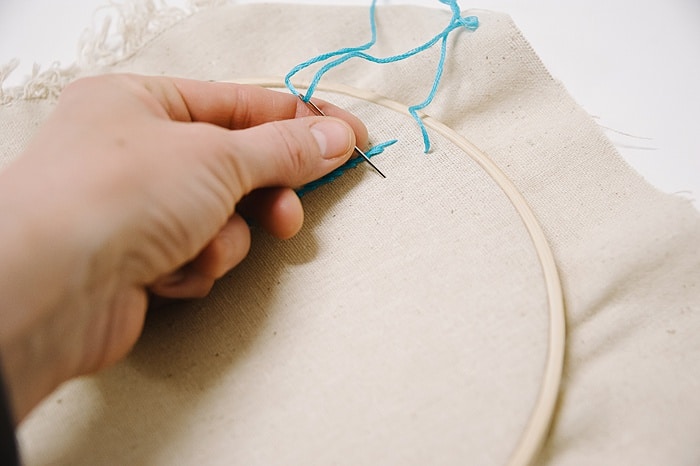
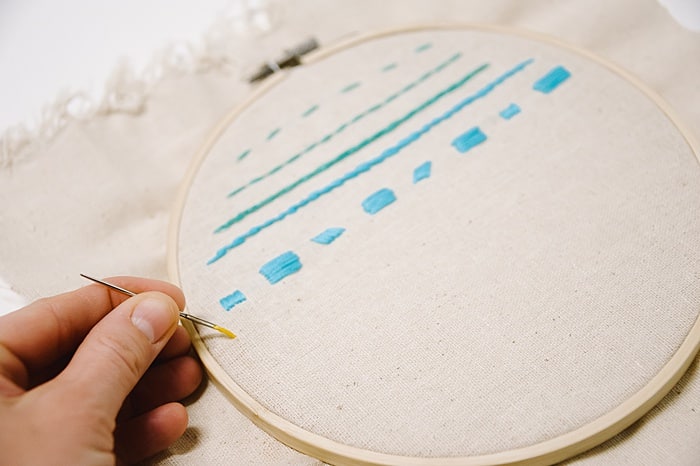
#6. Satin Stitch
Using the same technique as a straight stitch, a satin stitch is when you simply do a series of long, straight stitches right next to each other.
A satin stitch is most often used as an embroidery fill stitch; useful for filling in patterns.
I made my entire Minnesota Embroidery Project using a simple satin stitch.
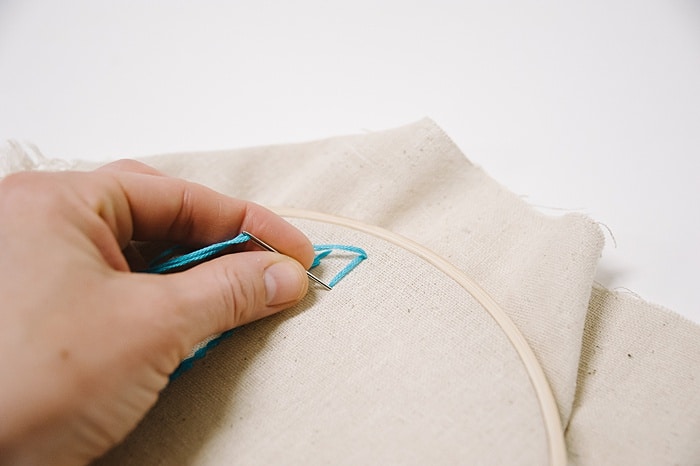
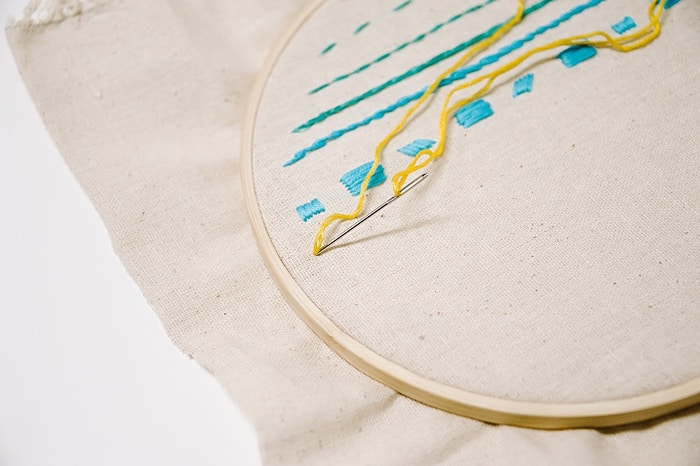
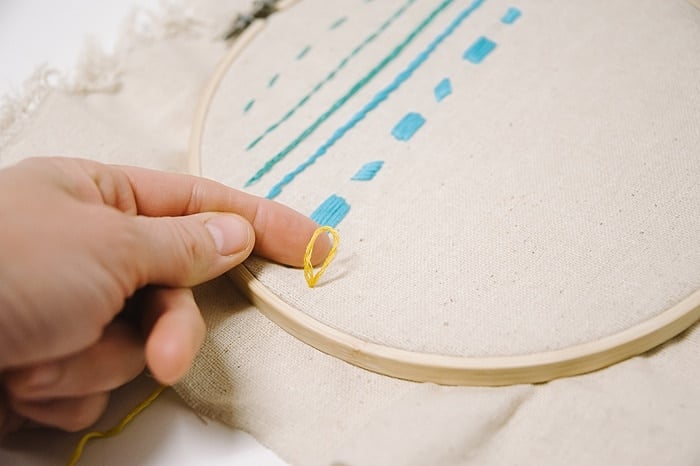
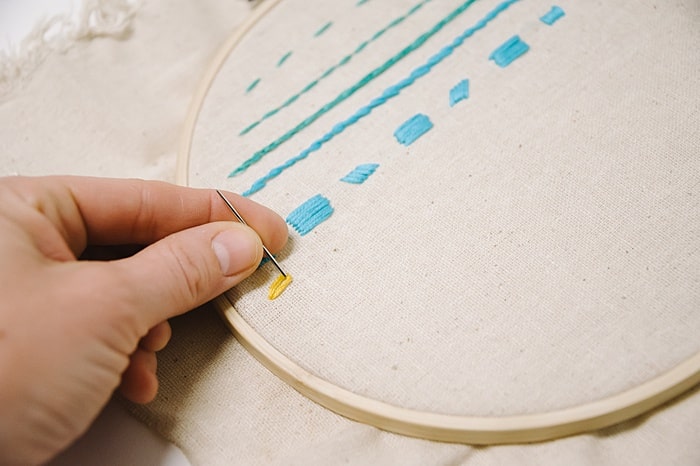
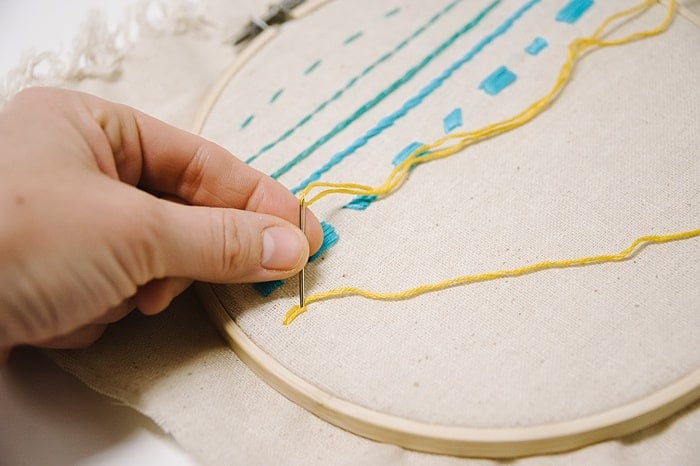
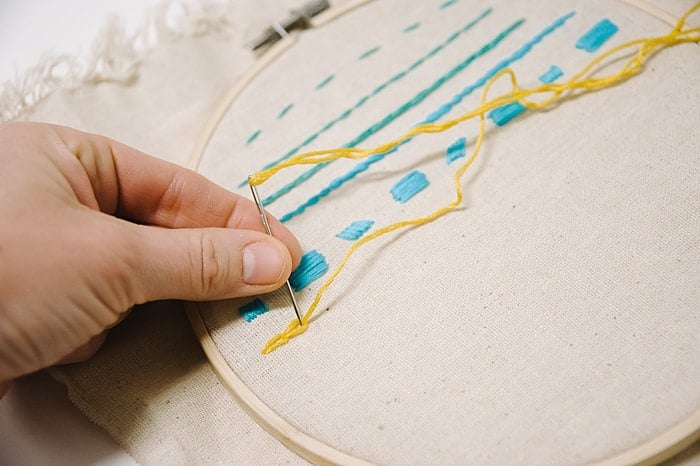
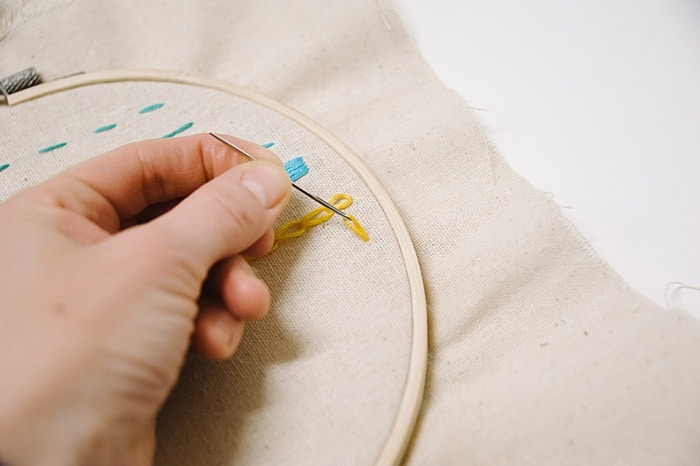
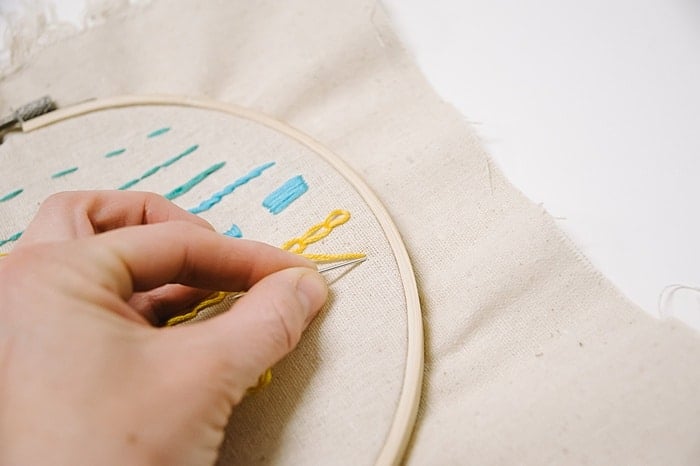
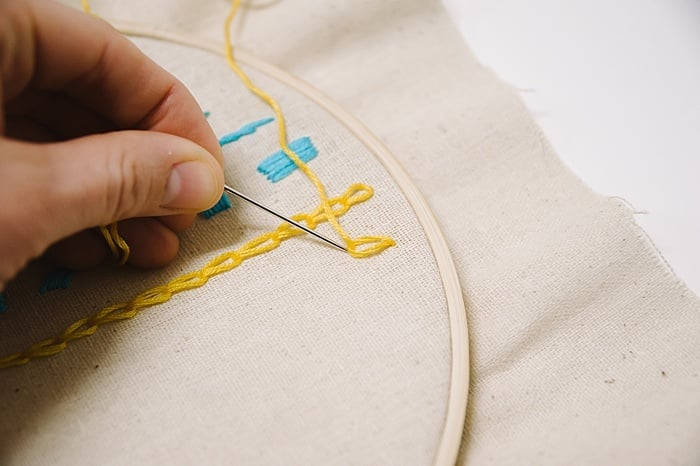
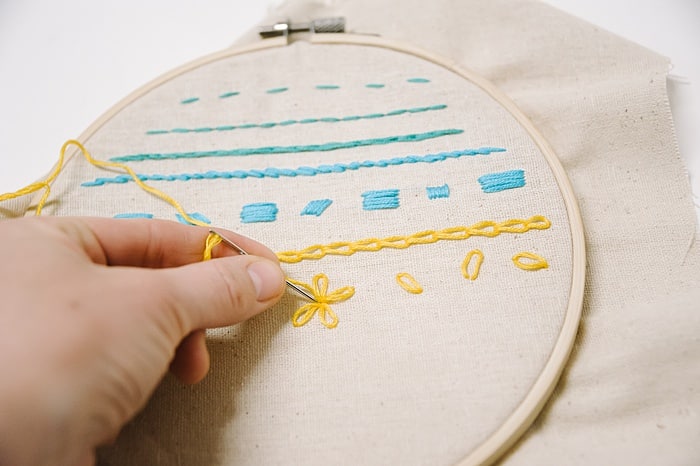
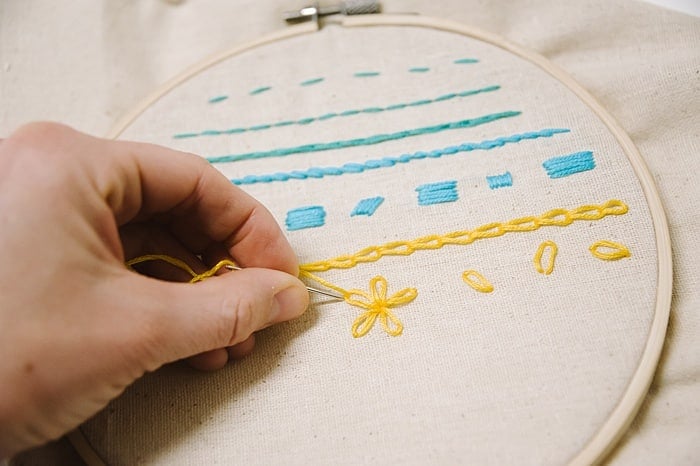
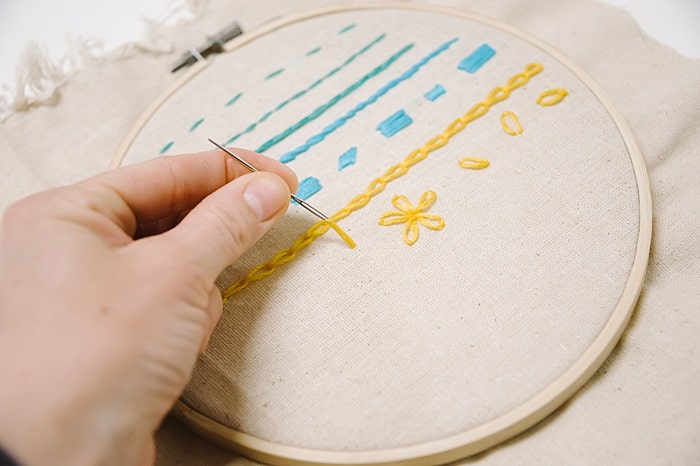
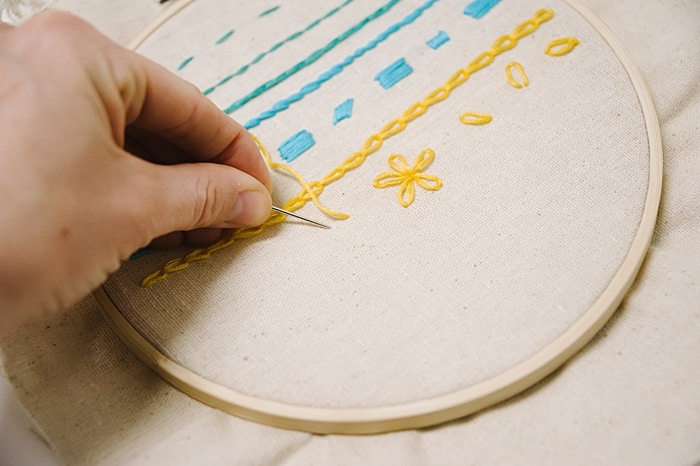
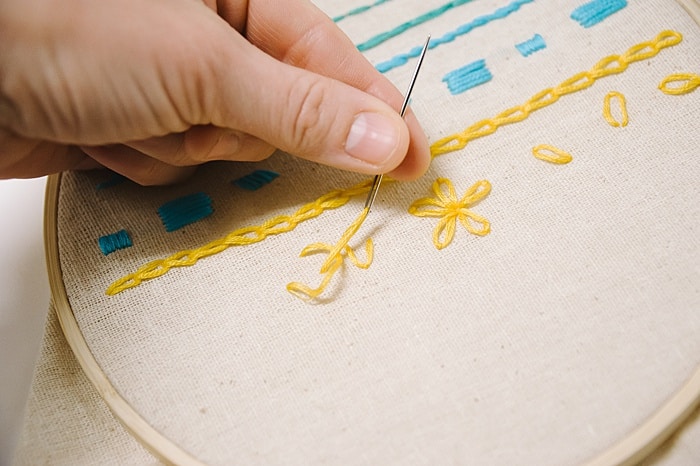
#7. Chain Stitch
Next is the chain stitch.
This stitch requires you to make a loop with your thread, and then your next stitch anchors the previous one.
Come up to the front of the fabric.
Go back down through the fabric, right next to where your needle just came up.
Pull slowly until you have a loop formed. (Don’t pull too tightly, or your loop will disappear to the backside.)
Come up a stitch-length away, and make sure your needle is on the inside of the loop.
Gently pull until the slack goes away.
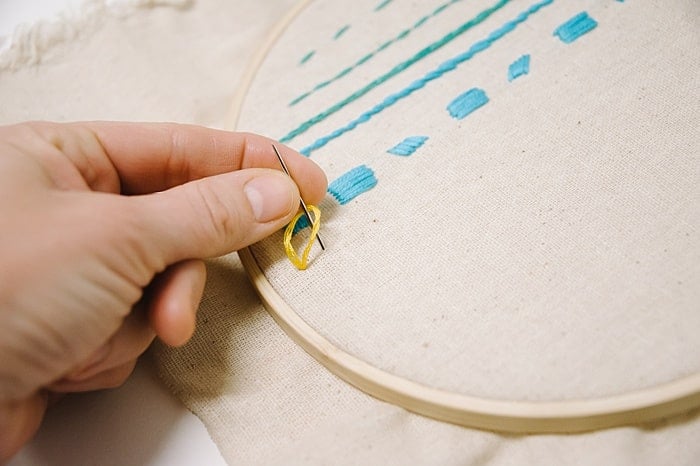
Put your needle back through the fabric on the inside of the loop, and pull gently.
This will create a stitch that anchors the previous loop.
Pull slowly, and you’ll see another loop form.
Come up another stitch length away with the needle on the inside of the loop, and go back down on the inside to anchor that stitch.
Pull slowly as another loop forms.
Repeat.
This makes a beautiful border or can be used in designs for visual interest too.
#8. Detached Chain Stitch
A detained chain stitch is exactly what it sounds like; the same type of chain stitch you just learned, but not all in a row.
It’s a stand-alone stitch that can be done by itself.
Come up to the front.
Go back to the backside.
Pull gently to make a loop.
Bring the needle up through the inside of the loop, a stitch-length away.
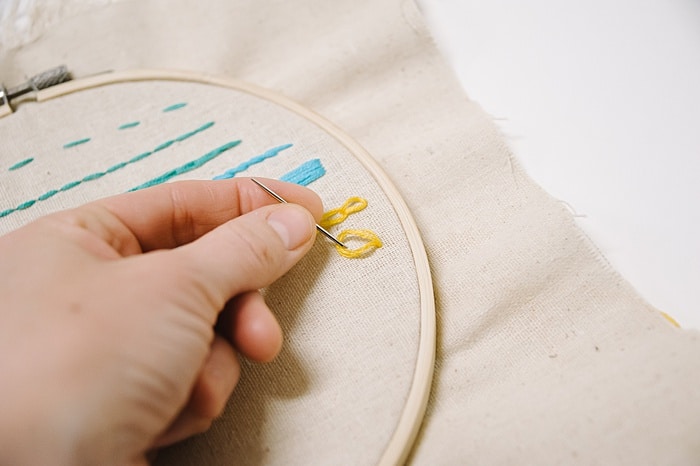
Anchor the loop by going back down just outside the loop, making a small anchoring stitch.
Repeat for as many detached chain stitches as you want.
These stitches are often used in floral embroidery designs, as they look like single flower petals.
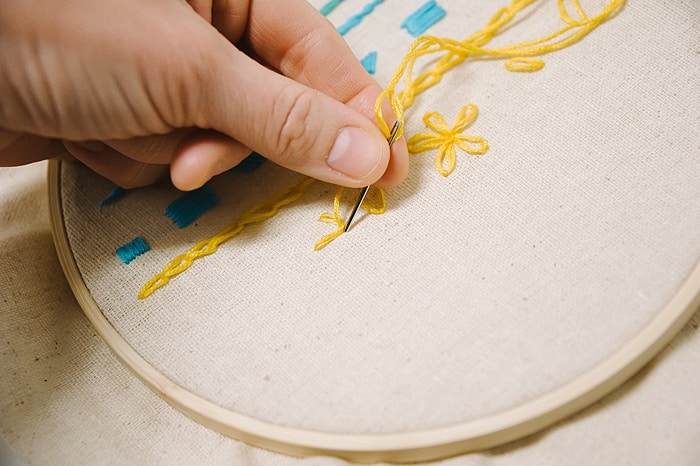
#9. Lazy Daisy Stitch
The lazy daisy stitch is made using detached chain stitches and making them in a flower-shaped design.
Each petal connects in the middle to make up a flower!

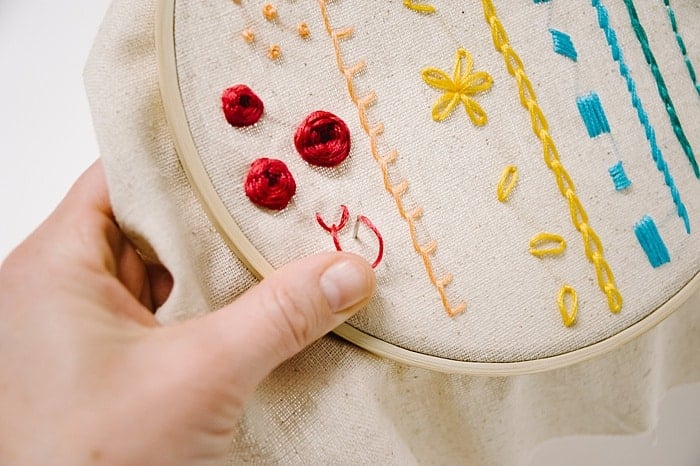
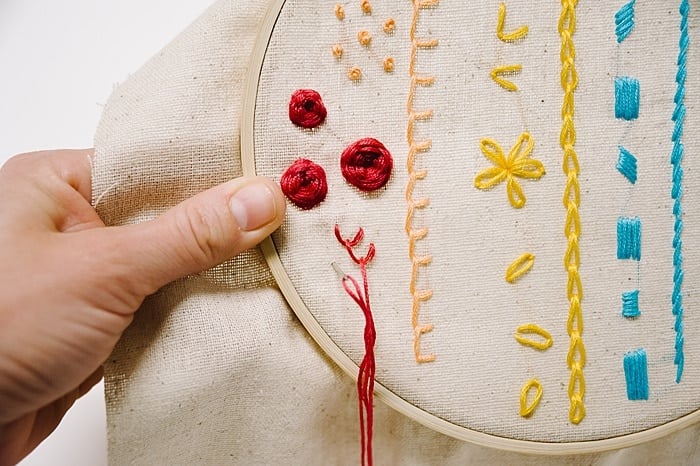
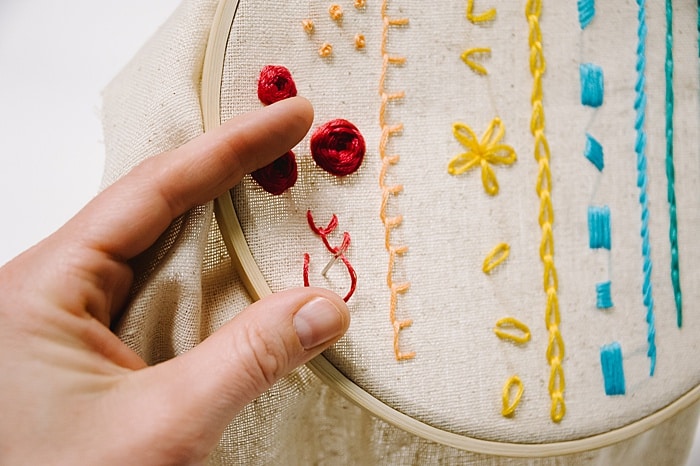
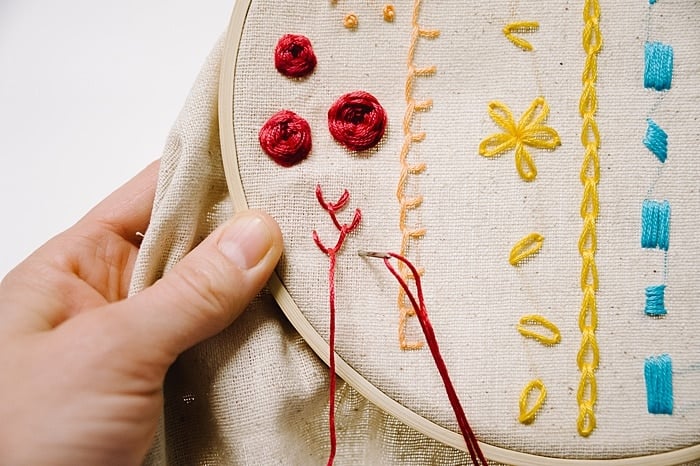
#10. Fly Stitch
The fly stitch is similar to the detached chain stitch, except you’re not making loops, you’re making V’s instead, that will be anchored with a small stitch.
Come to the front of the fabric.
Go to the back, a stitch-length away.
Pull gently, leaving a little slack in your stitch.
Come up to stitch an anchor stitch, creating a V shape from your Fly Stitch.
This adds visual interest to your embroidery art.
#11. Blanket Stitch
The blanket stitch for embroidery is a modified stitch based on the blanket stitch you can use to finish the edge of a sewing or stitching project.
Come to the front of your project and make a backward L shape; going to the backside of the fabric a little bit to the right and up from where you come to the front.
As you pull tighter, you’ll see a curve begin to form.
Come to the front of the fabric a stitch-length away, on the inside-bottom corner of the stitch.
Go to the right and up again, and insert the needle to the back of the fabric here.
Come up to the front again, on the inside-bottom of the stitch.
Move over to the RIGHT and UP again, and inserting the needle again.
Come to the front on the INSIDE-BOTTOM corner of the stitch, again.
Repeat to create a row of blanket stitches.
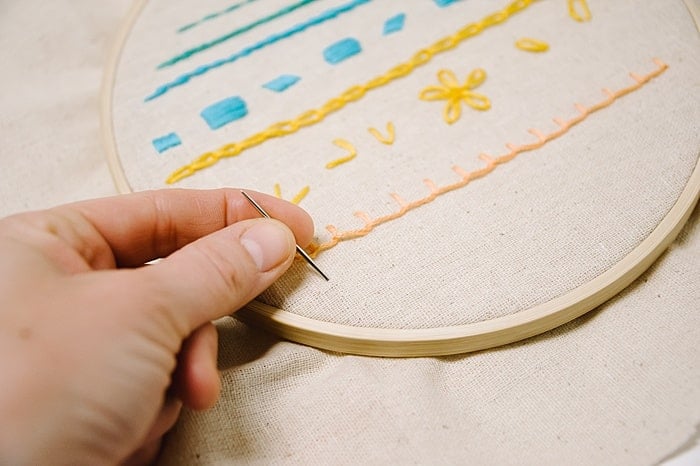
Blanket stitches are often used as a pretty border or outline stitch.
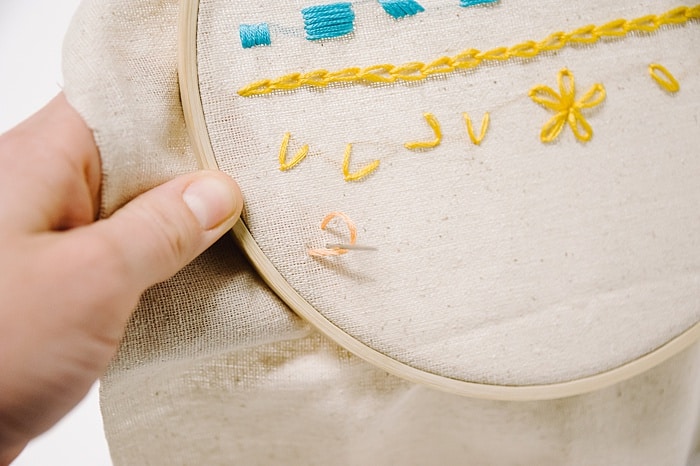
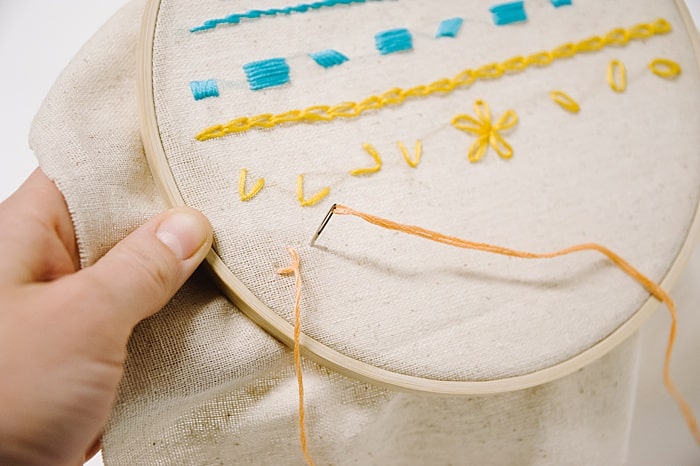
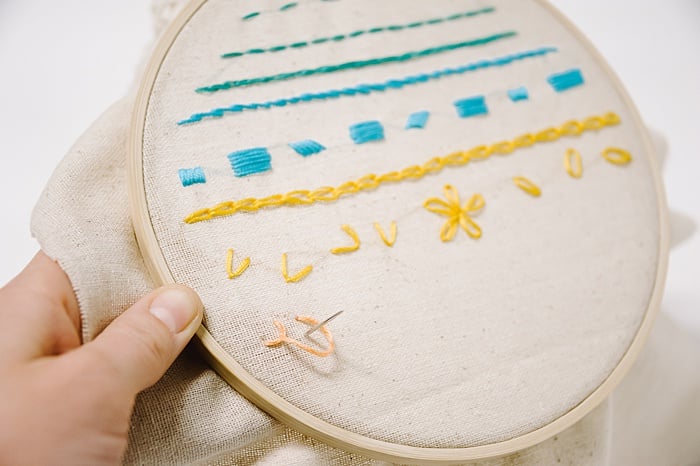
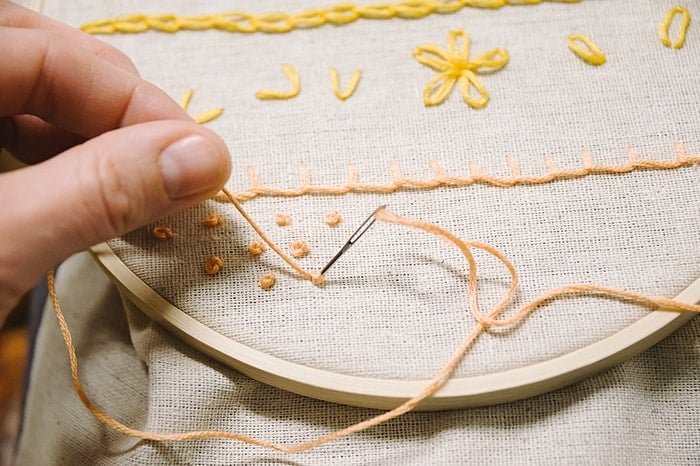
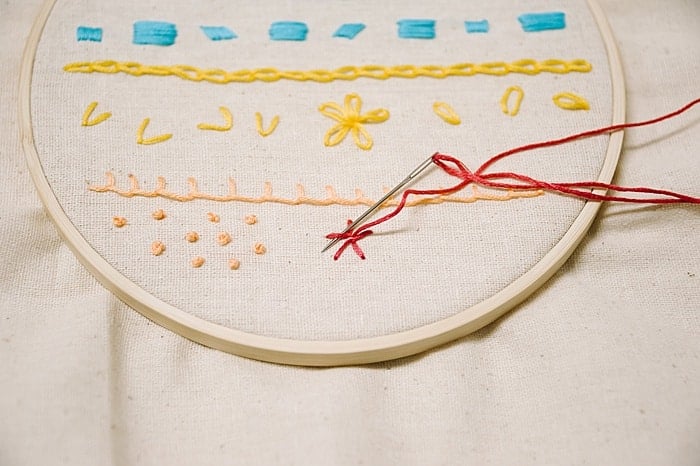
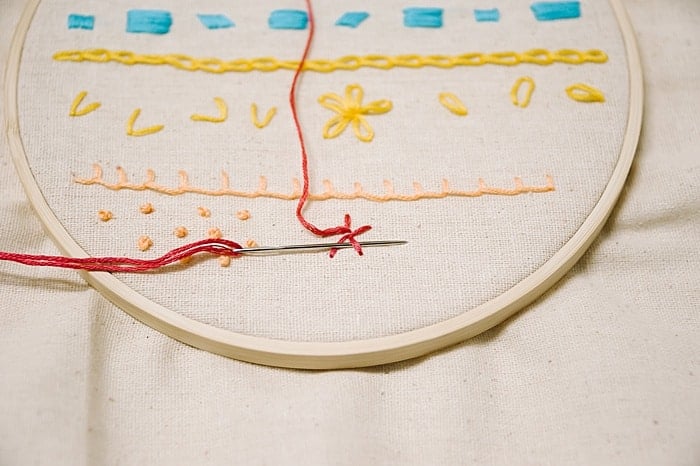
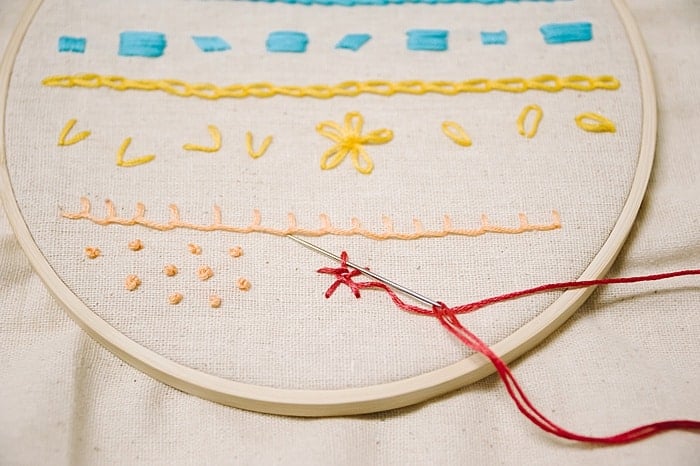
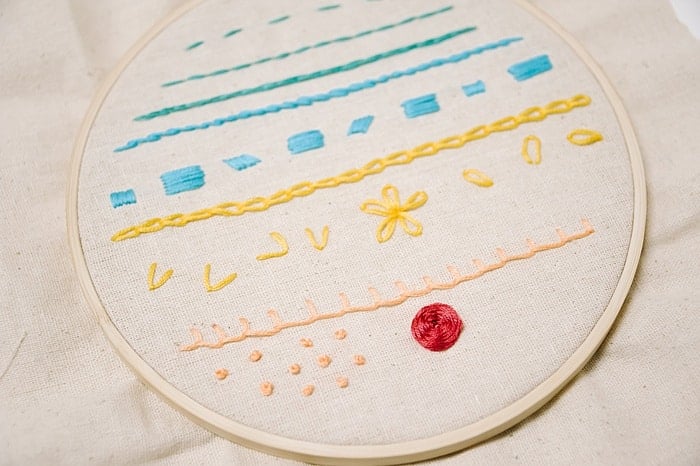
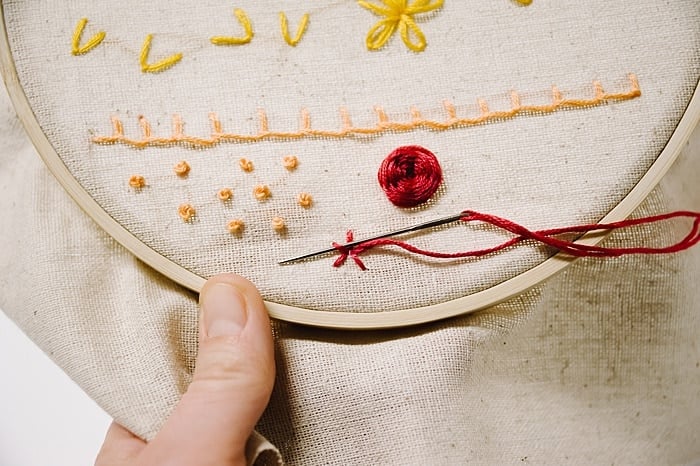
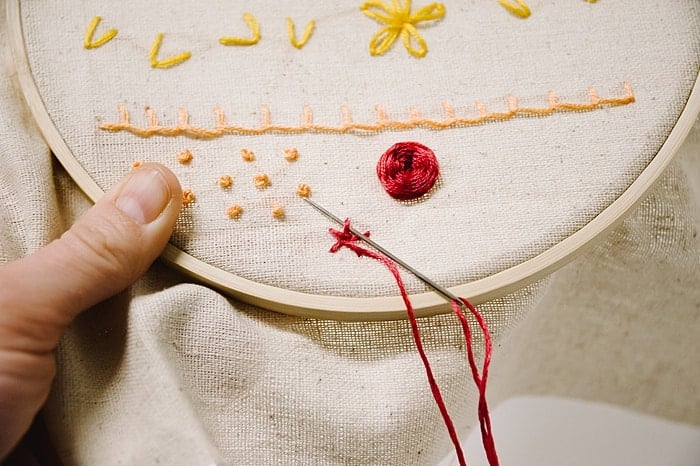
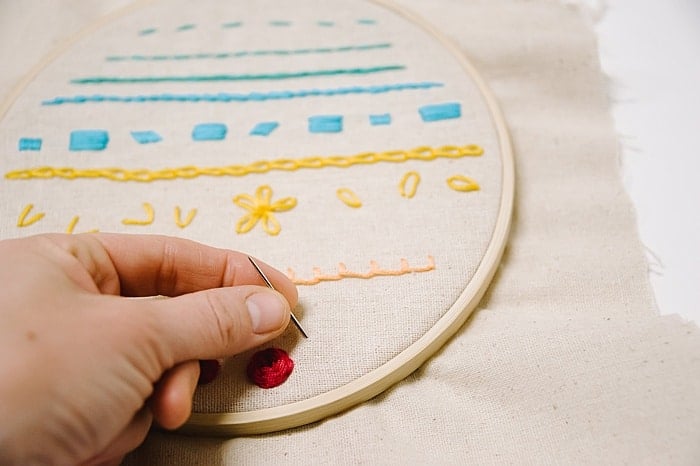
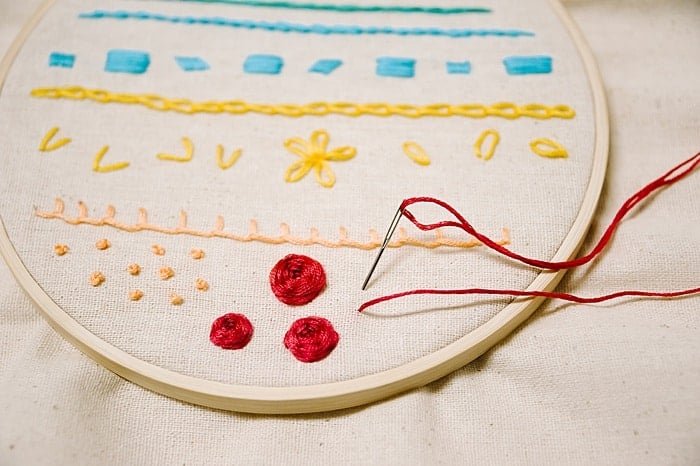
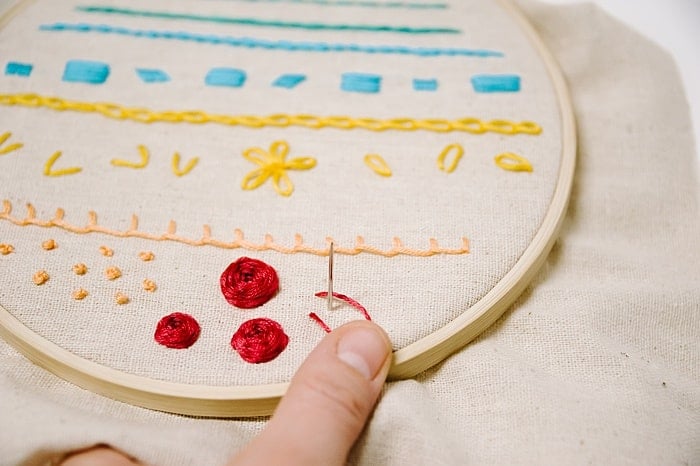
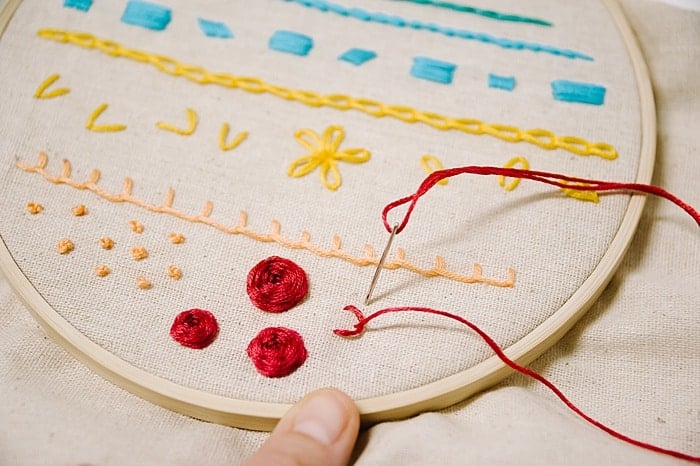
#12. French Knot
French knot embroidery stitches can be very easy to do if you do them right, or they can fail miserably.
Here’s how to make a french knot embroidery stitch.
Come to the front of the fabric, holding your needle in one hand. (Let’s say it's your Right hand.)
With your LEFT hand, grab the section of thread that is coming out of the fabric.
Place the needle near the fabric, and using your left hand, wrap the thread toward you, around the needle two times, as shown.
KEEP HOLDING THE THREAD TAUT as you place the point of the needle back into the fabric, next to where you come up.

Slowly push the needle down through the fabric and pull the needle out the back of the fabric.
Your french knot will form!
Repeat as many times as you want.
I have found that the secret to a successful french knot is holding the thread taut in my left hand.
This requires me to set my embroidery project down in my lap (since I usually holding my projects in my left hand, and can’t hold the project and hold the thread taut at the same time.)
This is one main reason why some people like using an embroidery hoop stand; so they can have both hands free for types of embroidery stitches like the french knot!
#13. Woven Wheel Stitch
The woven wheel stitch looks way harder than it actually is!
To start, make 5 straight stitches in the shape of a star.
Then, you will feed your needle OVER and UNDER each of the “spokes” of your star.
Over one, under one.
Pull tight.
Over one, under one.
Over one, under one.
Repeat as you go around and around.
Always over one of the star-spokes, under the next star-spoke.
As you go, the woven wheel flower will form before your eyes!
You can make the straight stitches for your star as big or as small as you want to.
The bigger you make the stitches, the bigger your finished flower will be.
If you make the stitched star smaller, your finished embroidered flower will be smaller too.


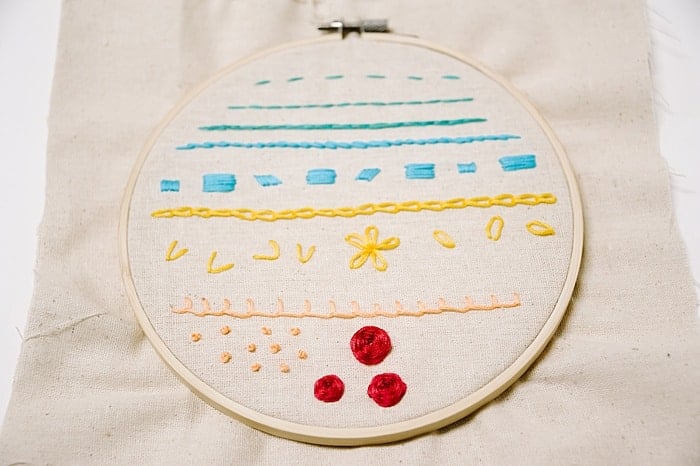
#14. Feather Stitch
The feather stitch involves making stitches similar to the fly stitch, but they are all connected.
Come to the front of the fabric, and go to the back a stitch-length away.
Pull gently, stopping when you have a loose curve remaining.
Come back up to the front of the fabric at the middle-bottom of the stitch, as if you were going to make a “V” Fly stitch.
Come to the front, and pull the slack.
Instead of simply sewing an anchor stitch as you do with a "V" fly stitch, go to the back of the fabric a stitch length away.
This will create another loose curve.
Come up in the middle-bottom of it.
Pull the slack.
Go to the back of your fabric a stitch-length away, pulling gently until a loose curve remains.
Repeat back and forth, to form a series of connected loops that make a feather stitch.
Anchor the final stitch in the series and you’re done!
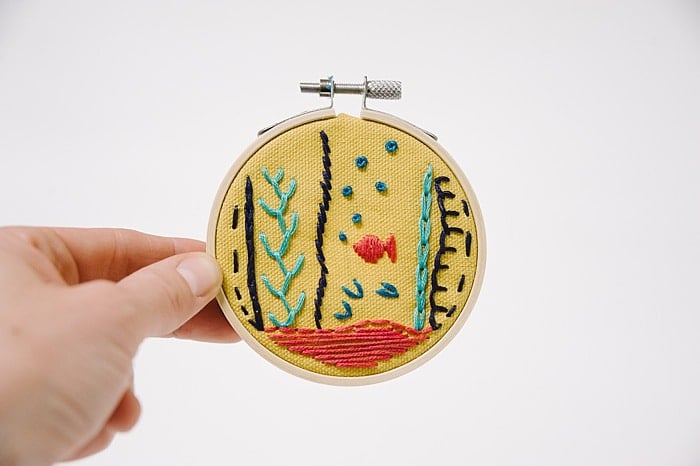
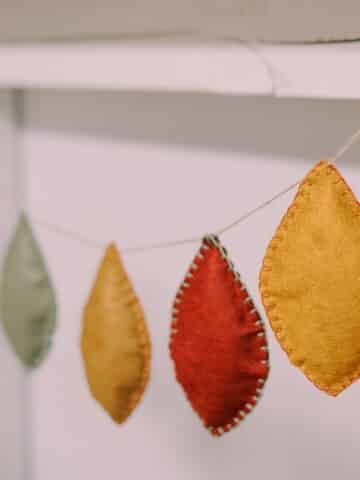
My favorite use for this stitch is to make seaweed for underwater scenes like this fun embroidered ornament.
You can make an entire embroidered project with only one single stitch.
I made my Minnesota Embroidery Project by using only a satin stitch, and I have embroidered other projects using only a simple backstitch.
That's why embroidery is such a great hobby for even the earliest beginners. All you have to do is master one single stitch and you can make tons of designs!
But once you master these 14 types of embroidery stitches?
The sky is the limit for your embroidery project options!
Let the fun begin!
Bushra Riaz
You have done a great job i like it
Laura
Thank you so much! I appreciate it!