A look at how to use an embroidery hoop, sizes and shapes of common hoops, what is a hoop stand for, and more!
To get started with an embroidery project, you need fabric, an embroidery hoop, a needle, and embroidery thread.
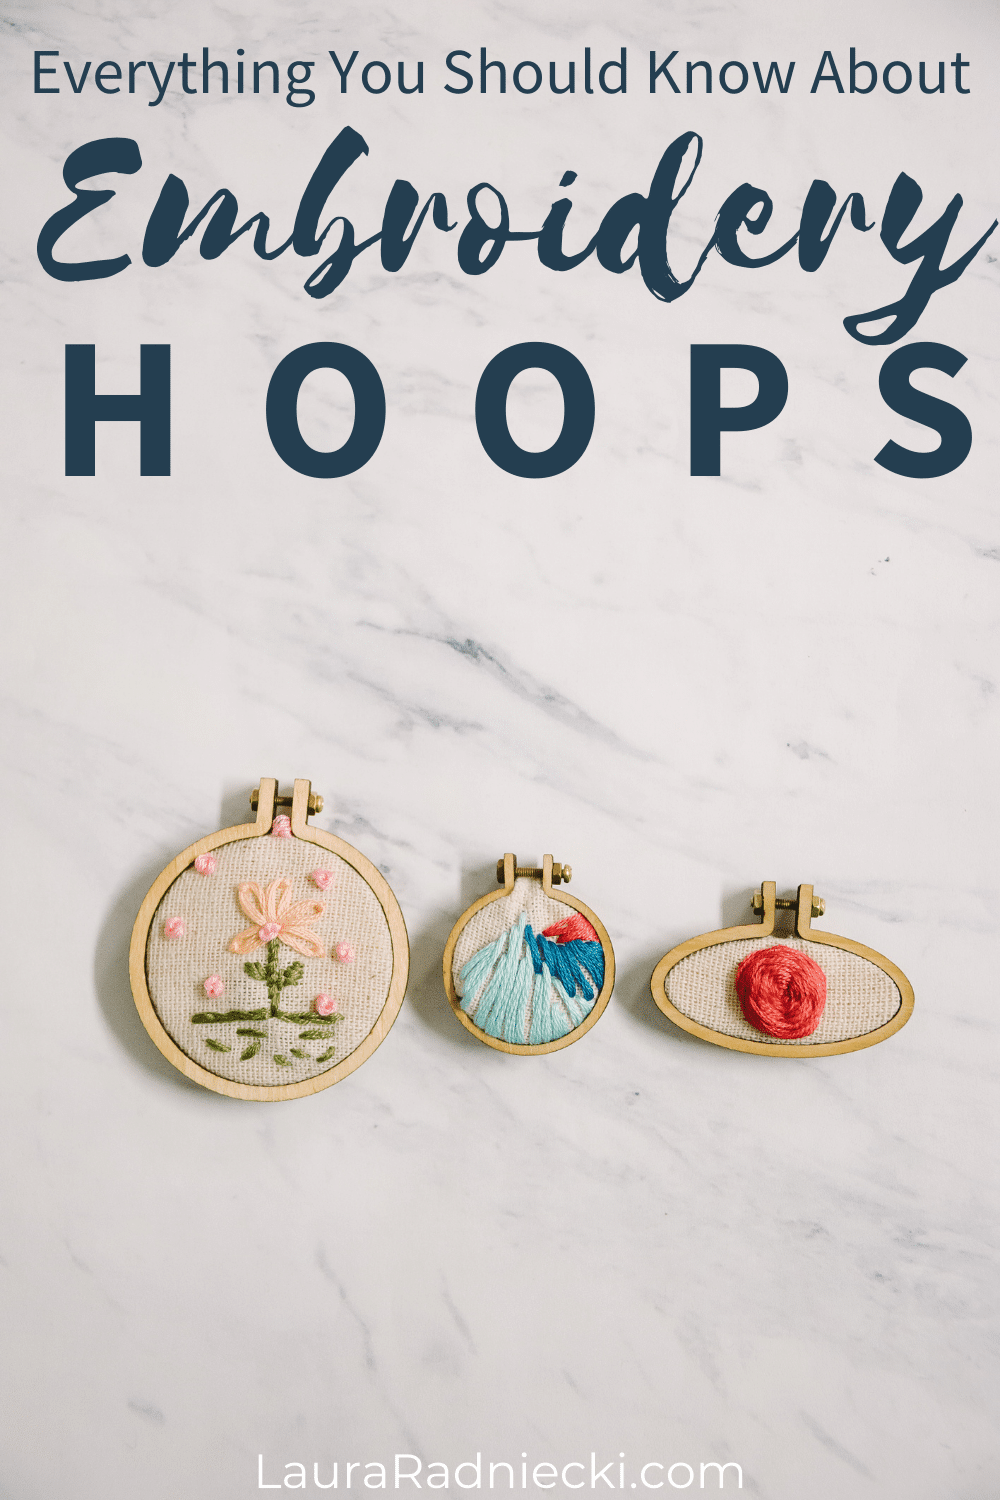
A hoop for embroidery seems self-explanatory, but maybe you are wondering: how do you use an embroidery hoop? What sizes do hoops come in? What is a hoop stand?
Here is a look at everything you want and need to know about hoops for your embroidery projects!
Embroidery 101 - Everything You Need to Know About Hoops:
What Are Embroidery Hoops Made Of?
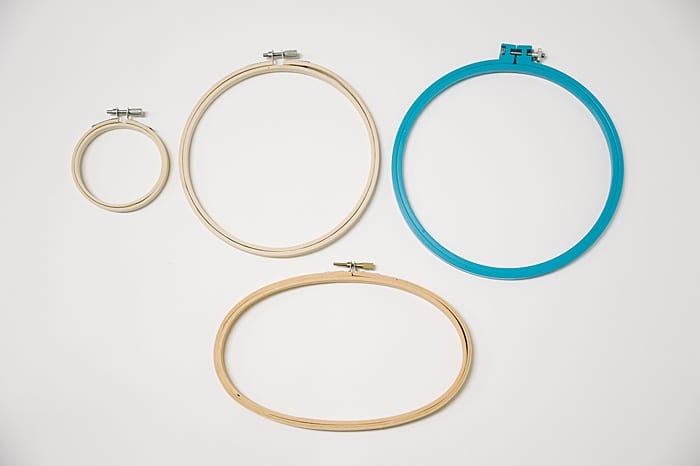
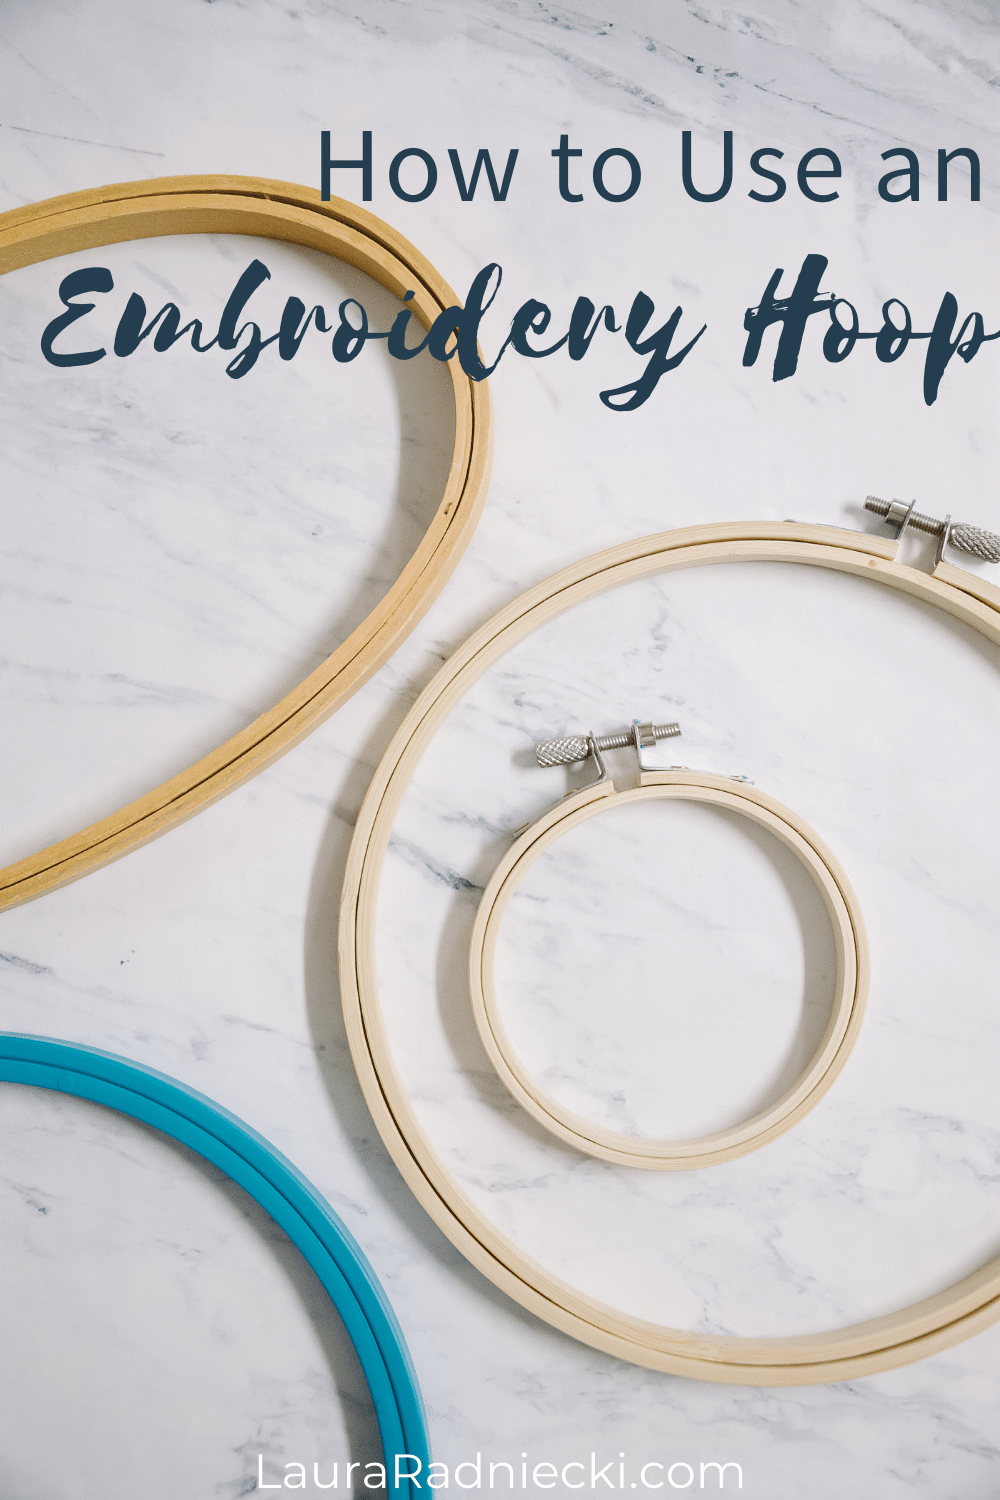
Standard hoops are made of wood or plastic.
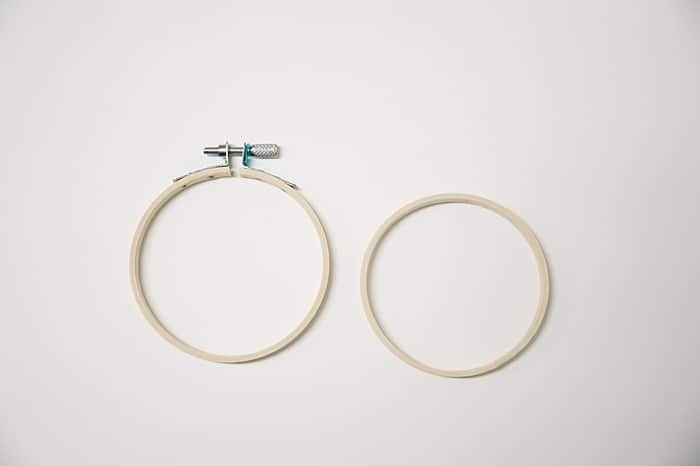
What Are Embroidery Hoop Sizes and Shapes?
Hoops come in a variety of sizes. They range from 3” to 14” in diameter.
They are also available in shapes ranging from circles and ovals to more unique options like a square embroidery hoop!
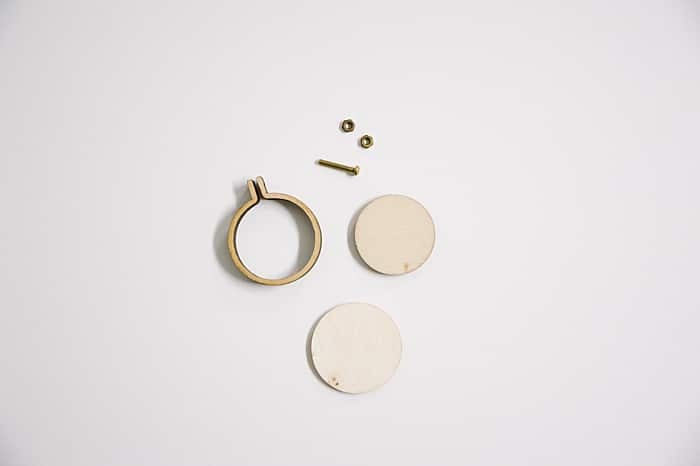
What is a Mini Embroidery Hoop?
There is a new trend in embroidery; the mini embroidery hoop.
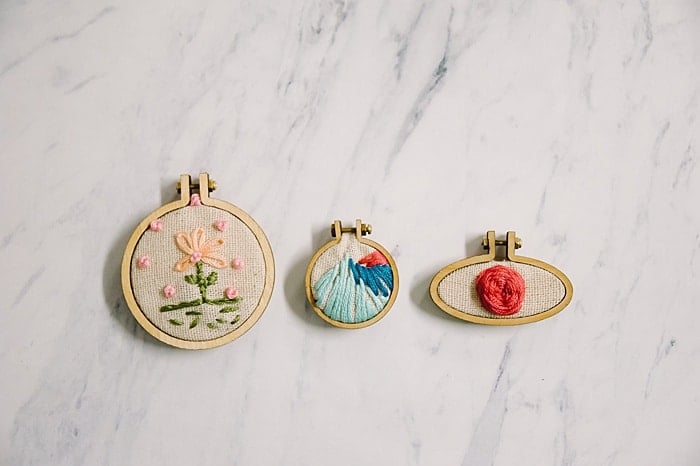
These tiny hoops are used most often in jewelry making (like these mini embroidery hoop earrings), come in a variety of shapes (circles, ovals, squares, etc), and are usually 1 to 2 inches in size.
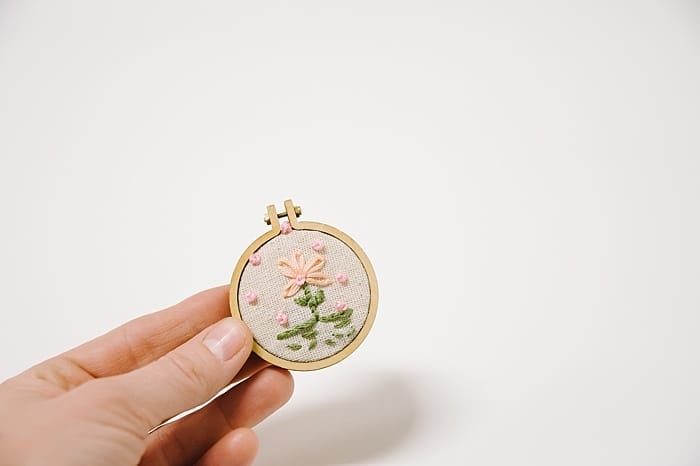
Mini embroidery hoops are not used to actually do the embroidering. You need to use a 3" or bigger hoop to stretch the fabric as you embroider your project.
However, these mini hoops offer a cute, unique way to frame and showcase tiny works of art once your embroidery is finished.
People are using mini embroidery hoops for necklaces, earrings, pins, and even Christmas ornaments!
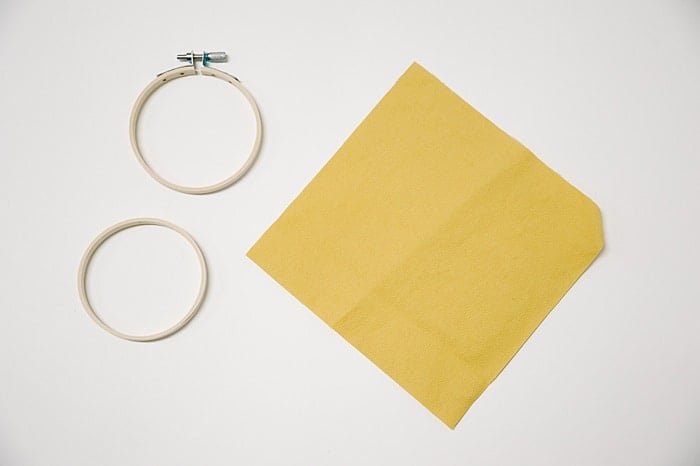
What Are the Parts of an Embroidery Hoop?
Hoops for embroidery have two parts:
- An outer hoop with a screw mechanism on top that is used to loosen or tighten the outer hoop
- An inner hoop that is a continuous circle.

What Is an Embroidery Hoop Stand?
Most people hold their hoop in one hand while they stitch with the other.
This generally works well, except it can cause hand and arm fatigue, and some embroidery stitches (like french knots) really require two hands to do well.
An embroidery hoop stand allows you to stabilize and support your project, have it off of your lap and in front of you, and free up both of your hands to use for your project.
Hoop stands fit under your leg as you sit, and hold your work up in front of you.
How to Use an Embroidery Hoop:
Step 1. Gather Supplies
Supplies Needed:
- Embroidery Hoop
- Fabric
- Scissors
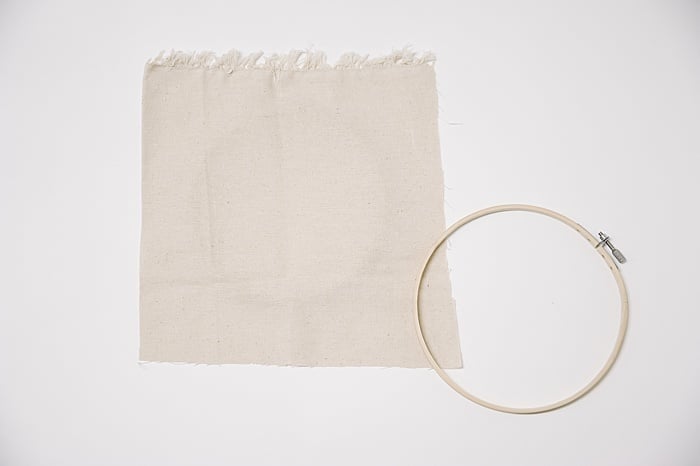
Step 2. Loosen the screw at the top of the outer hoop until the inner hoop comes loose.
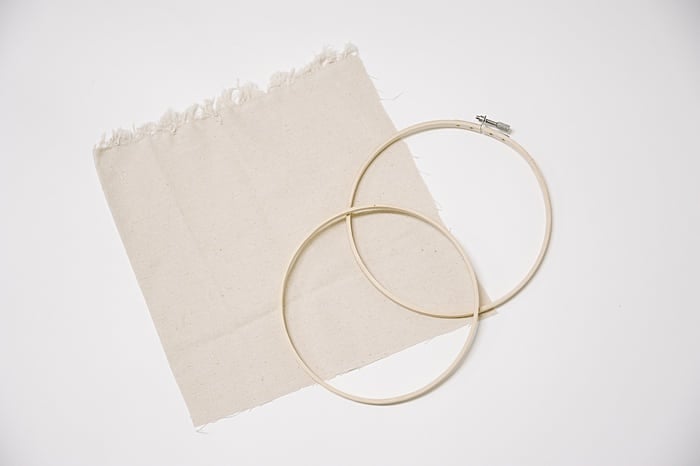
Step 3. Remove the inner hoop and set it on your tabletop.
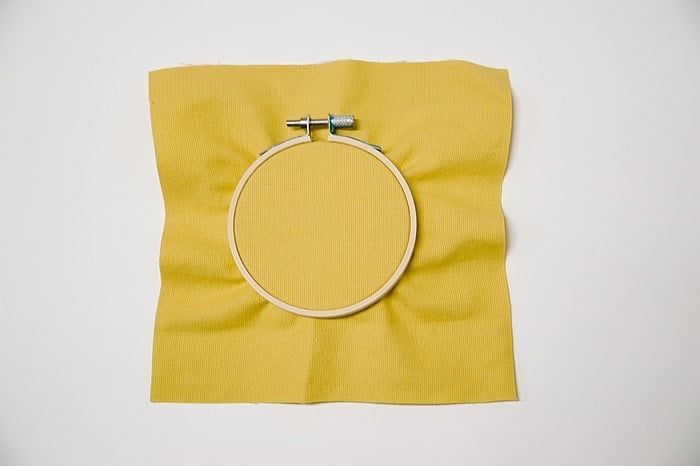
Step 4. Lay the fabric down, on top of the inner hoop.
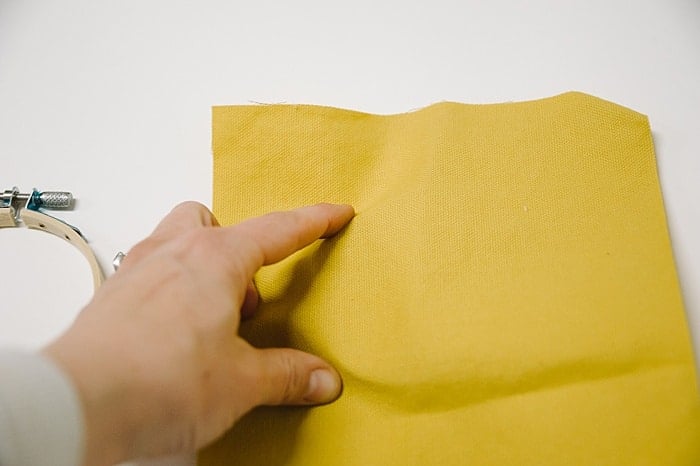
Step 5. Push the outer hoop down, on top of the inner hoop.
As the outer hoop comes down over the inner hoop, it should pull the fabric taut.
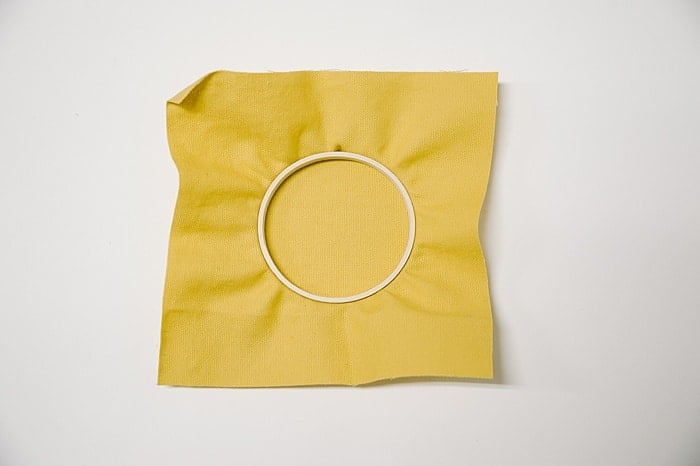
The backside will look like this:
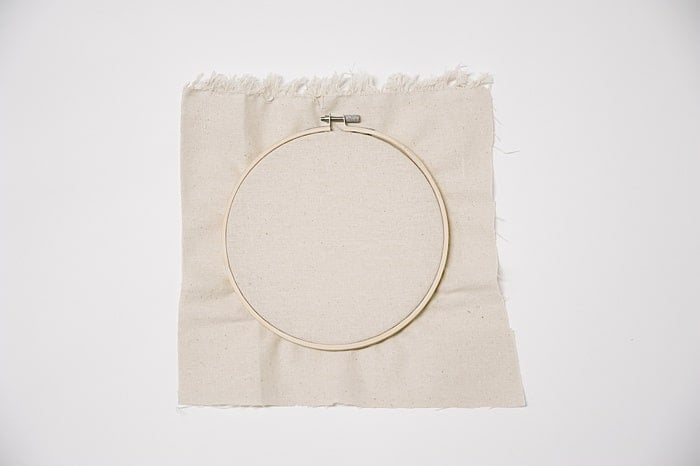
Step 6. Adjust if needed, until the fabric inside the hoop is smooth, flat, and taut.
Step 7. Tighten the screw on top of the outer hoop to secure.
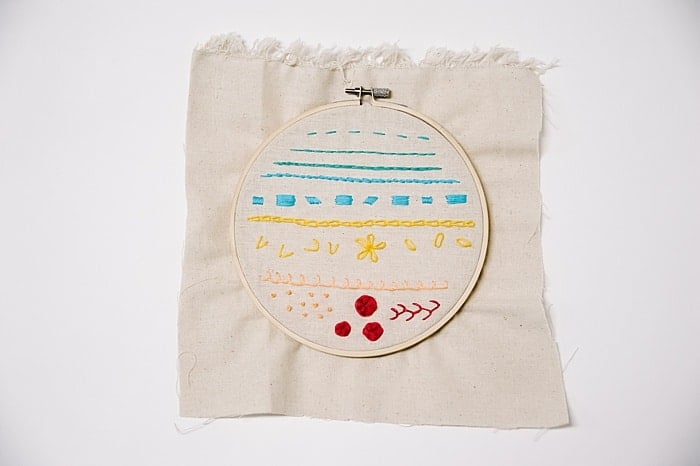
Step 8. Begin your embroidery project!
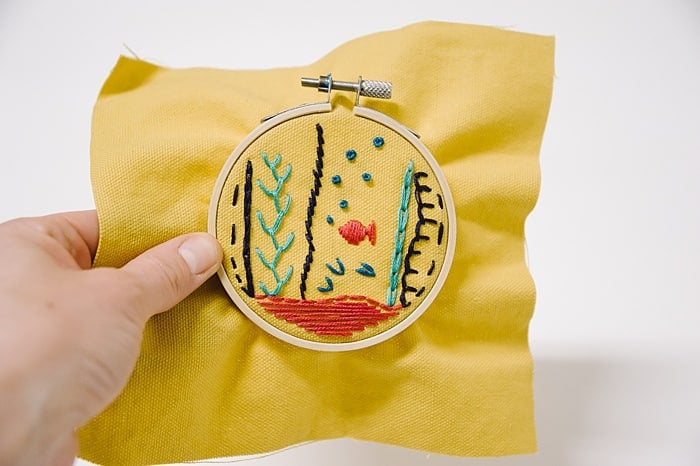
If you are working on a small embroidery project and plan to frame it inside the hoop, you can work on and complete your entire project without having to change the position of the hoops again.
If you are working on a bigger project, and need to reposition your fabric to be able to embroidery different sections, all you need to do is loosen the hoop screw, remove your fabric, reposition it, and then follow the steps above to tighten again.
Important Note for larger projects or embroidery that WON'T be framed in the hoop:
If you are working on a large project, or one that won't be framed in the embroidery hoop, it’s important to take your project out of the hoop when you’re done working on it.
This will help decrease the hoop wrinkles in your fabric.
- - - - -
Embroidery hoops are made of wood or plastic, and come in a variety of shapes and sizes - there's something for every project idea.
The invention of mini embroidery hoops is bringing something new to the hobby too, and giving creators a fun new challenge!
Now you know how to use an embroidery hoop, and you're ready to thread a needle with your favorite embroidery floss color, and get to stitching once you learn a handful of different types of embroidery stitches!
Leave a Reply