Learn how to make DIY felt mum flowers in this easy craft tutorial. All you need to make them is felt, scissors, and hot glue. Follow along as we make different versions of beautiful felt mums in this quick step-by-step tutorial!
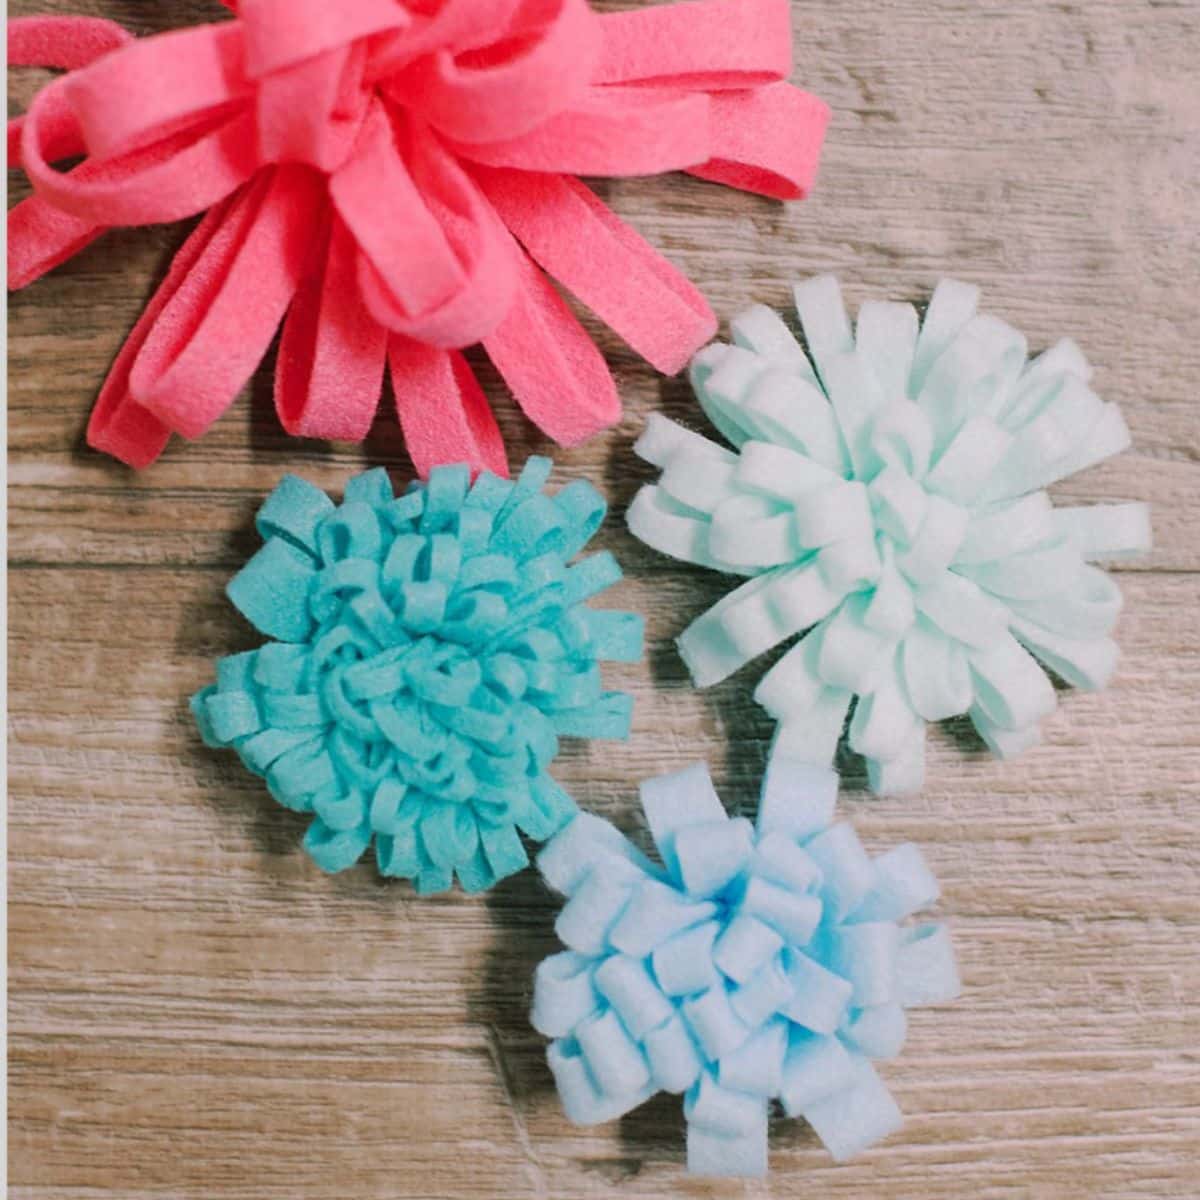
DIY flowers are fun to make using a variety of supplies, like toilet paper roll flowers, or paper flowers.
Today, we will use felt! Just like we did for felt roses and felt petal flowers, but this time, we are making beautiful felt mum flowers!
Jump to:
Why You'll Love This Craft
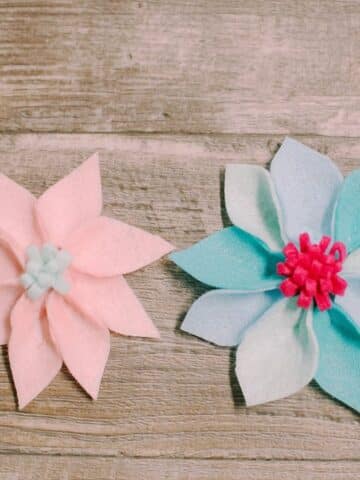
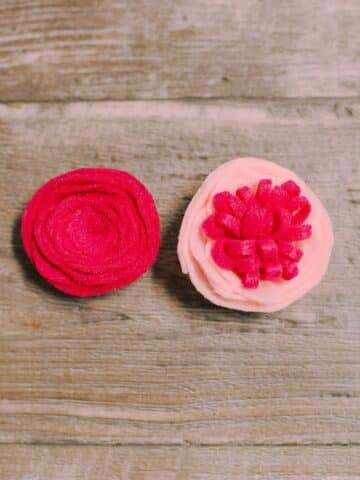
- Felt mums are easy to make, and can be made large or small (like these mini felt mums!) They can also be added to other felt flowers like we did in the center of these DIY felt roses.
- You can make any color of mum you want!
- You only need three supplies to make this project - felt, scissors, and glue. It couldn't be more simple!
Craft Supplies Needed
- Felt - You can use any type of felt for these flowers - cheap craft store felt or high-end wool varieties. As long as it's pliable and you can fold and roll it, it will work!
- Scissors
- Hot Glue Gun and Glue
How to Make Felt Mum Flowers
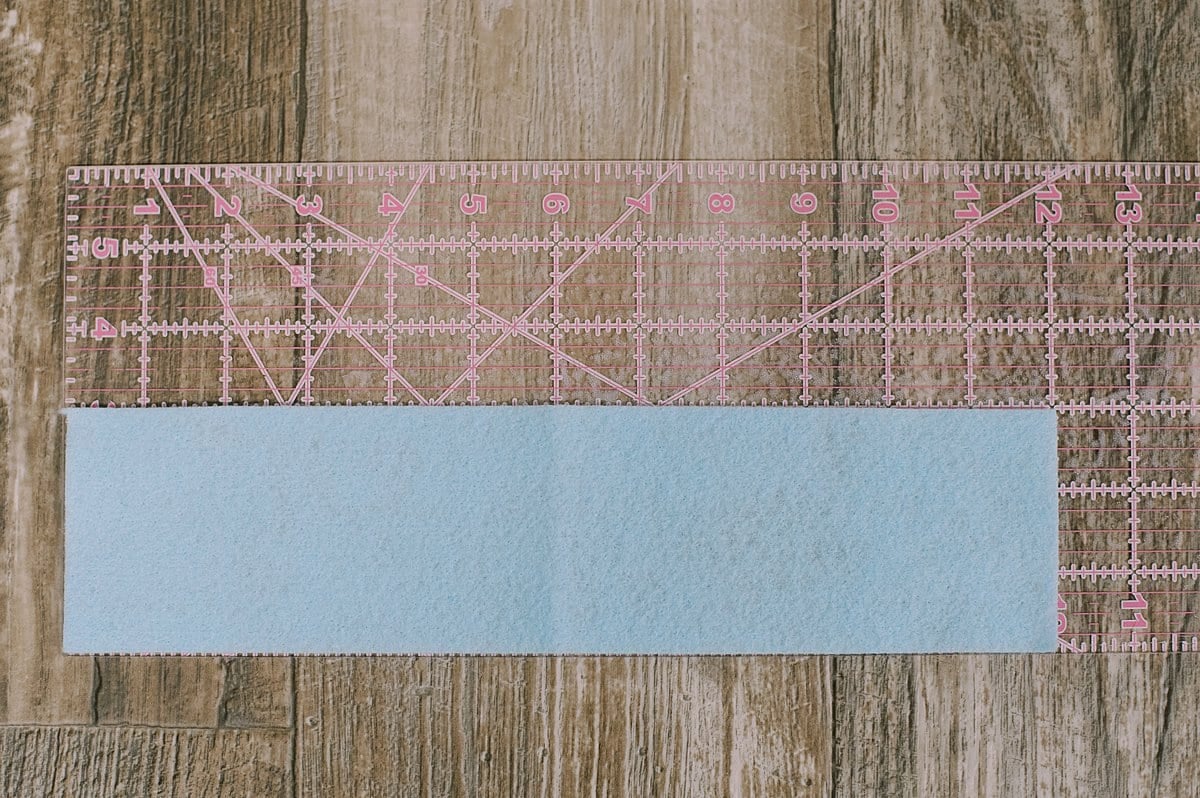
Step 1. Cut felt into a rectangle.
Our blue rectangle is 3" by 12".
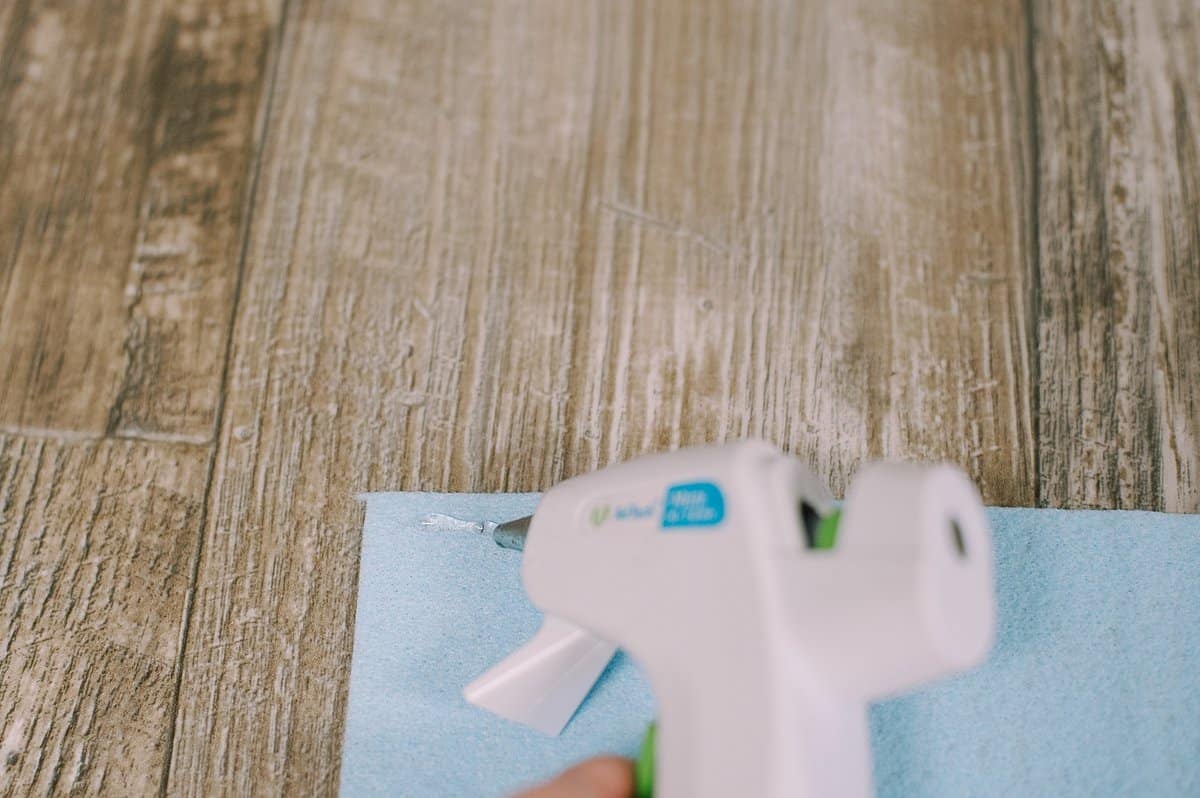
Step 2. Squeeze hot glue along the rectangle's top, long edge.
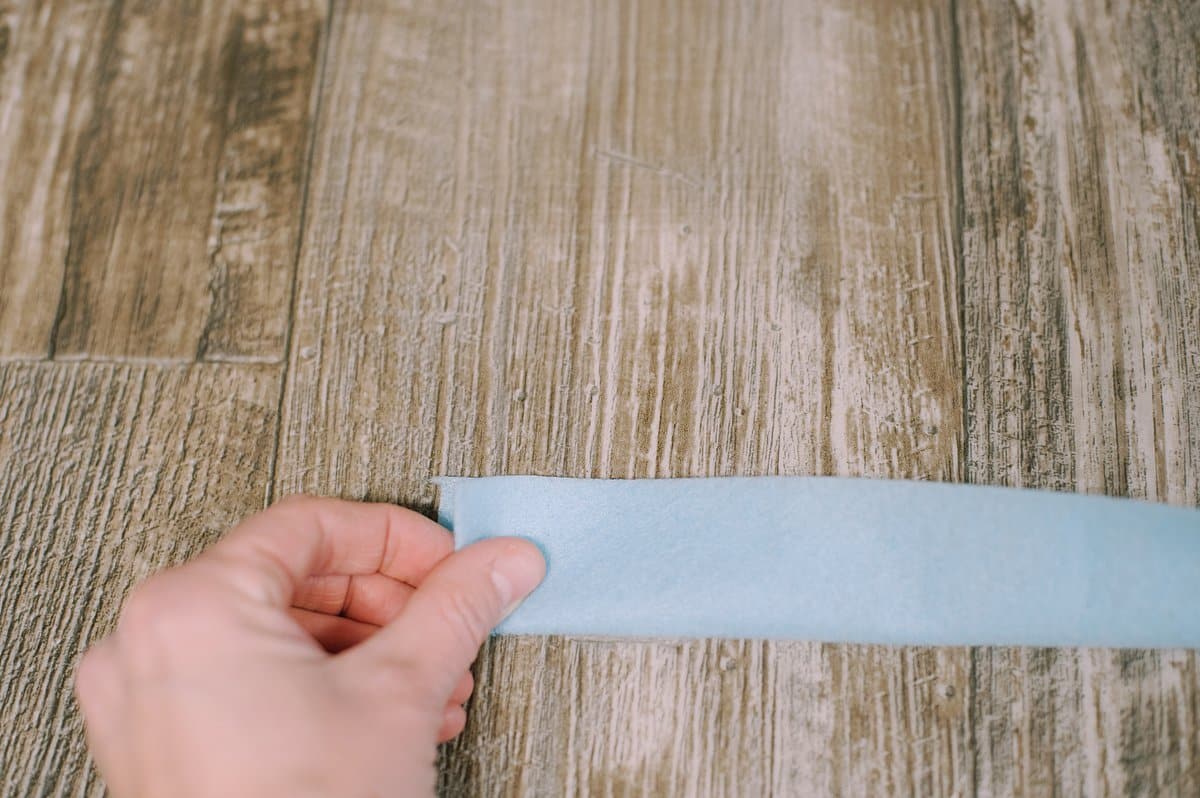
Step 3. Fold the bottom, long edge up, and press it into the line of hot glue to secure it.
You'll now have a felt strip that is 1.5" by 12".
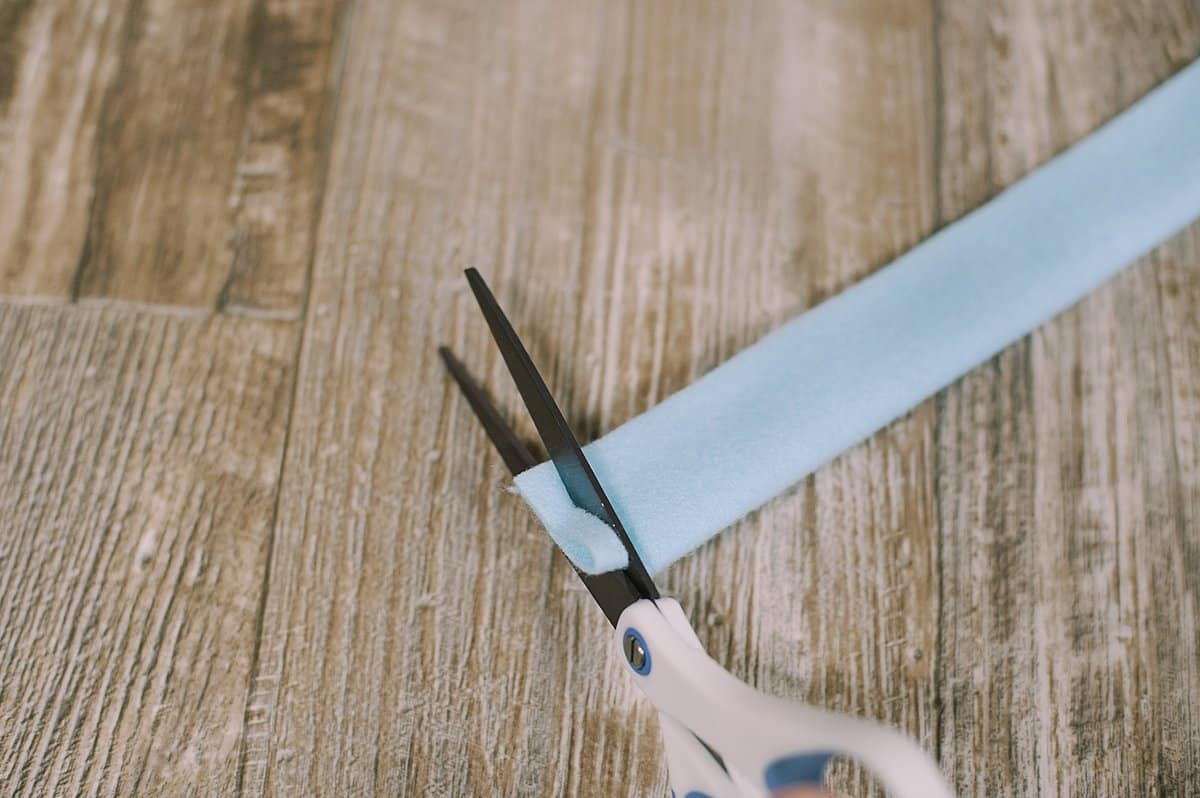
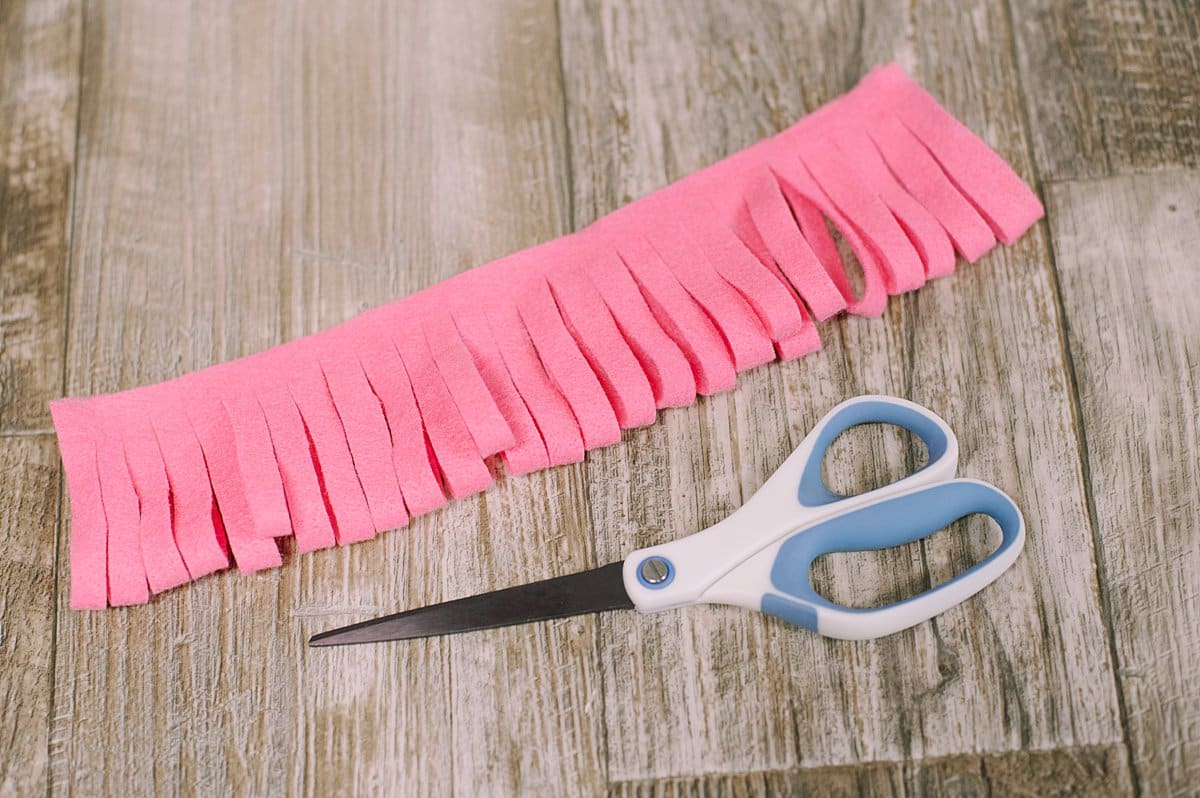
Step 4. Start at one end of the felt strip, and make small cuts from the folded bottom toward the glued top - stopping before you get to the glue line.
You are making a fringe along the bottom.
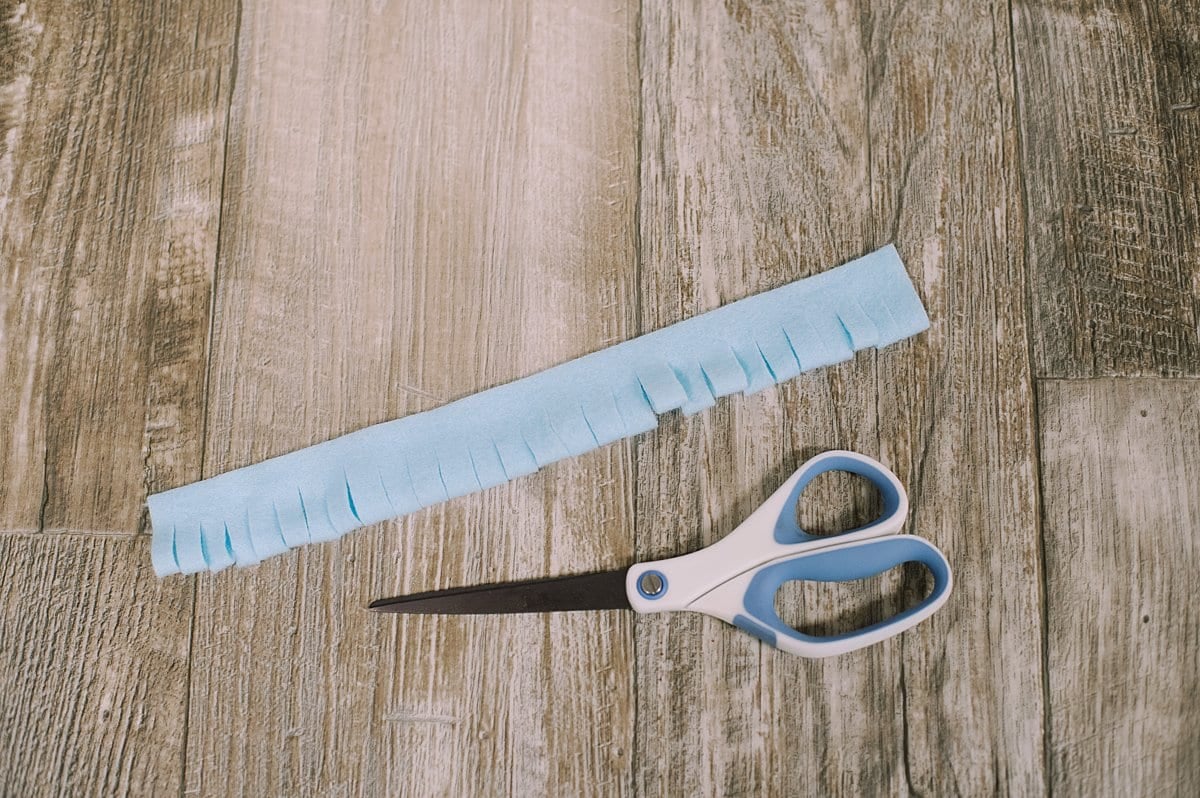
Step 5. Continue cutting fringe along the whole length of the felt.
These cuts are roughly ⅜" apart.
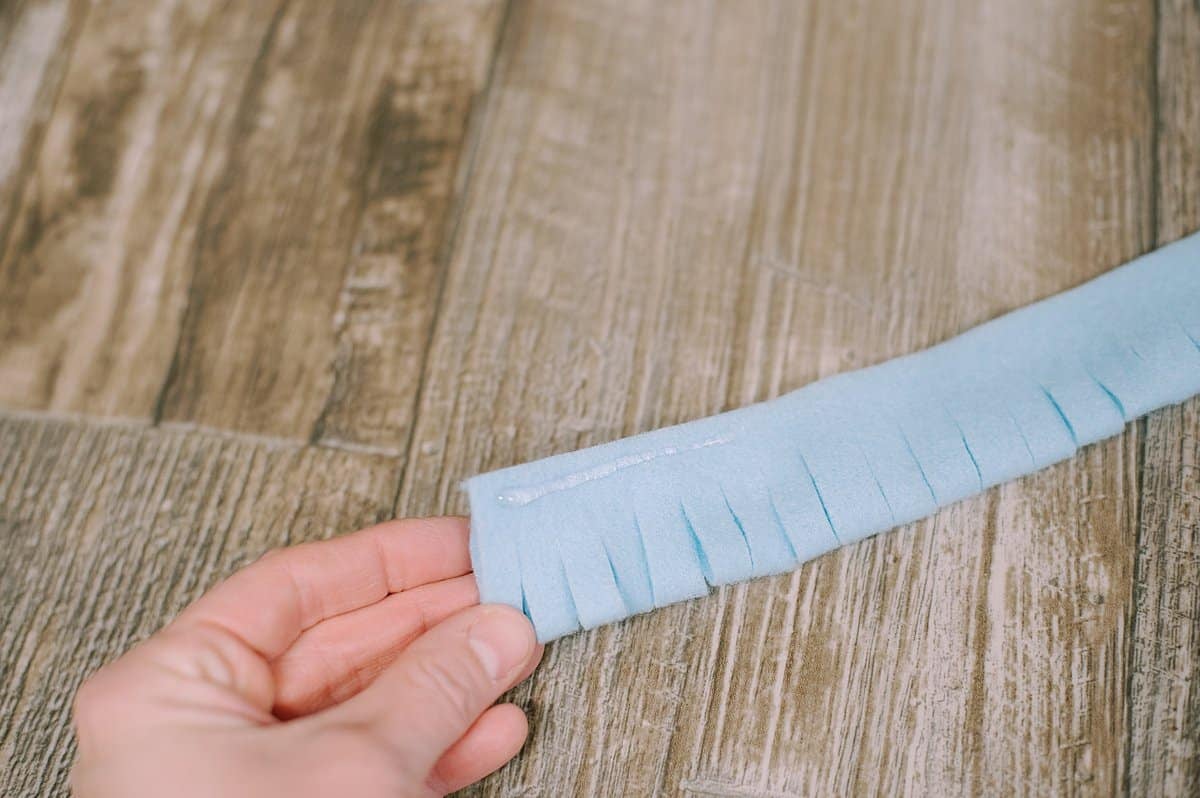
Step 6. Put a section of hot glue along the top edge of the fringe.
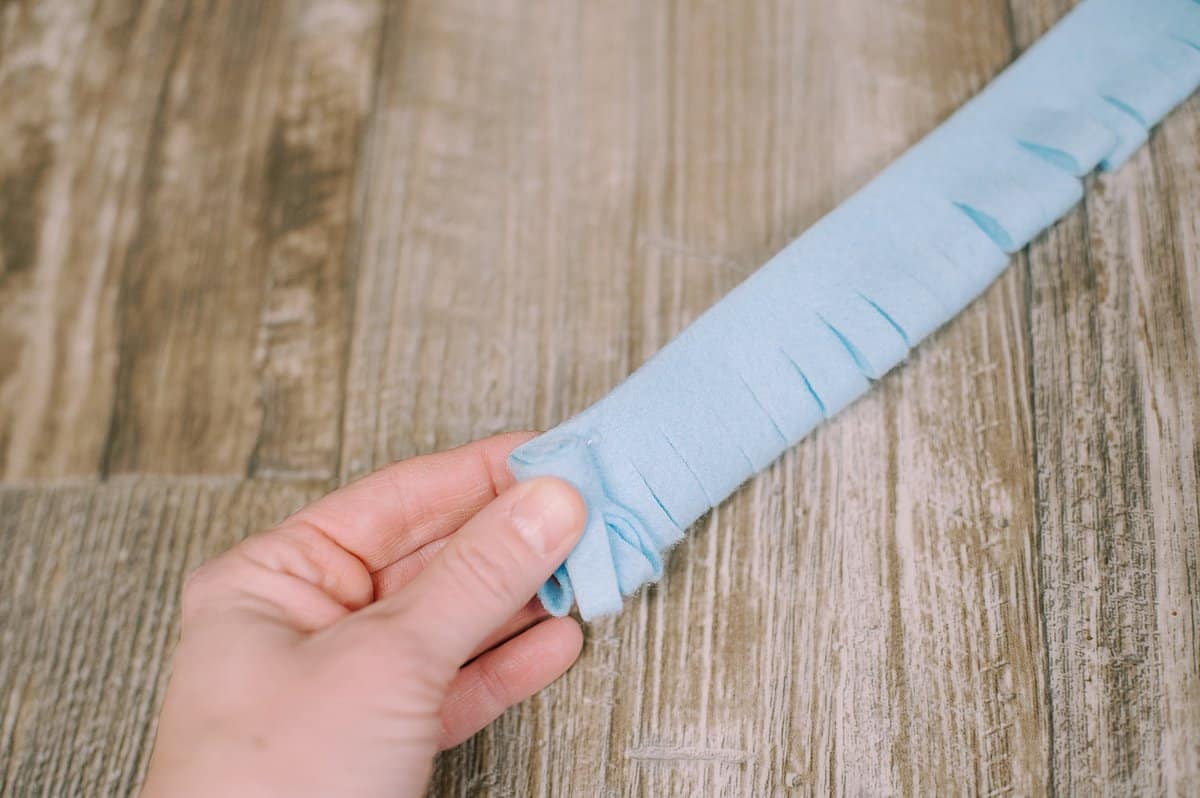
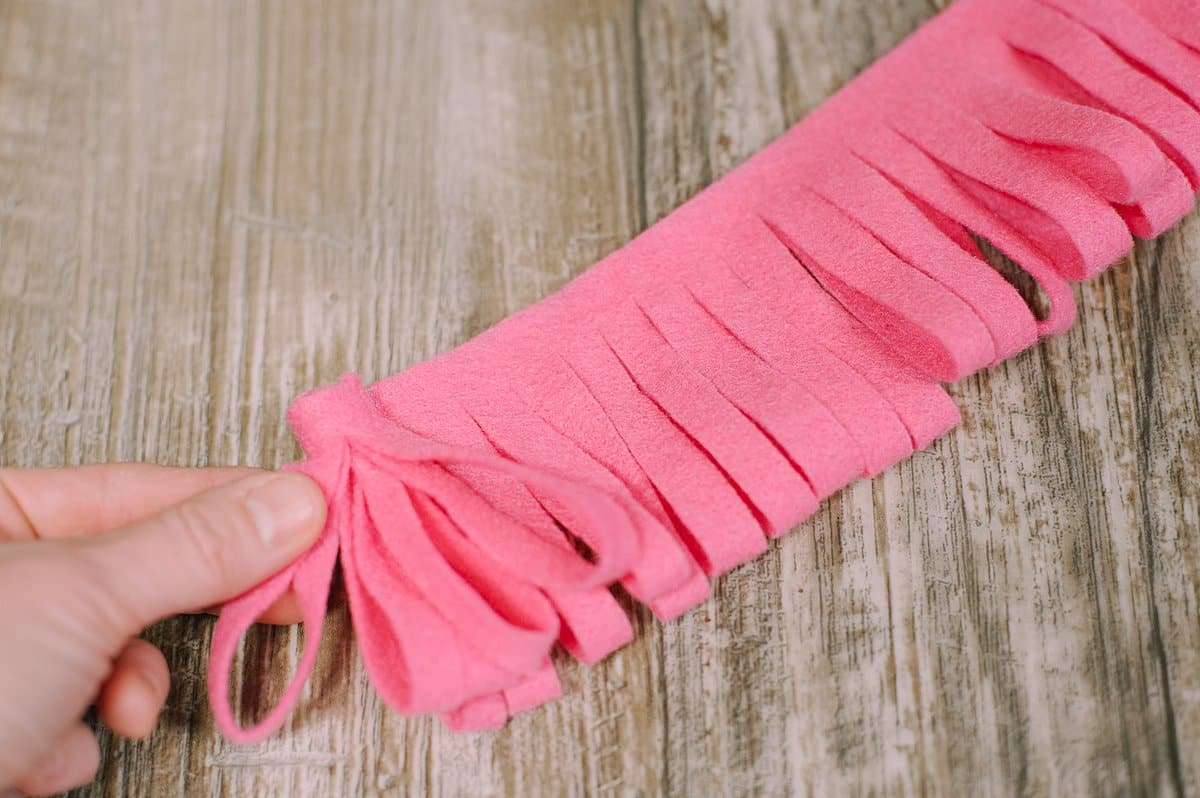
Step 7. Begin rolling the felt. Hold it securely so the glue can dry.

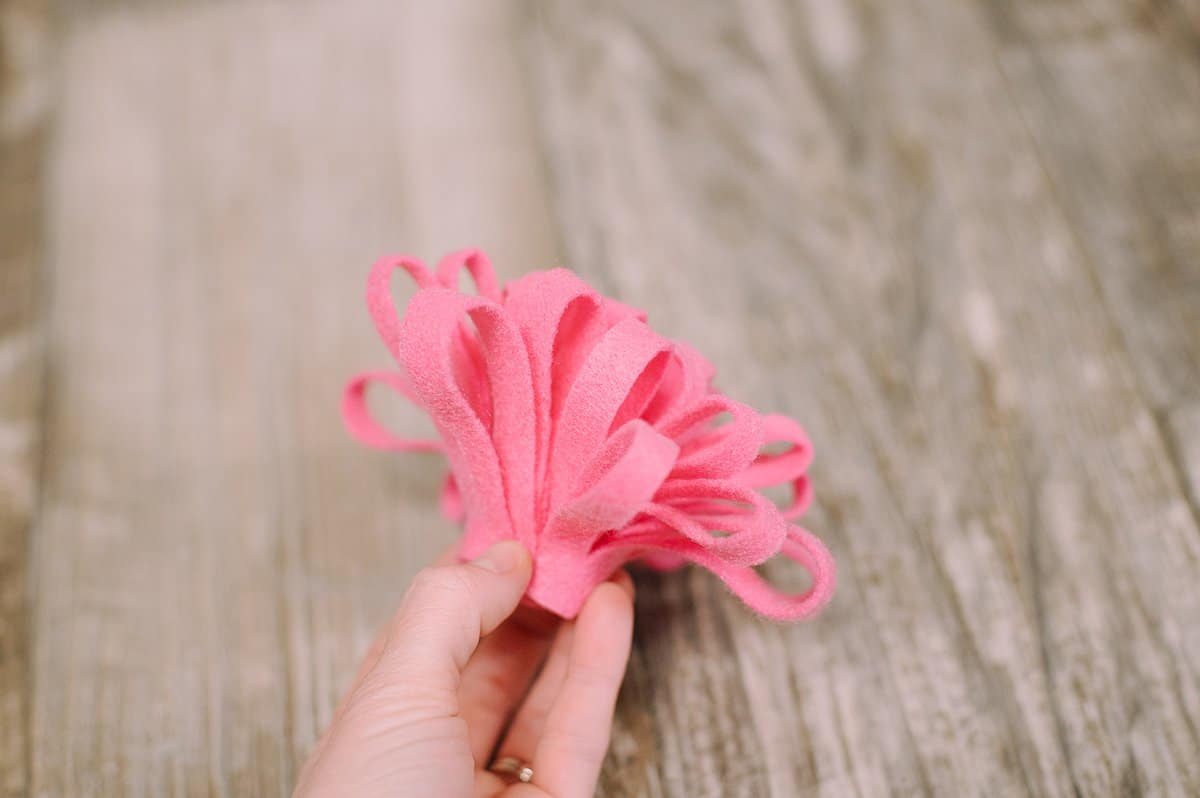
Step 8. Add more glue, and keep rolling the felt strip up.
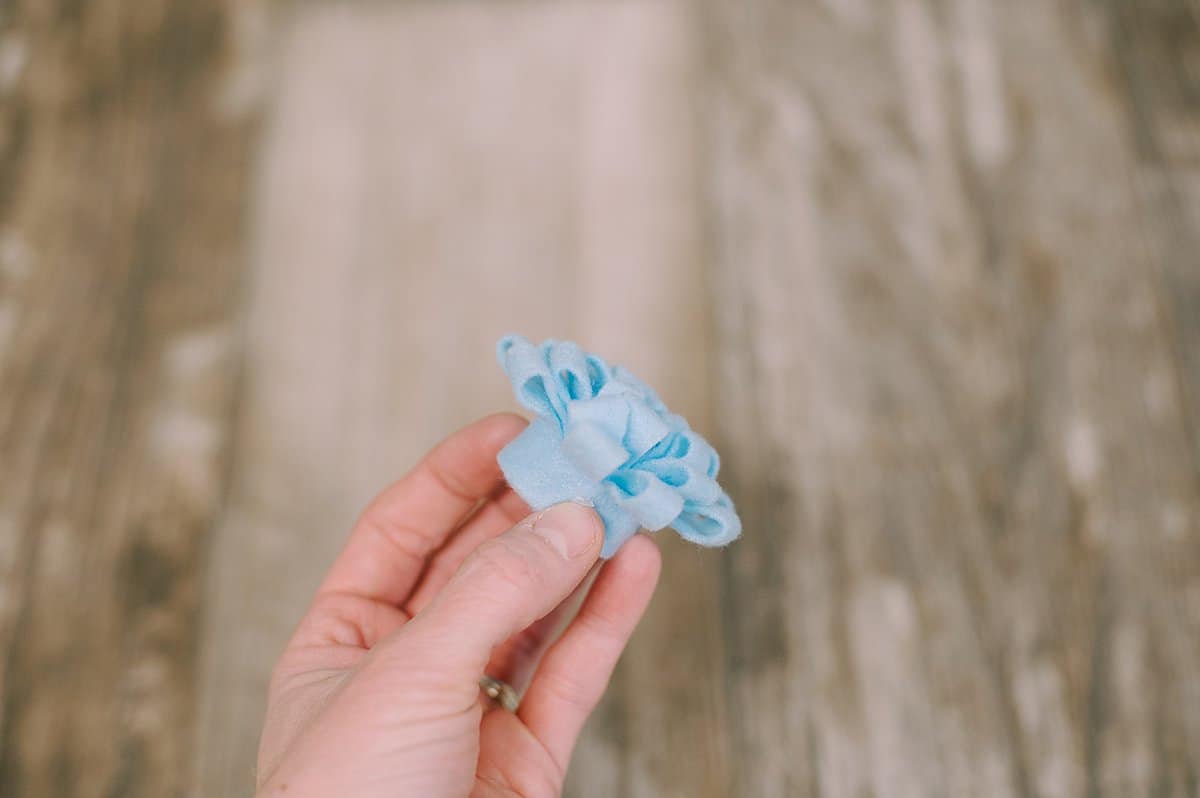
Step 9. Secure the end of the felt strip with hot glue so it doesn't unravel.
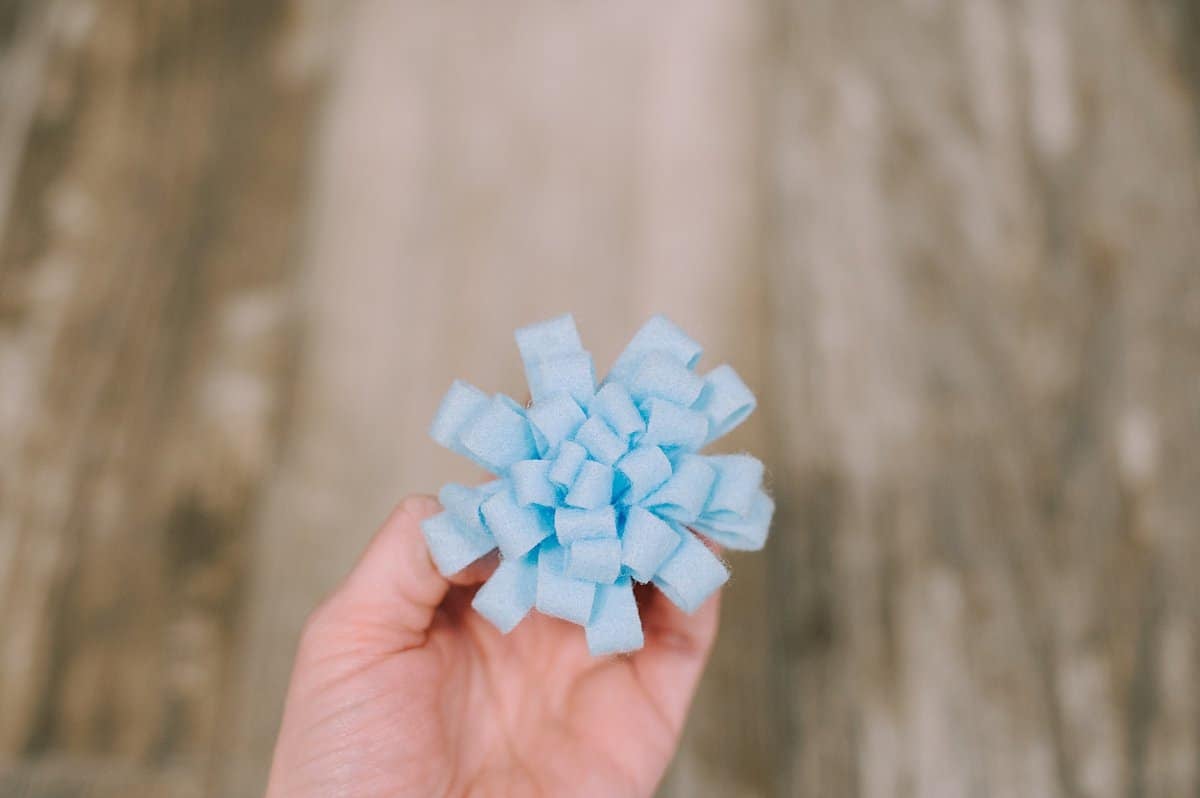
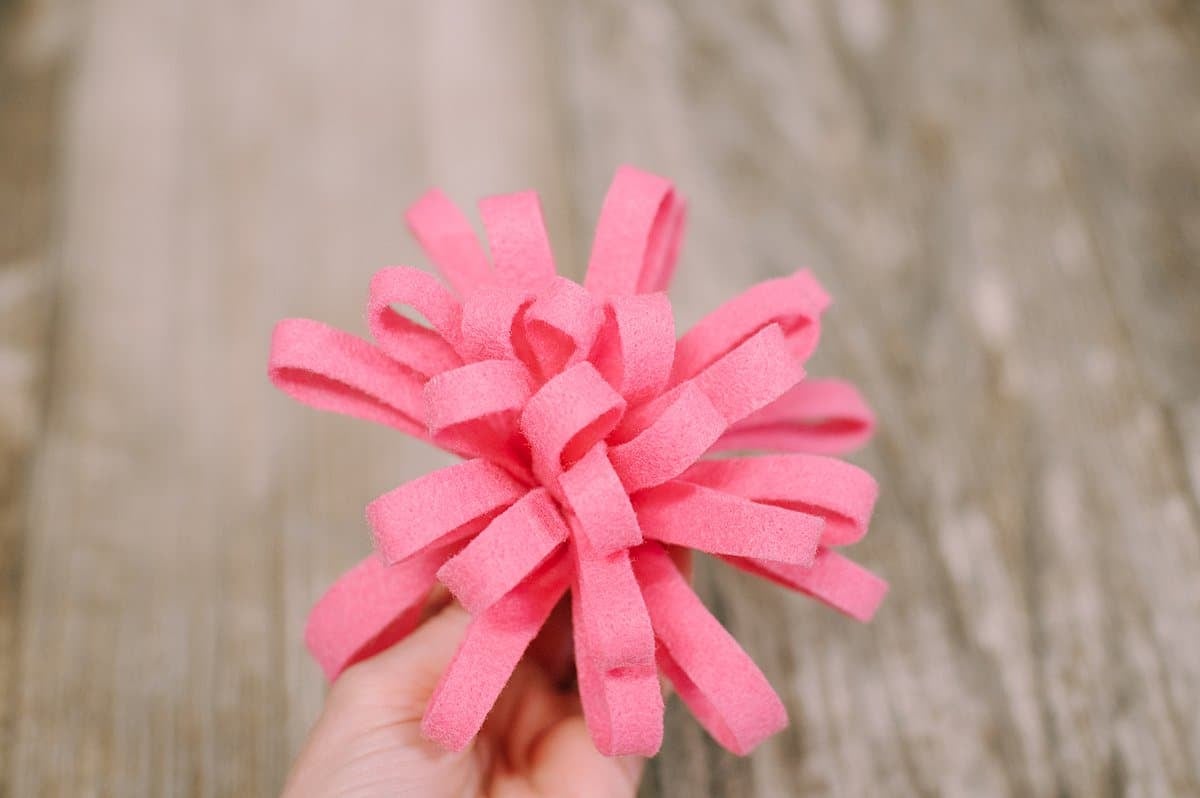
Step 10. The felt mum flower is done!
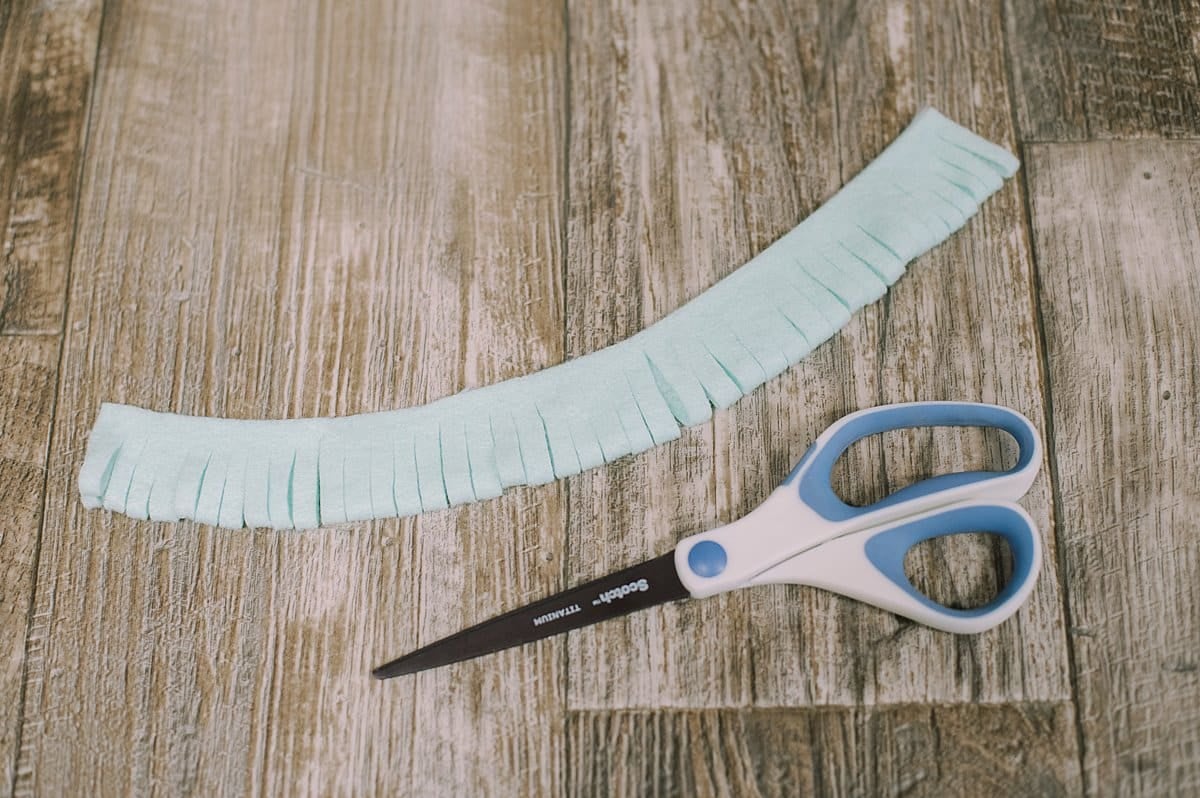
Step 11. You can change the look of the flower by altering the thickness of the fringe you cut.
This green strip of felt has cuts that are closer together - roughly ¼" wide.
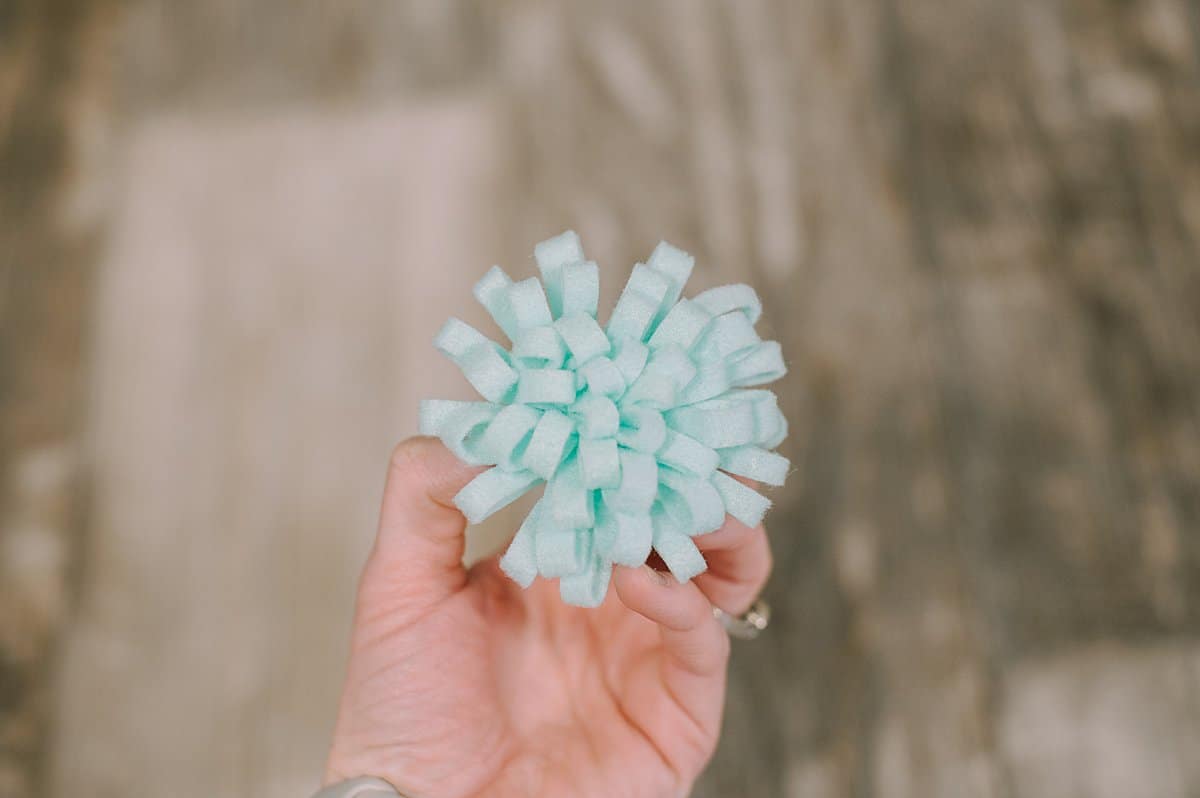
Step 12. The skinny cuts mean more fringe, which makes a fluffier mum.
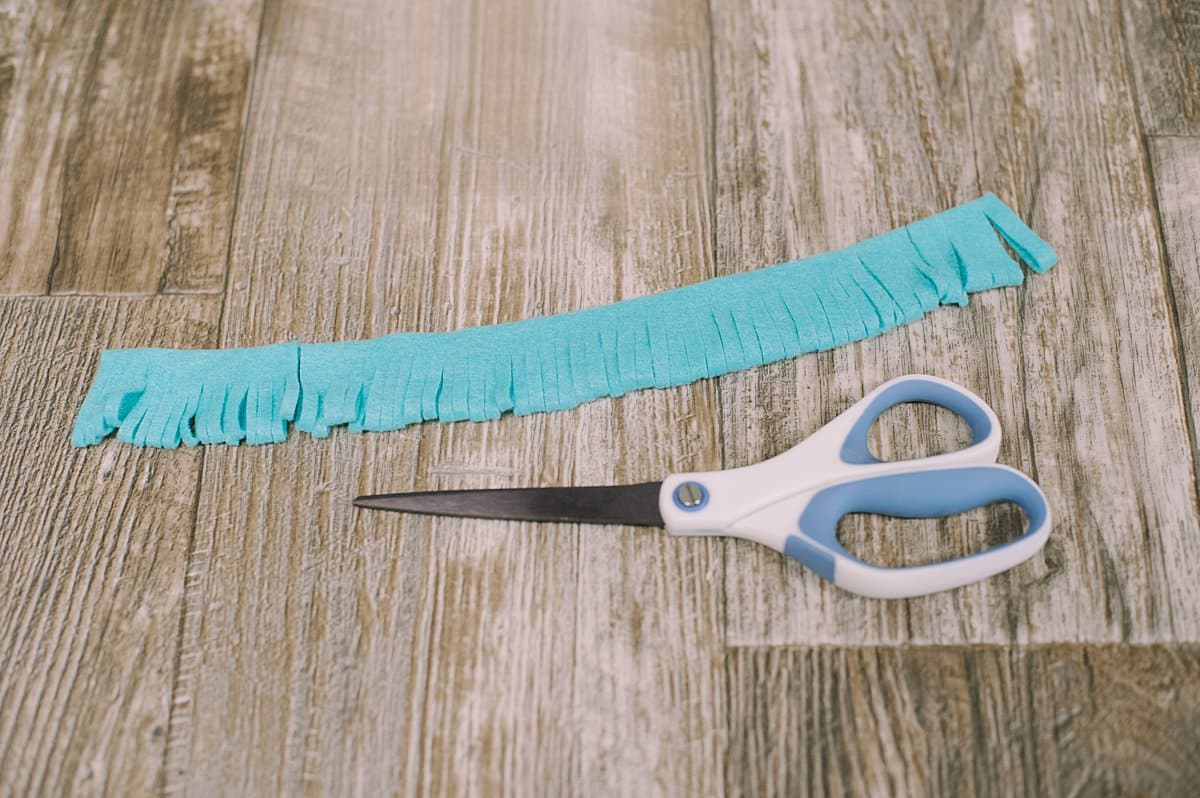
Step 13. This teal felt has fringe that's as narrow as I could cut it - roughly ⅛" wide.
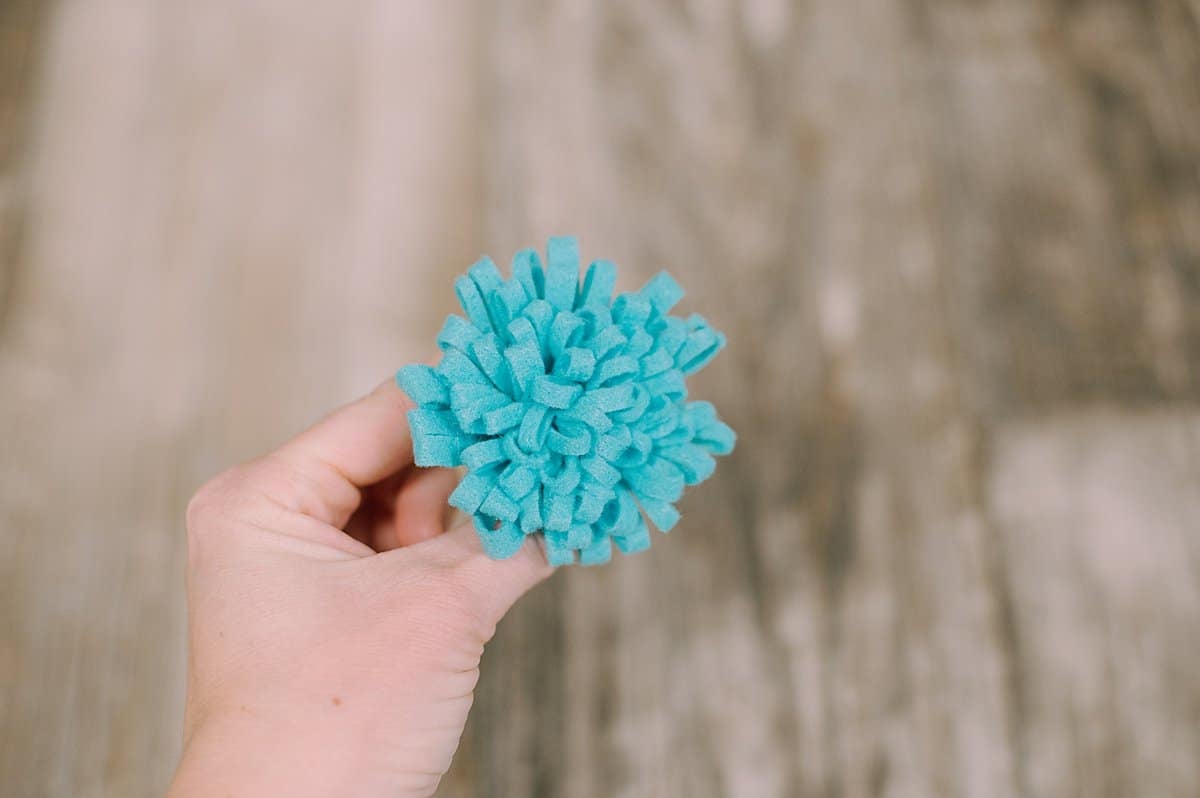
Step 14. The resulting flower is even more fluffy.
How Fringe Width Impacts Felt Flowers
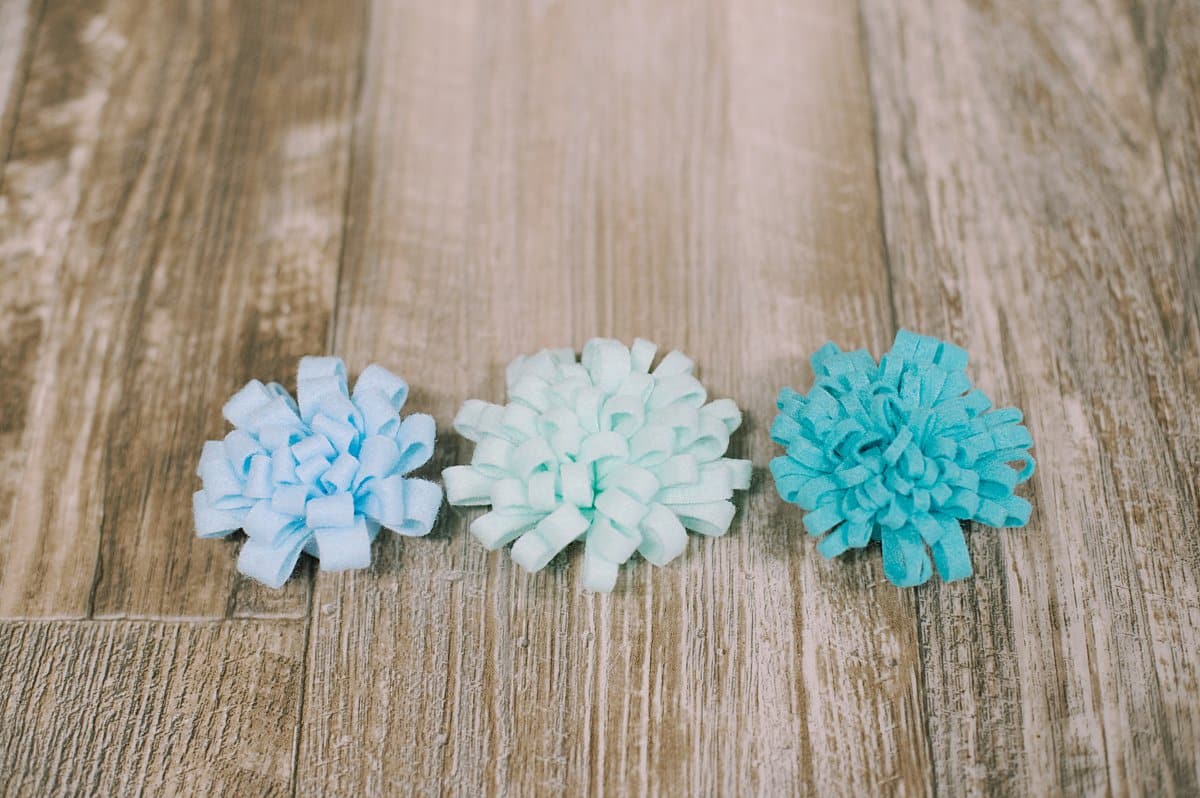
The look of the finished felt flowers changes depending on the thickness of the fringe.
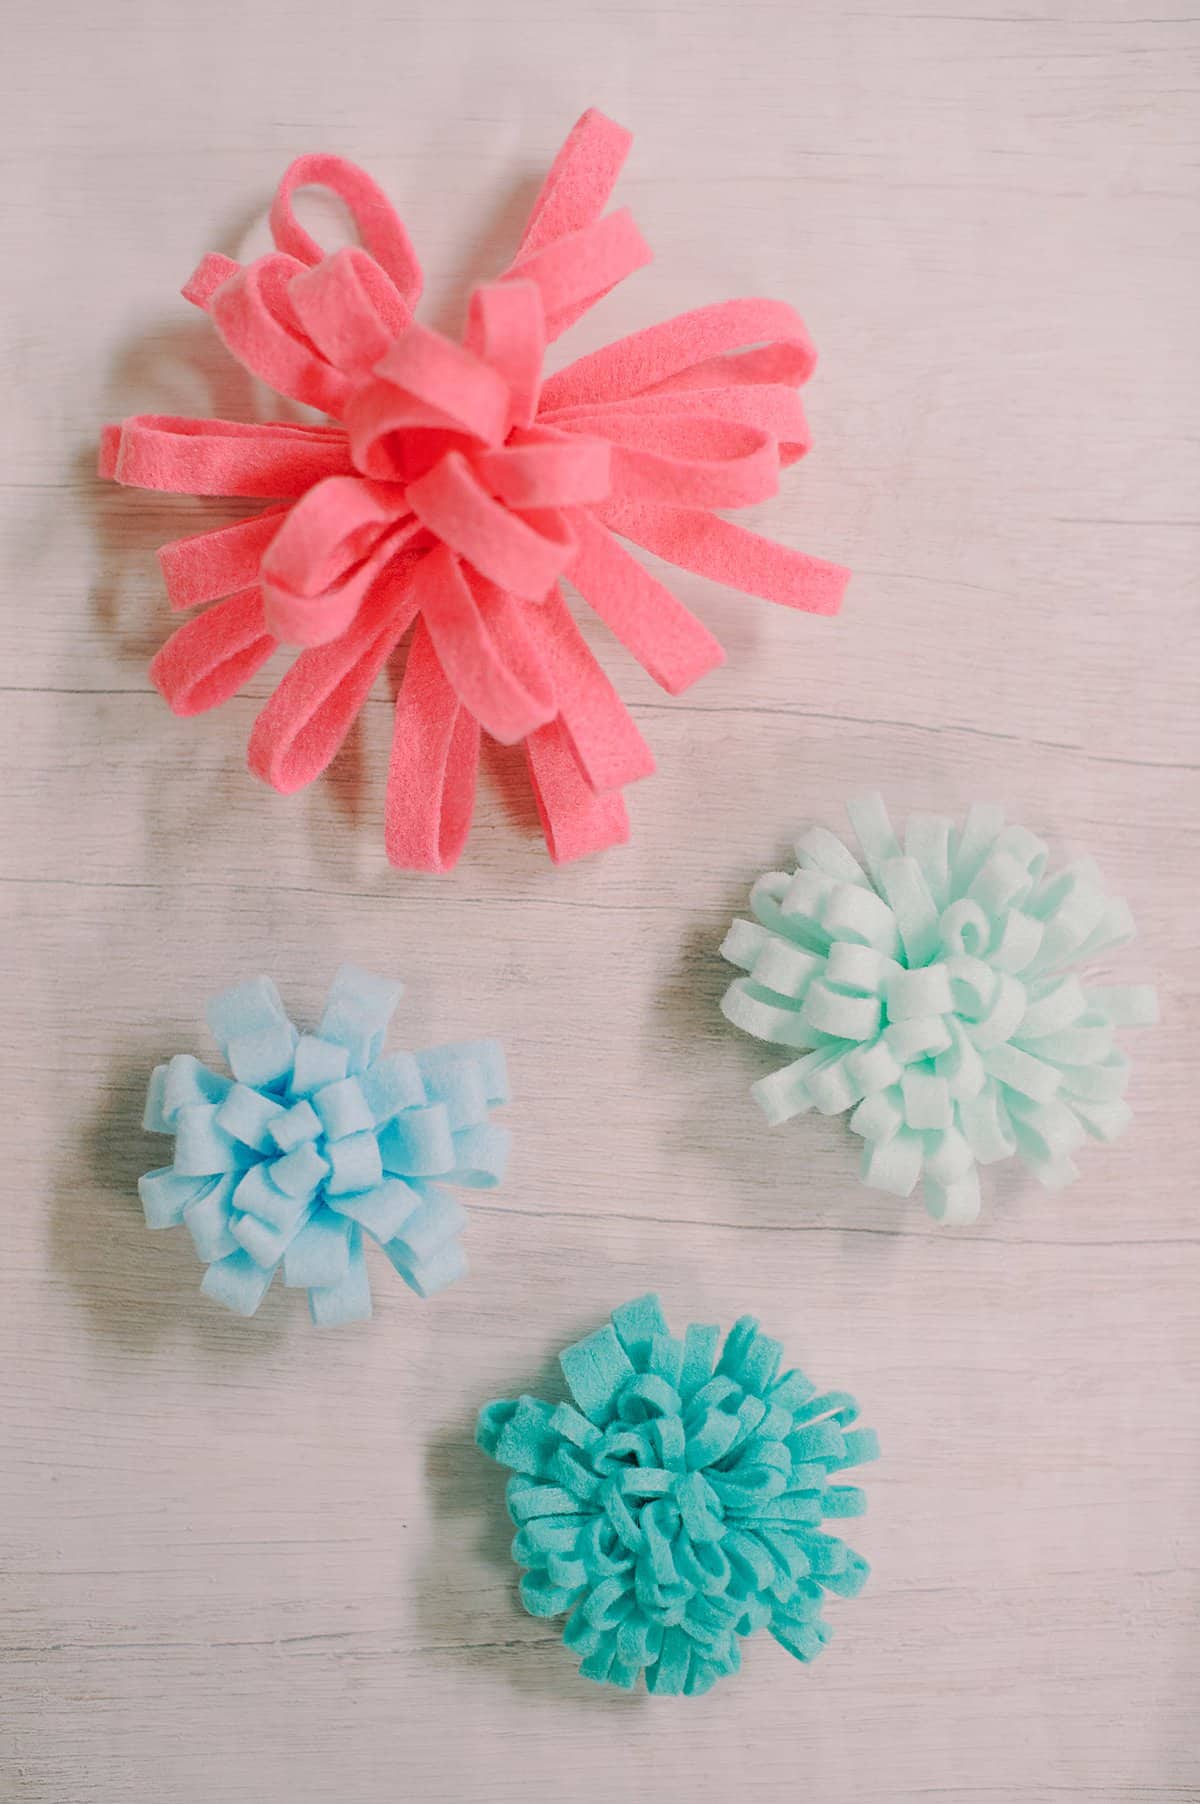
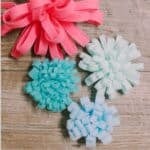
All three mums pictured below were made from 3" by 12" felt strips. The only difference was how wide the fringe was cut.
How Felt Size Impacts a Flower's Look
You can also use different-sized rectangles of felt to make varying mums.
Here is a 6" by 12" felt rectangle. (As opposed to the 3" by 12" rectangles we used for the flowers earlier in this tutorial.)
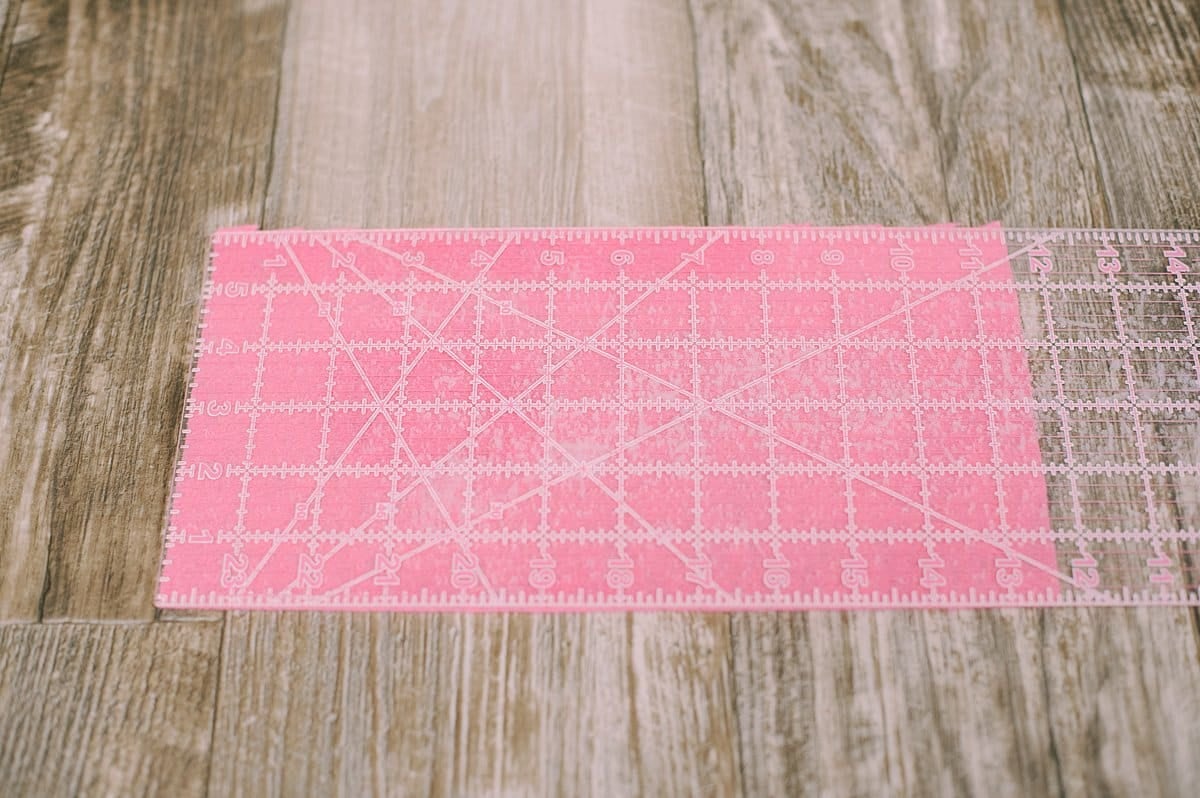
We cut fringe that's ½" wide, and rolled it up with hot glue, making a large, floppy felt mum.
Common Questions
You can use any type of felt to make DIY flowers with, as long as it is pliable and can be folded or rolled into shape. You can use cheap craft store felt or high-end wool felt bought online, or anything in between. Choose your colors, and as long as it's not stiff and rigid, it'll work great!
These felt mums are so cute, I think they could be set out on a shelf or used as part of a spring or summer tablescape all by themselves! You could also string them together to make a garland, use them in gift wrap, or glue them to a headband or barrette as a hair accessory.
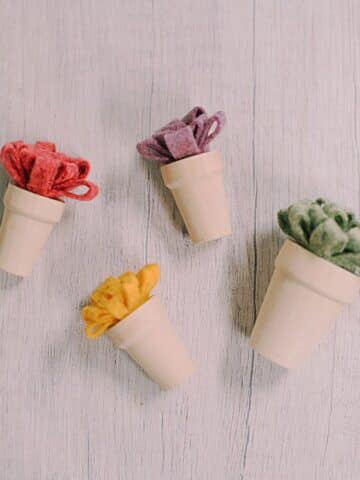
Isn't felt fun?! I love it too. If you liked making these large felt mums, try making teeny, tiny mums and putting them in mini pots from the dollar store or Hobby Lobby. You can also make felt rose flowers and felt petal flowers too!
Felt fabric is so versatile and easy to work with!
It cuts well and is easy to manipulate into different shapes.
That's why it's the perfect fabric to make these beautiful and quick mum flowers! You can even make a teeny version like these mini felt mum flowers!
More Felt Crafts You'll Love
---
⭐️🧶 Did you enjoy this craft and want to see more like it? ✂️ Join our FREE email community and get inspiring craft ideas sent right to your inbox! 🧵 ⭐️
---
How to Make Felt Mum Flowers
Materials
- Felt
- Scissors
- Hot Glue Gun and Glue
Instructions
- Cut felt into a rectangle.Our blue rectangle is 3" by 12".
- Squeeze hot glue along the rectangle's top, long edge.
- Fold the bottom, long edge up, and press it into the line of hot glue to secure it.You'll now have a felt strip that is 1.5" by 12".
- Start at one end of the felt strip, and make small cuts from the folded bottom toward the glued top - stopping before you get to the glue line.You are making a fringe along the bottom.
- Continue cutting fringe along the whole length of the felt.These cuts are roughly ⅜" apart.
- Put a section of hot glue along the top edge of the fringe.
- Begin rolling the felt. Hold it securely so the glue can dry.
- Add more glue, and keep rolling the felt strip up.
- Secure the end of the felt strip with hot glue so it doesn't unravel.
- The felt mum flower is done!
Notes
- You can use any type of felt from cheap craft store versions to high-end wool felt. As long as it's pliable and can be folded and rolled into flower shapes, it will work!
- You can change the look of the mum flower by cutting fringe of different widths. Try ¼" or ⅛" and see how different the mums look.
- You can also change the size of the felt rectangle you start with, to change the look of your mums.
- Use your DIY felt mums in table or shelf decor, string together for a garland, use as gift wrap embellishments, or hot glue to headbands or barrettes as hair accessories!

Leave a Reply