
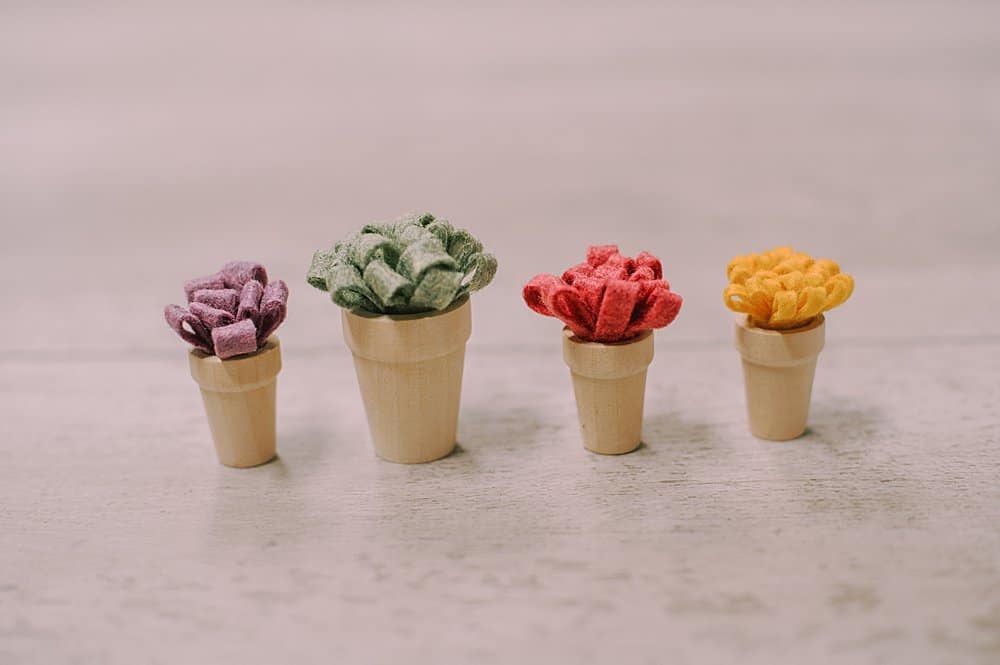
Learn how to make mini felt mums in this easy craft tutorial. All you need is felt, scissors, and hot glue, and you can make your own DIY flowers to put into tiny little wooden pots!
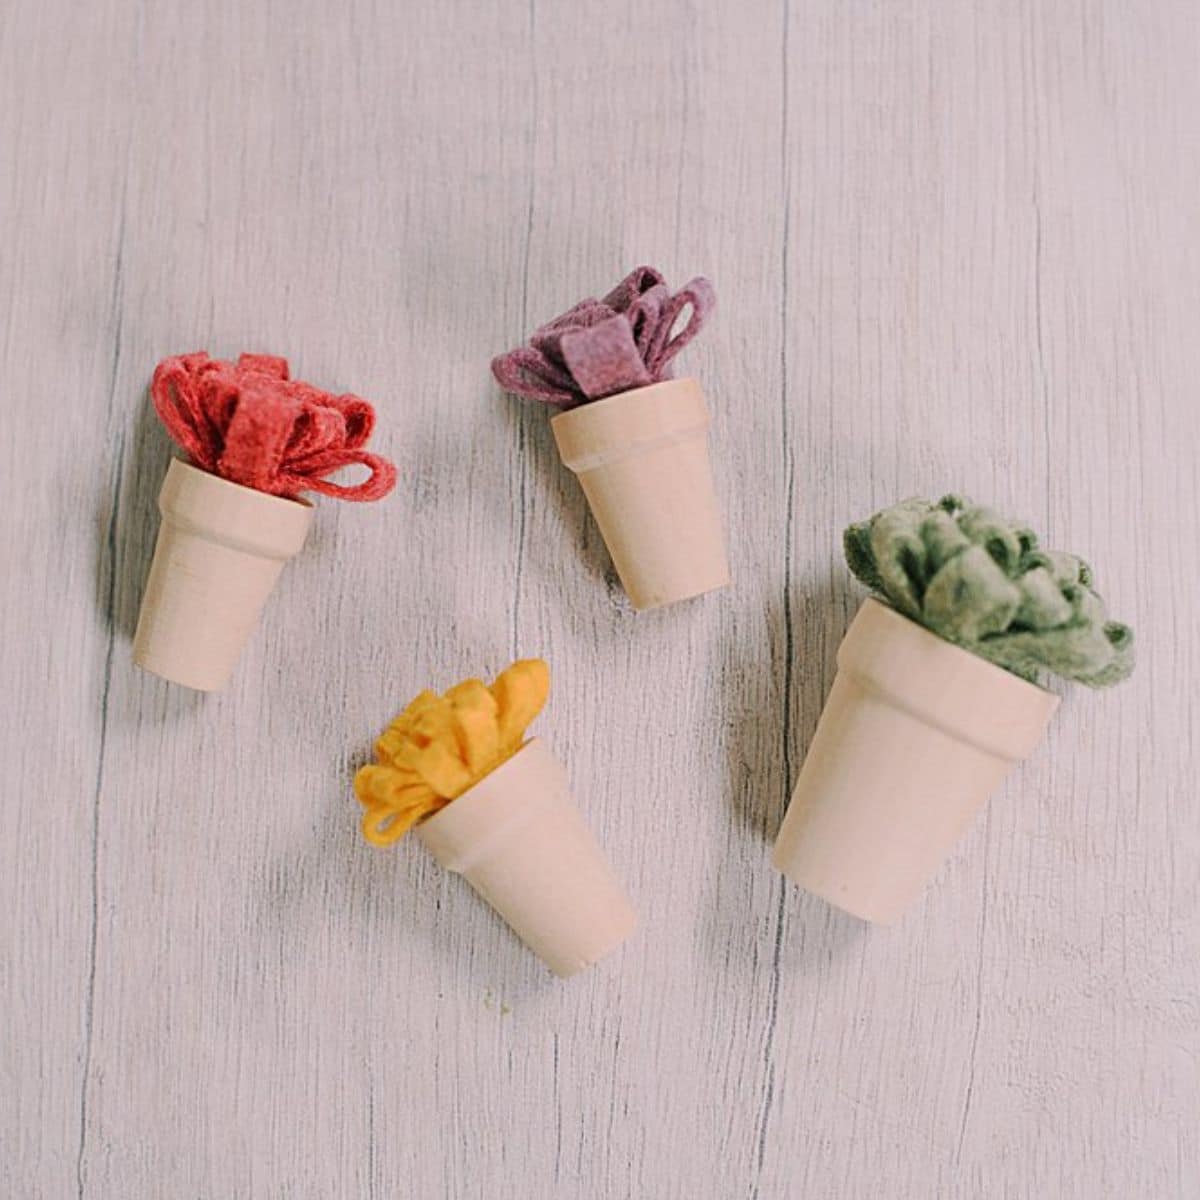
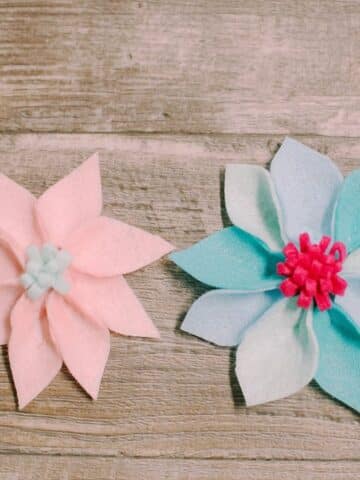
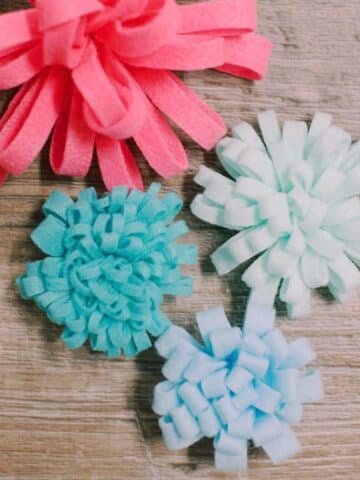
Felt mums are easy to make and look beautiful!
We are going to use the same technique we used to make large felt mum flowers, but instead, we'll make mini felt mums to put in tiny wooden flower pots I found at the Dollar Tree!
Jump to:
Why You'll Love This Craft
- Felt is such a fun material to work with. It's easy to cut and manipulate into shapes, it's easy to find, and cheap to buy.
- You can use any type of felt for this project from cheap craft store varieties to high-end wool felt, as long as it's pliable and can be folded and rolled into flower shapes. Just choose your favorite colors!
- You can make all different sizes and types of felt mums, from large ones to tiny ones, and every size in between. These mini felt mums are perfect for doll houses or fairy gardens!
Craft Supplies Needed
- Felt - You can use any type of felt as long as it's pliable and can be folded or rolled to make flowers.
- Scissors
- Hot Glue Gun and Glue
- Tiny Wooden Flower Pots - I found mine at the dollar store, but I've also seen them at craft stores like Hobby Lobby. You can find them online too.
How to Make Mini Felt Mums
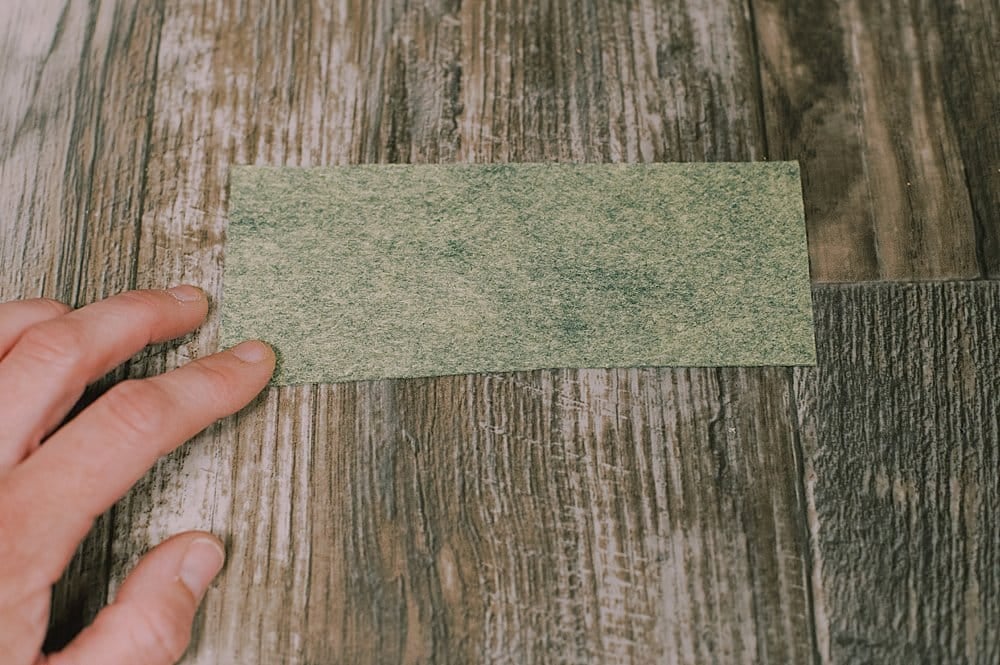
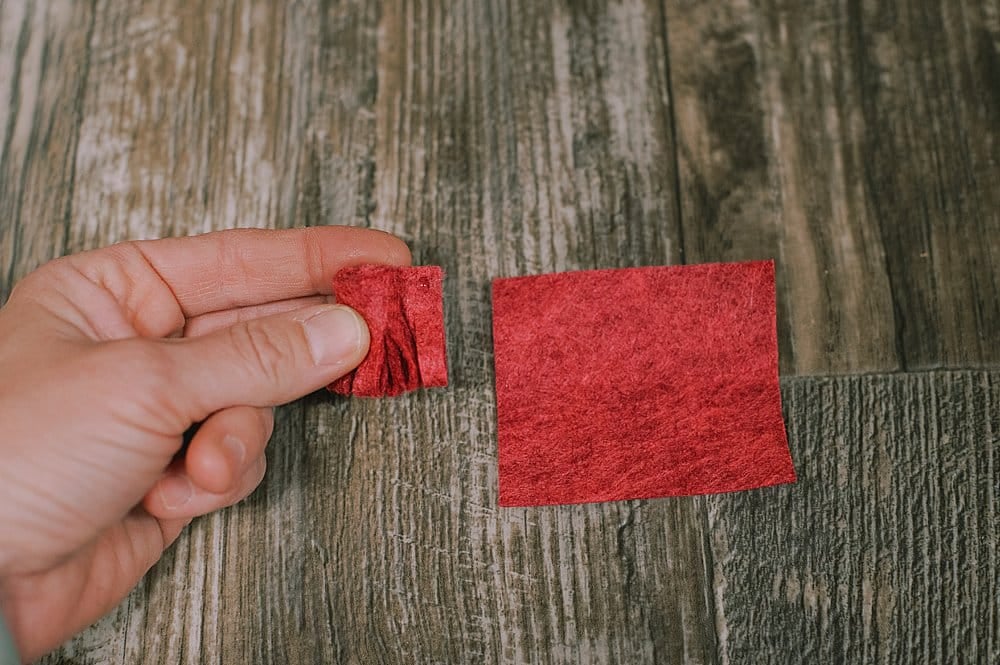
Step 1. Cut a rectangular section of felt.
Ours is roughly 2.5" by 6".
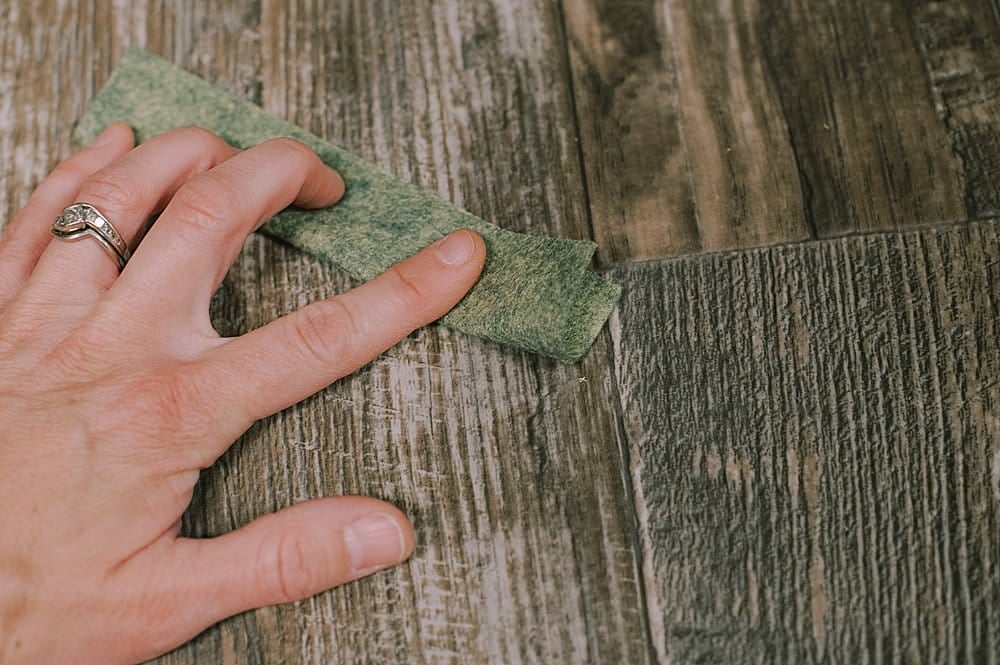
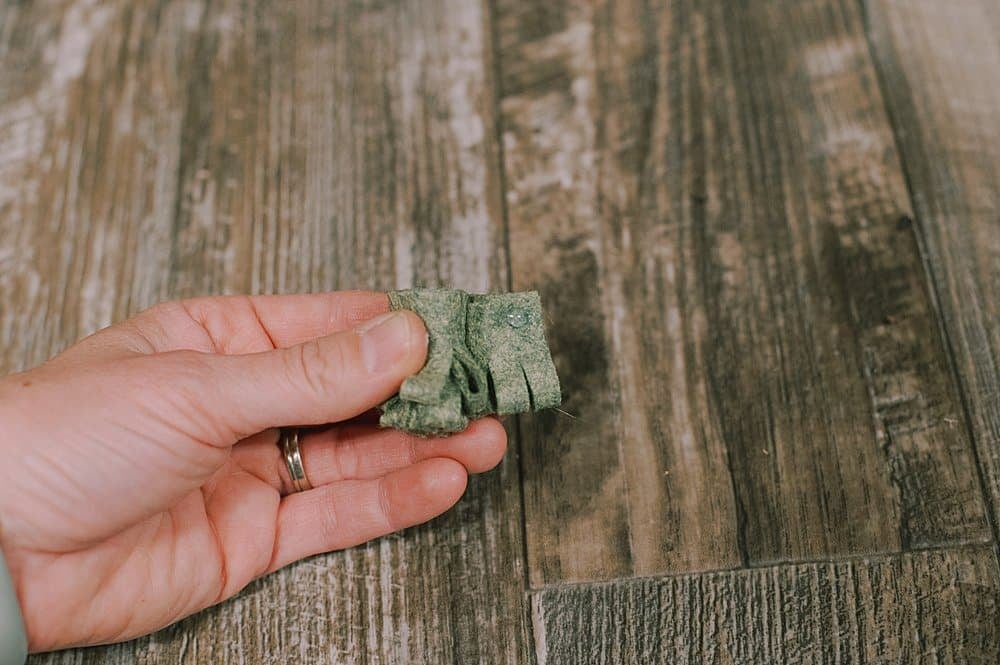
Step 2. Fold the strip in half from the bottom up. Glue the edges together on top, with hot glue.
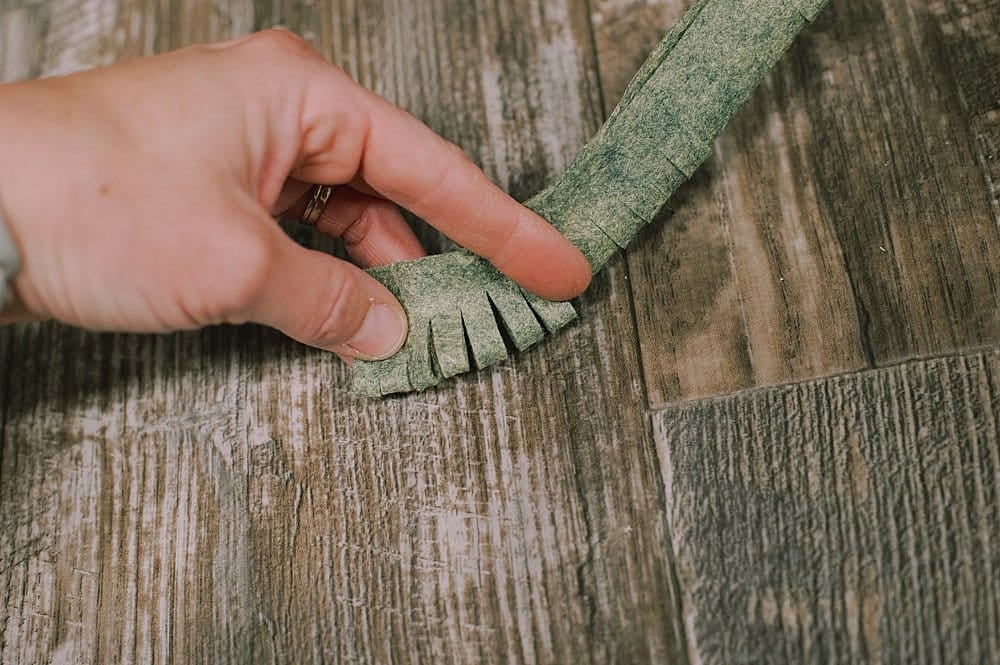
Step 3. Cut slits into the felt, from the folded bottom edge up.
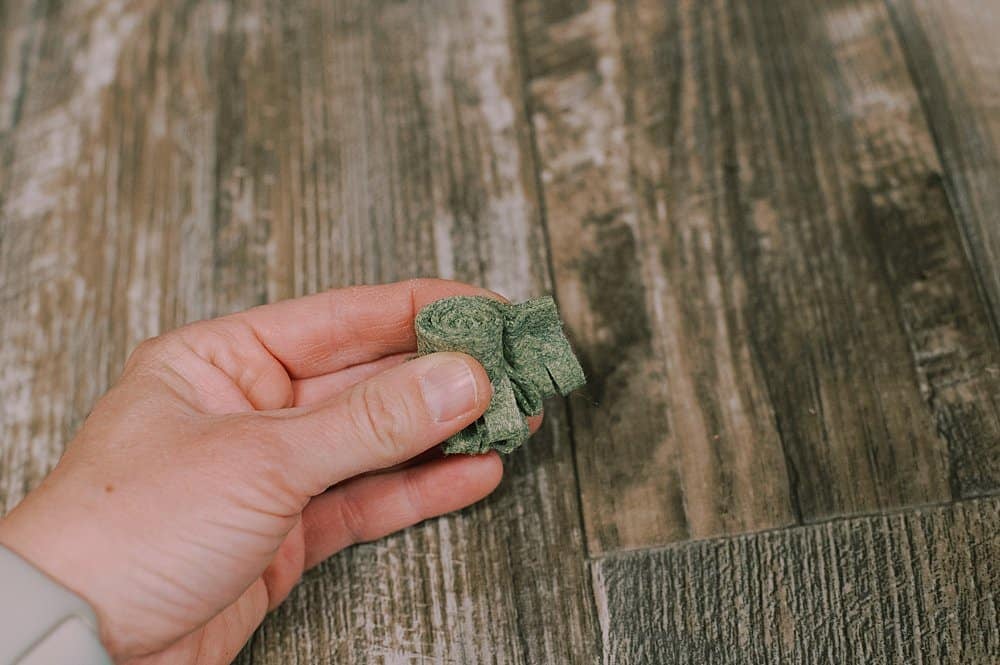
Step 4. Put hot glue along the top edge of the felt and roll the strip up.
Step 5. Secure the end with a dab of hot glue so it doesn't unroll.
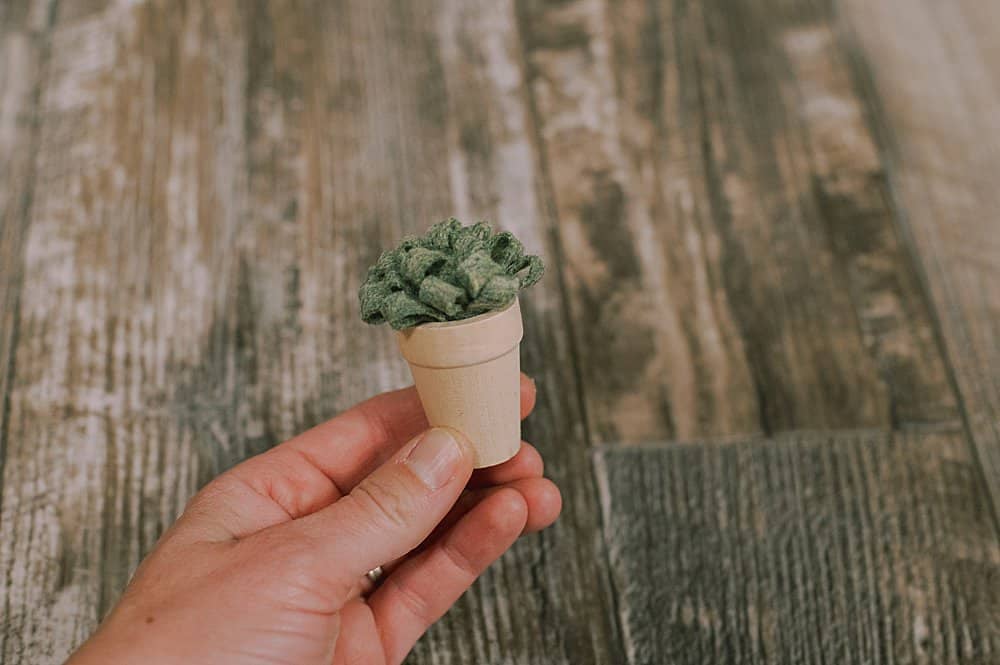
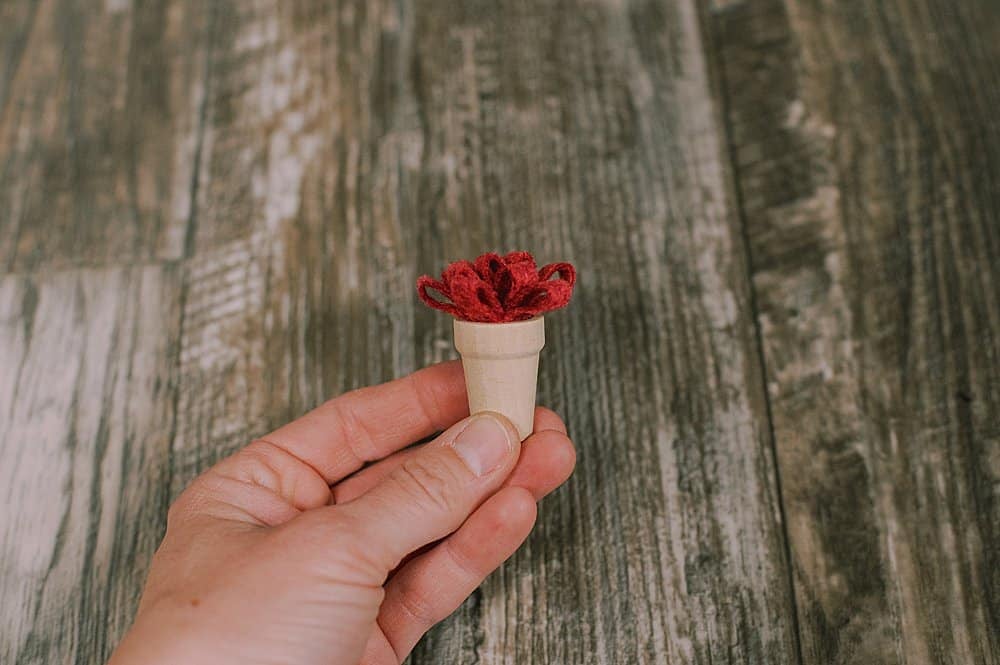
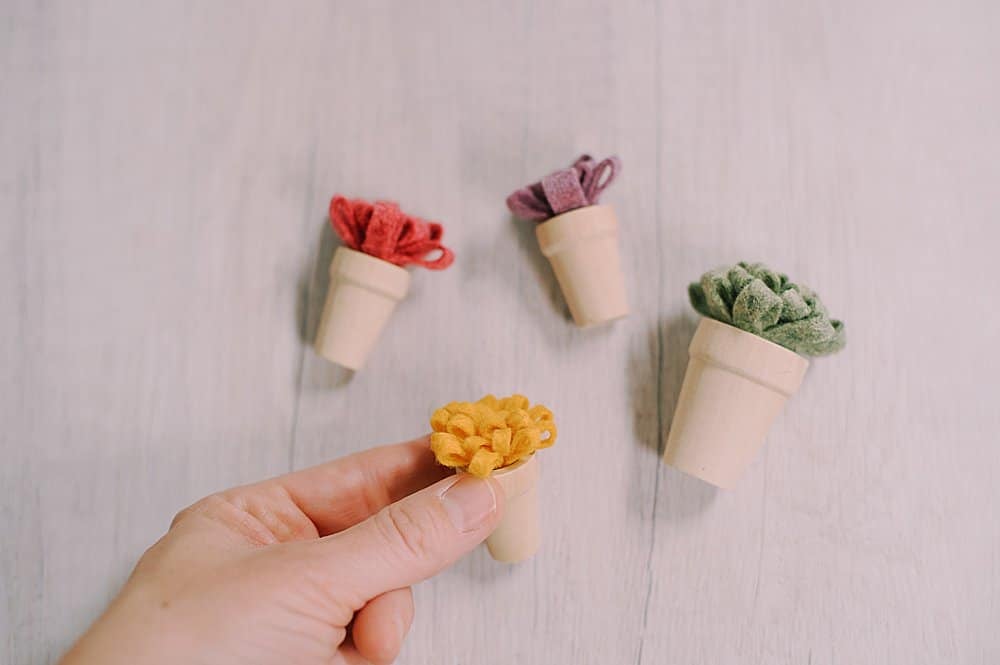
Step 6. Put the mum into a wooden pot!
Step 7. The mums made with 2.5" by 6" pieces of felt were too big for the smaller wooden pots.
Instead, for the smallest of pots, try a smaller felt rectangle, like 2.5" by 3".
Step 8. The process of cutting fringe, gluing the top, and rolling the flower up are all the same, but now you'll have a smaller mum that can fit a teeny pot!
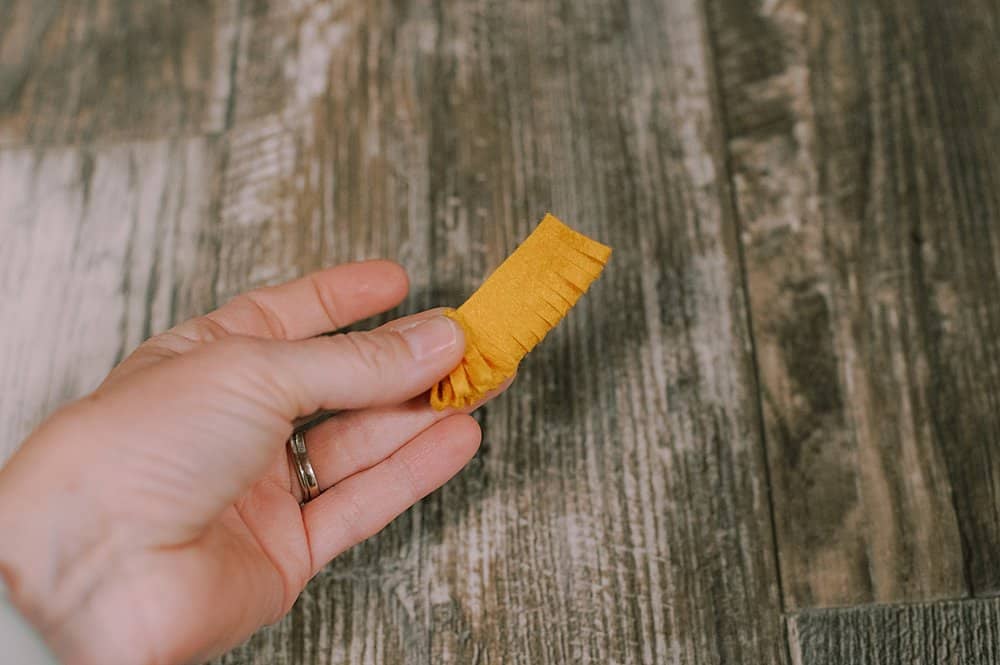
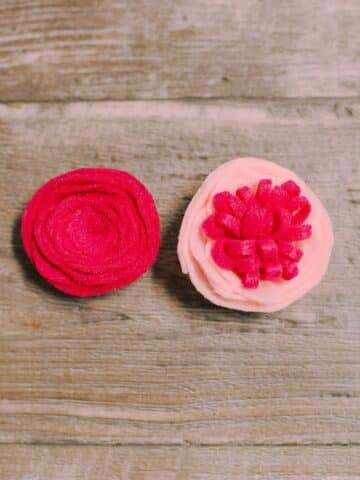
Step 9. To change the appearance of your felt mum, try cutting very thin fringe into one felt strip.
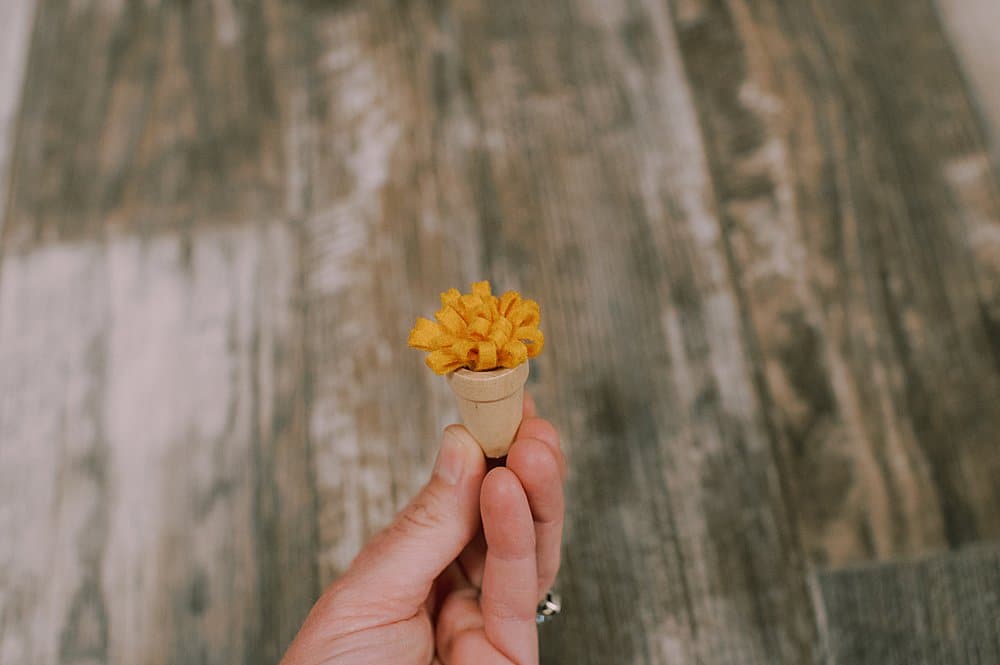
Step 10. This will make a fluffier flower.
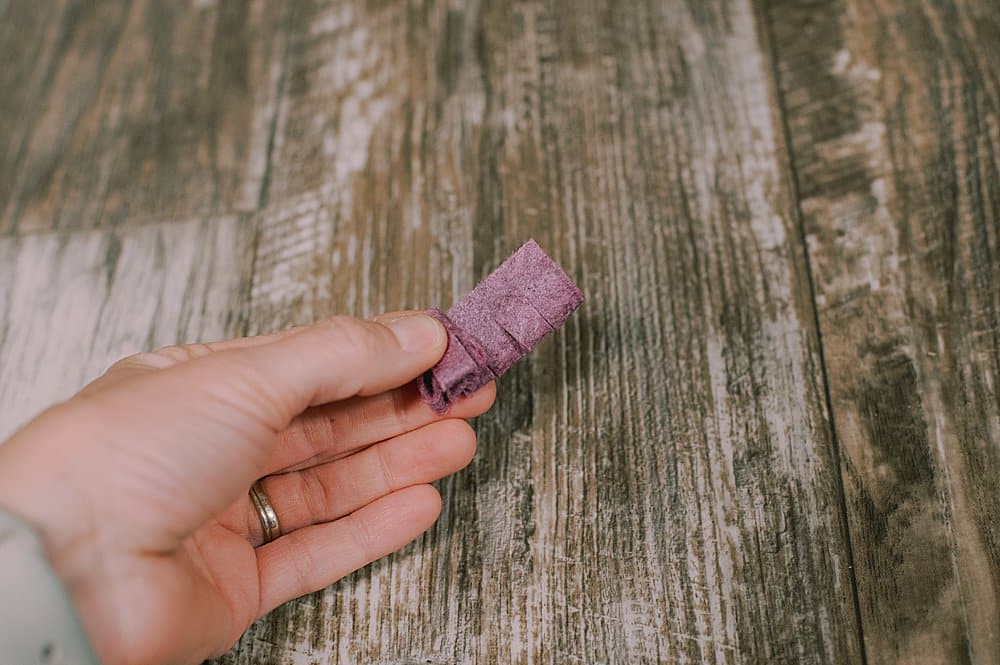
Step 11. You can also cut wide fringe to make another variation.

Step 12. This makes a broader-looking flower.
Common Questions
You can use any type of felt to make flowers, as long as it is flexible and can be rolled or folded into shape. Avoid any felt that is very stiff or rigid. As long as it's pliable, you can use cheap craft store felt or high-end wool felt, or anything in between.
In this tutorial, we made the mini felt mums and put them into tiny wooden pots for decoration. They are perfect for doll houses, fairy gardens, or other types of pretend play. And honestly, they are so cute, you could include them on your bookshelf and they'd fit right in!
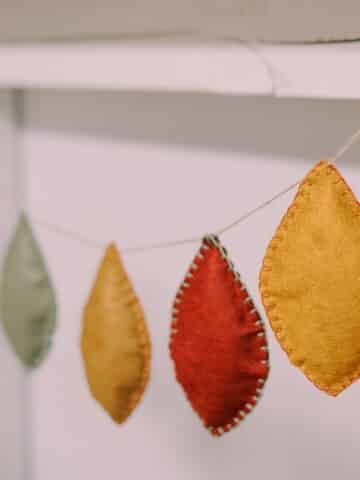
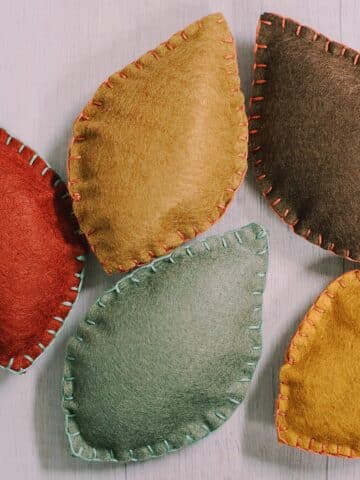
If you loved making these mini felt mums, make sure you check out the tutorial for larger felt mum flowers. Also take a look at this felt rose tutorial and felt petal flower tutorial.
When I saw these tiny wooden pots at the Dollar Tree, I knew I had to get them for a future project.
Making mini felt mums for the inside of each pot was the perfect craft to pair with them!
Miniature crafts are so fun. These tiny pots would be perfect in a doll house or in a DIY fairy house like the one we made recently. And another fun miniature project? These teeny, tiny pumpkins made from felt balls are fun too!
More Felt Crafts You'll Love
---
⭐️🧶 Did you enjoy this craft and want to see more like it? ✂️ Join our FREE email community and get inspiring craft ideas sent right to your inbox! 🧵 ⭐️
---

How to Make Mini Felt Mums
Materials
- Felt
- Scissors
- Hot Glue Gun and Glue
- Tiny Wooden Pots
Instructions
- Cut a rectangular section of felt.Ours is roughly 2.5" by 6".
- Fold the strip in half from the bottom up. Glue the edges together on top, with hot glue.
- Cut slits into the felt, from the folded bottom edge up.
- Put hot glue along the top edge of the felt and roll the strip up.
- Secure the end with a dab of hot glue so it doesn't unroll.
- Put the mum into a wooden pot!
- The mums made with 2.5" by 6" pieces of felt were too big for the smaller wooden pots.Instead, for the smallest of pots, try a smaller felt rectangle, like 2.5" by 3".
- The process of cutting fringe, gluing the top, and rolling the flower up are all the same, but now you'll have a smaller mum that can fit a teeny pot!
- To change the appearance of your felt mum, try cutting very thin fringe into one felt strip. This will make a fluffier flower.
- You can also cut wide fringe to make another variation. This makes a broader-looking flower.
Notes
- You can use any type of felt from the cheap craft store versions to high-end wool felt. The only consideration is it must be flexible and pliable, so you can fold it and roll it into flowers. Avoid any felt that is too stiff or rigid.
- Change the look of your felt mums by cutting narrower or wider fringe. You can change the size of the mums by using bigger or smaller rectangles of felt, as well.
- You can use these tiny wooden potted mums as decor by themselves, or use them in doll houses, fairy gardens, or other types of kids' pretend play. They're perfect for that!
Leave a Reply