Learn how to prepare pine cones for crafts so they are clean, dry, and bug-free! With vinegar and water, you can clean pine cones easily so they're ready for any craft projects you want to make.
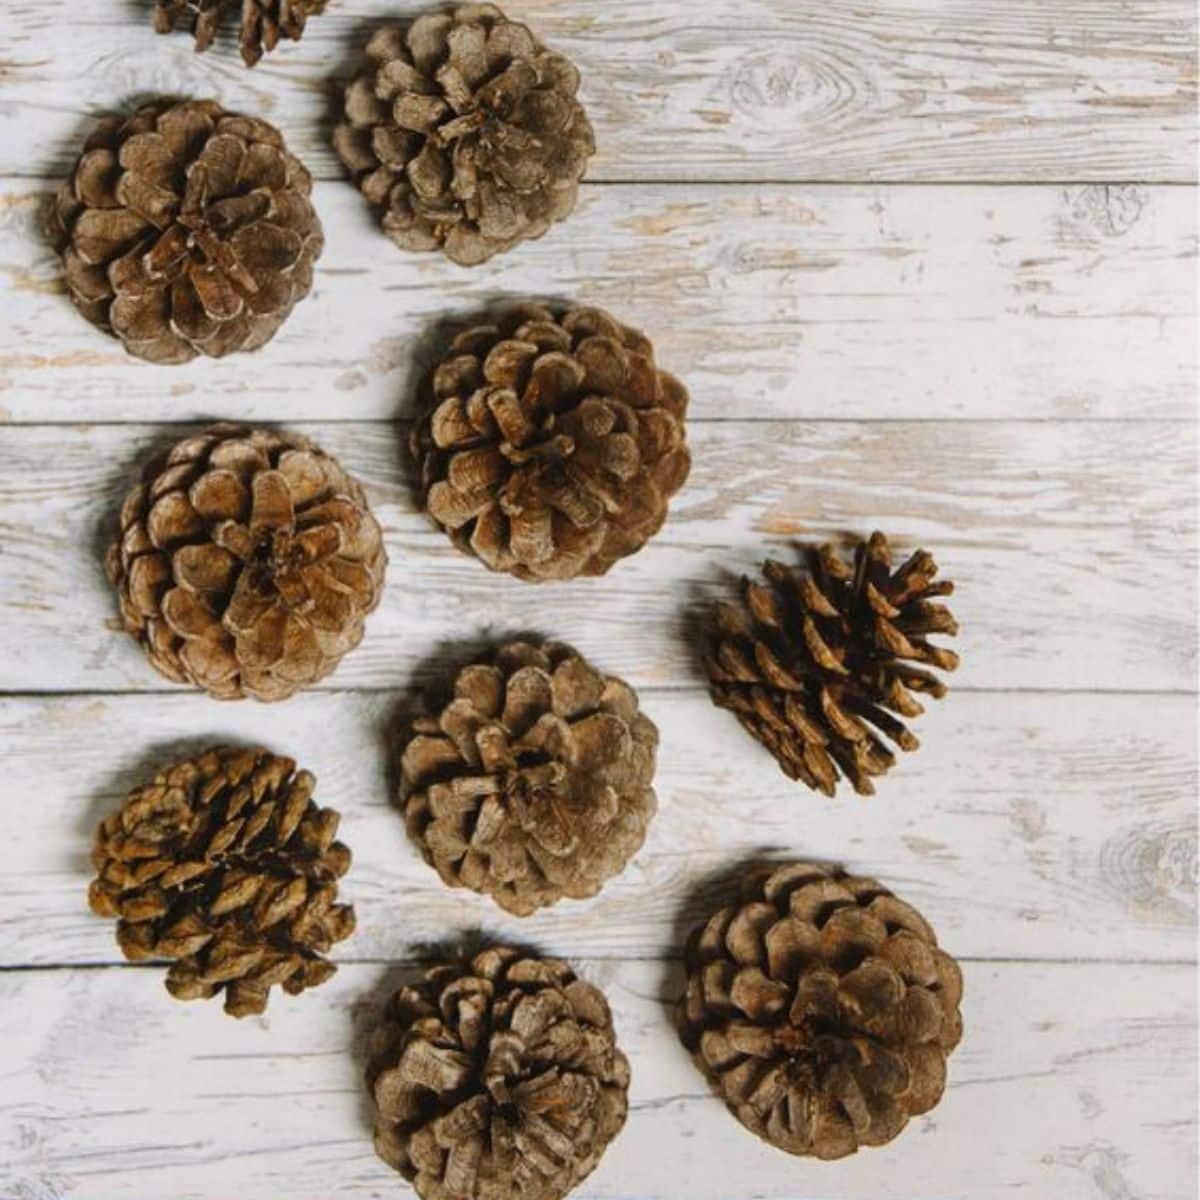
Pinecones are an element of nature that gets overlooked by nearly everyone... unless you're a crafter. To a craft lover, pinecones are bundles of potential, just waiting to be made into something amazing!
But before you can make something with pine cones, you have to clean them. Pinecones are home to dirt, debris, and bugs; it's important to properly clean them so they're ready for your craft projects.
It's not nearly as complicated as it sounds. All you need to clean pinecones for crafts is water, vinegar, an oven, and a little time. (And a similar process can be used to clean acorns for crafts too!)
When you're done, you'll have clean pinecones ready for all the craft and DIY projects you can dream up!
Jump to:
Why You'll Love This Process
- Cleaning pine cones is simple and easy, and uses supplies you probably have at home.
- The same process can be used to clean and disinfect acorns too.
- Once pinecones are cleaned and preserved, they can be stored and used for crafts for years.
Supplies Needed for Cleaning
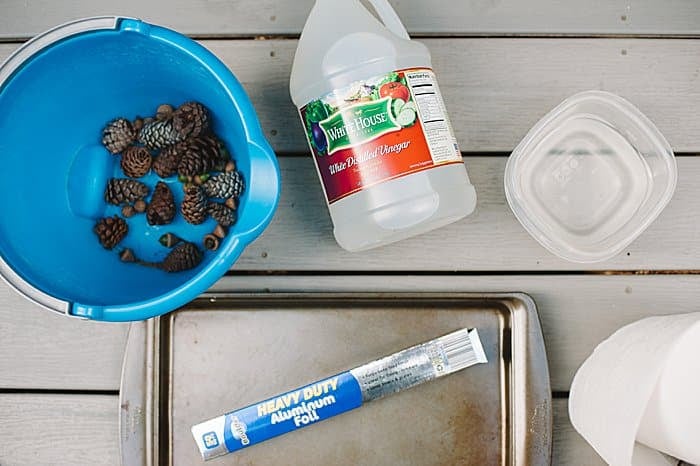
- Pinecones - Collected and ready for cleaning.
- Bowl or Bucket - You can use any container big enough to hold your pinecones plus water.
- Vinegar - I use regular white vinegar.
- Water - You need enough water to submerge the pinecones in.
- Cookie Sheet - Used to bake the pinecones after soaking.
- Aluminum Foil - Used to protect the cookie sheet.
- Oven - This will help kill bugs and speed up the drying process.
- Paper Towels - Handy to clean up messes, and useful if you are going to airdry the pinecones.
- Clear Acrylic Sealer - Optional, to seal and protect the pinecones once they are clean.
- Pine Cone Prep Checklist - (Free in my resource library!)
How to Clean and Prepare Pinecones for Crafts
Before you begin, remove any visible dirt, grass, pine needles, or other debris from the pinecones. This will speed up the cleaning process.
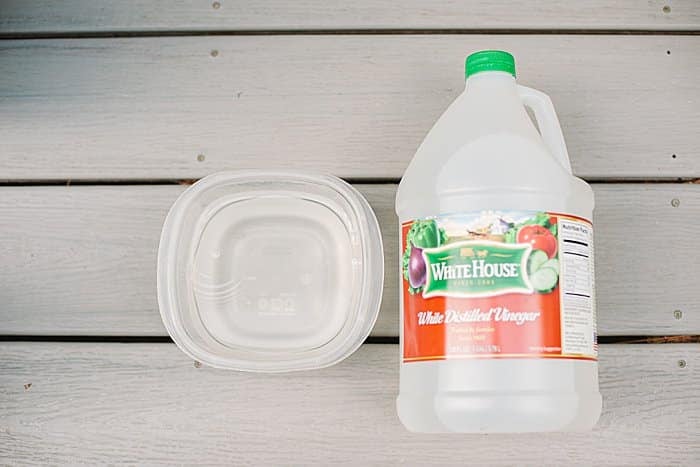
Step 1. In a bowl, mix water and vinegar. A cup of vinegar is a good starting point, but you can add more if you use a lot of water.
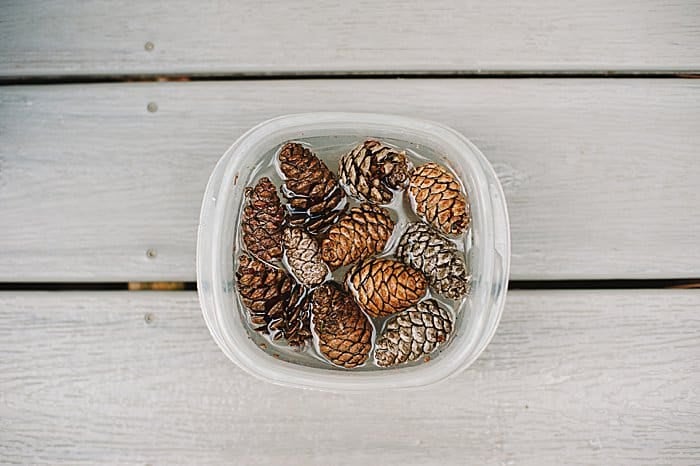
Step 2. Add your pinecones to the water and vinegar mixture. Soak for 20 minutes.
It is normal for pinecones to close up when they are wet. They will open back up once they dry.
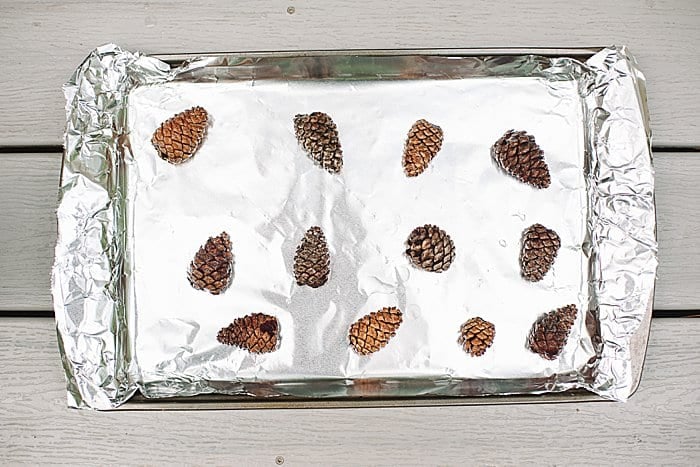
Step 3. Take the pinecones out of the water and rinse them. Use a strainer to make this step easier. Drain any excess water, and place on an aluminum foil-lined baking sheet.
Step 4. Bake pine cones in a 200 degree Fahrenheit oven. You have two different options for this step.
Option 1: Bake the pinecones at 200 degrees for 2+ hours, turning them every 30 minutes until fully dry and open. (Keep a watchful eye on them because you don't want them to burn or get brittle from too much heat.)
Option 2: Bake the pinecones at 200 degrees for 20 minutes to kill any remaining bugs, remove from the oven, and let air dry for 2-3 days until fully dry and open.
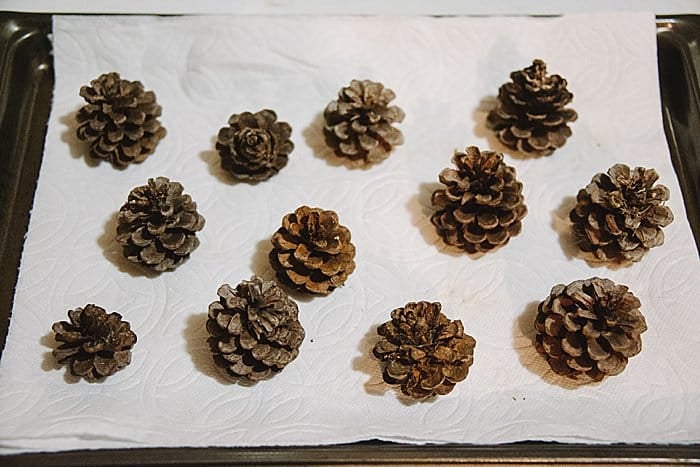
Step 5. If you are going to let the pinecones air dry after 20 minutes in the oven, place them on a layer of paper towels to help absorb moisture.
Once the pinecones are fully dry and open, they're done!
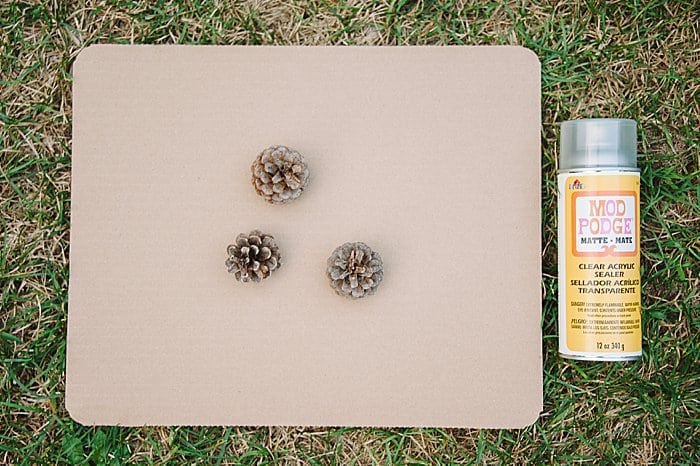
Step 6. (Optional) If you plan to use the pinecones in their natural form (and not paint them), you can spray them with a clear acrylic sealer for added protection and shine.
Common Questions
It's expected for there to be tiny bugs in pinecones you pick up from the ground. That's why we want to clean them! Soaking in vinegar is perfect for killing critters and bugs that might be hiding in the pinecones, and so is the heat of your oven. With those two things combined, you'll get rid of any bugs.
It's normal for pine cones to close up when they are wet. (Take a look outside after a rain; you'll see pinecones in nature doing the same thing!) Your pine cones will close up during the cleaning process when they're wet, and they will reopen as they dry out in the oven, or while they air dry.
There is a slight smell when the pine cones are heating in the oven. It's an earthy, woody smell - not exactly pleasant but not unpleasant either. It dissipates quickly once the process is over.
The pine cones are ready for you to use to make things!
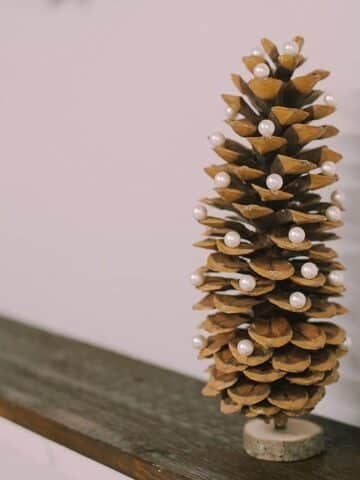
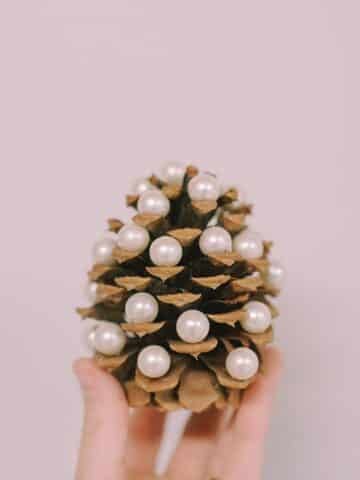
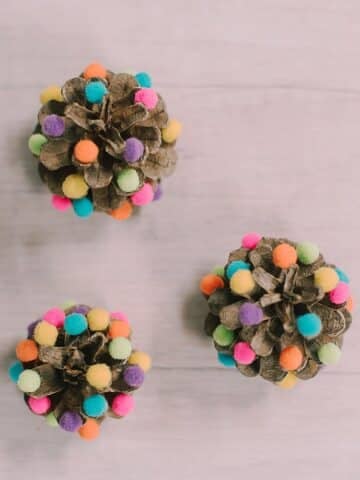
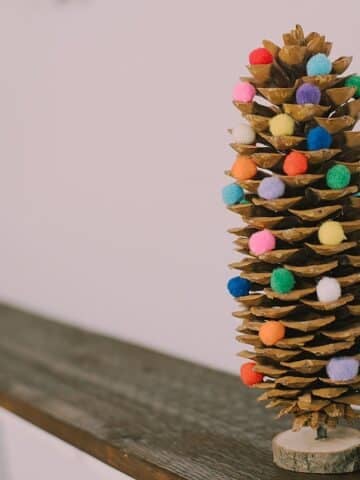
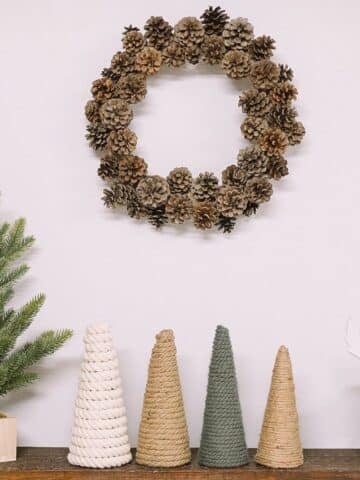
You could leave them natural, and incorporate them into your fall or holiday decorations.
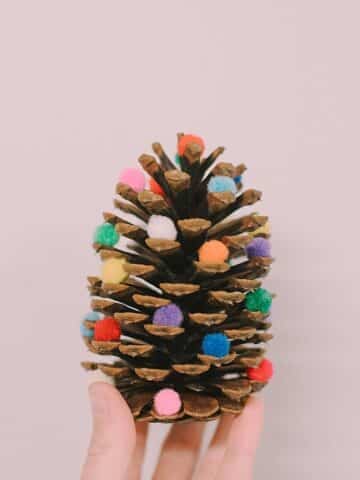
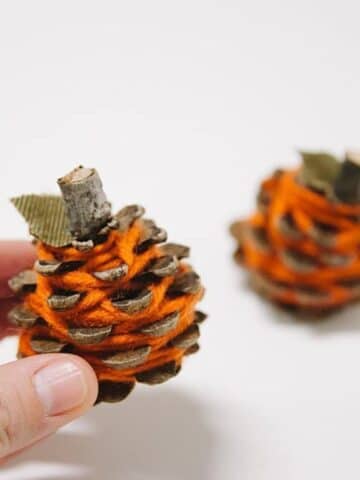
You could also paint your pine cones, or use them for craft projects such as:
- Cinnamon Pine Cones
- Pine Cone Wreath
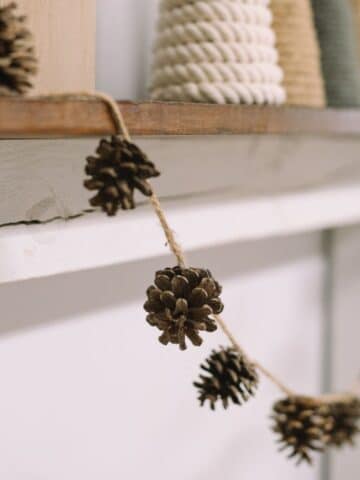
- Pinecone Garland
- Painted Pine Cone Christmas Ornaments
- Pine Cone Person Ornament
Whatever you plan to do with your freshly clean pinecones, you'll make some awesome projects.
More Pinecone Crafts You'll Love
---
⭐️🧶 Did you enjoy this craft and want to see more like it? ✂️ Join our FREE email community and get inspiring craft ideas sent right to your inbox! 🧵 ⭐️
---

How to Clean and Prepare Pine Cones for Crafts
Materials
- Pine Cones
- Bowl or Bucket
- White Vinegar
- Water
- Cookie Sheet
- Aluminum Foil
- Oven
- Paper Towels
- Clear Acrylic Sealer (optional)
- Pine Cone Prep Checklist (Free in my resource library!)
Instructions
- In a bowl, mix water and vinegar. A cup of vinegar is a good starting point, but you can add more if you use a lot of water.
- Add your pinecones to the water and vinegar mixture. Soak for 20 minutes.It is normal for pinecones to close up when they are wet. They will open back up once they dry.
- Take the pinecones out of the water and rinse them. Use a strainer to make this step easier. Drain any excess water, and place on an aluminum foil-lined baking sheet.
- Bake pine cones in a 200 degree Fahrenheit oven. You have two different options for this step.Option 1: Bake the pinecones at 200 degrees for 2+ hours, turning them every 30 minutes until fully dry and open. (Keep a watchful eye on them because you don't want them to burn or get brittle from too much heat.)Option 2: Bake the pinecones at 200 degrees for 20 minutes to kill any remaining bugs, remove from the oven, and let air dry for 2-3 days until fully dry and open.
- If you are going to let the pinecones air dry after 20 minutes in the oven, place them on a layer of paper towels to help absorb moisture.Once the pinecones are fully dry and open, they're done!
- (Optional) - If you plan to use the pinecones in their natural form (and not paint them), you can spray them with a clear acrylic sealer for added protection and shine.
Notes
- Before you begin the cleaning process, remove any visible dirt, sticks, grass, pine needles, or other debris you see in your pinecones. This will make the preparation process easier.
- It's normal for pinecones to close up when they are wet. This will happen during the cleaning and sanitizing process. They will open back up as they dry, either in the oven or as they air dry.
Mary Hoffman
I have a huge batch of hemlock cones ready to use- washed and bleached, as I have done over the years. I went to use them and the insides are black!!! the outside is the simple tan color, but the inside is a disaster!!!! this has never happened before, and I air dry the cones in foil sheets. Should I bleach them again?
Laura
Oh no, I'm sorry to hear that, Mary! You sure could try to bleach them again. Do the insides look moldy? I hope a second bleaching makes them usable!
Susan H
I followed the directions to a tee but not all of the sap came off and they stayed closed after taking them out of the oven. I’m praying that they open over the next couple of days so this effort wasn’t a waste of time. I don’t know what to do about the sap. Hopefully they aren’t sticky and the oven hardened it. They’re too hot to handle right now.
Laura
Hi Susan! Hmm.. I never had any issues with sap on mine. Can you see the sticky sap on them? I know sometimes pinecones can be completely closed up because they are very new and immature; I'm not sure if there's a way to open underdeveloped ones like that. But if it is actual sticky sap keeping them closed, I would think the oven should soften the sap, or you could also try some type of solvent that might remove the sap like goo-gone or something like that. Keep me updated!
Beryl Park-Pearson
What if there are bugs and they end up in your oven??
Laura
If there are any bugs, they will be killed in the heat of the oven. An quick oven cleaning after the fact would take care of any leftover bugs, but it's more likely the bugs would die and be on the parchment paper, instead of actually in the oven. I hope that helps!
sheila Mabrey
I am using really big cones for hanging them from a chain and decorate the top. The problem I have is that after baking them, they curl slightly and the curl makes it difficult to have them look straight when hanging from a string. Any ideas on this?
Laura
Hi Sheila!
Hmm... I see what you mean! Do they all seem to curl in a similar way? Or is the curling random? Does it help to lay them a certain way while baking; like maybe if you turned them halfway through baking, would the curl straighten out?
If nothing seems to help, that might just be the way the pine cones are made once they get a little bit dry... if that's the case, I'm not sure anything can be done, unfortunately.
Let me know if you figure anything out! I haven't worked with big enough pine cones to have this issue, but I'm interested to see how they turn out! And if you care to send a picture of your finished product, I'd love to see it!
Laura
Holly Janflone
Is there a way to keep them open if using them for an outdoor project? I want to use them in my window boxes but they always close when they get wet!!
Laura
Hi Holly!
Unless you could 100% seal them from water, I don't think there's a way to keep them open. You could experiment with different sealants; maybe something that is meant to keep wood sealed? I haven't tried it but that's what I would start with.
They do close every time they get wet, yes. But on the plus side; they open up again pretty quickly when they dry out again haha!
Laura
Lisa G
How long and where do I keep them until I’m ready to use them?
Laura
Hi Lisa!
You can store them in a tote or bin, or even a basket until you're ready to use them. I have some in a basket from several years ago and they still look great. The only issue with an open basket is the possibility of dust getting on them, depending where they are haha.
You could also keep them in a closed bin too. And there really shouldn't be a time limit on them. As long as they don't get wet, they should last for years!
I hope that helps!
Laura
Mike Macey
I keep hundreds in inexpensive plastic containers found online, like Temu, Amazon, and other discount suppliers, thrift stores, garage sales, and used food containers with lids.
Jenny
Another reason to heat the pine cones up is because it drains all the pitch out of them so be sure to line your pans as she mentions above. I ruined my good cookie sheets one year ☹️.
Laura
Good point, Jenny! Yes, that tray lining is key!
Angela Walkup
Thanks
Angela
How do you cut them
Laura
Hi Angela! I can't speak from personal experience yet because I haven't tried to cut them, but I have seen where people use a long clipper of some type or even scissors. I've read that if you carefully remove the pine cone prongs from the row where you want to make your cut, it'll clear a path for you to be able to get your scissors or cutting utensil in so you can make the cut without breaking anything else. If you try to cut them and find something that works great, let me know so I can pass on the information!
Mary Gossett
Thank you for answering my question. It answered my question