Tips on how to paint pine cones for crafts and decorations using clean, dry pine cones and spray paint. Great for use in home decor and pine cone crafts!
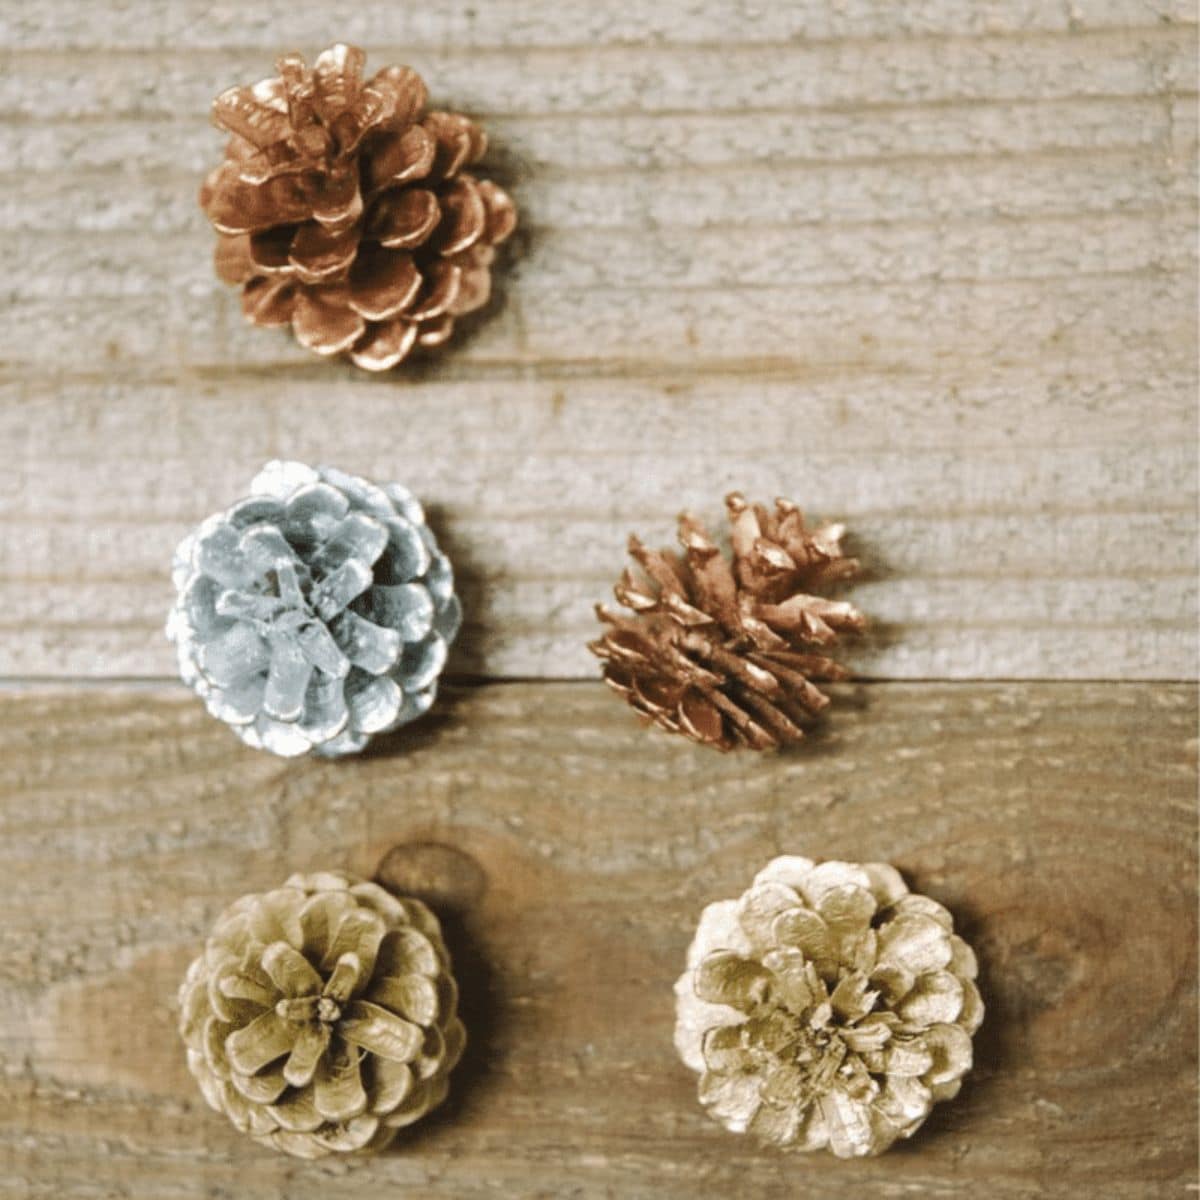
Walking through the aisles of a craft store, especially in the fall, you're guaranteed to see beautiful pine cones for sale.
But if you're like me and live in a place where pine trees are common, we don't have to go to the craft store to find pine cones.
We can walk out our front door into the yard and pick up pine cones off the ground!
Once they're cleaned with vinegar and water, and baked in the oven to kill any bugs, they're ready to be used in crafts and decor, or they're ready for paint!
There are several methods for how to paint pine cones for crafts. The two most common options are dipping them into a bucket of paint, or spray painting them.
My preference is spray paint; it's the easiest and least messy in my opinion.
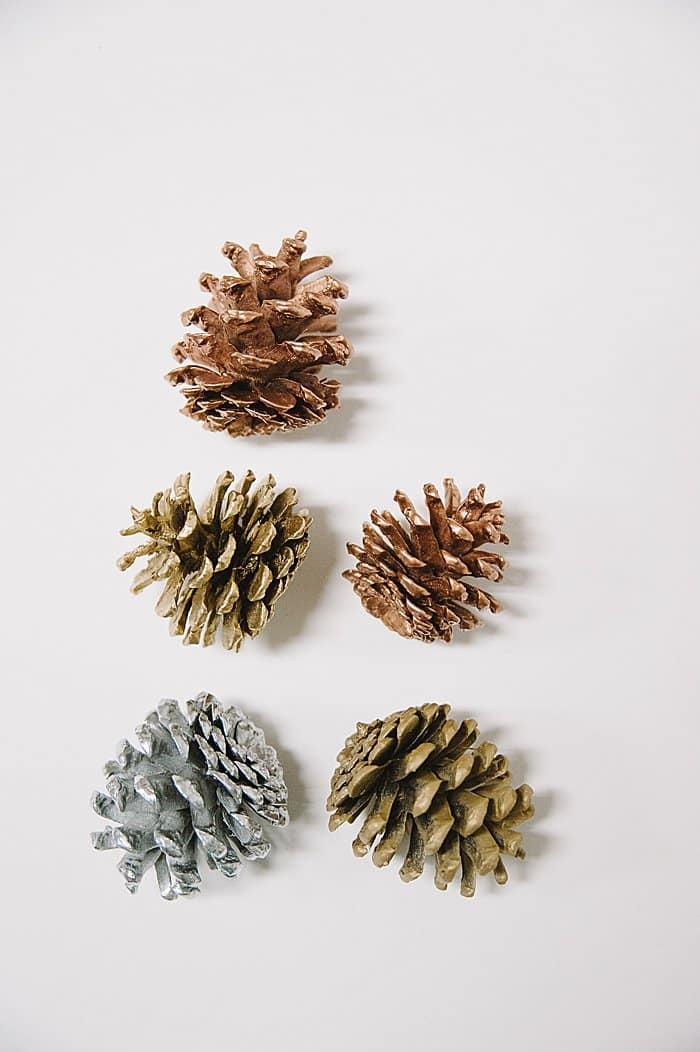
All it takes is a little bit of time, some clean, dry pine cones, and your favorite color of spray paint to create stunning pine cones that are ready for display, or to be made into an awesome craft project!
Here's how to easily and quickly paint pine cones.
Jump to:
Why You'll Love This Craft
- Pinecones are one of my favorite craft supplies - they are easy to find (either at stores or outside!) and they can be used in so many different craft projects.
- You can use pinecones in their natural state or paint them to match the vibe of your project. This gives you even more creative control over your projects because you can paint the pinecones any color(s) you want.
- Once you paint the pinecones, you can use them in any pinecone project from a pinecone wreath or pinecone garland to a pinecone tree or ornament made with a pinecone. So many options!
Craft Supplies Needed
- Clean, Dry Pinecones - You can find your own and prep the pinecones for crafts using our tutorial, or buy them from crafts stores or online like these pinecones from Amazon.
- Spray Paint - My favorite colors for spray painting pinecones are gold, silver, and copper in the Rustoleum brand, but any decent spray paint brand will work!
- Clear Acrylic Sealer - This is an optional step, in case you want to seal the painted pinecones with an added layer of protection.
How to Paint Pine Cones for Crafts and Decorations
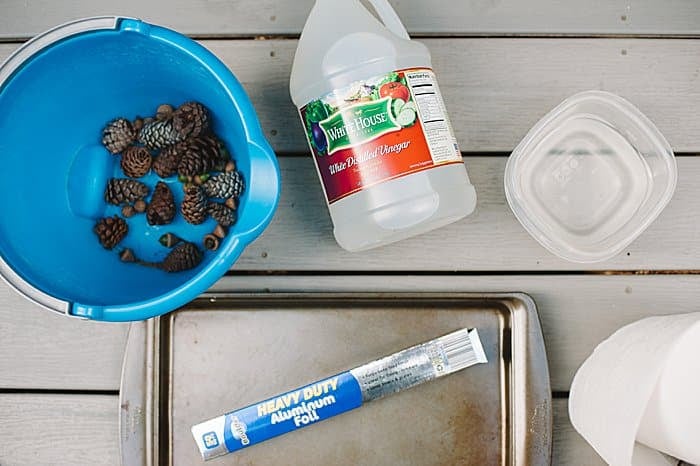
Step 1. If you collect your pinecones, clean and sanitize them using our tutorial for preparing pinecones for crafts.
If you bought your pinecones from a craft store or online retailer, they should be prepped and ready to go.
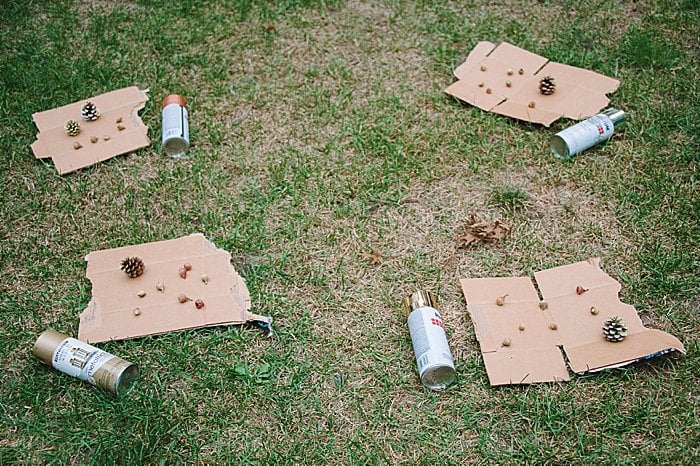
Step 2. Prepare to paint.
I like to spray paint outside if possible because of the stinky fumes and the mess.
I use cardboard boxes to lay my items on.
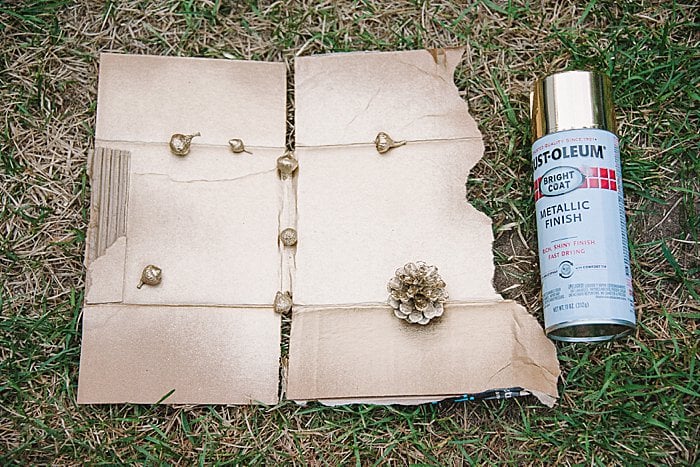
Step 3. Follow the directions on the spray paint can, and spray the pine cones with the first coat.
Let the first coat dry.
You will NOT completely coat the pine cone in this first step; you will paint multiple coats so don't stress or spray it on too thick.
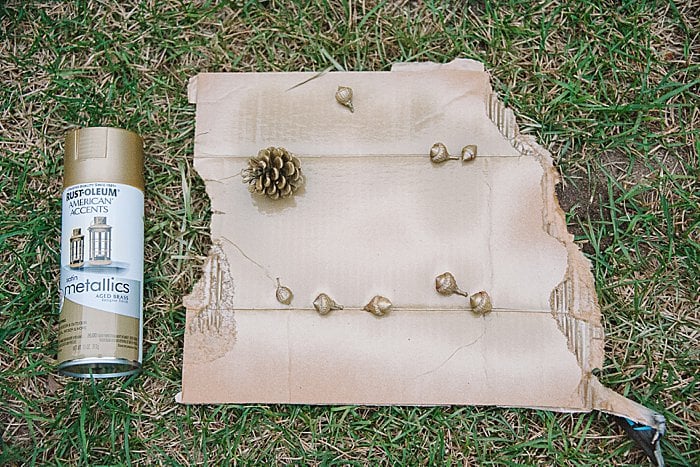
Step 4. Once the pine cones are dry enough to handle, turn them over to expose the other side and spray another coat.
As you spray, go lightly, and try to hit all angles of the pine cone - spray from the top, sides, and underneath. You want paint to go into all the nooks and crannies of the pine cone.
Let dry.
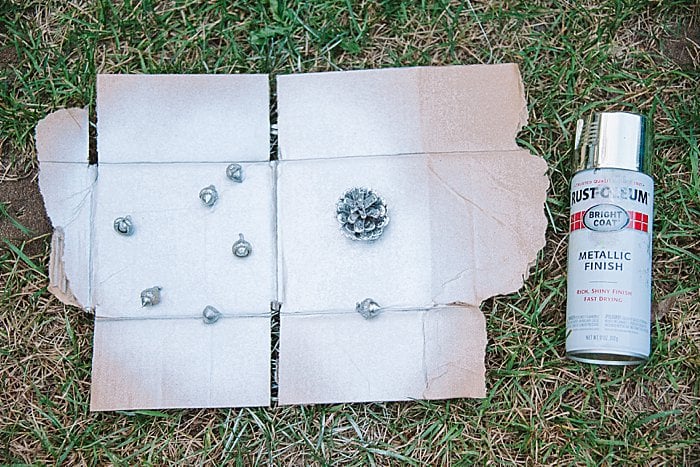
Step 5. Once dry to the touch, turn the pine cone again so you can spray it from another angle.
Continue to spray and get paint into all of the inner sections of the pine cone.
Let dry.
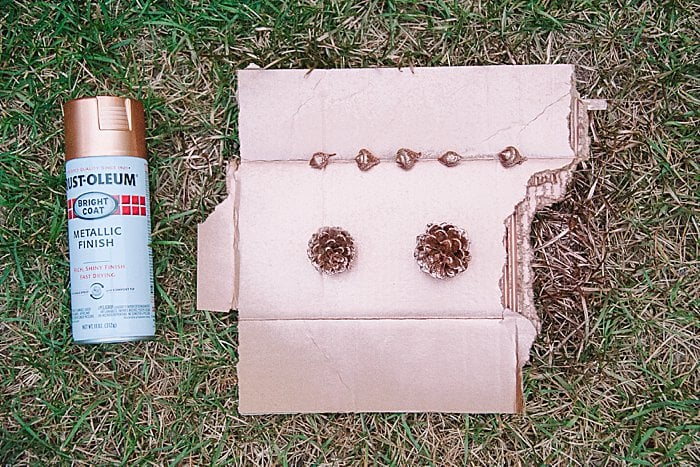
Step 6. Repeat the painting & let dry steps until the pine cones are fully coated from all angles.
Depending on the type and color of paint, and how heavy you spray, it will take at least several coats.
Once the pine cones are fully coated, let them dry completely.
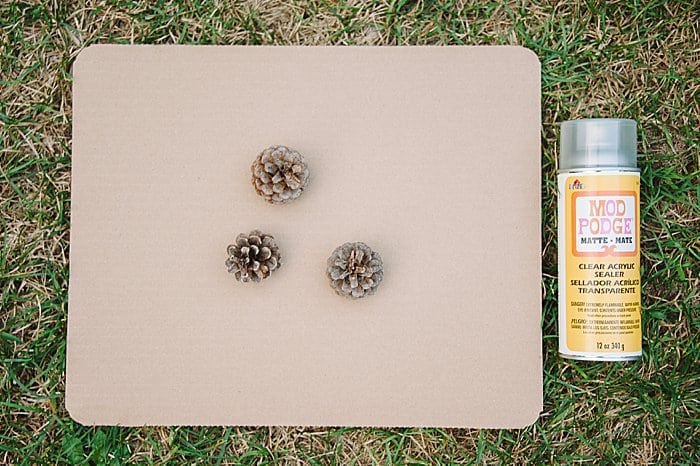
Step 7. If you want to give your painted pine cones an added layer of protection, you can spray them with a coat of clear acrylic sealer once they are fully dry.
Check the spray paint can to see how long it takes for the paint you used to fully cure; usually, it's several days.
Once the paint has cured and the painted pine cones are completely dry, spray them with a coat of clear acrylic sealer to further protect and preserve them.
(Clear acrylic sealer can be used to protect plain pine cones as well as painted pine cones.)
Step 8. Once everything is completely dry, the pine cones are ready to be used!
Painted pine cones are a great addition to home decor. Put them in jars, vases, baskets, or just set out on their own on a shelf or mantel. They would look great in a Thanksgiving tablescape too!
Or you can use them in pine cone crafts, like Pinecone Christmas ornaments or a pine cone wreath.
Common Questions
Pinecones collected from outside are often very dirty. Plus, bugs LOVE pinecones. So yes, you should clean and sanitize your pinecones before you use them. Otherwise, you might have some surprise bug visitors in your house. Using our tutorial for cleaning pine cones, you can prep them easily. If you buy pinecones, they will likely already be cleaned, prepped, and ready to go.
If you don't have the ability to collect your own pinecones from nature, you can buy them at craft stores, dollar stores, sometimes at big box stores and home decor stores, and of course, online at places like Amazon.
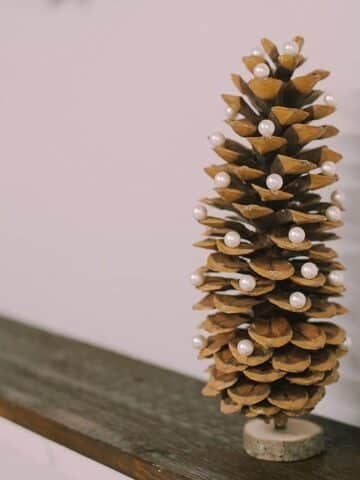
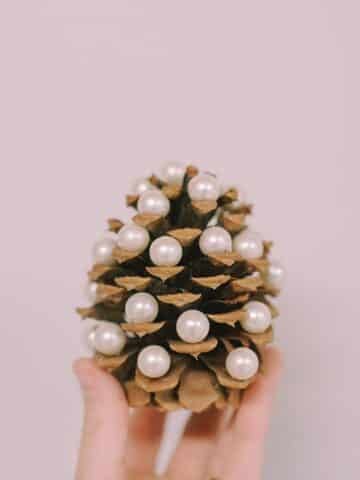
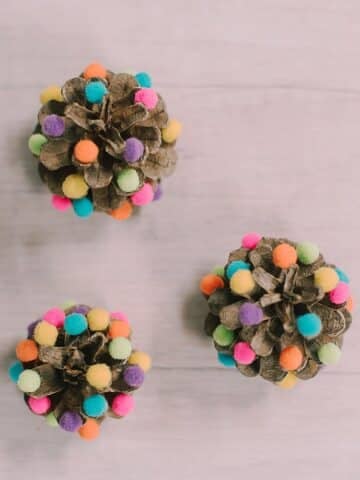
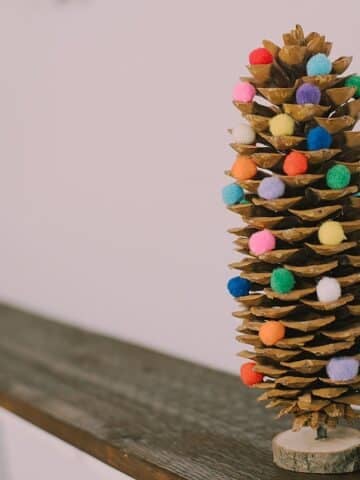
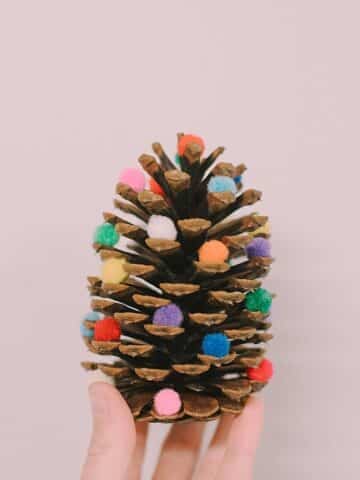
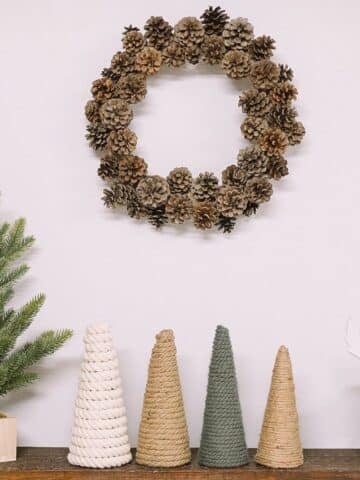
We love them too! We have a whole section on the blog dedicated to pinecone crafts with tons of different ideas. Among the top favorites are the pinecone wreath, the easy pinecone garland, and these mini pompom pinecone trees.
Once you learn how to paint pine cones, you'll be hooked. They're so beautiful and easy to do; several coats of spray paint and they're completely covered!
Collect pine cones from the ground, clean and dry them, and take them up a notch with simple cans of spray paint.
More Christmas Crafts You'll Love
---
⭐️🧶 Did you enjoy this craft and want to see more like it? ✂️ Join our FREE email community and get inspiring craft ideas sent right to your inbox! 🧵 ⭐️
---
How to Paint Pine Cones for Crafts and Decorations
Materials
- Clean, Dry Pinecones
- Spray Paint
- Clear Acrylic Sealer
Instructions
- If you collect your pinecones, clean and sanitize them using our tutorial for preparing pinecones for crafts.If you bought your pinecones from a craft store or online retailer, they should be prepped and ready to go.
- Prepare to paint.I like to spray paint outside if possible because of the stinky fumes and the mess.I use cardboard boxes to lay my items on.
- Follow the directions on the spray paint can, and spray the pine cones with the first coat.Let the first coat dry.You will NOT completely coat the pine cone in this first step; you will paint multiple coats so don't stress or spray it on too thick.
- Once the pine cones are dry enough to handle, turn them over to expose the other side and spray another coat.As you spray, go lightly, and try to hit all angles of the pine cone - spray from the top, sides, and underneath. You want paint to go into all the nooks and crannies of the pine cone.Let dry.
- Once dry to the touch, turn the pine cone again so you can spray it from another angle.Continue to spray and get paint into all of the inner sections of the pine cone.Let dry.
- Repeat the painting & let dry steps until the pine cones are fully coated from all angles.Depending on the type and color of paint, and how heavy you spray, it will take at least several coats.Once the pine cones are fully coated, let them dry completely.
- If you want to give your painted pine cones an added layer of protection, you can spray them with a coat of clear acrylic sealer once they are fully dry.Check the spray paint can to see how long it takes for the paint you used to fully cure; usually, it's several days.Once the paint has cured and the painted pine cones are completely dry, spray them with a coat of clear acrylic sealer to further protect and preserve them.(Clear acrylic sealer can be used to protect plain pine cones as well as painted pine cones.)
- Once everything is completely dry, the pine cones are ready to be used!Painted pine cones are a great addition to home decor. Put them in jars, vases, baskets, or just set out on their own on a shelf or mantel. They would look great in a Thanksgiving tablescape too!Or you can use them in pine cone crafts, like Pinecone Christmas ornaments or a pine cone wreath.
Notes
- Clean and sanitize the pinecones if you collect them from outside to eliminate dirt and bugs before you use them for crafts.
- Spray paint your pinecones with multiple light coats from varying angles to coat them from all directions.
- Use clear acrylic sealer when the paint is dry and cured to add a layer of protection to the painted pinecones.


Chris Alvarez
Thanks for sharing the process. I'm a first time pine cone decorator, located in South Carolina, plenty of Pine cones lying all around. Thought of putting them to good use by cleaning and spraying them. Your article on How To, was really helpful.
Stay blessed
Laura
Hi Chris, thank you for the nice message! I hope you have lots of fun pine cone projects in your future! 🙂