
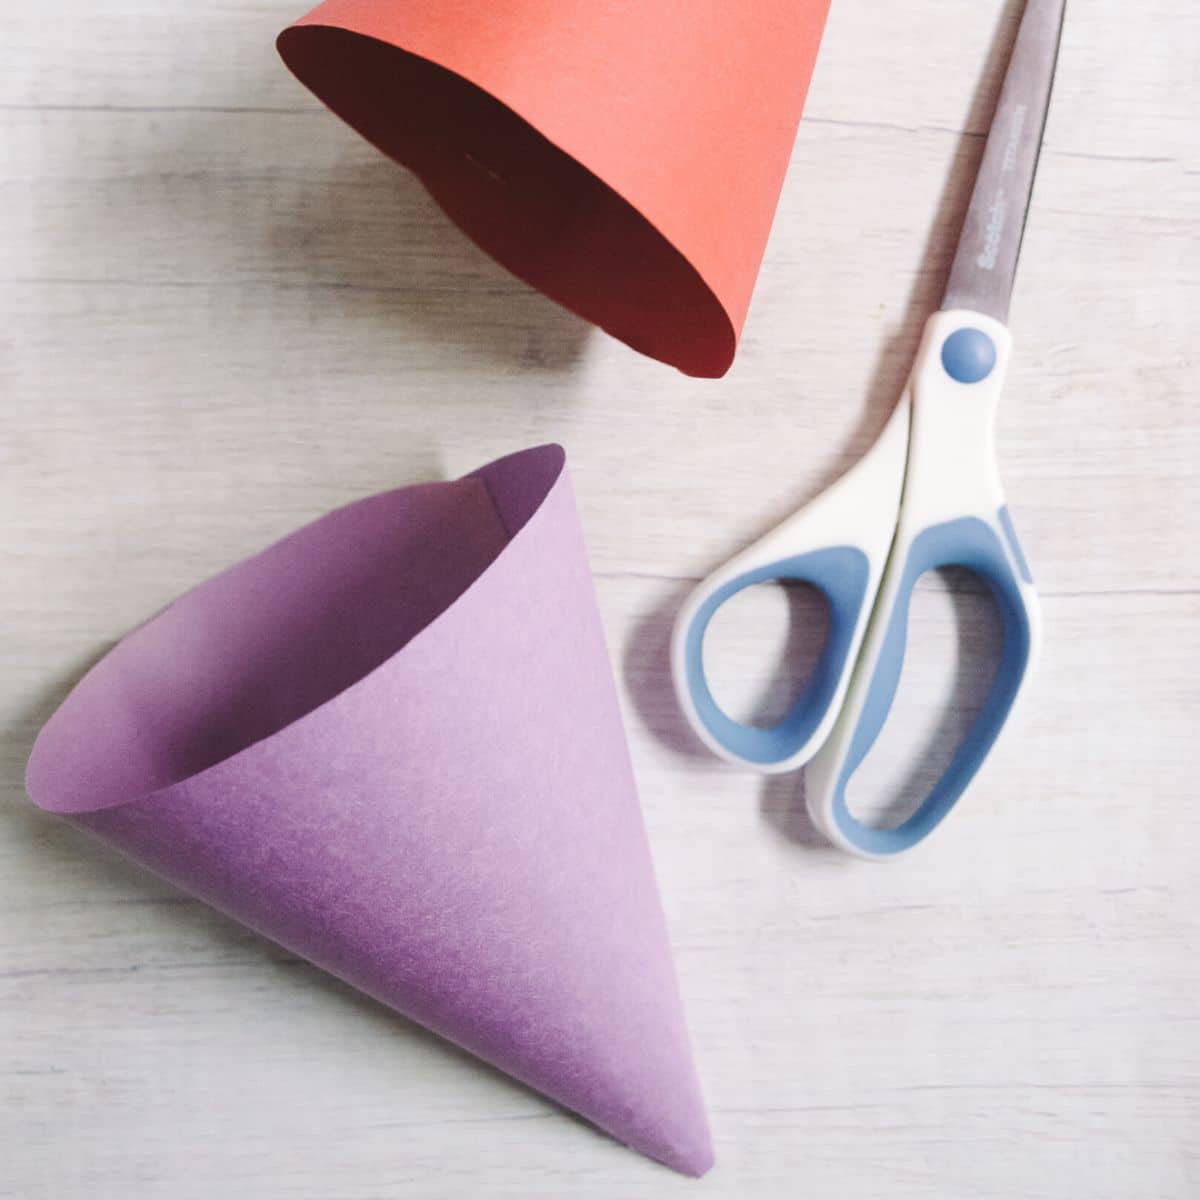
Learn how to make a cone out of paper with this easy step-by-step tutorial. There are three different methods to make a paper cone with a flat bottom, depending on the supplies you have. And once you're done, you can easily turn it into a DIY paper party hat!
If you're like me, you probably learned how to make a cone out of paper in elementary school. Life’s been busy though, and what once seemed simple might seem harder now.
I’m going to show you the best way I’ve found to make a cone out of paper.
You can use this technique to make DIY funnels, homemade party hats, faux ice cream cones, and even DIY Christmas decor if you turn the cones upside down and use them as the base for handmade trees!
Jump to:
Why You'll Love This Craft
- Paper cones are super easy to make, and there are three different ways to do it, depending on the supplies you have handy.
- Kids can easily make DIY cones too, using this tutorial.
- A basic 3D paper cone can be the starting point for lots of different craft projects from DIY yarn-wrapped Christmas trees to 3D fabric Christmas trees.
Craft Supplies Needed

- Paper - The thicker the paper is, the more sturdy the cone will be. But if it's too thick, you'll have a hard time manipulating it into a cone without it creasing. We used scrapbook-style rectangular paper in this tutorial, but you could also use construction paper or medium-weight cardstock.
- Paper Cone Template - get it inside our Free Resource Library!
- Pencil - To trace the template onto the paper.
- Tape, Stapler, or Hot Glue Gun - There are three different ways of finishing off a paper cone.
How to Make a Cone Out of Paper
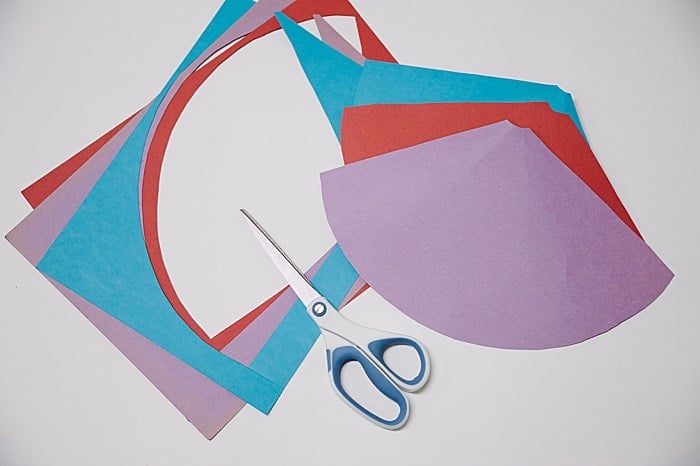
Step 1. Use the cone template from the free resource library to cut cone shapes out of paper.
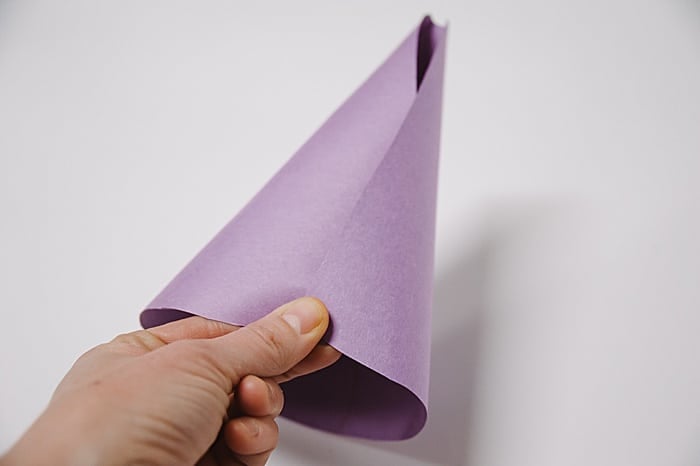
Step 2. Fold the paper into the shape of a cone.
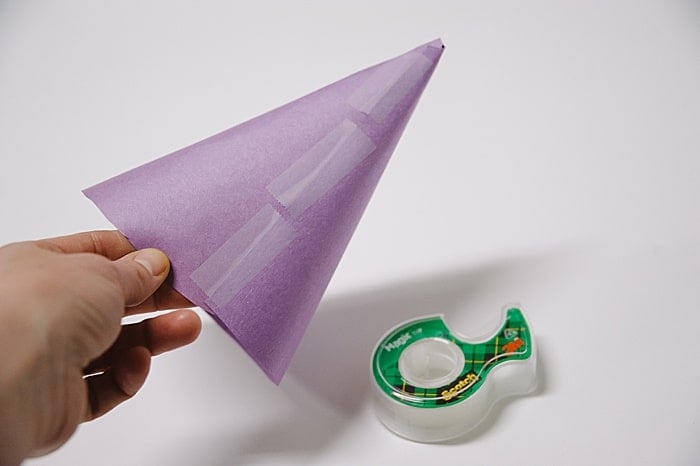
Step 3. (Option 1) Tape along the cone's seam to hold its shape in place.
This is the least durable option of finishing off the cone, but it works if it's all you have.
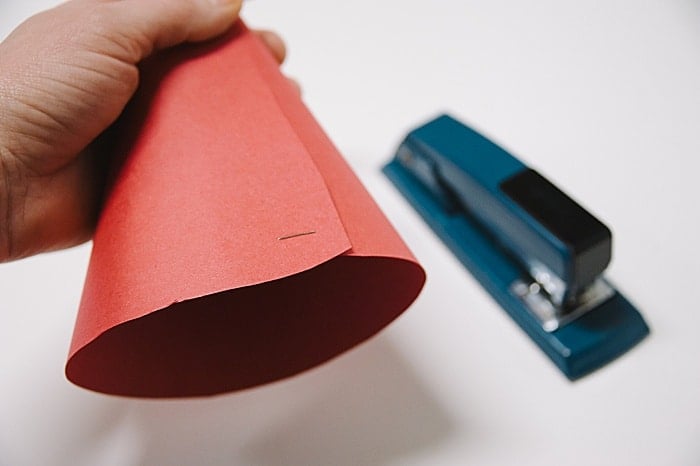
Step 4. (Option 2) Staple along the cone's seam to hold its shape.
Begin stapling at the bottom of the cone, and add a few staples as far up the same as your stapler will go.
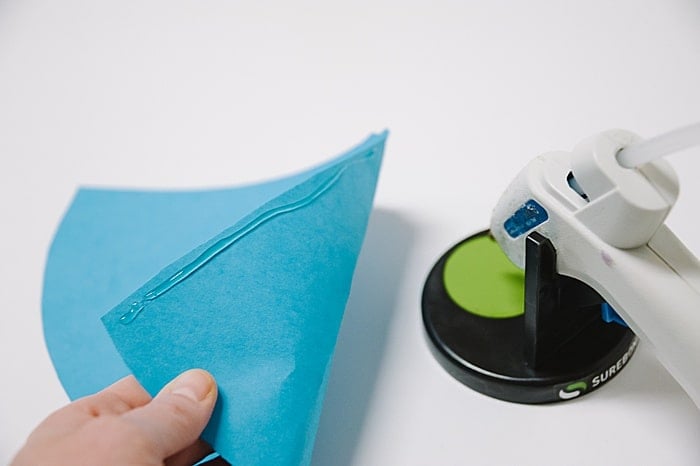
Step 5. (Option 3) Hot glue along the edge of the template.
Wrap it into a cone shape, and hold it in place until the glue dries and secures the cone shape.
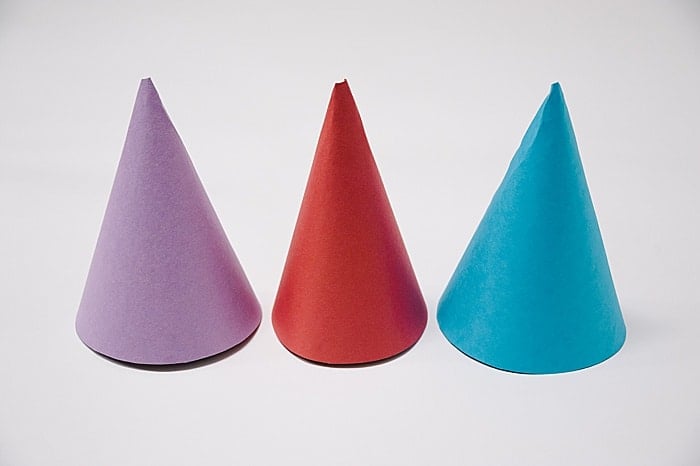
That's it! Three different methods of making an easy paper cone, depending on whether you have tape, a stapler, or hot glue.
How to Make a Party Hat
Once you've made a cone with paper, you might start thinking about party hats. It happens to me every time!
Follow these simple steps to turn your cone into a DIY party hat with only a few extra supplies!


Step 6. Three supplies are needed to turn a paper cone into a homemade party hat.
- Single Hole Punch
- String - we used yarn but any type of string, ribbon, or cording would work.
- Cord Lock Stopper
You can also use elastic string instead of yarn and a cord lock stopper. (Most store-bought party hats use thin elastic string.)
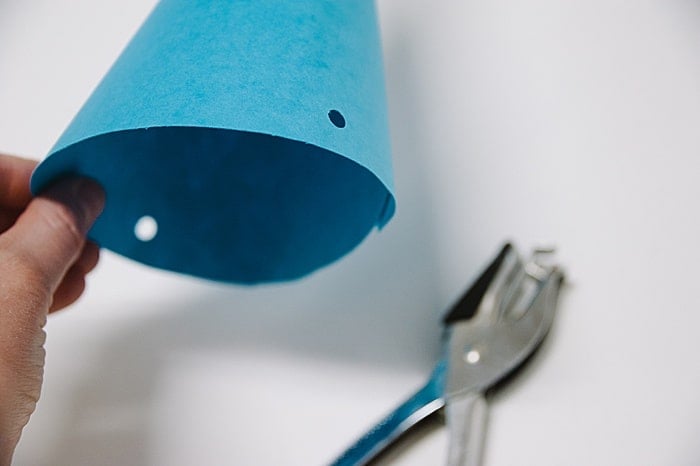
Step 7. Punch two holes, one on either side of the cone.
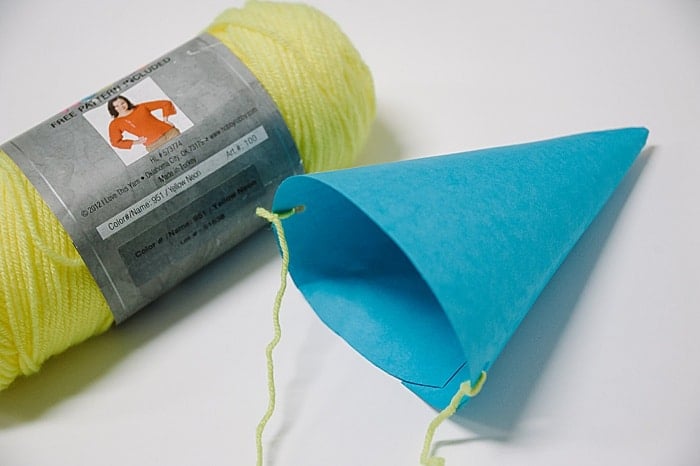
Step 8. Cut two long pieces of yarn. Tie one piece to the hat, through one hole. Tie the second piece of yarn through the other hole.
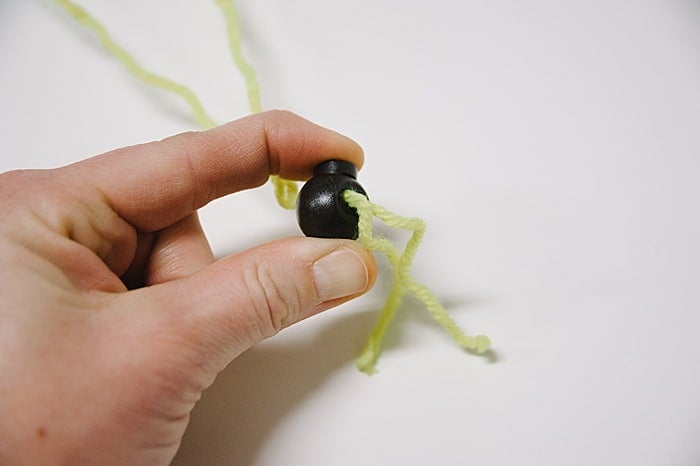
Step 9. Add a cord lock stopper to make the party hat adjustable.
To add the stopper, squeeze the button and pass both ends of the yarn through the stopper's hole.
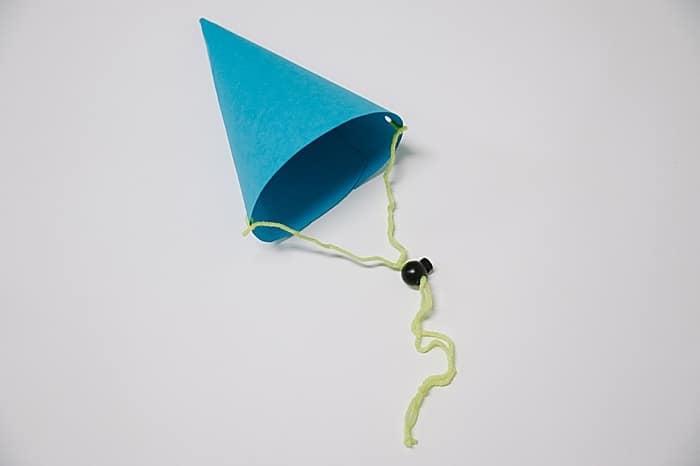
Step 10. Tie a knot at the bottom of the two yarn strings and trim any excess. This will prevent the plastic stopper from accidentally slipping off the strings.

You've made a party hat!
If you want to use elastic string instead, simply cut a piece and tie it through the two holes on either side of the hat.
Common Questions
You can make a cone out of any type of paper. Keep in mind though; thin paper makes flimsy cones, while thicker paper makes more sturdy, durable cones. But the paper can be too thick. If the paper is too stiff and thick, you'll have a hard time rolling it into a cone shape, and you'll have wrinkles and folds. A medium-weight paper like scrapbooking paper, cardstock, or sturdy construction paper works well.
Hot glue is the preferred way to secure the seam of a paper cone. It's easy, durable, and hidden.
Staples are the next durable option because they hold well and won't come apart. However, you will see the staples, and you are limited by the size of your stapler when you try to secure the seam up near the tip of the cone.
Tape is the least durable option for making a paper cone because it doesn't always hold well, and often comes apart. But it's better than nothing if that's all you've got!
A sturdy paper cone with a flat bottom can be used for many different things! You can use it for sweets and treats, filling it up like an ice cream cone. You can use it to make a birthday party hat by adding a string, and make it into a kids' craft by letting them decorate their own hats! You can also use paper cones as the base for homemade trees for Christmas, and so much more.

Turn these easy paper party hats into a fun craft for kids by giving them supplies to decorate their own hats!
You can either have them draw on the paper before you make the paper cones, or make them first and then let them decorate!
Have fun! It’s party time!
More Kids Crafts You'll Love

---
⭐️🧶 Did you enjoy this craft and want to see more like it? ✂️ Join our FREE email community and get inspiring craft ideas sent right to your inbox! 🧵 ⭐️
---

How to Make a Cone Out of Paper
Materials
- Paper (medium-weight cardstock, construction paper, or scrapbooking paper)
- Paper Cone Template (available in our free resource library)
- Pencil
- Tape, Stapler, or Hot Glue Gun
Instructions
- Use the cone template from the free resource library to cut cone shapes out of paper.
- Fold the paper into the shape of a cone.
- (Option 1) Tape along the cone's seam to hold its shape in place.This is the least durable option of finishing off the cone, but it works if it's all you have.
- (Option 2) Staple along the cone's seam to hold its shape.Begin stapling at the bottom of the cone, and add a few staples as far up the same as your stapler will go.
- (Option 3) Hot glue along the edge of the template.Wrap it into a cone shape, and hold it in place until the glue dries and secures the cone shape.
Notes
- Hot glue is the preferred way to make a paper cone because it's the most durable and hidden. Staples are the second-best; tape is the least durable option.
- For best results, choose a medium-weight paper. Thin, flimsy paper makes flimsy cones. Thick, stiff paper won't be able to roll into a cone without creasing and wrinkling.
- To make a DIY party hat with a paper cone, use a single-hole punch to make a hole on either side of the cone. Use string and a cord lock stopper, or elastic string, tied through both holes to attach the birthday hat to your head!

Sarah M.
This was so helpful for my daughter's 5th birthday last weekend! We made about 12 cones using the hot glue method and they held up great through the whole party. One thing I learned — cardstock from the dollar store was too flimsy, so I grabbed some thicker scrapbook paper from Michaels and it made a huge difference. For anyone who doesn't have time to DIY a big batch, GINYOU makes ready-made party hats that are CPSIA certified (I used those for the classroom party since I needed 25 of them). Thanks for this tutorial!
Laura
Thanks Sarah! I'm glad you liked the tutorial!
Jamie W.
I bookmarked this last year when I was scrambling to pull together my daughter's 5th birthday party in two days. Ended up making 8 cone hats from leftover wrapping paper — they turned out better than I expected, honestly. The folding trick you showed for the base saved me a lot of frustration. One thing I learned the hard way though: if you're making these for a classroom party with 20+ kids, it's a LOT of cutting. I ended up ordering a pack of CPSIA-certified party hats from ginyouglobal.com for the school party and kept the handmade ones for the family celebration. Best of both worlds.
Laura
Thanks Jamie!