Learn how to finger knit with yarn using the two-finger knitting technique in this easy step-by-step tutorial. All you need is some yarn and your hands!
Finger knitting is a technique I learned as a kid in the 90's. My cousins and I created colorful garlands that were 10+ feet long with yarn generously given to us by our grandmother.
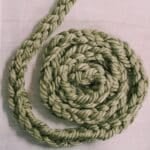
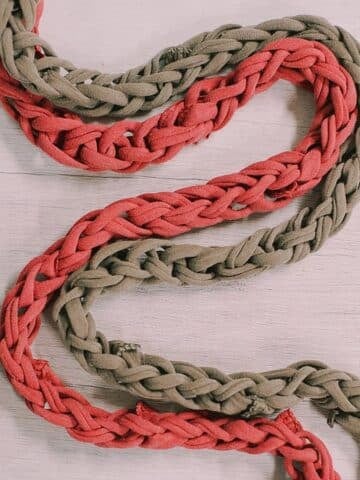
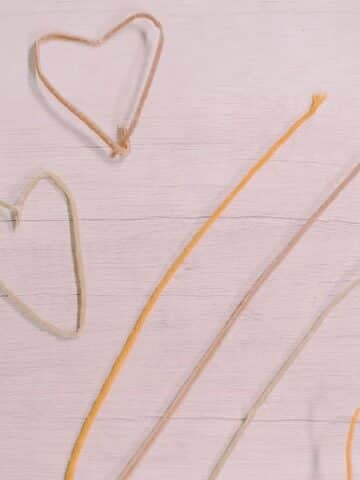
The process can be done using two fingers or four fingers; we made a beautiful garland using chunky yarn with a two-finger knitting technique, and we even upcycled t-shirts into a lovely finger knit garland using t-shirt yarn!
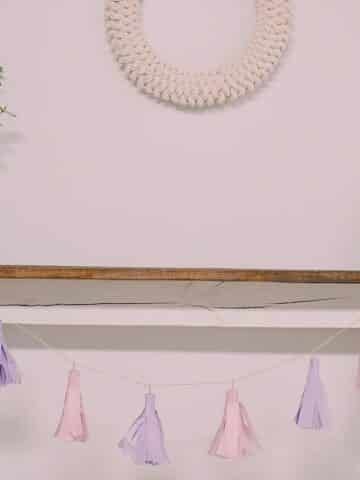
Here is a tutorial showing you how to finger knit using a two-finger knitting technique - perfect for making garlands of any color for your mantel!
Jump to:
Why You'll Love This Craft
- Yarn crafts are the best because everyone has yarn in their craft stash. Plus, yarn is widely available at any craft store, dollar store, local fiber boutique, and of course, online.
- Finger knitting is a fun project because you don't need any other supplies besides yarn and your hand. Oh, and scissors to cut the yarn. That's it!
- The process of finger knitting is meditative and methodical in itself, which means it is a fun mindless activity to do when you want your hands to be busy. Even better, this makes a beautiful garland that can be incorporated into your home decor for any season or holiday. You can also learn more advanced finger-knitting techniques that allow you to knit "rows" and make things like baby blankets, all with finger knitting!
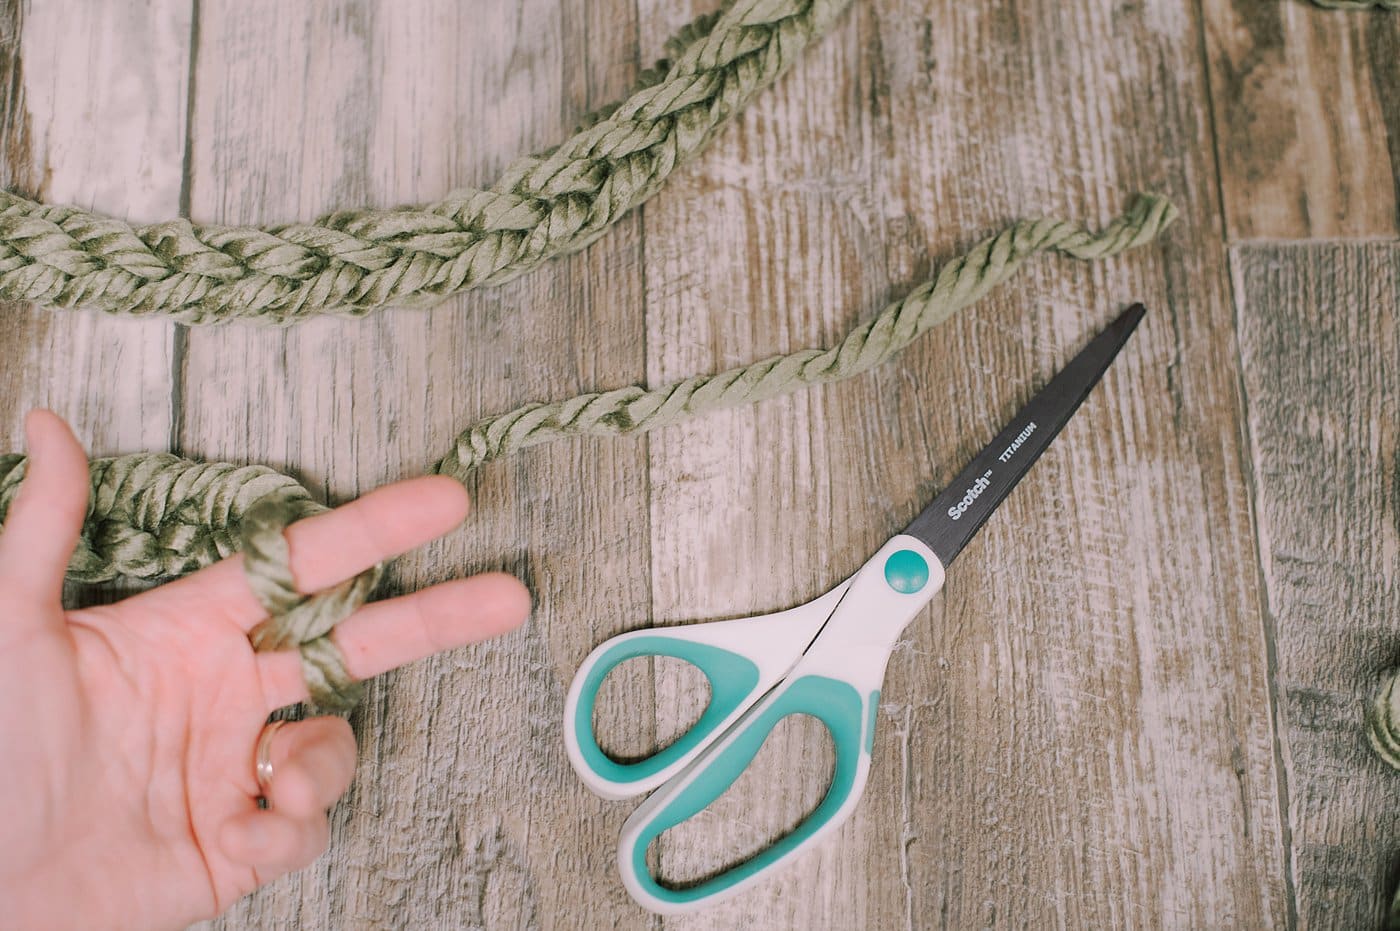
Craft Supplies Needed
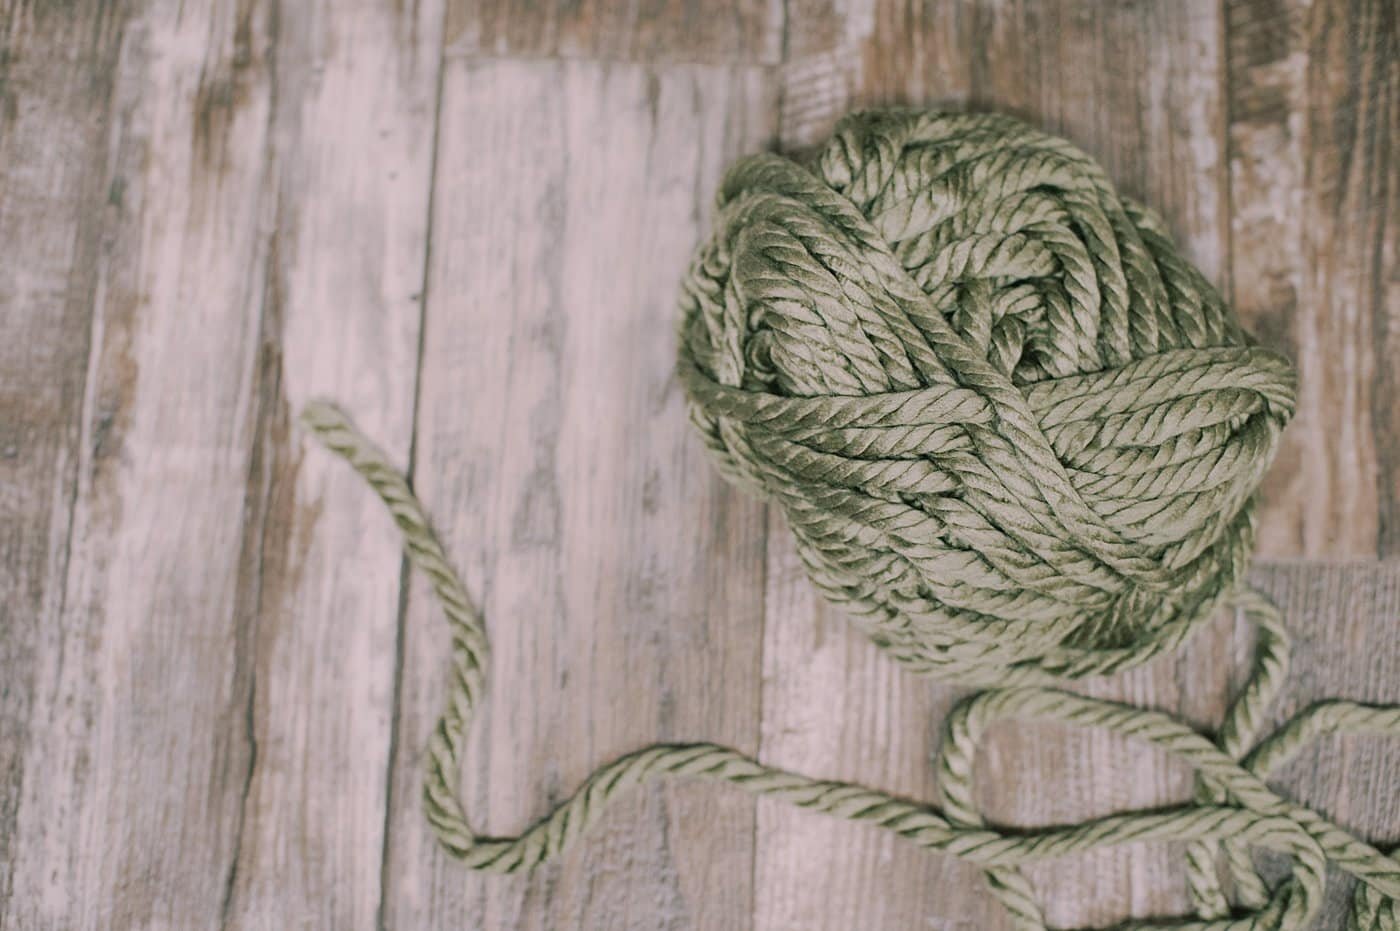
- Yarn - My favorite is to use chunky yarn because it is fast and easy to finger knit with, but you can use any type of yarn.
- Scissors - To cut the yarn.
- Your Hand - It's called finger-knitting for a reason! There are different techniques for finger knitting, most commonly using two fingers or four fingers. In this tutorial, we are using the two-finger technique for finger knitting because it's quick and easy!
How to Finger Knit using Yarn (The Two Finger Technique)
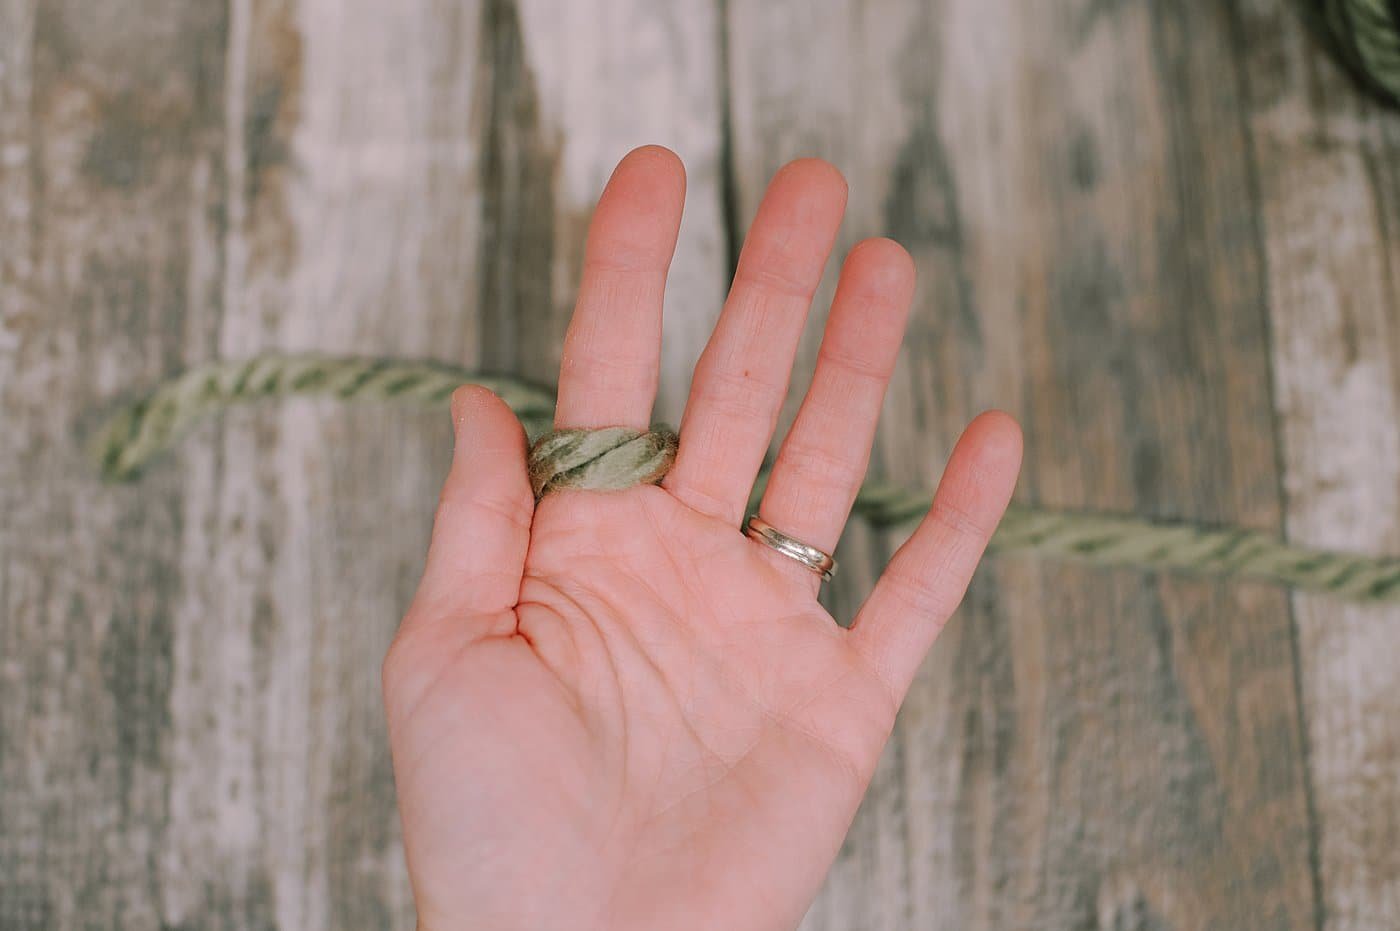
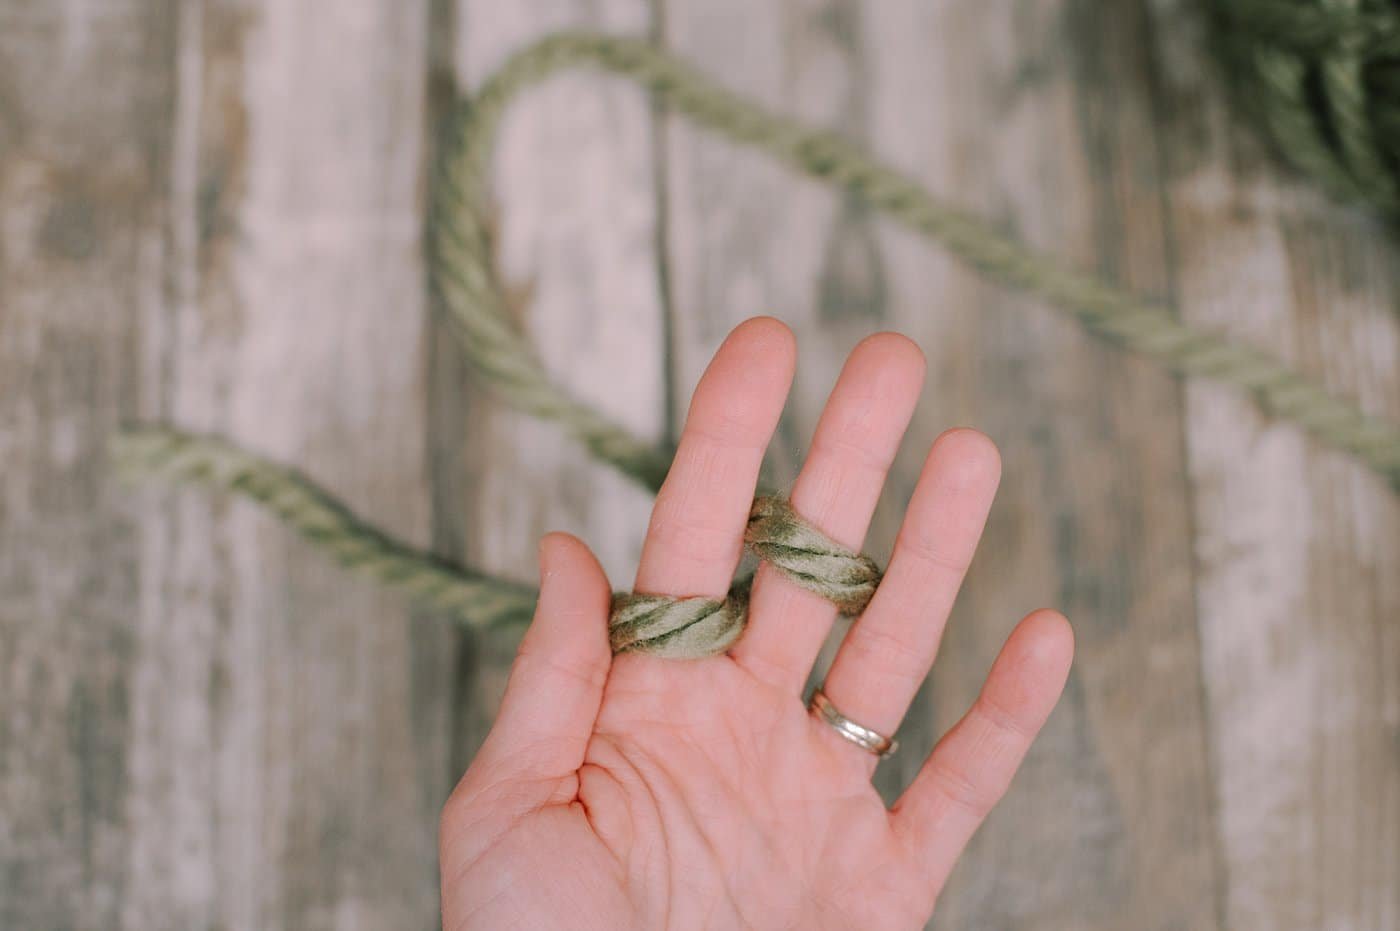
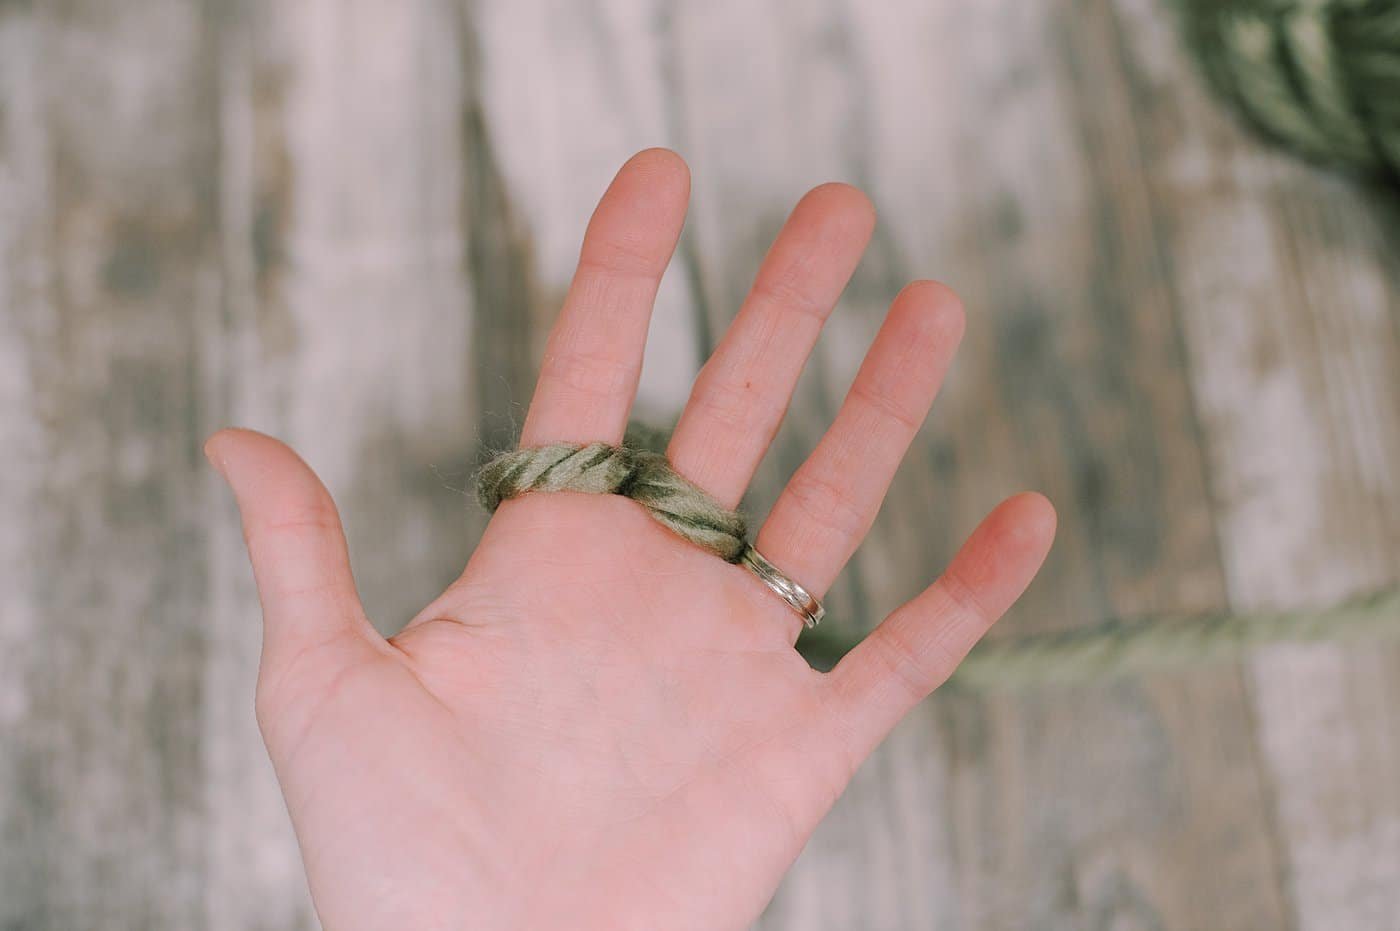
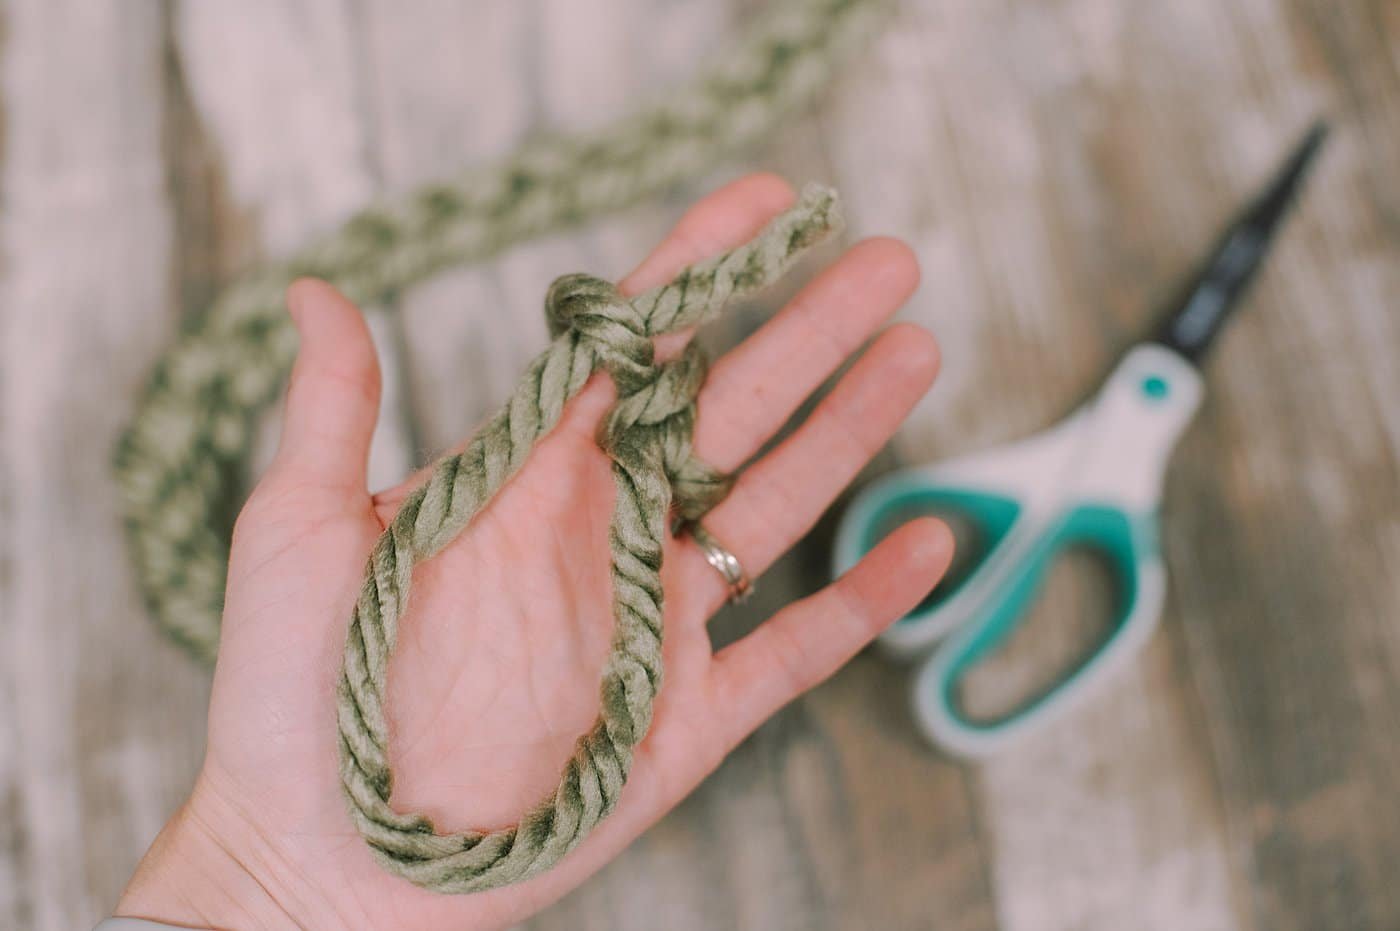
Step 1. Begin with the tail end of the yarn pinched between your thumb and the side of your hand, as pictured below.
Bring the yarn around the front of your pointer finger, and then behind your middle finger.
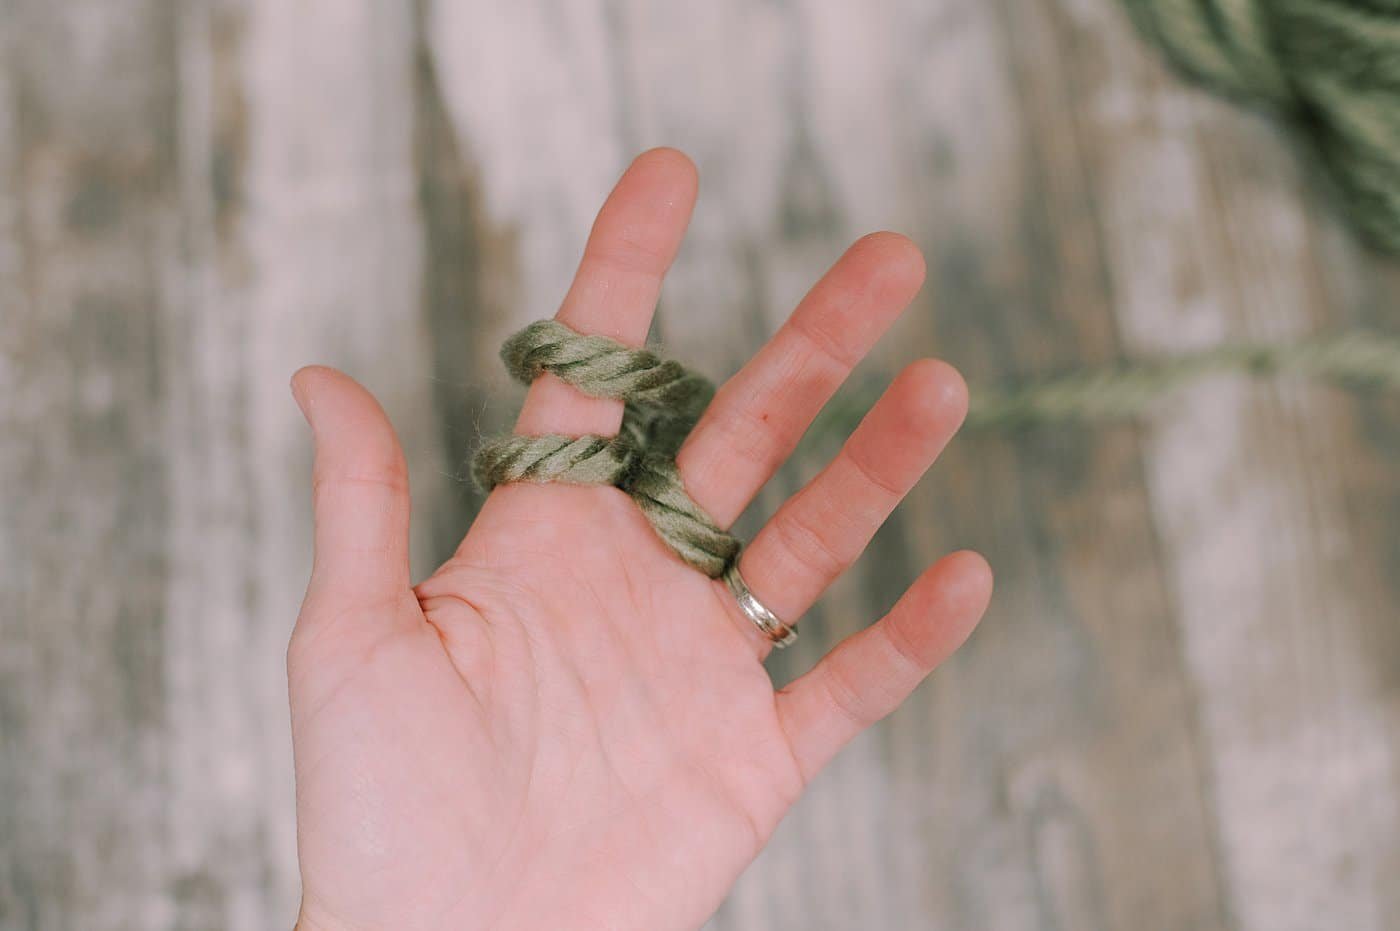
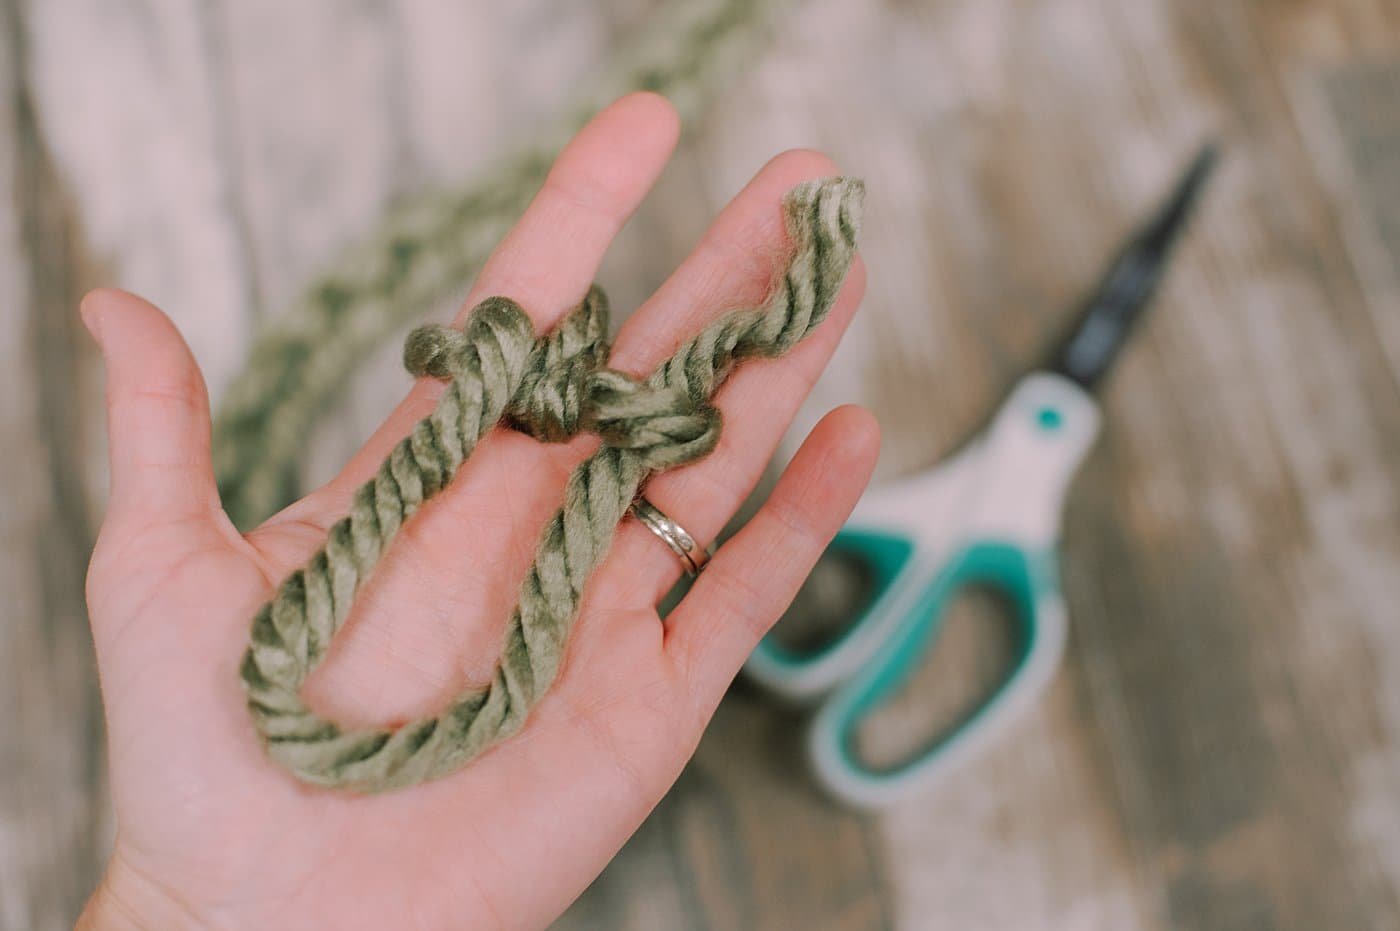
Step 2. Bring the yarn around the back of your middle finger, and then wrap it back around the front of your middle finger and behind your pointer finger.
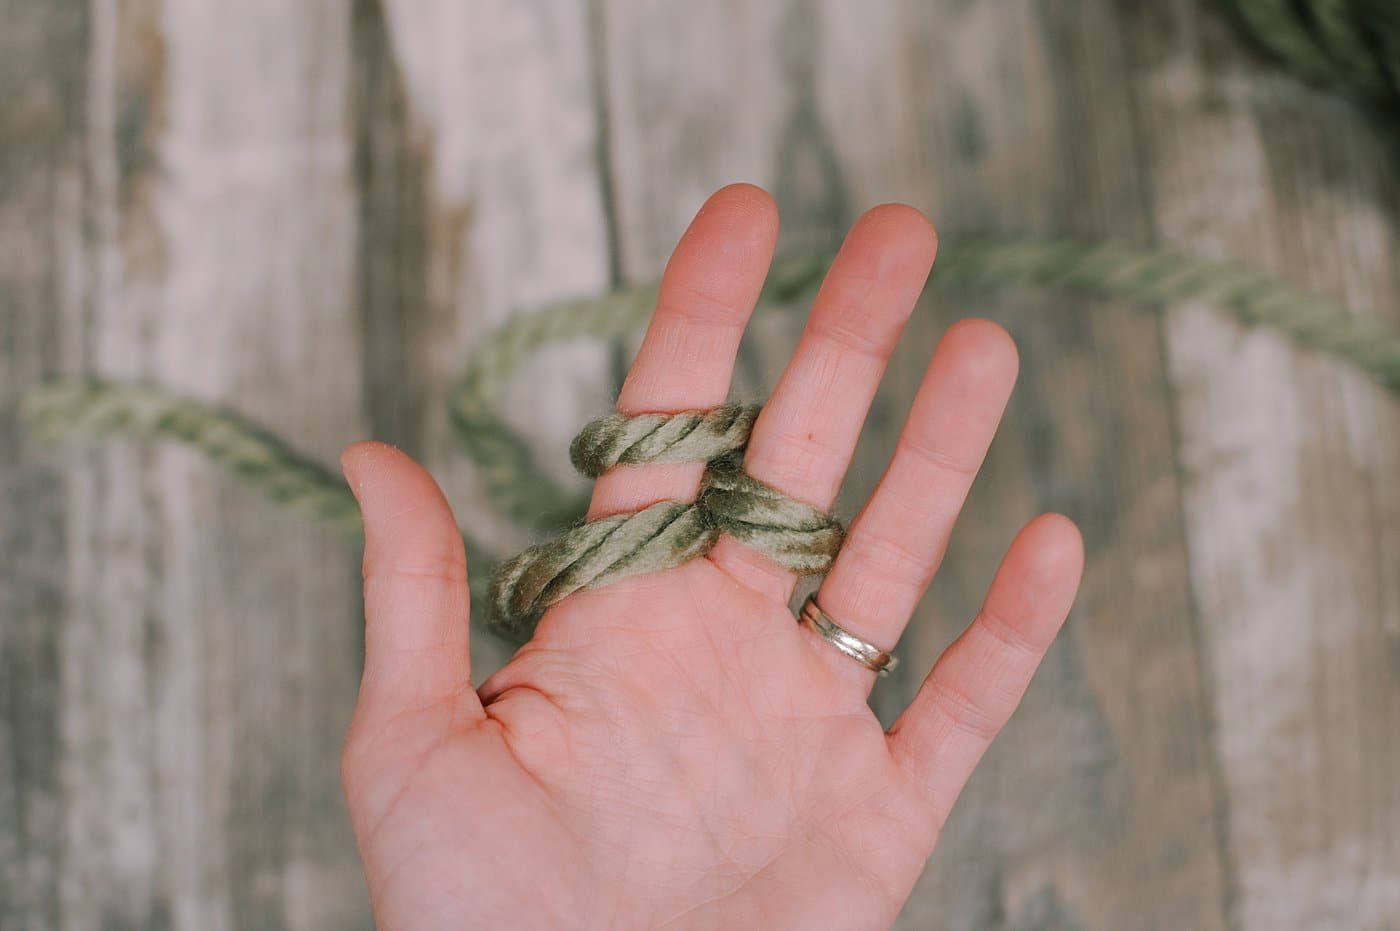
Step 3. Bring the yarn around the back of your pointer finger, to the front of your pointer finger, and then to the back of your middle finger again.

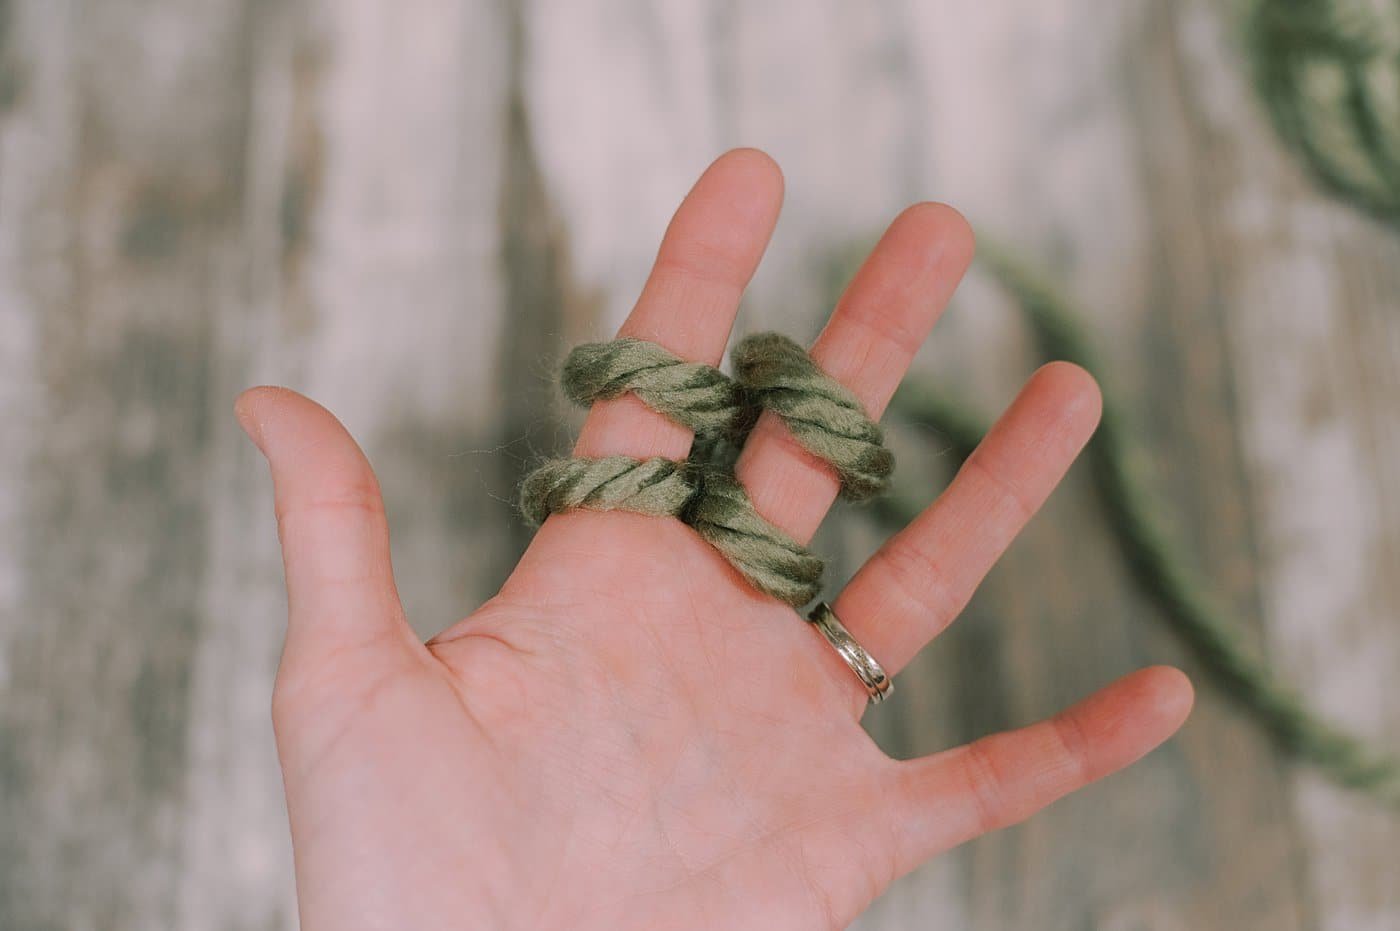
Step 4. Bring the yarn around the backside of your middle finger, across the front side of your middle finger again, and let the yarn rest down back, in between your pointer and middle fingers.
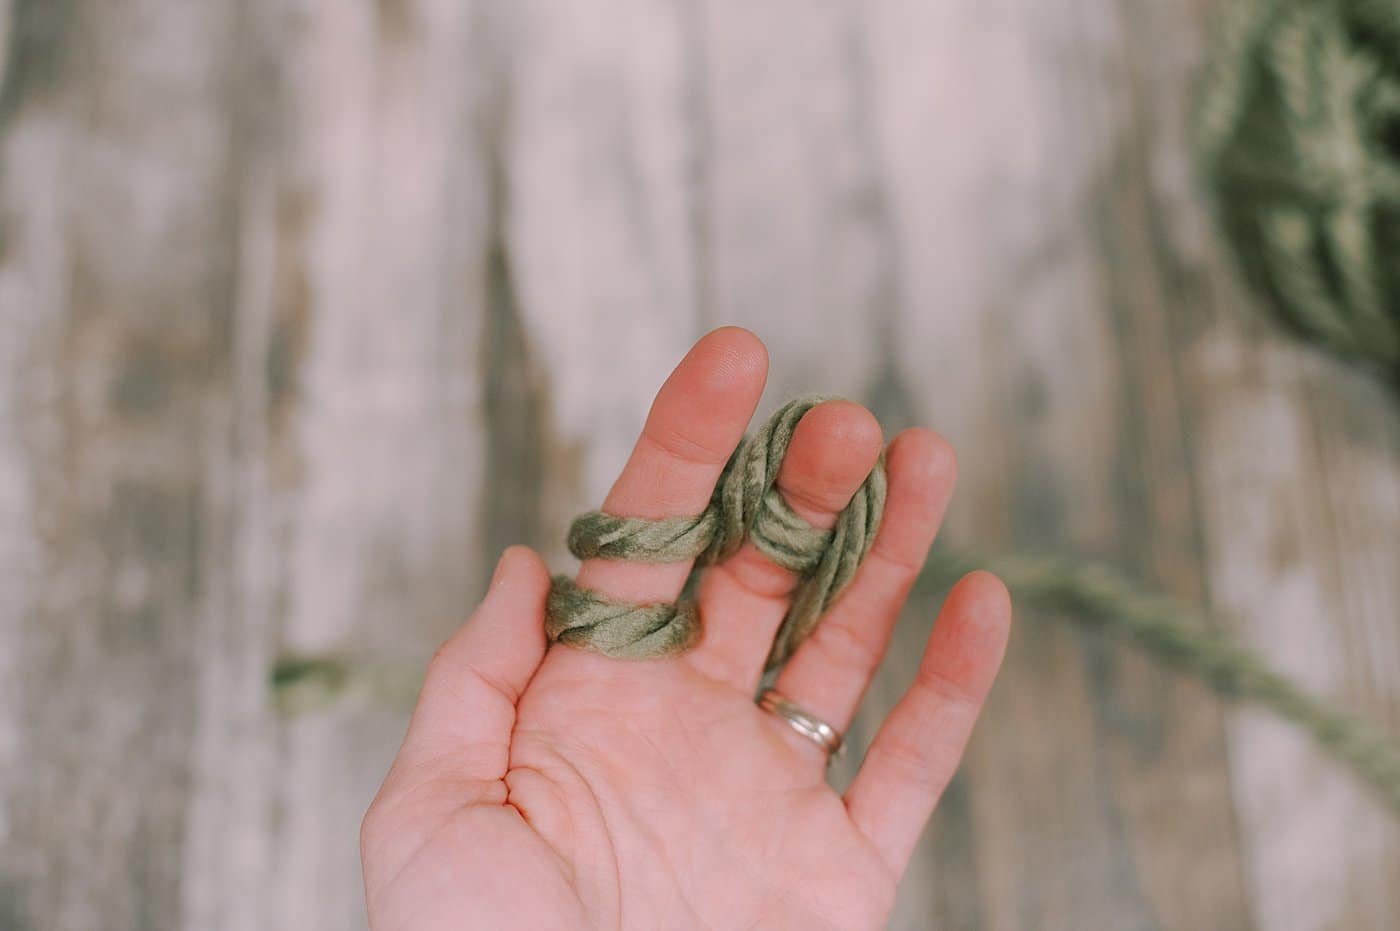
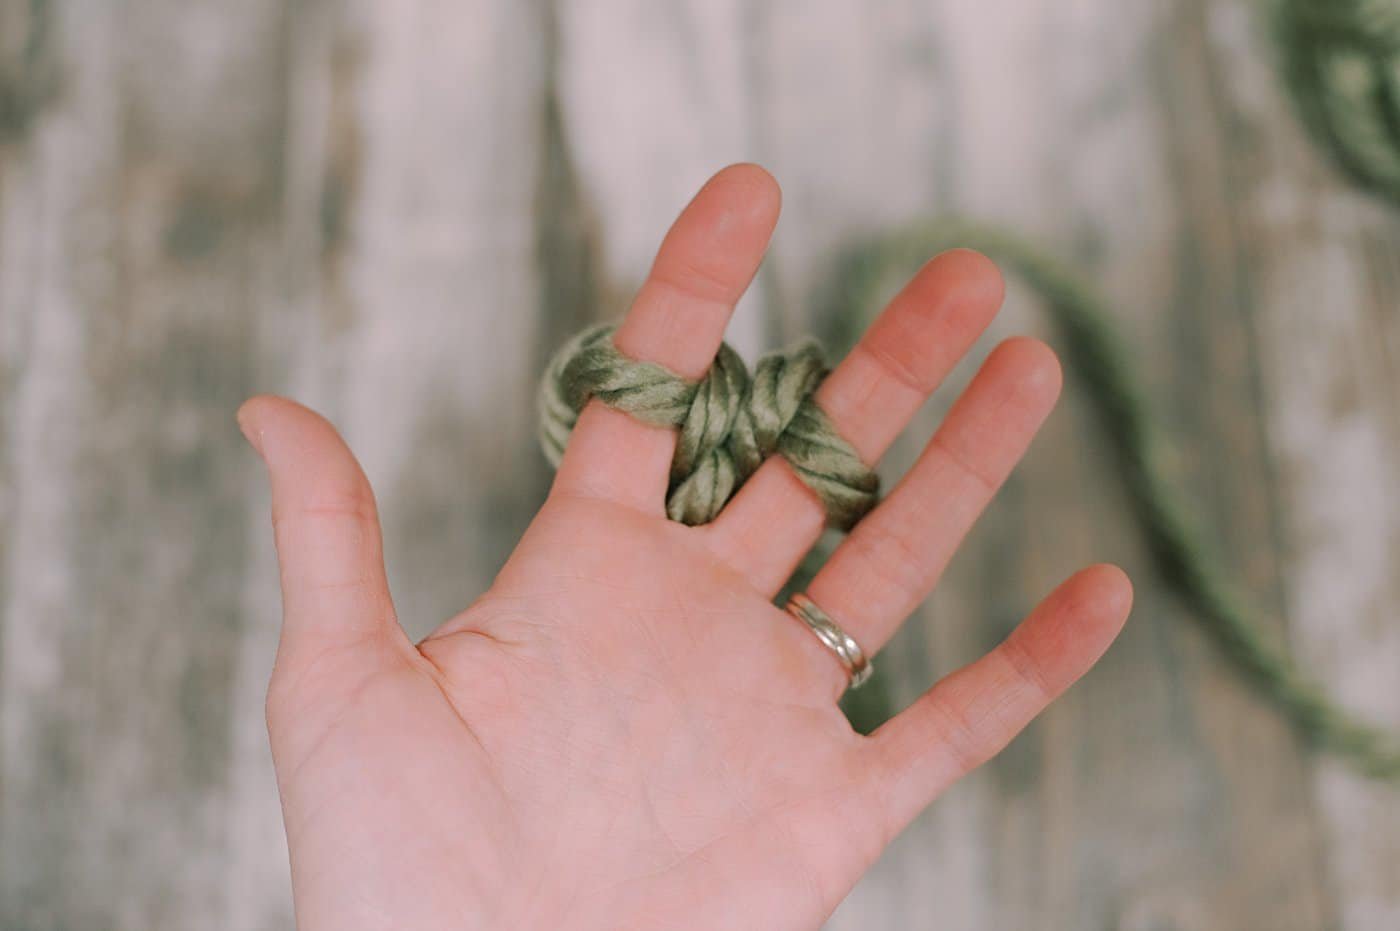
Step 5. On one finger, lift the yarn section that is closest to the base of your finger up and over the top section of yarn, and up off of your finger to the backside of your hand.
You will only have one section of yarn left on that finger now.
Step 6. Repeat this same process on the other finger.
Step 7. You'll be left with only one section of yarn on each finger.
Pull the yarn tail behind your hand gently to tighten things up.
Step 8. Repeat the same process - wrap the yarn around the backside of your pointer finger, across the front of the pointer, behind the middle finger.
Step 9. Around the outside of the middle finger, and then across the front of the middle finger again.
The yarn will rest between the pointer and middle fingers, toward the back of your hand.
The process of finger knitting is similar to making a "figure 8" around your fingers.
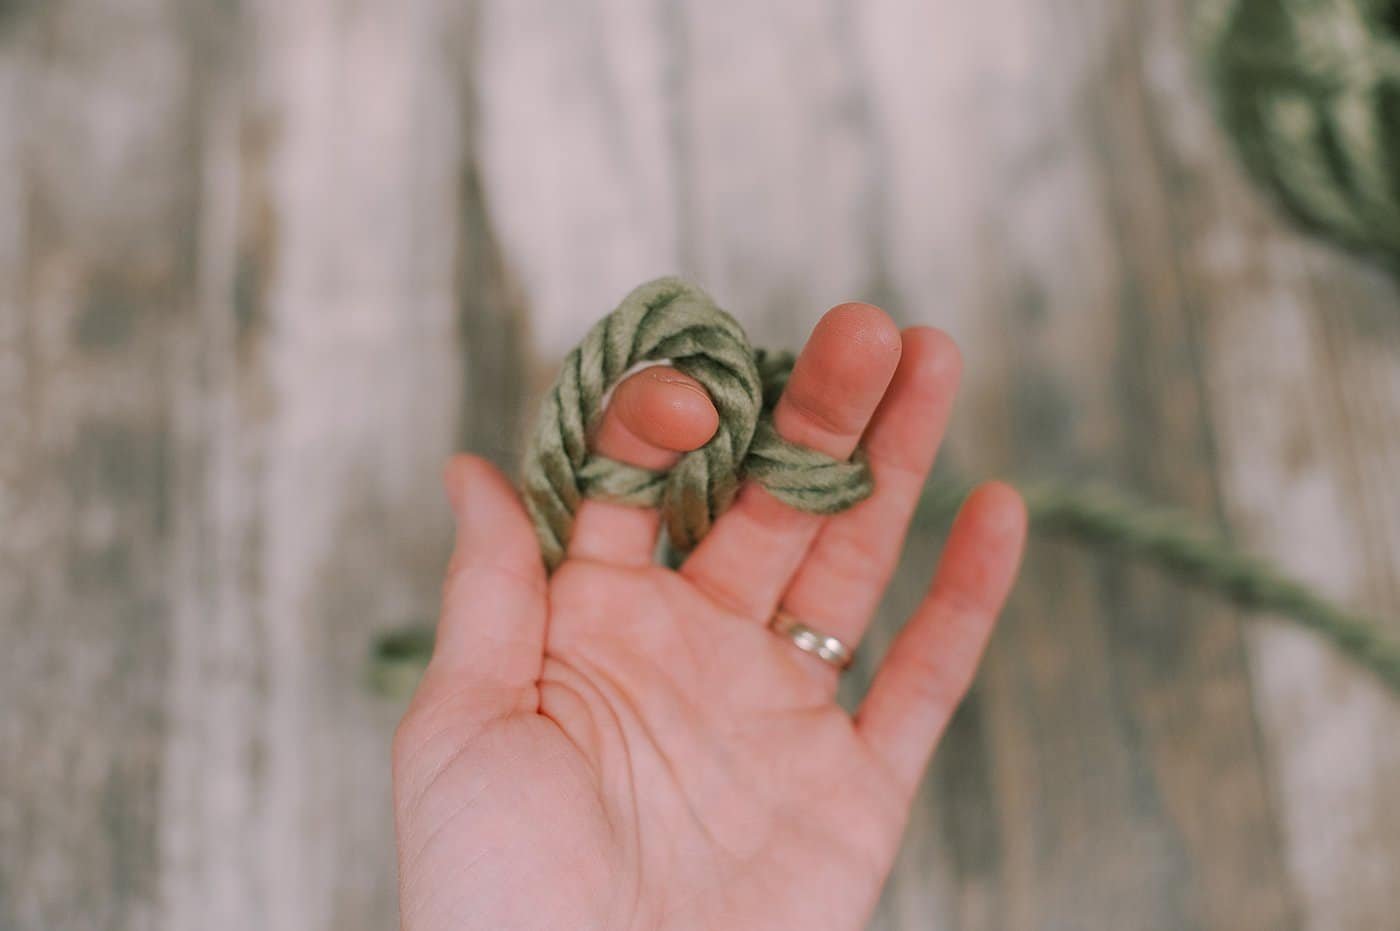
Step 10. Then lift the lower section of yarn closest to the base of each finger up and over the top section, off the tip of each finger toward the back of your hand.
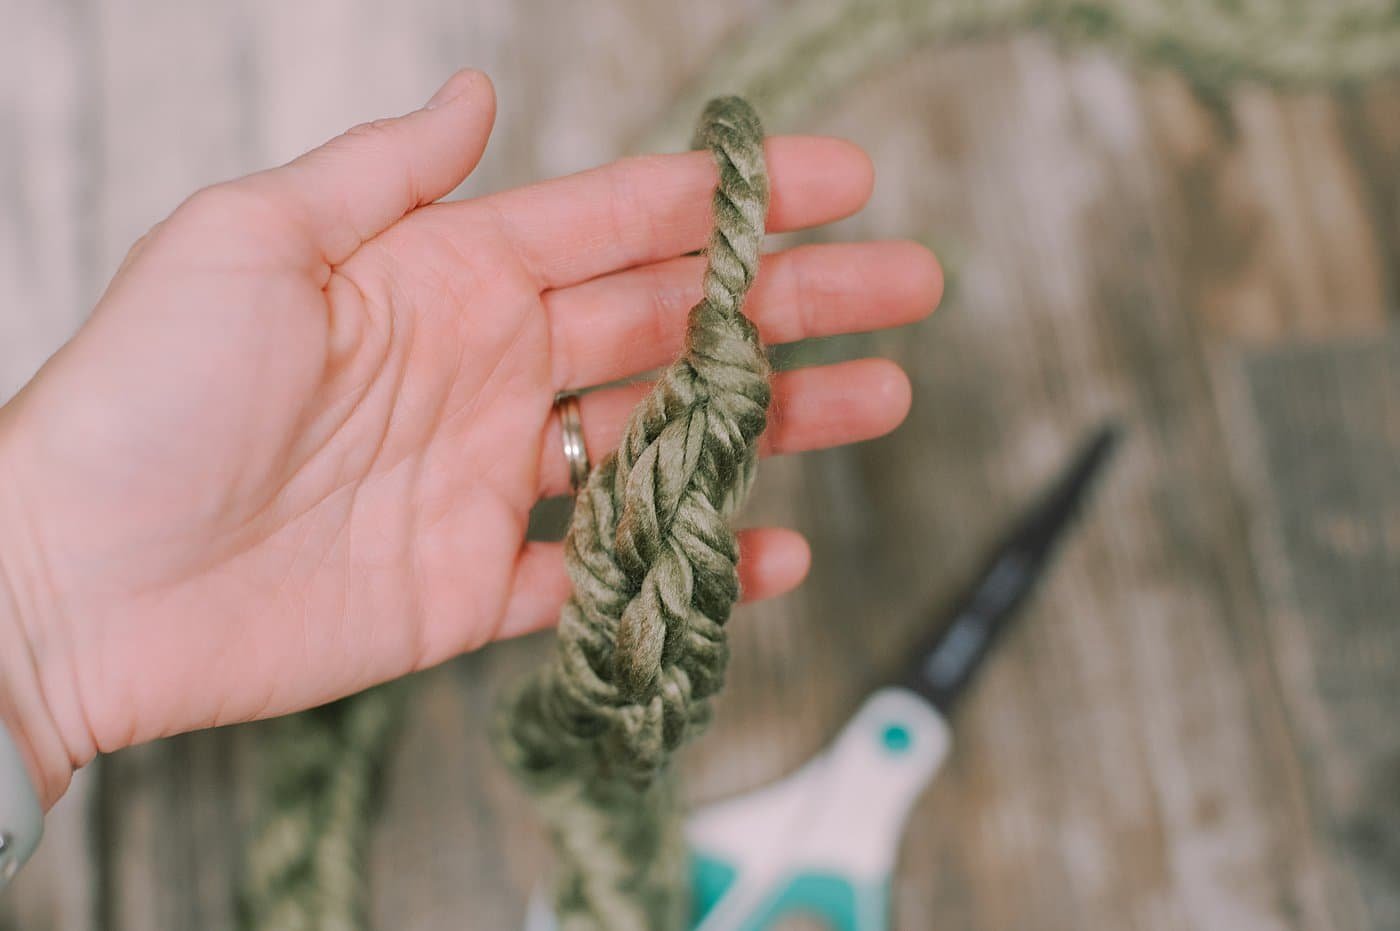
Step 11. Repeat to make each "stitch" and pull on the yarn tail to tighten the finger knitting as you go.
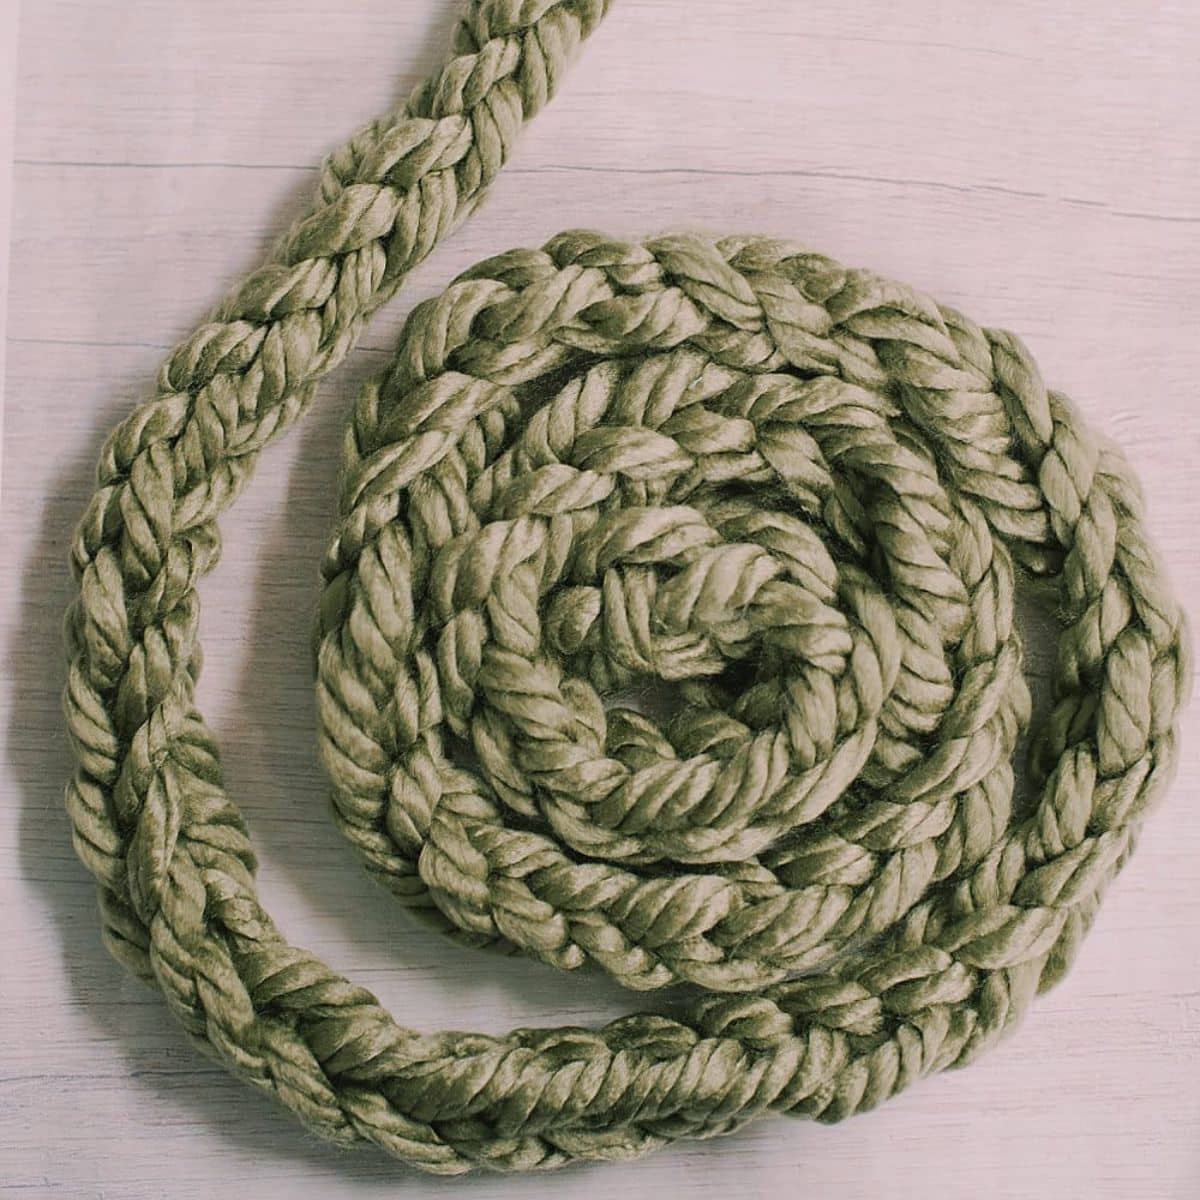
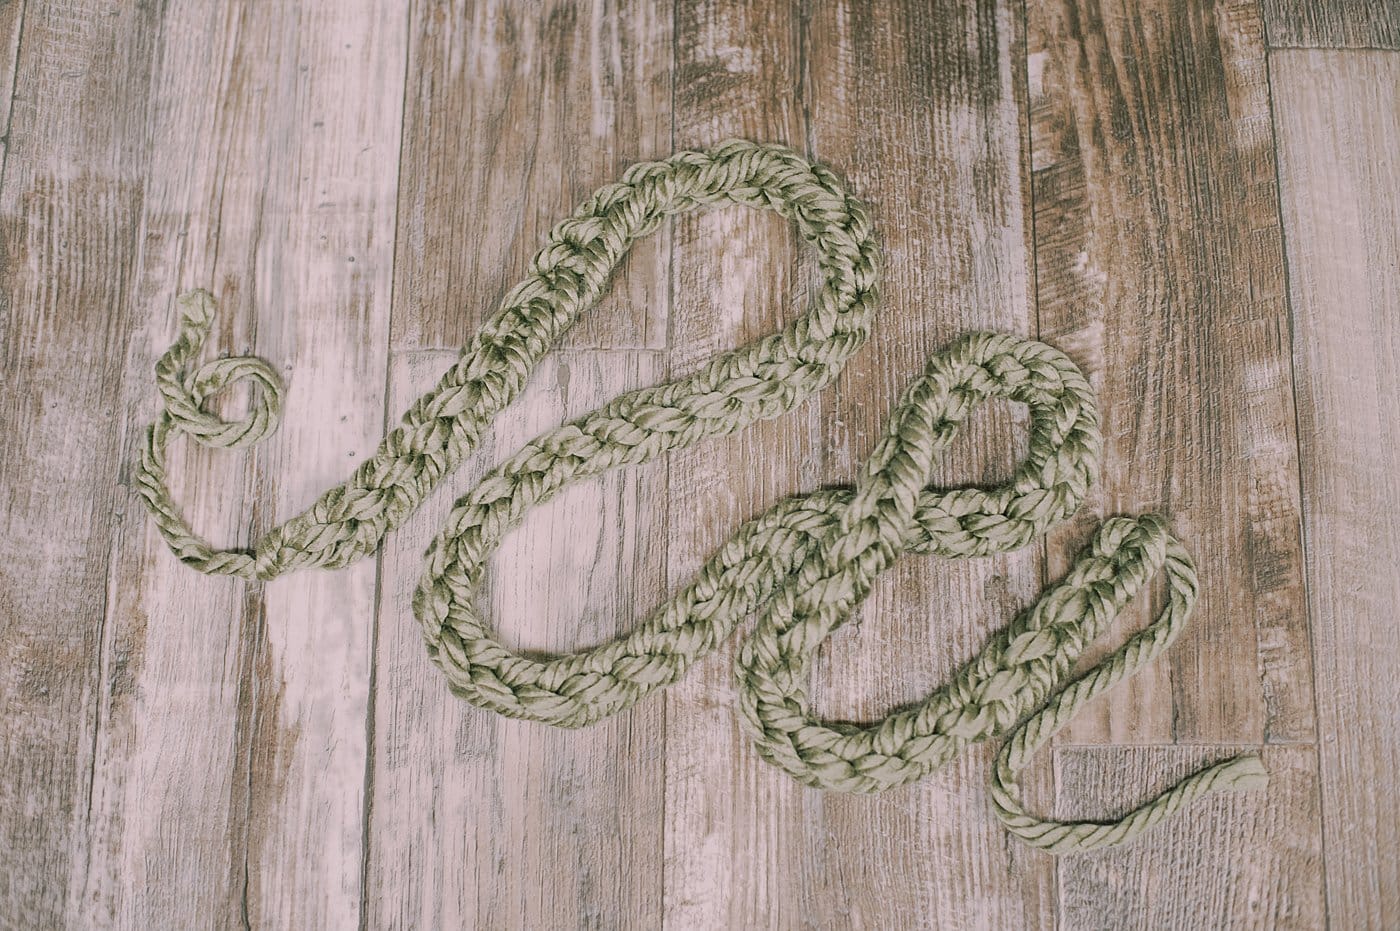
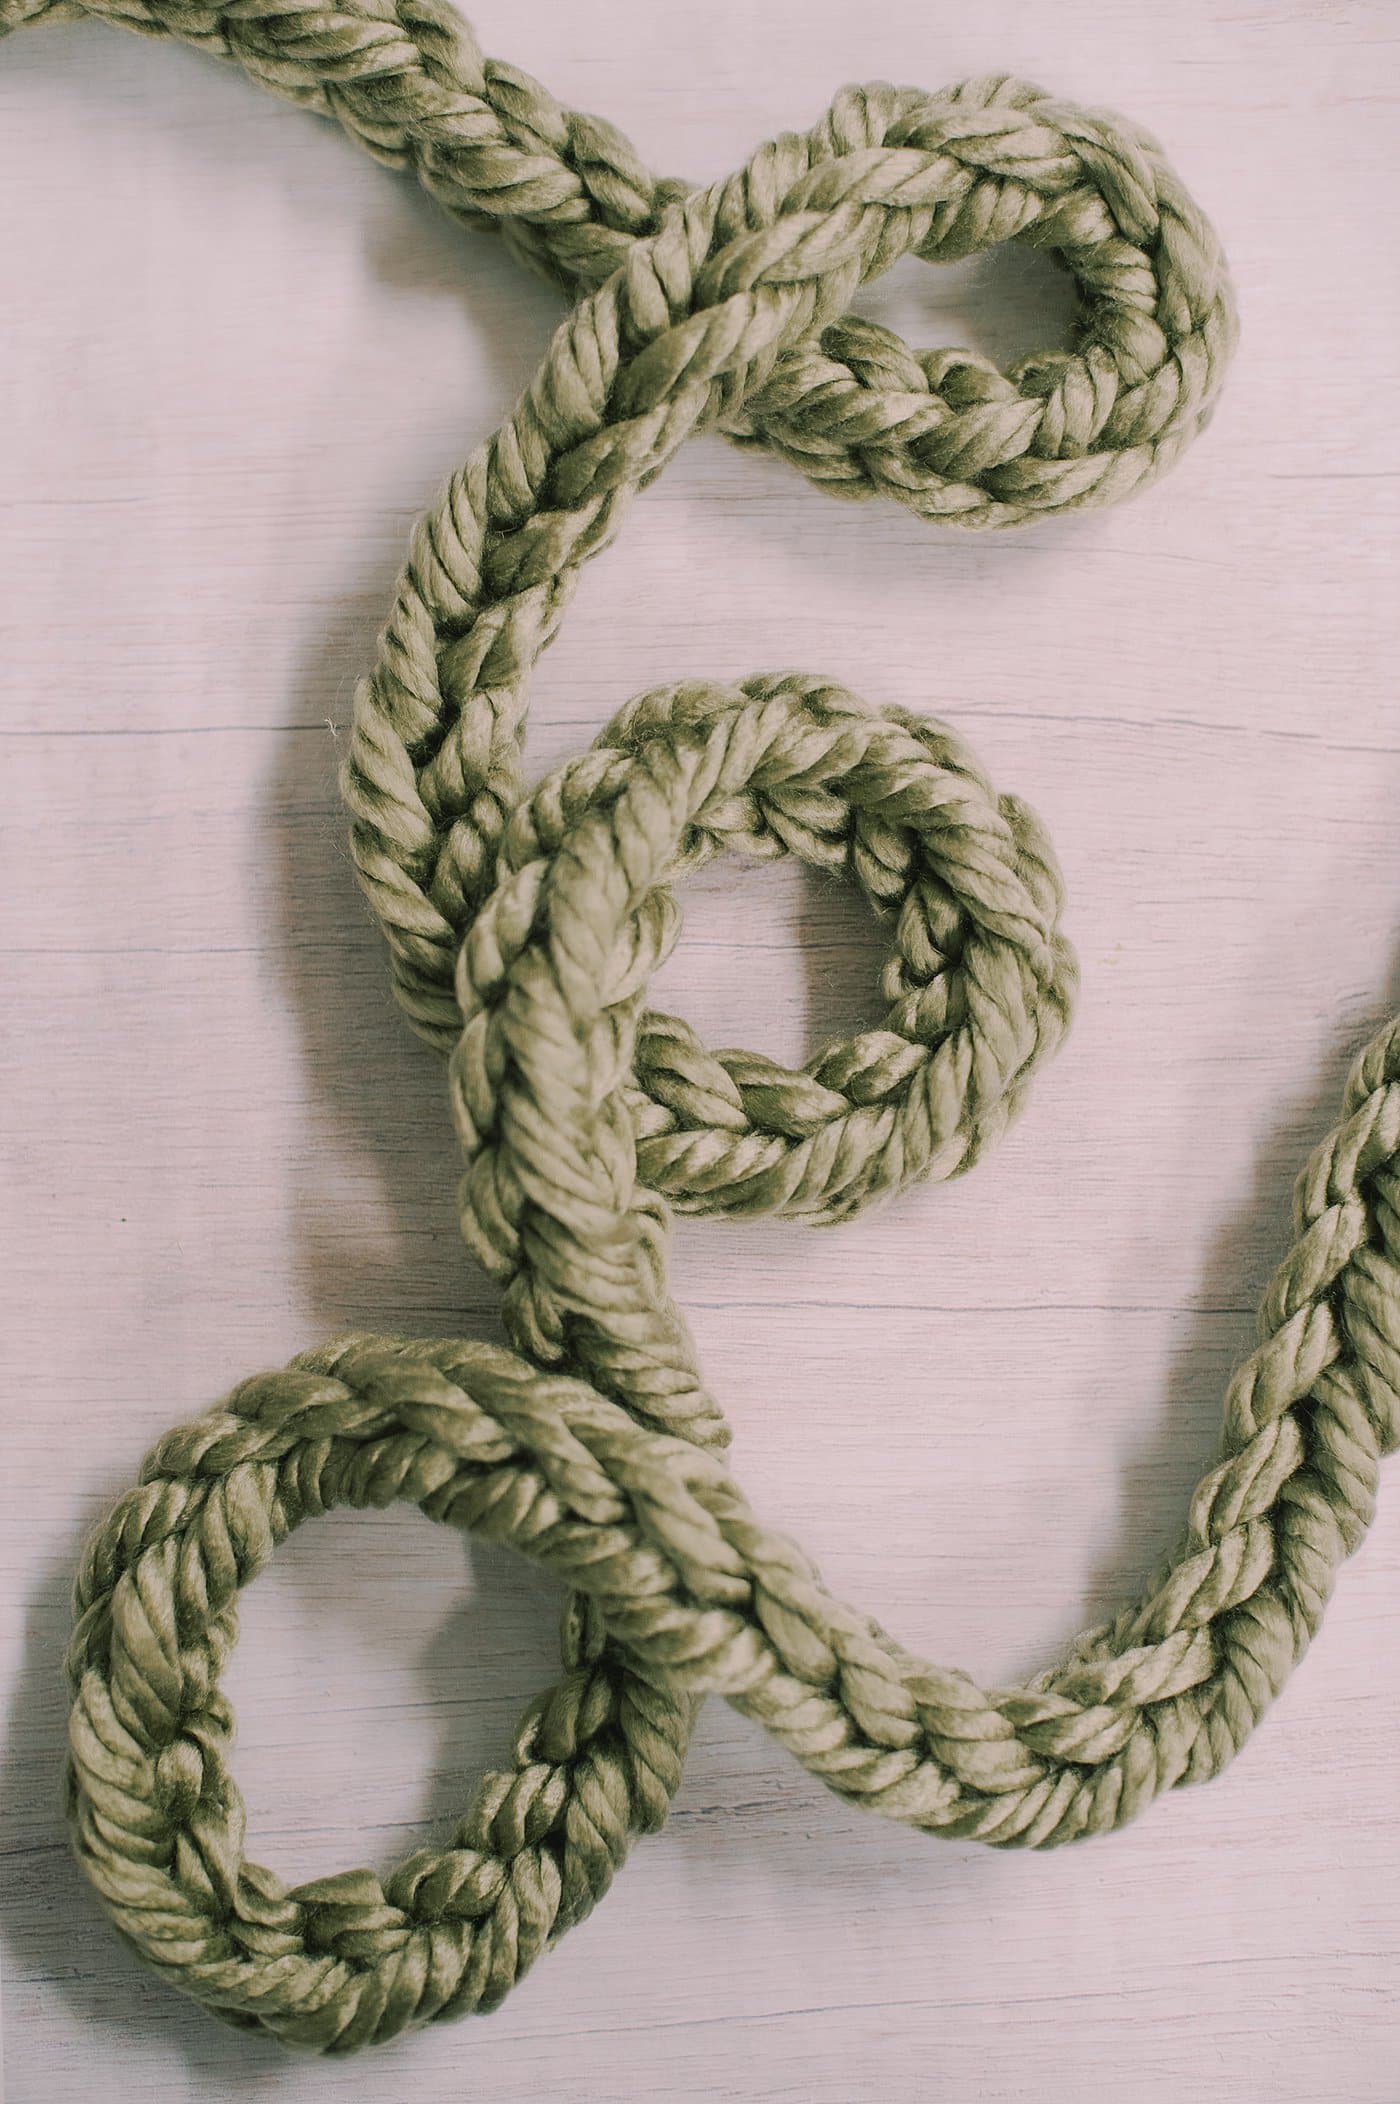
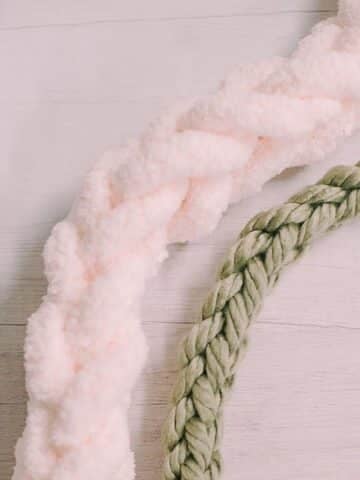
You'll see the beautiful finger knitting start to take shape!
How to Finish Finger Knitting with Yarn
It can be confusing to know how to end finger knitting - how do you finish the ends and keep it from unraveling and still make it look nice?
Here's the best way to end a finger-knit project.
Step 12. When you are ready to finish off your finger knitting, cut the yarn from the skein, leaving a small tail - 12" long or so.
Thread the end of the yarn tail underneath one yarn section on your finger.
Pull tight.
Step 13. Thread the yarn tail under the section of yarn on your other finger, and pull tight.
Step 14. Slide the yarn off your fingers and pull the yarn tail tight to snug up the end of the finger knitting.
It should close up the end in a knot.
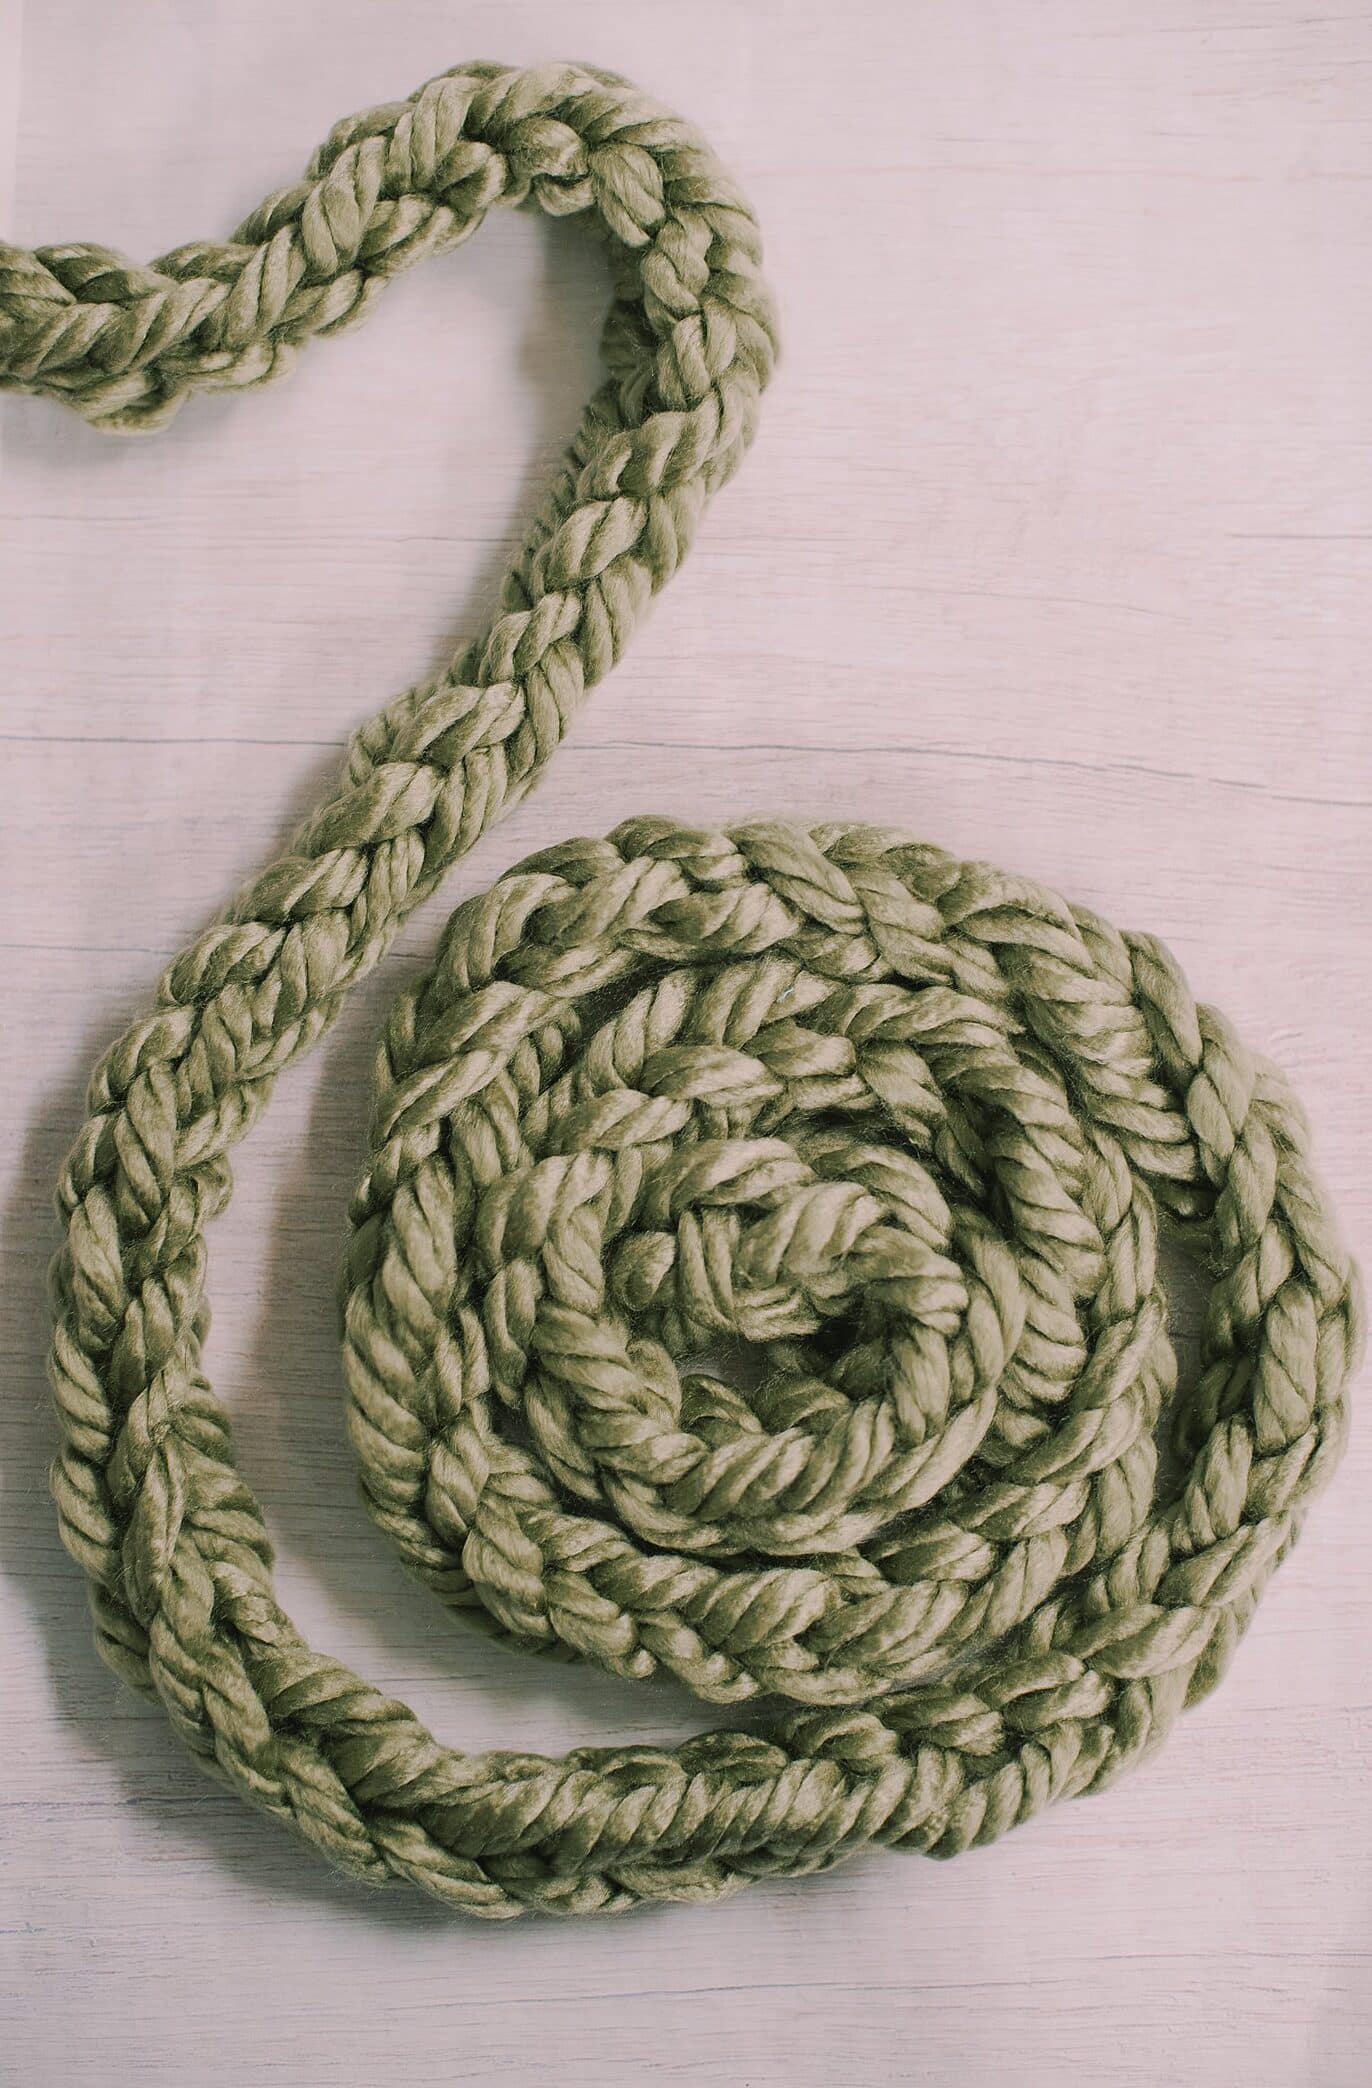
The finger knitting is complete!
Common Questions
You can use any type of yarn, string, or even handmade t-shirt yarn for finger knitting! You could use cording, ribbon, or rope - anything that is long and thin, and you can "knit" it around your fingers! My favorite types of yarn to use are chunky yarn because it's fast and easy to finger knit, and recycled t-shirt yarn because I love seeing old fabric that's destined for the landfill get a new purpose!
Absolutely, kids can finger knit! I learned as an elementary school kid in the 90's from my grandma, and I had so much fun making long garlands with my sister and cousins at holiday gatherings. It takes a little bit of practice to get the movements down but it is totally kid-friendly!
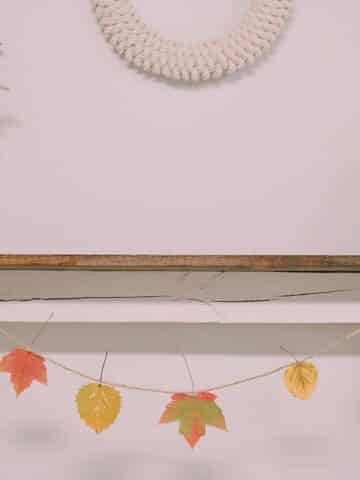
The easiest project to make with finger knitting is a garland for your mantel! That's the default creation that finger knitting makes which is great. You can also turn sections of finger knitting into headbands and necklaces, and if you learn advanced finger-knit techniques, you can learn to finger knit "rows" so you can make things like baby blankets!
Finger knitting can be done using a two-finger or a four-finger technique. This tutorial shows the two-finger technique.
The four-finger technique works very similarly, but instead of wrapping the yarn around just two fingers, you'll use all four on your hand.
Any type of string or yarn can be used for finger knitting; chunky yarn is especially fun to use because the project comes together very fast and you can make some really neat things! You can go the eco-friendly route too, and make a DIY garland with t-shirt yarn!
More Garland Crafts You'll Love

---
⭐️🧶 Did you enjoy this craft and want to see more like it? ✂️ Join our FREE email community and get inspiring craft ideas sent right to your inbox! 🧵 ⭐️
---
How to Finger Knit using Yarn (The Two Finger Technique)
Materials
- Yarn
- Scissors
- Your Hand
Instructions
- Begin with the tail end of the yarn pinched between your thumb and the side of your hand, as pictured below.Bring the yarn around the front of your pointer finger, and then behind your middle finger.
- Bring the yarn around the back of your middle finger, and then wrap it back around the front of your middle finger and behind your pointer finger.
- Bring the yarn around the back of your pointer finger, to the front of your pointer finger, and then to the back of your middle finger again.
- Bring the yarn around the backside of your middle finger, across the front side of your middle finger again, and let the yarn rest down back, in between your pointer and middle fingers.
- On one finger, lift the yarn section that is closest to the base of your finger up and over the top section of yarn, and up off of your finger to the backside of your hand.You will only have one section of yarn left on that finger now.
- Repeat this same process on the other finger.
- You'll be left with only one section of yarn on each finger.Pull the yarn tail behind your hand gently to tighten things up.
- Repeat the same process - wrap the yarn around the backside of your pointer finger, across the front of the pointer, behind the middle finger.
- Around the outside of the middle finger, and then across the front of the middle finger again.The yarn will rest between the pointer and middle fingers, toward the back of your hand.The process of finger knitting is similar to making a "figure 8" around your fingers.
- Then lift the lower section of yarn closest to the base of each finger up and over the top section, off the tip of each finger toward the back of your hand.
- Repeat to make each "stitch" and pull on the yarn tail to tighten the finger knitting as you go.You'll see the beautiful finger knitting start to take shape!
- To finish your finger-knitting project, cut the yarn from the skein, leaving a small tail - 12" long or so.Thread the end of the yarn tail underneath one yarn section on your finger.Pull tight.
- Thread the yarn tail under the section of yarn on your other finger, and pull tight.
- Slide the yarn off your fingers and pull the yarn tail tight to snug up the end of the finger knitting.It should close up the end in a knot.The finger knitting is complete!
Notes
- You can use any type of yarn or string for finger knitting. Yarn, string, rope, ribbon, cording, and handmade t-shirt yarn are all great options!
- I like using chunky yarn the best because it's fast and easy to finger knit with, and I also love using recycled t-shirt yarn because it's eco-friendly and makes me feel good to repurpose something destined for the garbage!
- This is a fun craft project for adults and kids alike!
Leave a Reply