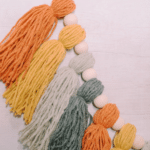
Learn how to make a fall yarn tassel garland using fall-colored yarn tassels, wooden beads, and twine to make a garland.
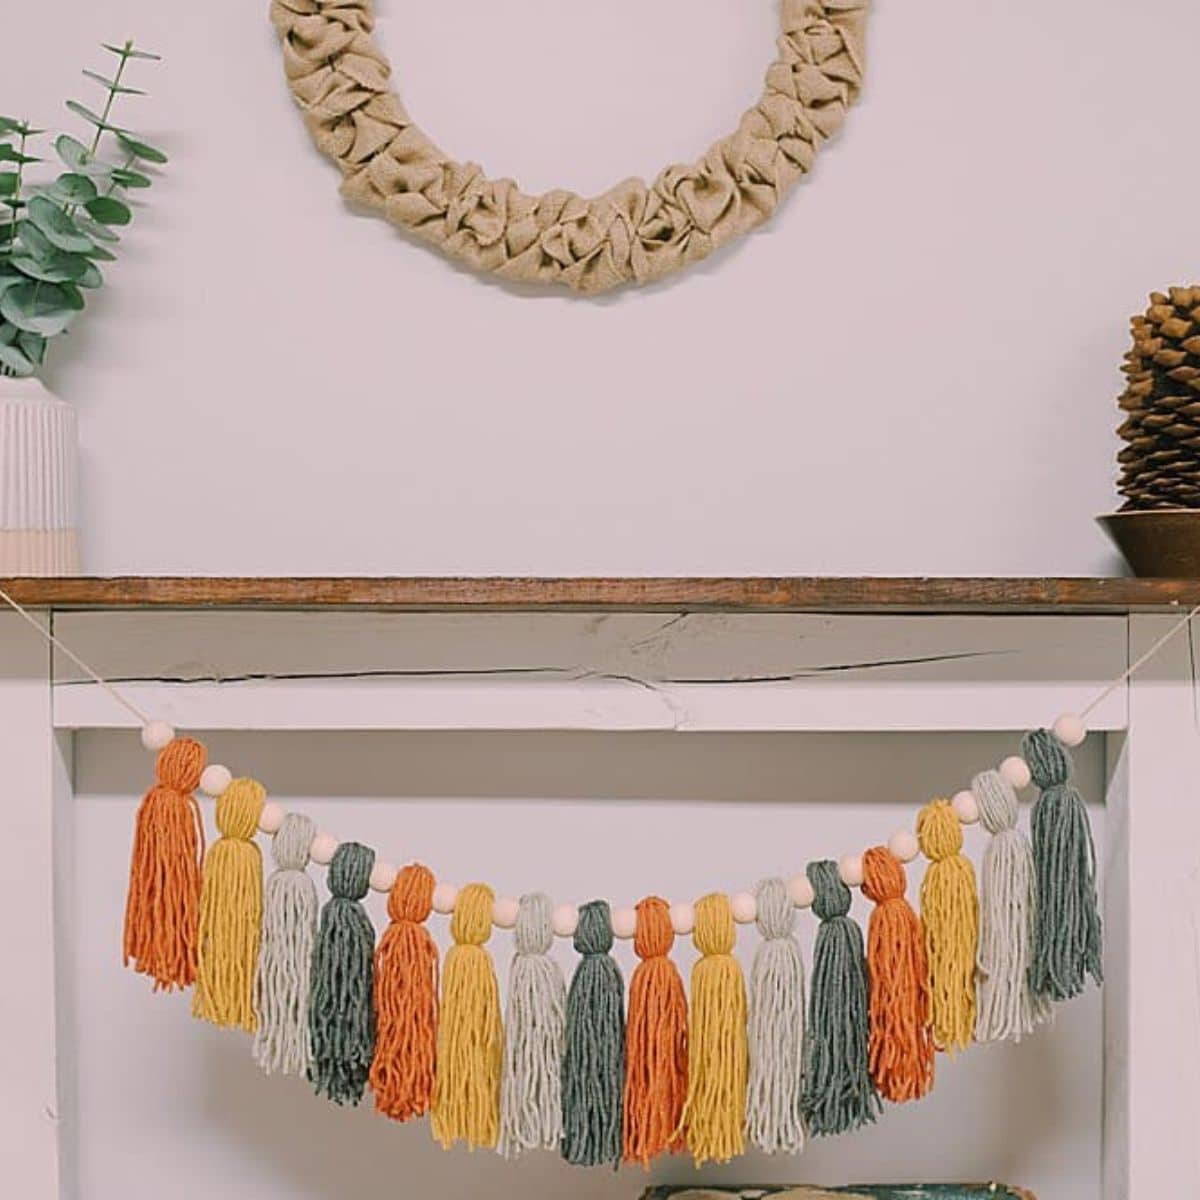
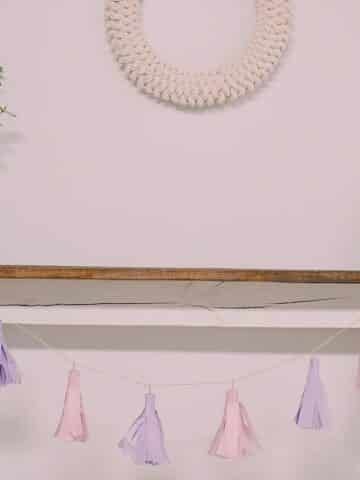
We've made a beautiful yarn tassel garland using pastel-colored yarn - the perfect decoration for spring - and a rainbow tassel garland for summer!
Today, we are going to make the fall version of this garland! We are going to use deep autumn-inspired colors to make a beautiful fall yarn tassel garland.
Jump to:
Why You'll Love This Craft
- Yarn tassels are easy and fun to make! You can make them using your hand or with the cardboard tassel-making method. And you can make them long or short, depending where you trim the tassels.
- Choose your preferred fall yarn colors to customize the garland to your personal taste!
- There is something lovely about combining yarn tassels and wooden beads. We did it in our yarn tassel Christmas ornament tutorial!
Craft Supplies Needed
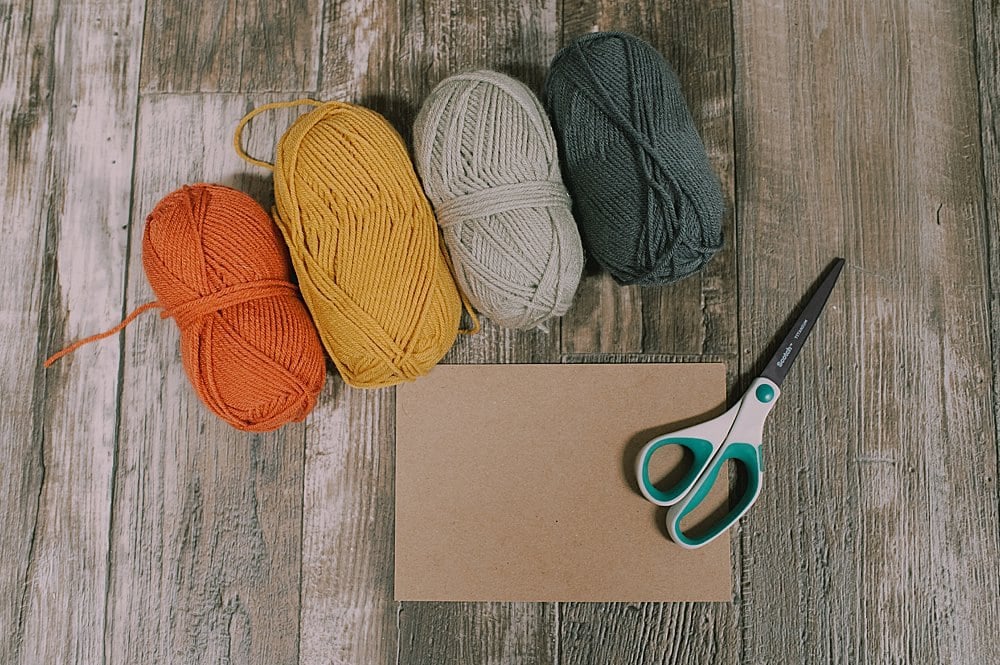
- Yarn - Medium-weight yarn works the best for making tassels. Choose whatever fall colors you like best!
- Cardboard (optional) and Scissors - Depending on the method you use to make the tassels, you might need a piece of cardboard to help you wrap the yarn. This is necessary if you are making long tassels. (The hand method works best for short tassels no longer than the width of your palm.)
- Twine - I used a medium-thickness twine for this project. The twine needs to be smaller than the holes in the beads.
- Embroidery Needle - This makes threading the wooden beads onto the twine string easier, but may not be necessary if the holes in the beads are large.
- Wooden Beads - You can use beads of any size. I used large wooden beads, they are a little smaller than 1" in diameter and balance the long tassels well. If the tassels were shorter, a smaller wooden ball might work better.
How to Make a Fall Yarn Tassel Garland
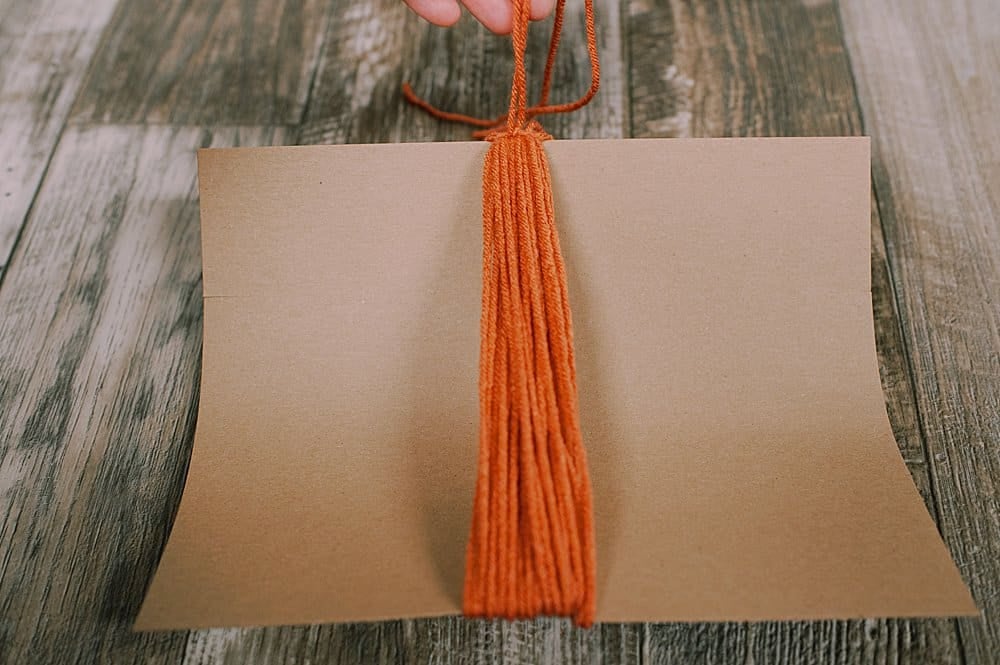
Step 1. Make yarn tassels in each of your yarn colors using our tutorial.
I wanted to make long yarn tassels to give the garland an elegant vibe, so I used the cardboard method to make these tassels.
The cardboard piece is 8" front top to bottom so I was able to make much longer tassels than I could using my hand to wrap the yarn into tassels.
I wrapped the yarn around the cardboard 35 times to make these tassels.
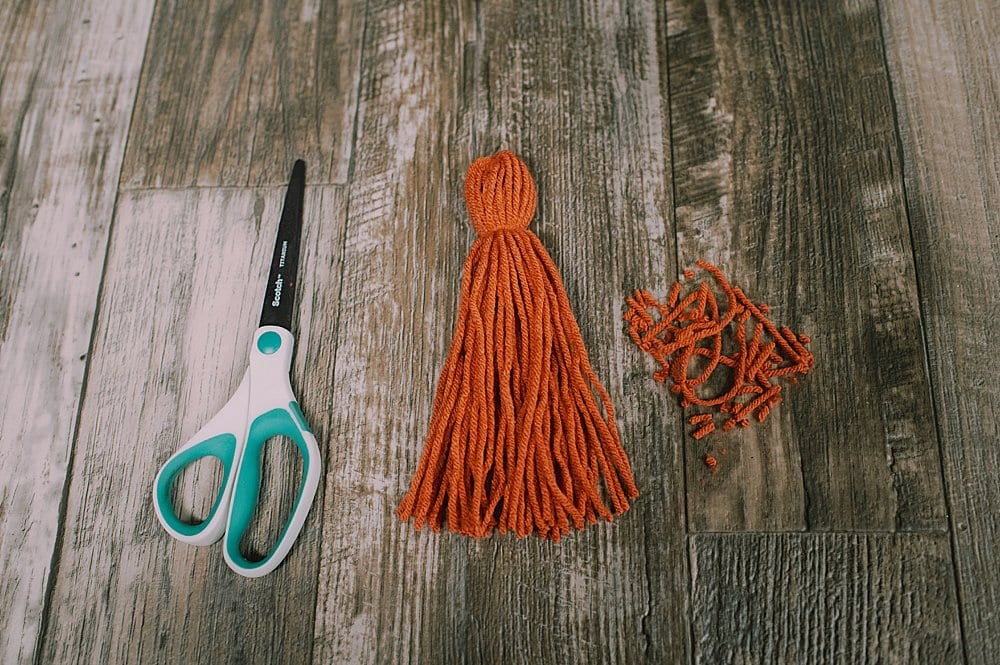
Step 2. (Make sure you use this tutorial showing how to make yarn tassels, and then continue with this step.)
Trim up the bottom of the yarn tassel so it's neat and even.
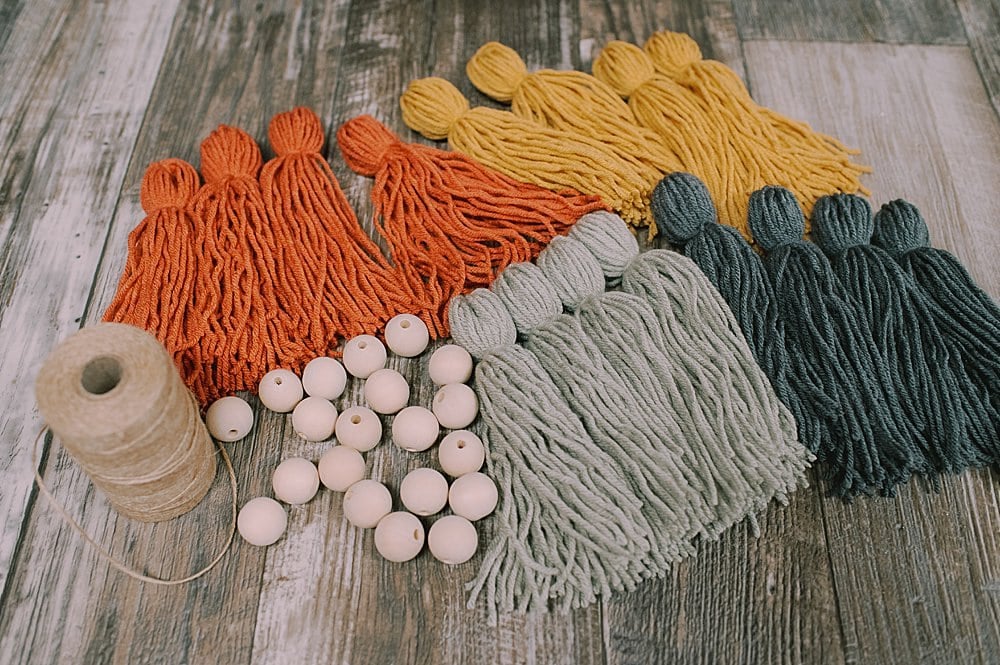
Step 3. Cut a long piece of twine, and thread an embroidery needle onto one end.
Begin threading yarn tassels and wooden beads onto the twine in whatever order you choose.
I picked my yarn tassel color order and then added one tassel, one bead, one tassel, one bead - in that order until they were all used up!
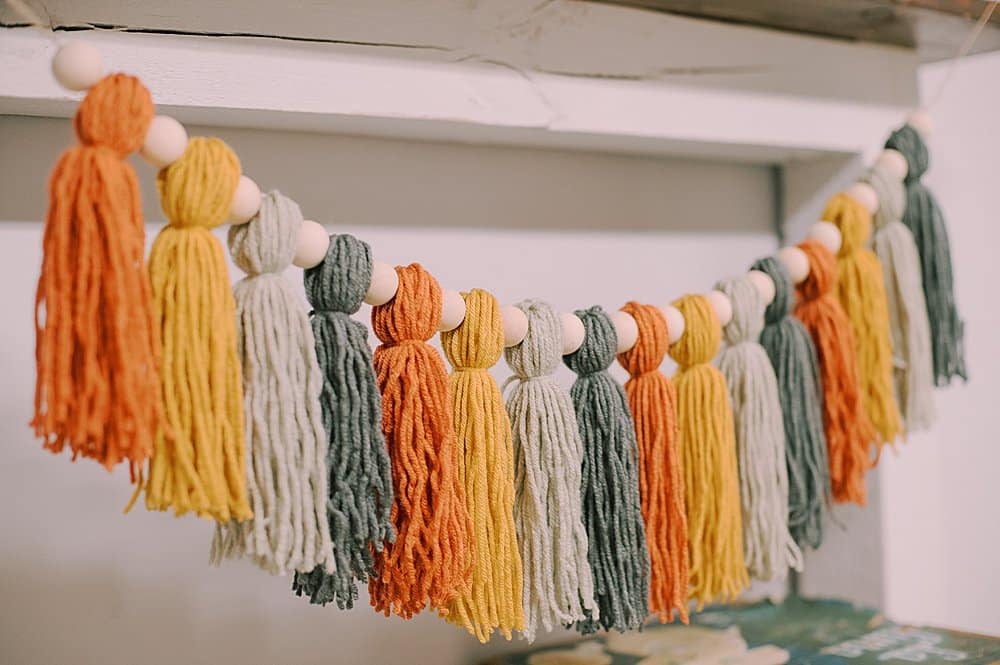
Step 4. Tie knots in the two ends of the twine.
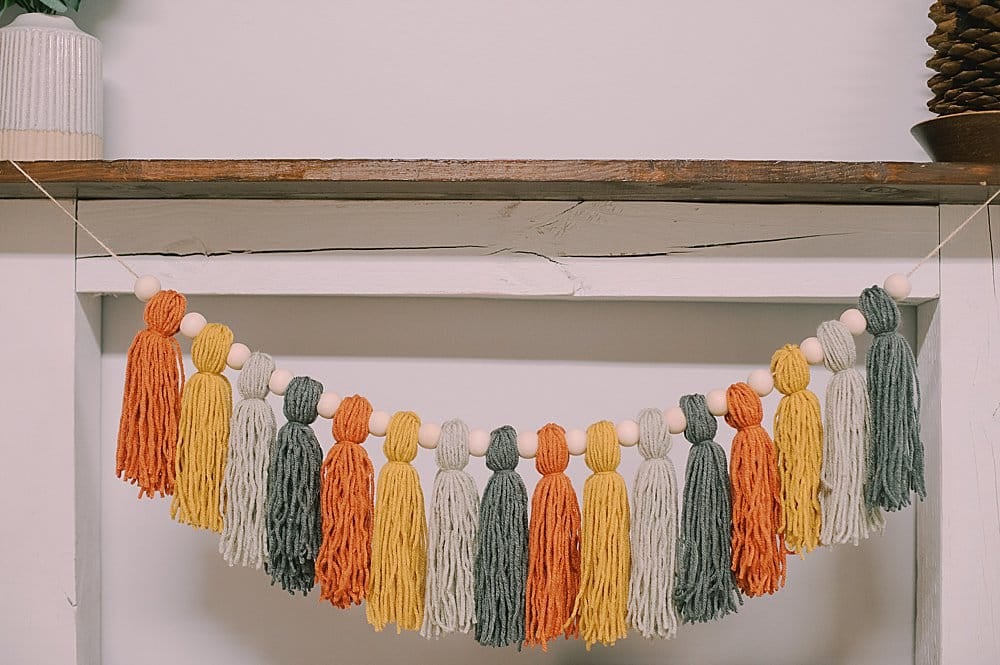
Your garland is now ready to hang up on the mantel!
Common Questions
You can make yarn tassels (and therefore, a yarn tassel garland) with literally any type of string. I've made yarn tassels, embroidery floss tassels, fabric tassels, and even tassels out of toilet paper rolls!
For this project, medium-weight yarn makes beautiful tassels and isn't too bulky hanging as a garland. The best part is medium-weight yarn is usually the cheapest! (You can even find it at some dollar stores!)
There are two methods I like using to make yarn tassels. The hand method for making tassels is super easy and fast, and I prefer it if I'm making small tassels.
But the downside of this method is you can only make tassels that are as long as the width of your hand.
If you want to make long tassels, the cardboard method is the way to go.
Both ways to make a tassel are shown in this tutorial!
They are rather addicting, aren't they?! I love to make them too.
You can make tassels into keychains, make your own tassel earrings, and even embellish a DIY pillowcase with tassels! We have a whole section on the blog with different tassel project ideas because we love them so much.
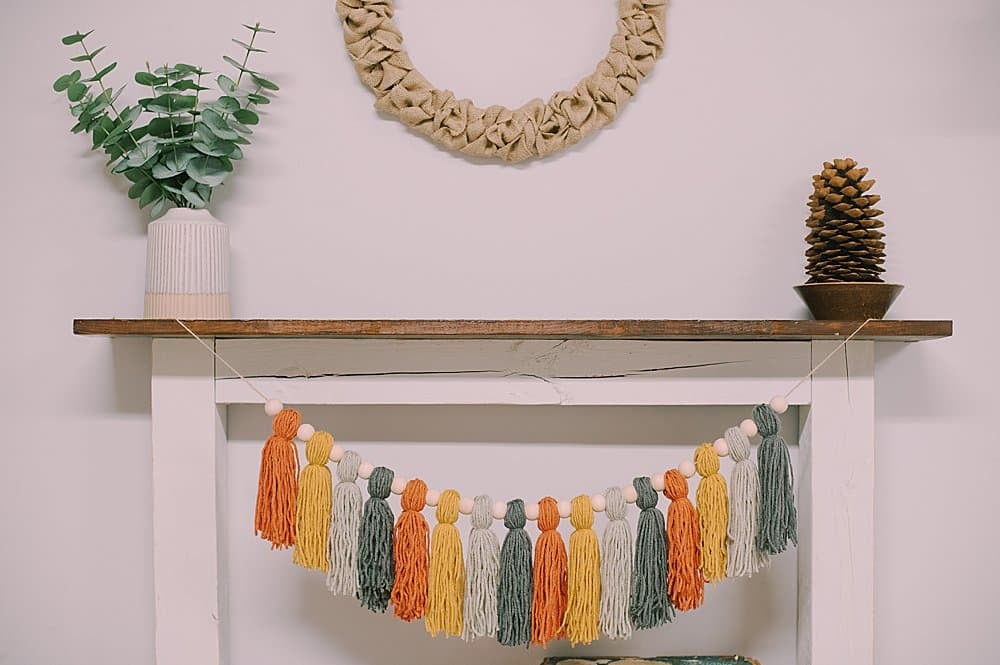
The longer tassels add a hint of elegance to this fall garland, and the colors are suited for the entire autumn season!
You can experiment with adding more wooden beads, or beads of different sizes, as well as changing up the colors of yarn you make your tassels with.
There are lots of ways to make this garland your own!
More Yarn Crafts You'll Love
---
⭐️🧶 Did you enjoy this craft and want to see more like it? ✂️ Join our FREE email community and get inspiring craft ideas sent right to your inbox! 🧵 ⭐️
---
How to Make a Fall Yarn Tassel Garland
Materials
- Yarn
- Cardboard and Scissors
- Twine
- Embroidery Needle
- Wooden Beads
Instructions
- Step 1. Make yarn tassels in each of your yarn colors using our tutorial. I wanted to make long yarn tassels to give the garland an elegant vibe, so I used the cardboard method to make these tassels.The cardboard piece is 8" front top to bottom so I was able to make much longer tassels than I could using my hand to wrap the yarn into tassels.I wrapped the yarn around the cardboard 35 times to make these tassels.
- Step 2. (Make sure you use this tutorial showing how to make yarn tassels, and then continue with this step.)Trim up the bottom of the yarn tassel so it's neat and even.
- Step 3. Cut a long piece of twine, and thread an embroidery needle onto one end.Begin threading yarn tassels and wooden beads onto the twine in whatever order you choose.I picked my yarn tassel color order and then added one tassel, one bead, one tassel, one bead - in that order until they were all used up!
- Step 4. Tie knots in the two ends of the twine.Your garland is now ready to hang up on the mantel!
Notes
- Medium-weight yarn (typically, the cheap kind!) works best for this type of tassel. It makes a nice tassel that hangs well as part of a garland!
- If you want to make tassels that are longer than the width of your hand, use the cardboard method of making a tassel. (Both methods are outlined in our tutorial!)
- Wood beads are a beautiful addition to a yarn tassel garland. You can use a variety of bead sizes or keep it simple like I did and use beads of just one size.






Leave a Reply