Learn how to make cornhole bags in this easy step-by-step tutorial (with photos!). All you need is some heavy duck canvas and a sewing machine, and you can make simple homemade DIY bean bags for corn hole games!

Summer brings sunshine, warm weather, barbecues, bonfires, and yard games.
Cornhole, also known as bags, or bean bag toss, is a popular outdoor game; so popular in fact, that there are entire online shops dedicated to selling cornhole boards, bags, and supplies to make your own.
They even make artificial corn fillers specifically designed for corn hole bags, and there are “official cornhole rules” by a governing body.
People take their Cornhole seriously!
Here is a fast and easy tutorial showing you how to make cornhole bags that are DIY but also meet regulations. You’ll be ready for the game field in no time!
(Bonus - whip up an easy DIY tote bag using dollar store towels to carry your new bean bags!)
Jump to:
Why You'll Love This Craft
- Cotton duck fabric is enjoyable to work with. It's sturdy, feels good in your hands, and comes in a lot of colors at craft stores and online retailers.
- This sewing project requires very basic skills so it is perfect for a beginner. All you need to know is how to sew a simple line and backstitch when needed. If you can do that, you can make these bean bags!
- If you use artificial corn filler, the bags will be weatherproof. The filler won't rot or wear out if its left in the sunshine or gets wet. Less fuss = more fun.
Craft Supplies Needed
- Cotton Duck Fabric - To make 4 cornhole bags, you'll need half of a yard of fabric. So, to make a set of 8 cornhole bags with 4 of each color, you'll need one-half yard each of two different colors.
- Bag Filler - You can use real feed corn, synthetic plastic pellets, or artificial plastic corn.
- Food Scale - To measure the correct amount of fill per bag.
- Scoop and Funnel - This makes filling the bags easy without spilling everywhere.
- Scissors or Rotary Cutter, Ruler, and Cutting Mat
- Sewing Machine
How to Make Cornhole Bags
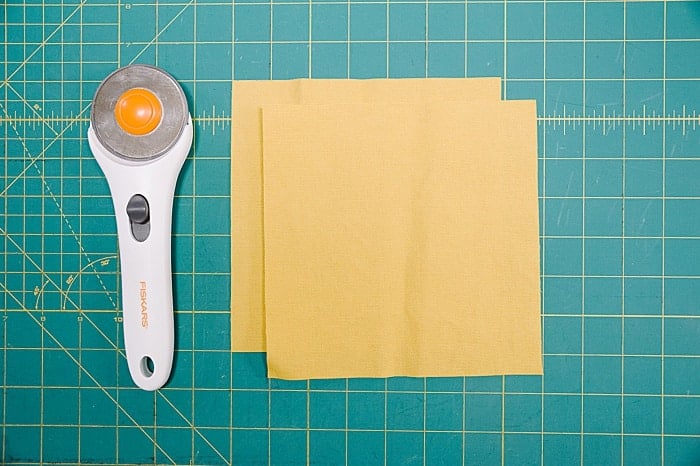
Step 1. Cut two 7-inch by 7-inch squares. Stack them one on top of the other, with the right sides together.
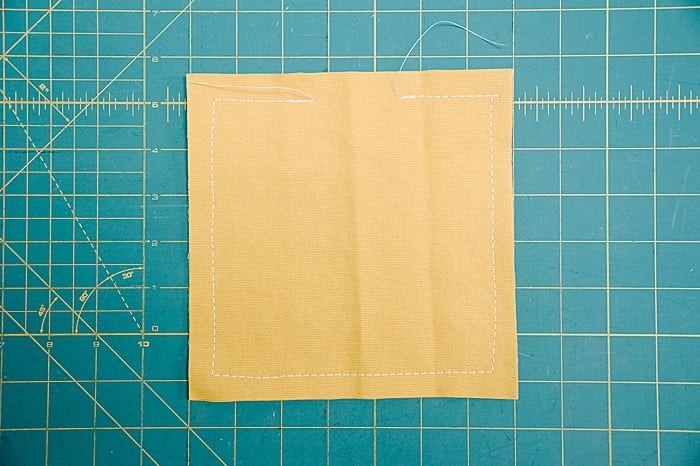
Step 2. Sew around the perimeter using a ½ inch seam allowance, and leave a 3-inch turn hole.
Make sure to backstitch at the beginning and end.
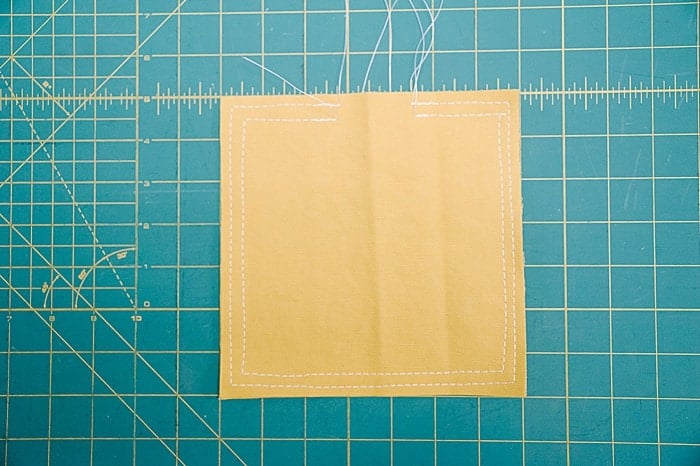
Step 3. Sew around the perimeter again, using a ¼-inch seam allowance this time. These double lines of stitching are part of the cornhole bag regulations and help make them more durable.
Pro Tip: My turn hole in the photos is only 2 inches and ended up being too small. Use a 3-inch turn hole instead, backstitching at both sides.
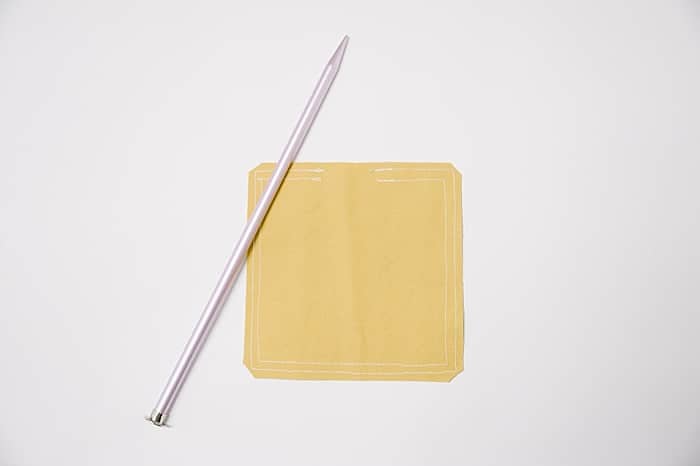
Step 4. Clip the corners at an angle to make turning easier.
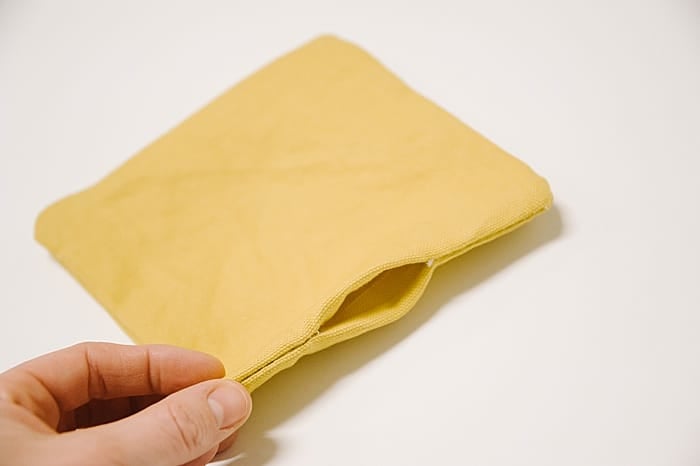
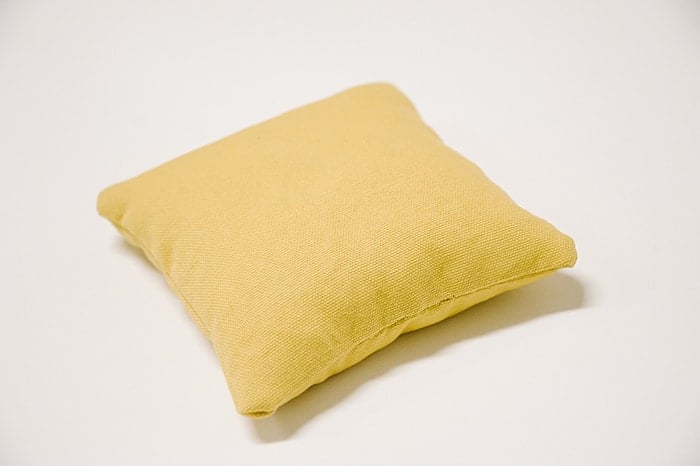
Step 5. Turn the bag right side out through the turn hole.
Use the blunt end of a knitting needle, the eraser end of a pencil, or your fingertip (this is my preference) to help you push out the corners and seams. Flatten and smooth the bag out with your hands.
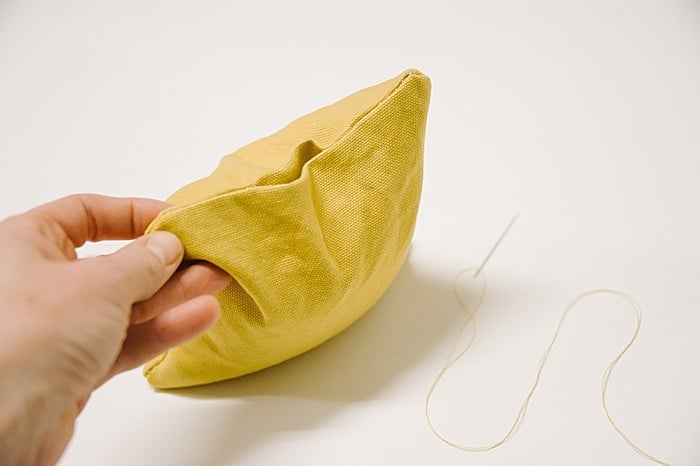
Step 6. Fill the bag with the filling of your choice, using a scoop and funnel to make it easier.
I used artificial corn filling for my homemade bean bags.
Each bag should weigh as close to 16 ounces as possible, so aim to add 15 ounces of filler at first. You can add a bit more if needed to reach 16 total ounces per beanbag.
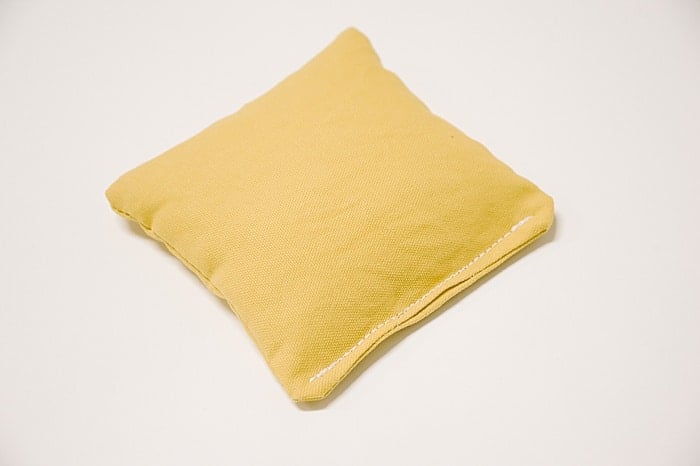
Step 7. (Option 1) Topstitch the fill hole in the cornhole bag closed.
This is the faster method.
But it can be bulky and awkward to maneuver a full beanbag under the presser foot of your sewing machine.
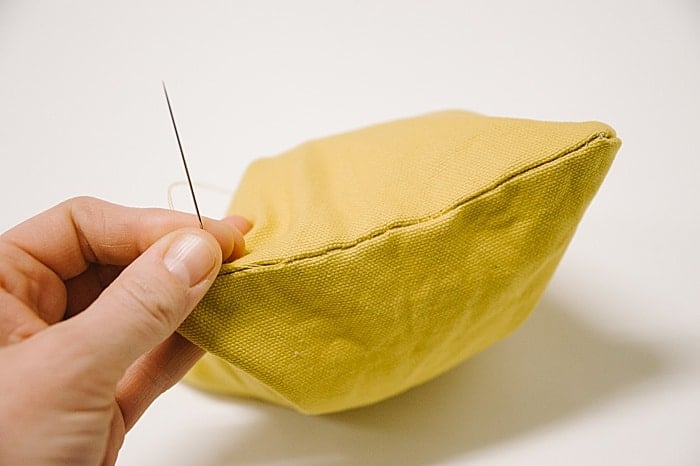
Step 7. (Option 2) Use a ladder stitch, also called an invisible stitch, to sew the hole closed by hand.
The bags need to be very durable so the hole should be closed with a ladder stitch in one direction, and then back again to make a double-reinforced seam.
This ladder stitch method takes longer to do.
Step 8. Repeat for the rest of the cornhole bags in your bean bag set. Once they are finished, inspect them to ensure they are solid and stable, with no holes to be found.
If they pass the test, they’re ready for game day!
Common Questions
According to the American Cornhole Association standards, regulation cornhole bags are 6 inches by 6 inches and weigh 1 pound, or 16 ounces. For this reason, we start our DIY project with 7-inch by 7-inch square pieces of fabric and use a ½ inch seam allowance on all sides. This gives us 6 inch regulation bags when we are finished.
Regulation bags for playing cornhole weigh 1 pound or 16 ounces. When adding filler to the DIY bags, start by adding 15 ounces first, and then weigh the bag on a food scale. You can then add additional filler if needed until your bag reaches 16 ounces.
The official filler of cornhole bags is feed corn but there are two major downsides to using this type of fill. First, if it gets wet, it can mold and rot. This same is true for rice or any other organic material. And second, animals love eating corn, so they'll be trying to eat these too.
That's why our filling of choice for DIY bags for cornhole and bean bag toss games is artificial corn filler. It is weatherproof, won't mold or rot if it gets wet, and is allowed by the American Cornhole Association. That's a win-win!
The most popular fabric for making your own bean bags for cornhole games is cotton duck cloth fabric. It's sturdy, durable, and easy to sew. Historically it has come in plain, solid colors, but since cornhole has exploded in popularity, fabric manufacturers are making duck cloth in a wider variety of colors and patterns. This is great news for people wanting to add some color and fun to their cornhole games!
All you need is cotton duck fabric, basic sewing skills, and some type of bag filler (my favorite is synthetic corn filler) to get started making your own set of cornhole bags.
Choose your colors and whip up a batch in no time. You’ll be ready to hit the grass with your diy cornhole bags.
Also, this same sewing process can be used to make DIY rice heating pads to soothe sore muscles after an intense cornhole game!
More Summer Crafts You'll Love
---
⭐️🧶 Did you enjoy this craft and want to see more like it? ✂️ Join our FREE email community and get inspiring craft ideas sent right to your inbox! 🧵 ⭐️
---
How to Make Cornhole Bags
Materials
- Cotton Duck Fabric (½ yard makes 4 bean bags)
- Bag Filler (Artificial plastic corn is our first choice)
- Food Scale
- Scoop and Funnel
- Scissors or Rotary Cutter, Ruler and Cutting Mat
- Sewing Machine
Instructions
- Cut two 7-inch by 7-inch squares. Stack them one on top of the other, with the right sides together.
- Sew around the perimeter using a ½ inch seam allowance, and leave a 3-inch turn hole. Make sure to backstitch at the beginning and end.
- Sew around the perimeter again, using a ¼-inch seam allowance this time. These double lines of stitching are part of the cornhole bag regulations and help make them more durable.
- Clip the corners at an angle to make turning easier.
- Turn the bag right side out through the turn hole.Use the blunt end of a knitting needle, the eraser end of a pencil, or your fingertip (this is my preference) to help you push out the corners and seams. Flatten and smooth the bag out with your hands.
- Fill the bag with the filling of your choice, using a scoop and funnel to make it easier. I used artificial corn filling for my homemade bean bags.Each bag should weigh as close to 16 ounces as possible, so aim to add 15 ounces of filler at first. You can add a bit more if needed to reach 16 total ounces per beanbag.
- (Option 1) Topstitch the fill hole in the cornhole bag closed.This is the faster method. But it can be bulky and awkward to maneuver a full beanbag under the presser foot of your sewing machine.
- (Option 2) Use a ladder stitch, also called an invisible stitch, to sew the hole closed by hand. The bags need to be very durable so the hole should be closed with a ladder stitch in one direction, and then back again to make a double-reinforced seam.This ladder stitch method takes longer to do.
- Repeat for the rest of the cornhole bags in your bean bag set. Once they are finished, inspect them to ensure they are solid and stable, with no holes to be found.If they pass the test, they’re ready for game day!
Notes
- Cotton duck cloth is the fabric of choice for homemade cornhole bags. It's durable, sturdy, easy to sew, and because of cornhole's recent popularity growth, is now available in a wider variety of colors and patterns in craft stores and online.
- The American Cornhole Association specifies that regulation cornhole bags are 6 inches by 6 inches and weigh 1 pound or 16 ounces. This is why we begin with 7 inch squares of fabric, and use a ½ inch seam allowance, and fill the bags to a final weight of 16 ounces.
- Feed corn is the official filler of cornhole bags, but it is not weatherproof - it will mold and rot if it gets wet, and it attracts wild animals. Artificial corn filler is a better option because it is weatherproof, animal-resistant, and still meets regulation standards.




Terabox MOD app
I loved your detailed instructions on making cornhole bags! The tips on fabric choices and filling really help, especially for beginners like me. I can't wait to try this out for our next backyard game night. Thank you for sharing!
Laura
Thank you! I'm glad you liked the tutorial and I hope they turn out well for you!
ZINMANGA APK
Love this tutorial! I was skeptical about making my own cornhole bags, but your instructions made it a breeze. They turned out perfect and I even ended up making a few extra as gifts for friends. Thanks for sharing your expertise!
Laura
This is so great to hear! Thank you for stopping by to share this - I'm thrilled the tutorial made it easy for you to make your own, and I'm sure your friends loved them!!