


Learn how to make a garland for spring with wood beads and spools of thread. Use springtime pastel colors to make it perfect for Easter decor!

One of the easiest ways to decorate your home for the changing seasons and holidays is with a garland; they are fun to make, easy to hang, and make a big impact with a little bit of effort. This colorful felt egg garland welcomes Easter loud and clear, and spring shines in this pastel yarn tassel garland.
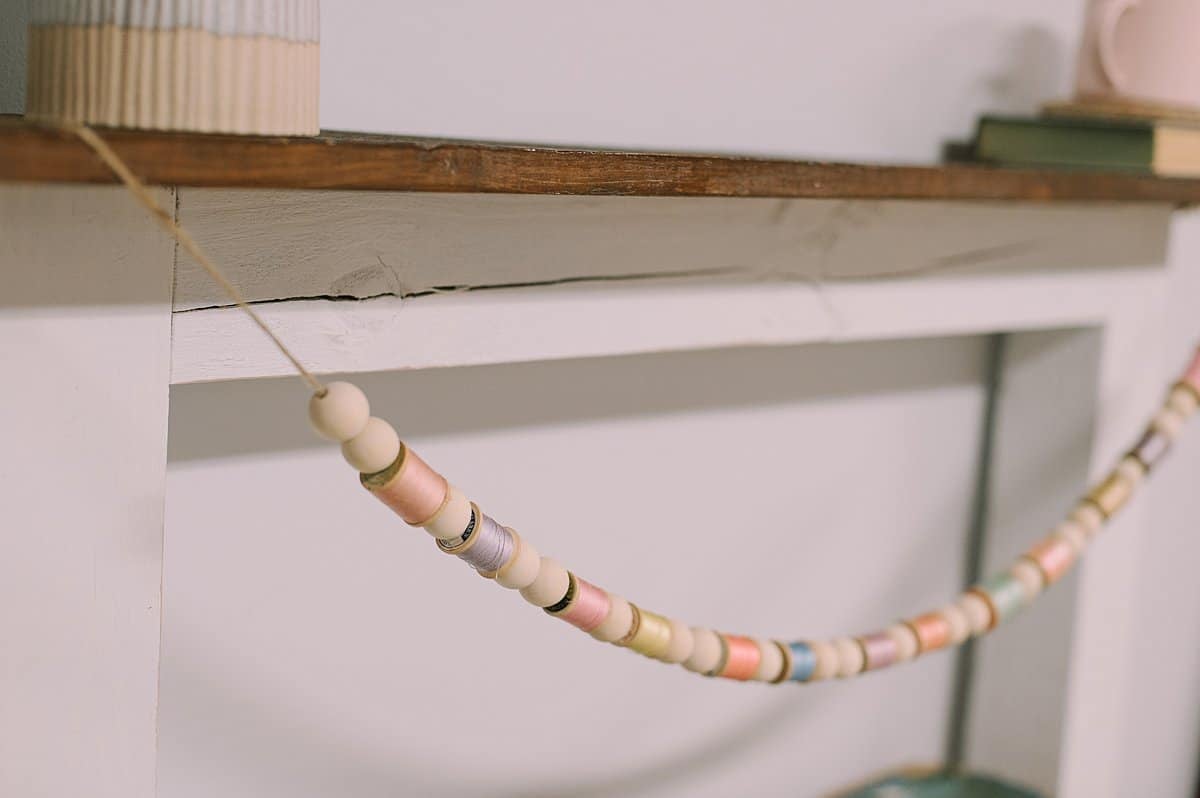
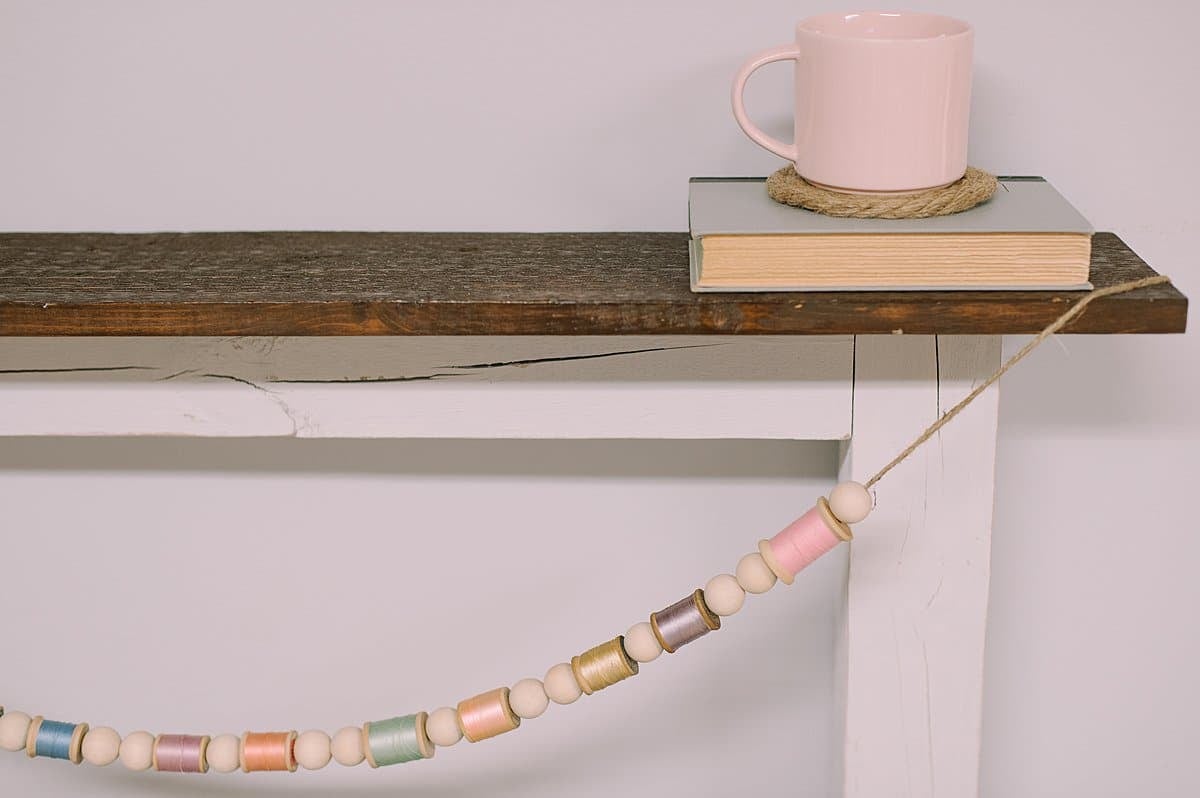
Today, we are going to make another garland for spring; this time using wood beads and vintage spools of thread in pastel colors.
It's perfect as an Easter garland or as a garland for the whole spring season!
Jump to:
Why You'll Love This Craft
- Garlands are the best way to update your home decor for a new season or holiday! They pack a big punch and are usually very easy to make.
- This is a fresh, springtime version of our colorful thread spool garland and the Christmas version of a thread spool garland we made.
- You can use equal-sized wooden beads like I did in this spring version, or incorporate beads of varying sizes like I did in the Christmas version and colorful summer version.
Craft Supplies Needed

- Spools of Thread - we used vintage wooden spools from thrift stores, in pastel colors.
- Wood Beads - I used beads of equal size for this tutorial, but you could use varying sizes of wooden beads for added variety.
- Twine - My favorite type of hanging string! I used thick twine for this garland, because the holes in the thread spools and wood beads are large, which allows this thick twine to pass through.
- Scissors - A craft room staple!
- Packing Tape - To wrap around one end of the twine to make a "threading needle" of sorts so that adding the thread spools and wood beads is easier.
How to Make a Garland for Spring with Wood Beads and Spools of Thread

Step 1: Cut a length of twine for your garland.
Tie a loop at one end of the twine.

Step 2: Wrap packing tape around the other end of the twine to make it easier to thread beads and spools of thread onto it.

Step 3: Begin adding wood beads and spools of thread to your garland in any order or combination you want.
You can do a random order, or follow a pattern as I did here: one bead, one spool of thread, two beads, one spool of thread, repeat.

Step 4. Continue until the garland is finished.
Tie a loop in the other end of the twine.

Step 5. Hang up your new springtime garland!
Common Questions
Look for vintage thread spools at thrift stores, garage sales, or from online vendors on Etsy or eBay. You could also post an ISO (in search of) post on Facebook Marketplace or your local Facebook groups!
I personally love twine as the hanging string for almost all of my garlands, because I like the rustic look of it. Plus, it comes in varying thicknesses and it's cheap!
If you don't like twine (or don't have any), you can use any other type of hanging string for your garland. Consider yarn, embroidery floss, thin rope or cording, or any type of string that is smaller than the holes in the thread spools and wooden beads. You just need to make sure the string can pass through the holes as you create your garland!
A mantel is the logical place to hang a garland, but it's not the only place! If you don't have a mantel at home, you can hang up garlands on the wall with command hooks, push pins, or small nails. You can hang them on bookshelves, over doorways, or above windows. You could also have them across a window or sliding glass door if you used small suction cup hooks.
The pastel colors of this spring garland make it a perfect fit for Easter, but it's also very Spring-like and works for the whole season!
Pair it with fun DIY yarn cactus plants or yarn pom-pom plants to complete your spring decor.
More Spring Crafts You'll Love


---
⭐️🧶 Did you enjoy this craft and want to see more like it? ✂️ Join our FREE email community and get inspiring craft ideas sent right to your inbox! 🧵 ⭐️
---

How to Make a Garland for Spring with Wood Beads and Spools of Thread
Materials
- Spools of Thread
- Wood Beads
- Twine
- Scissors
- Packing Tape
Instructions
- Cut a length of twine for your garland.Tie a loop at one end of the twine.
- Wrap packing tape around the other end of the twine to make it easier to thread beads and spools of thread onto it.
- Begin adding wood beads and spools of thread to your garland in any order or combination you want.You can do a random order, or follow a pattern as I did here: one bead, one spool of thread, two beads, one spool of thread, repeat.
- Continue until the garland is finished.Tie a loop in the other end of the twine.
- Hang up your new springtime garland!
Notes
- Look for vintage thread spools at thrift stores, garage sales, estate sales, and from online vendors on Etsy and eBay. You can also post "In Search Of" posts on Facebook Marketplace or in local Facebook groups.
- Any type of string can works as a hanging string for this garland, if you don't want to use twine. Consider yarn, embroidery floss, thin rope or cording. As long as it is small enough to fit through the holes in the vintage thread spools and wood beads, it will work as a hanging string!
- If you don't have a mantel, consider hanging your garland up on your wall with command hooks, tacks, or nails. You can also hang them on bookshelves, above doors or windows, or even across patio doors or picture windows with suction cup hooks.


Leave a Reply