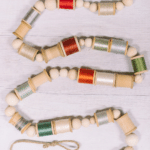
Learn how to make a DIY thread spool and wood bead garland for Christmas using vintage wooden spools of thread, wood beads, and twine!
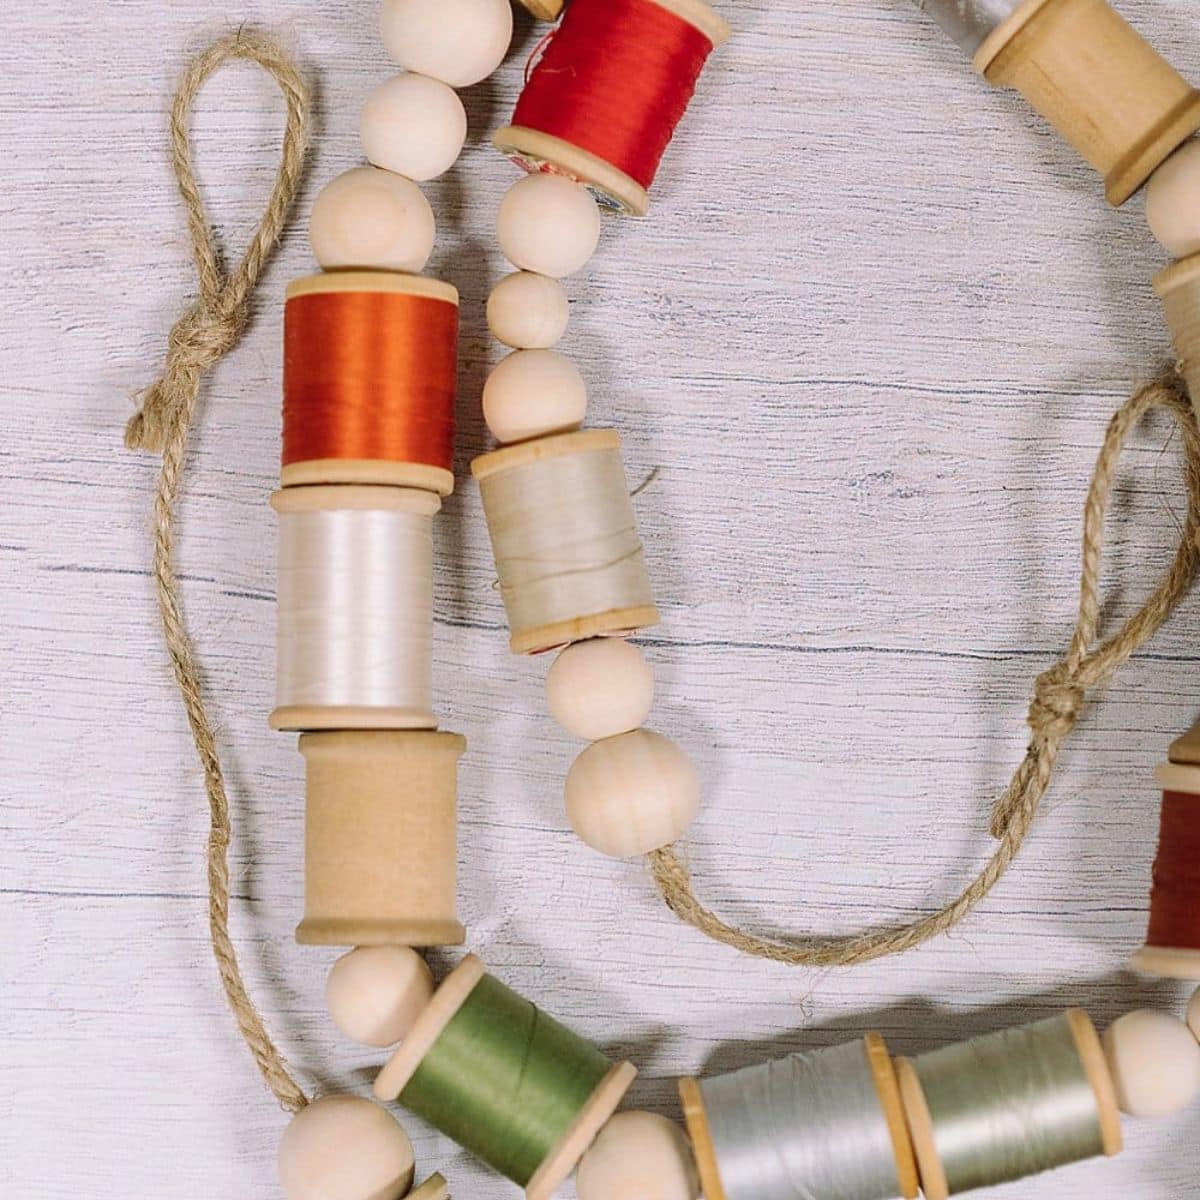
Garlands are one of the best ways to change up your decor for the seasons or holidays. They are easy and cheap to make, quick to hang up, and there is so much variety - the sky is the limit.
Today, we are going to make a thread spool and wood bead garland for Christmas, using vintage spools of thread! It is a holiday version of the spring thread spool and wooden bead garland, and we have also made a bright colorful version of the garland.
Jump to:
Why You'll Love This Craft
- Garlands are the easiest way to update your home decor for a new season, holiday, or special occasion. They are typically easy to make and pack a big punch.
- Combining twine, wood beads, and vintage thread spools creates a beautiful, charming garland with a slightly rustic vibe that looks great with any home style.
- This craft is so easy - it is the perfect kids' craft. There is no hot glue or cutting involved; nothing dangerous for little fingers. If they can thread beads onto twine, they can help make this project!
Craft Supplies Needed
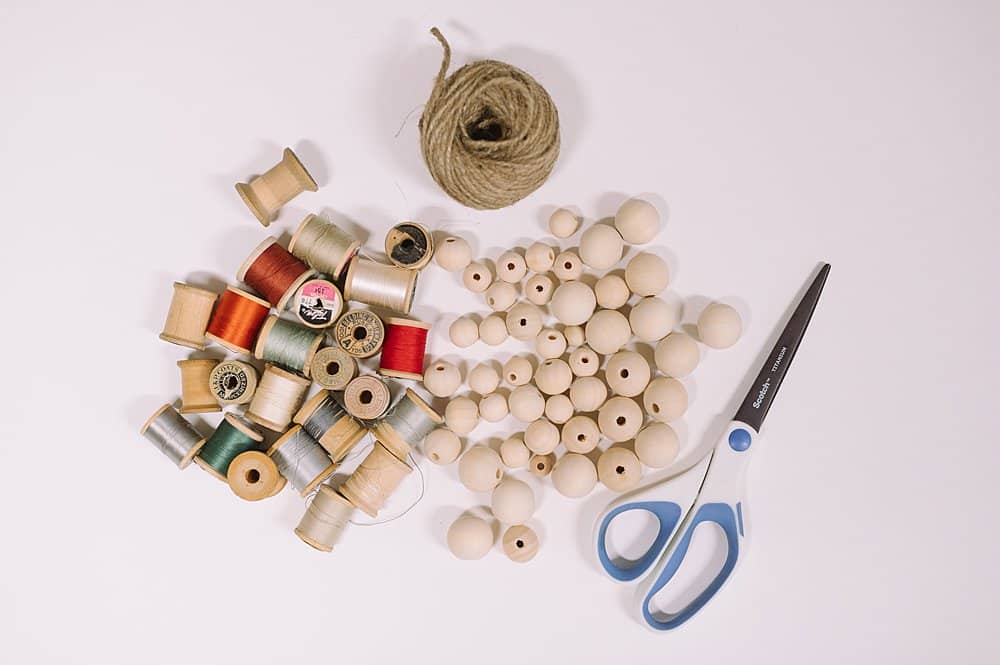
- Vintage Wooden Spools of Thread - You can buy new, empty spools of thread (minus the thread) on Amazon. Or, check thrift stores for old spools of thread.
- Wood Beads - I used a variety of sizes of wooden beads.
- Twine - For this garland, I used a thick twine.
- Scissors - To cut the twine.
- Packing Tape - To wrap around one end of the twine to prevent it from unraveling, and to make it easier to thread the beads on.
DIY Thread Spool and Wood Bead Garland for Christmas
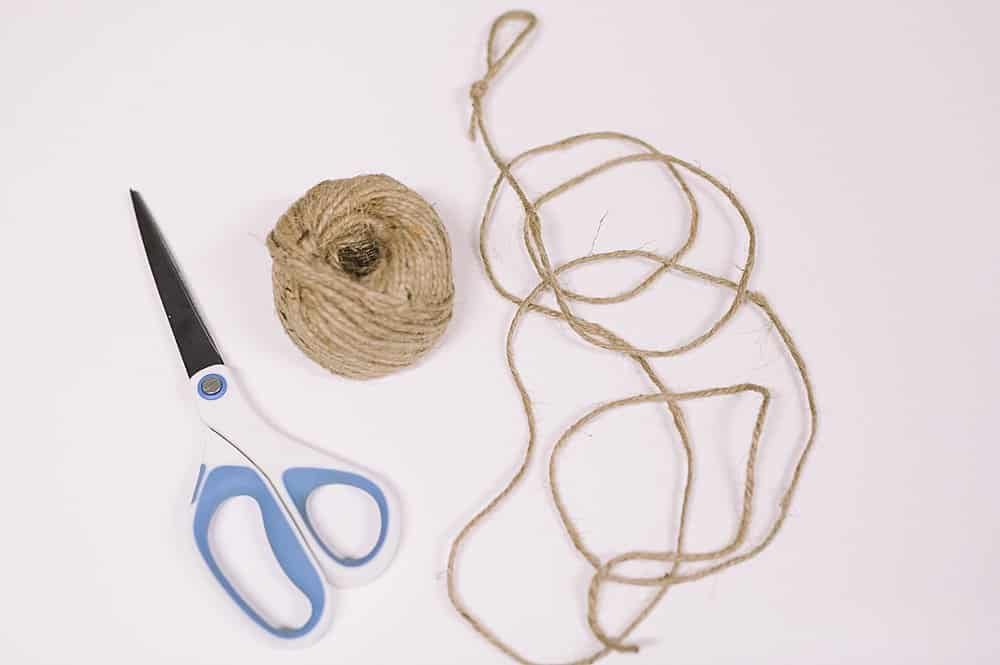
Step 1: Cut a section of twine for your garland's string.
Tie a loop at one end.

Step 2: Wrap the end of the twine in tape to make it easier to thread through the holes in the beads and spools.
This twine is thick, so if it started to unravel, it had trouble fitting through the holes in the wooden beads.
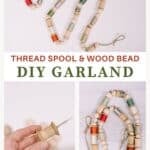
I wrapped the end of the twine in a little bit of packing tape to create a "needle" that would be easier to push through the beads.
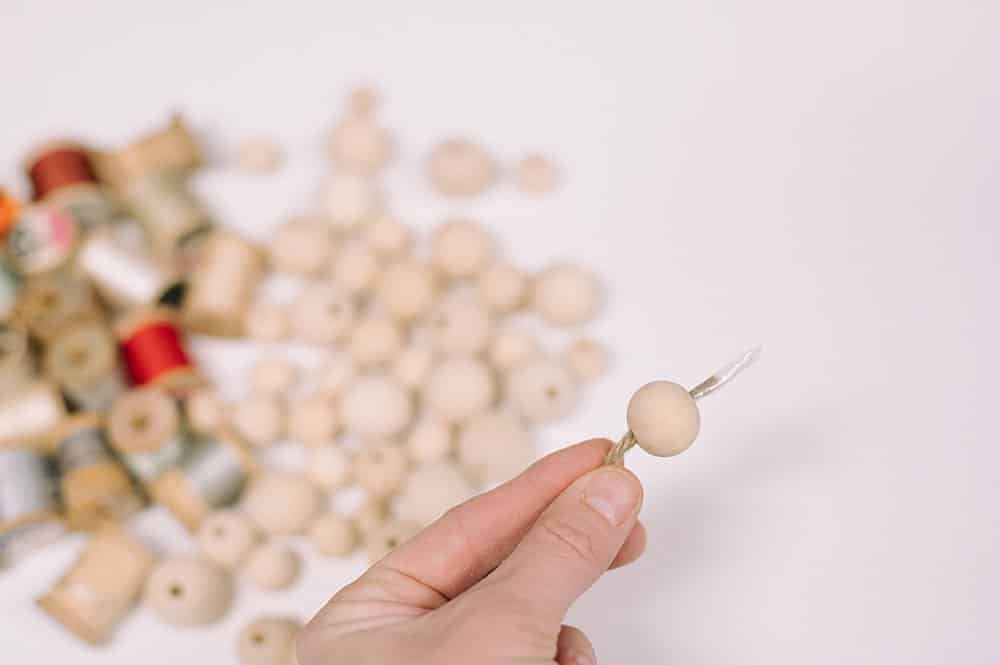
Step 3: Begin threading wooden beads and spools of thread onto the twine string of the garland.
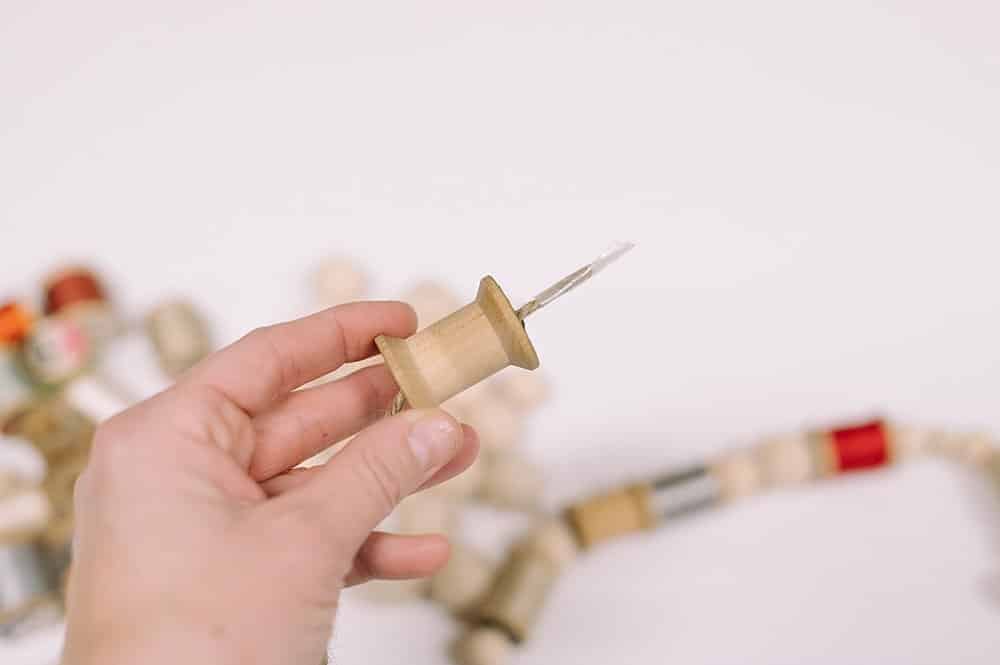
Step 4. You can add them in a random order, or a repetitive pattern; it's up to you.
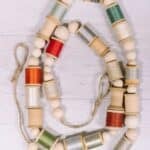
I chose to do a random order, and I tried to space out the colors from the thread spools throughout the garland.
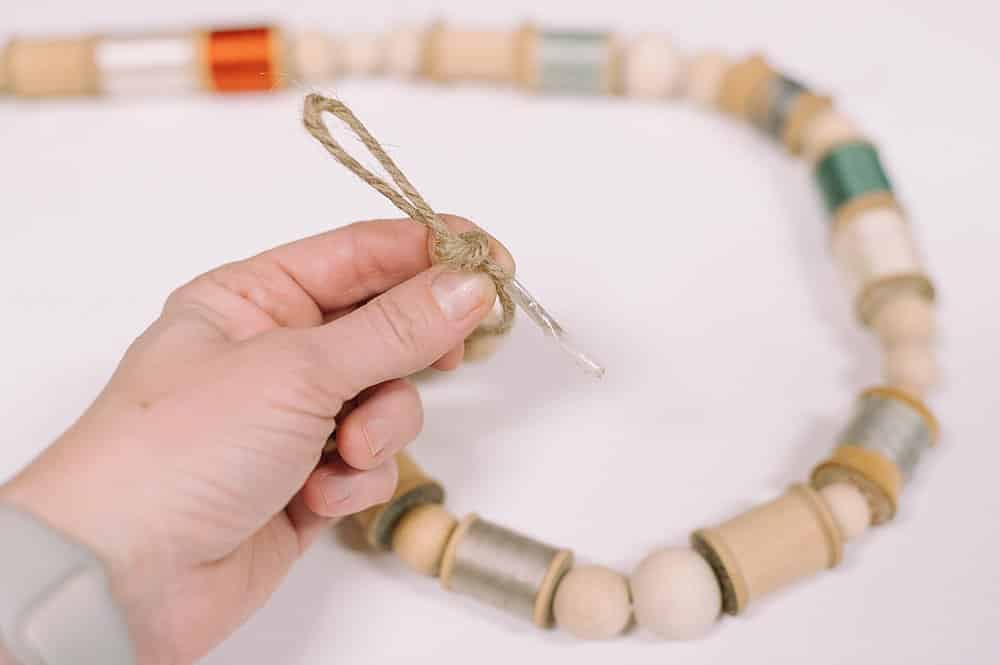
Step 5: Once you have added all the beads and thread spools to the garland, tie a loop in the other end of the twine.
Remove the tape from the end of the twine, or cut it off.
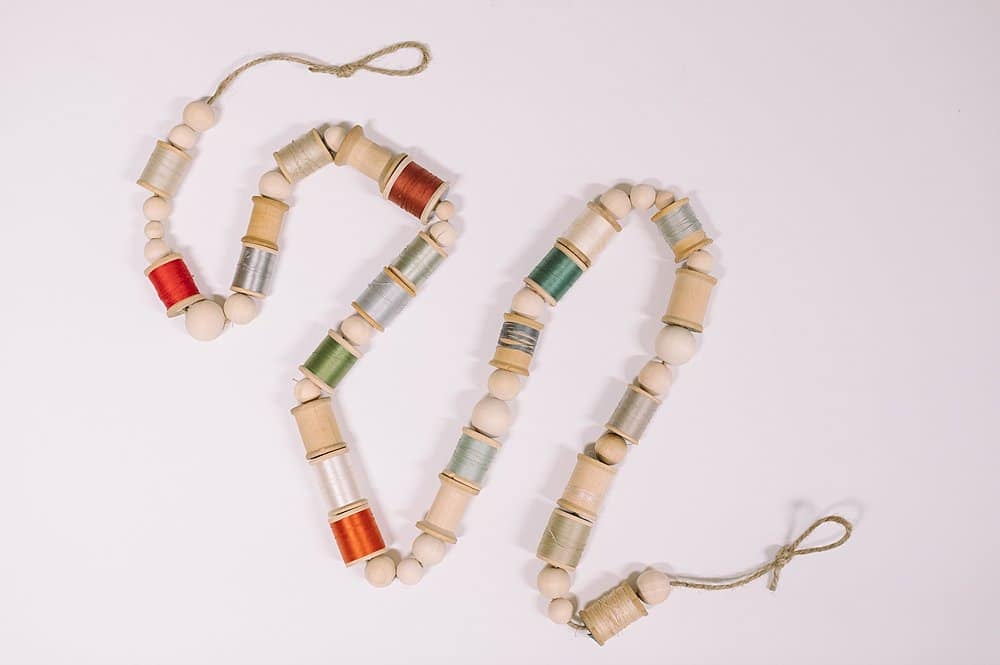
That's it!
Your vintage thread spool and wooden bead garland is finished!
Isn't it gorgeous??

Common Questions
The first place to check is your thread stash - check to see if there are any old spools that you don't use. Next, check local thrift stores. You can also ask friends and family to see if anyone has any stashed away. Lastly, check online retailers like eBay or Etsy. You can often find people selling vintage spools of thread on sites like that.
Thread spools typically have a little notch on one end, to pass the end of the thread in to hold it in place and prevent it from unraveling. Check to see if you can use that notch. If that's not an option, you can use a small dab of super glue to secure the end of the thread so it won't unravel and get stringy when it's hanging on your mantel.
This is a personal choice - it's up to you! If you have enough beads and thread spools, you can alternate bead-spool-bead-spool. Or you can do a random order like I did, staggering the beads and thread spools in a less perfect, more relaxed way. The one thing I tried to do though was intersperse the colors throughout the garland.
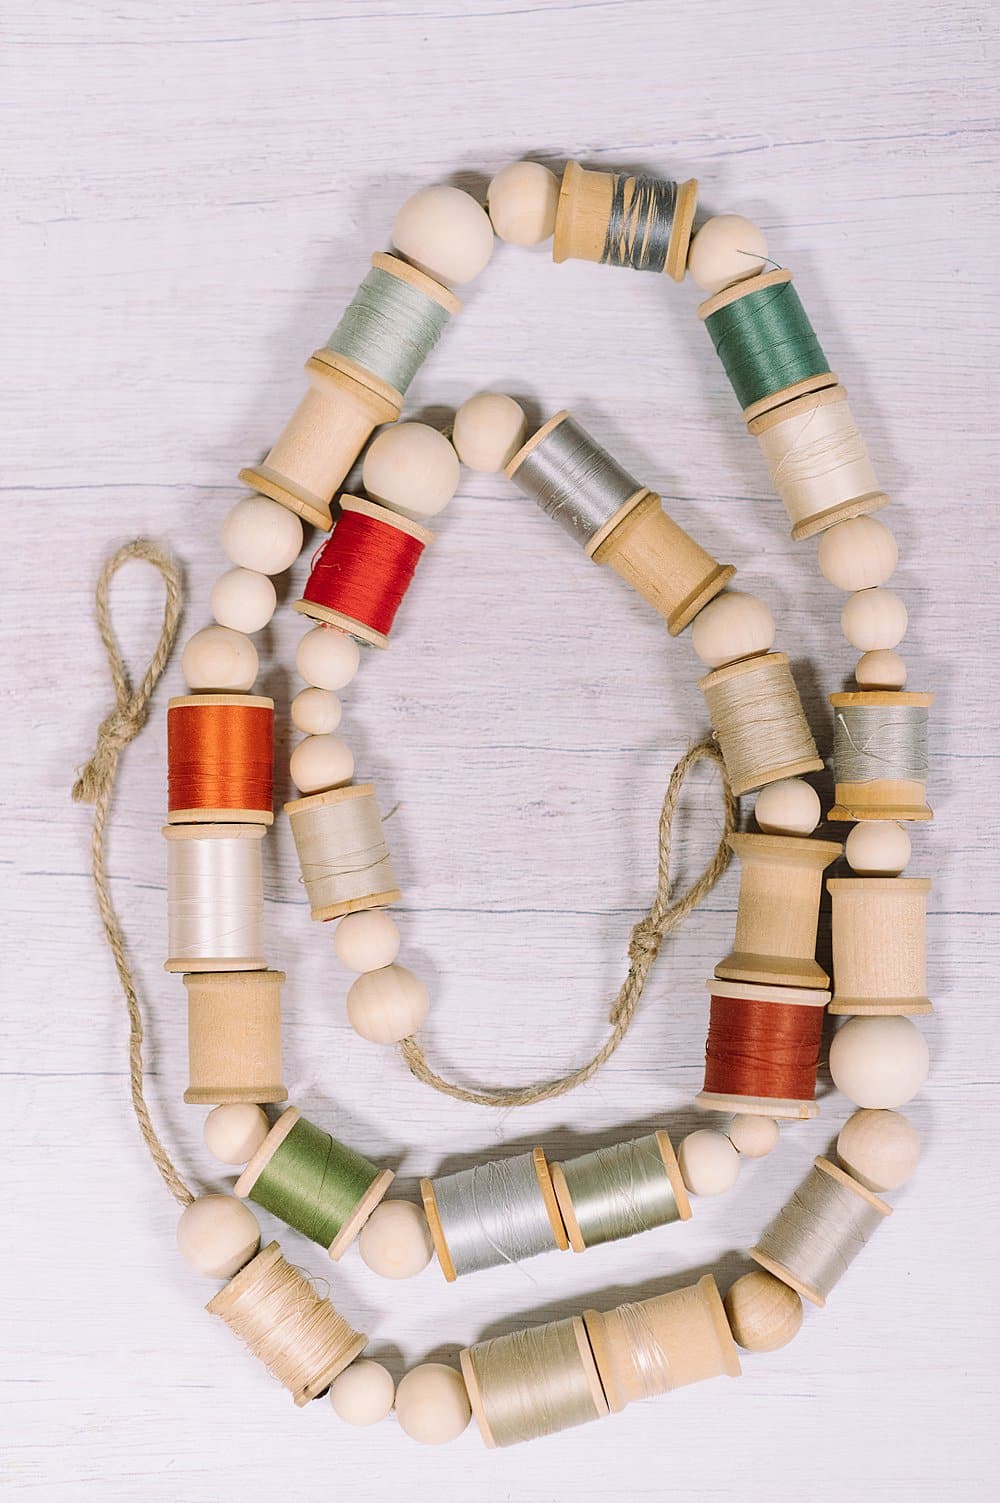
Making this garland with wood beads and vintage thread spools couldn't be easier - it's simply stringing the beads and spools onto twine, and knotting the ends!
But the result is stunningly beautiful and holds a lot of history in those vintage spools of thread. (Who bought them? What year was it? What did they use them to sew or mend?)
This is also a garland that can be customized for lots of different seasons, holidays, or home decor color palettes, depending on the colors of thread spools you use!
More Christmas Crafts You'll Love
---
⭐️🧶 Did you enjoy this craft and want to see more like it? ✂️ Join our FREE email community and get inspiring craft ideas sent right to your inbox! 🧵 ⭐️
---
DIY Thread Spool and Wood Bead Garland for Christmas
Materials
- Vintage Spools of Thread
- Wood Beads
- Twine
- Scissors
- Packing Tape
Instructions
- Cut a section of twine for your garland's string.Tie a loop at one end.
- Wrap the end of the twine in tape to make it easier to thread through the holes in the beads and spools.This twine is thick, so if it started to unravel, it had trouble fitting through the holes in the wooden beads.I wrapped the end of the twine in a little bit of packing tape to create a "needle" that would be easier to push through the beads.
- Begin threading wooden beads and spools of thread onto the twine string of the garland.
- You can add them in a random order, or a repetitive pattern; it's up to you.I chose to do a random order, and I tried to space out the colors from the thread spools throughout the garland.
- Once you have added all the beads and thread spools to the garland, tie a loop in the other end of the twine.Remove the tape from the end of the twine, or cut it off.
Notes
- Check thrift stores for vintage thread spools. You can also find them on eBay or Etsy.
- You can do a repetitive alternating order of bead/thread/bead/thread, or you can vary the order and do something more random.
- Regardless of how you add the beads and thread spools, distribute the color throughout the whole garland so it is balanced.













Leave a Reply