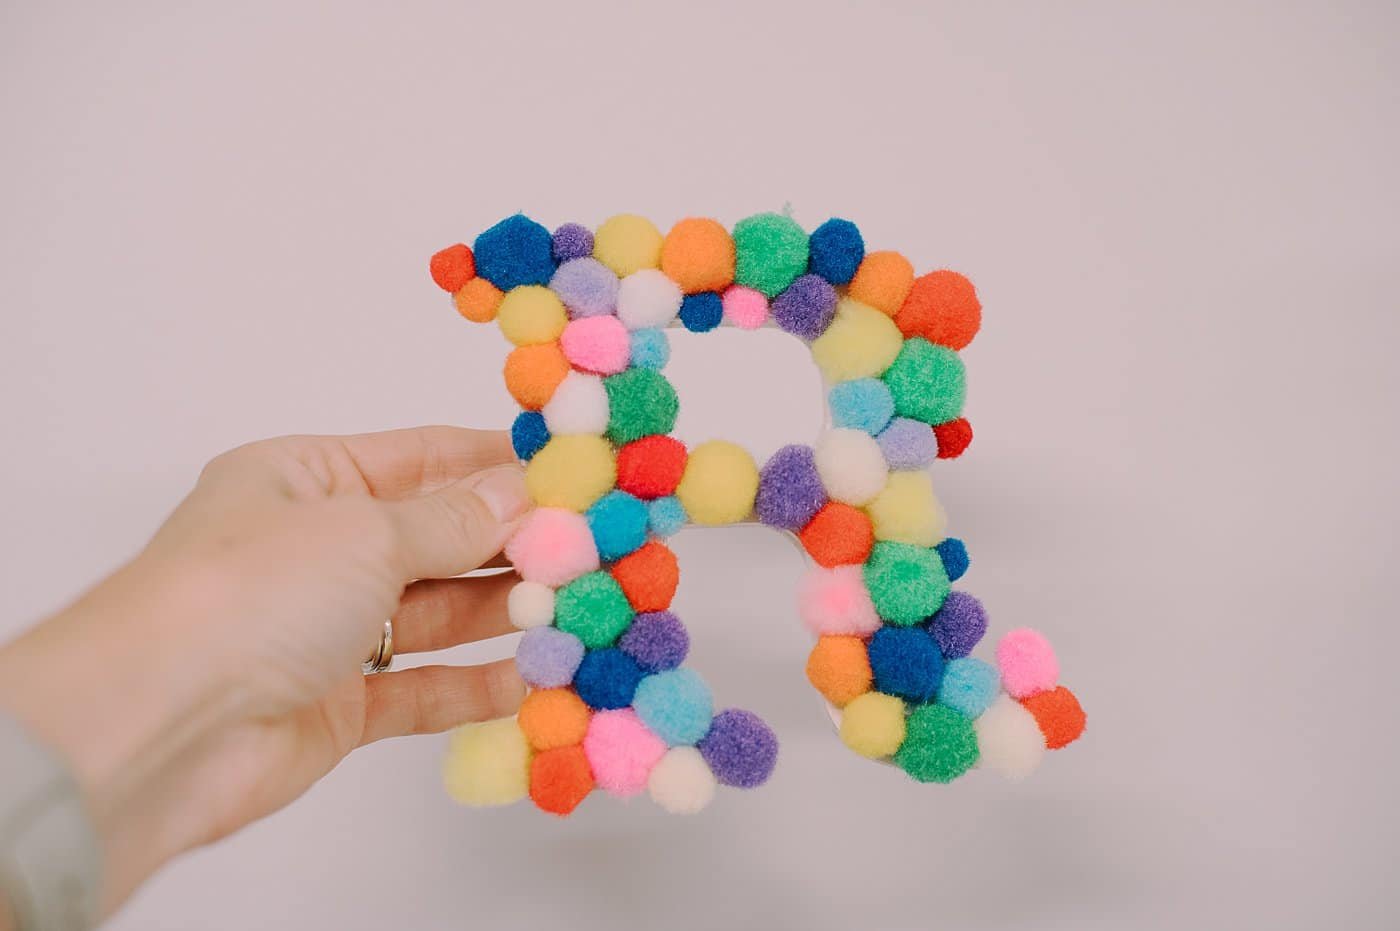
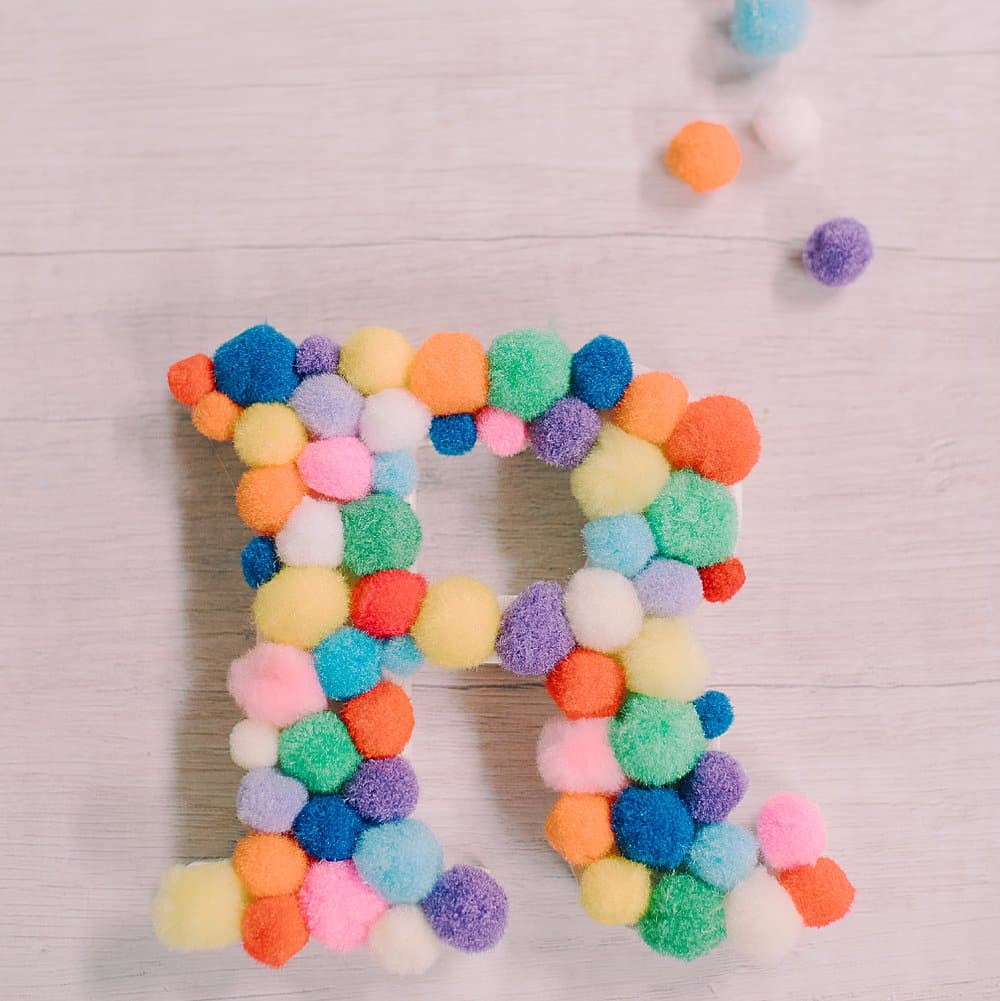
Learn how to make a fun kids' craft with this tutorial, showing you how to make a pom pom covered letter R - perfect for a kids' room!
Kids' rooms are the perfect place for colorful decorations, and even better when they're handmade and add a personal touch!
Colored pom poms are a cheap craft supply you can find anywhere, and they come in all different sizes from just a few millimeters to an inch in diameter or bigger.
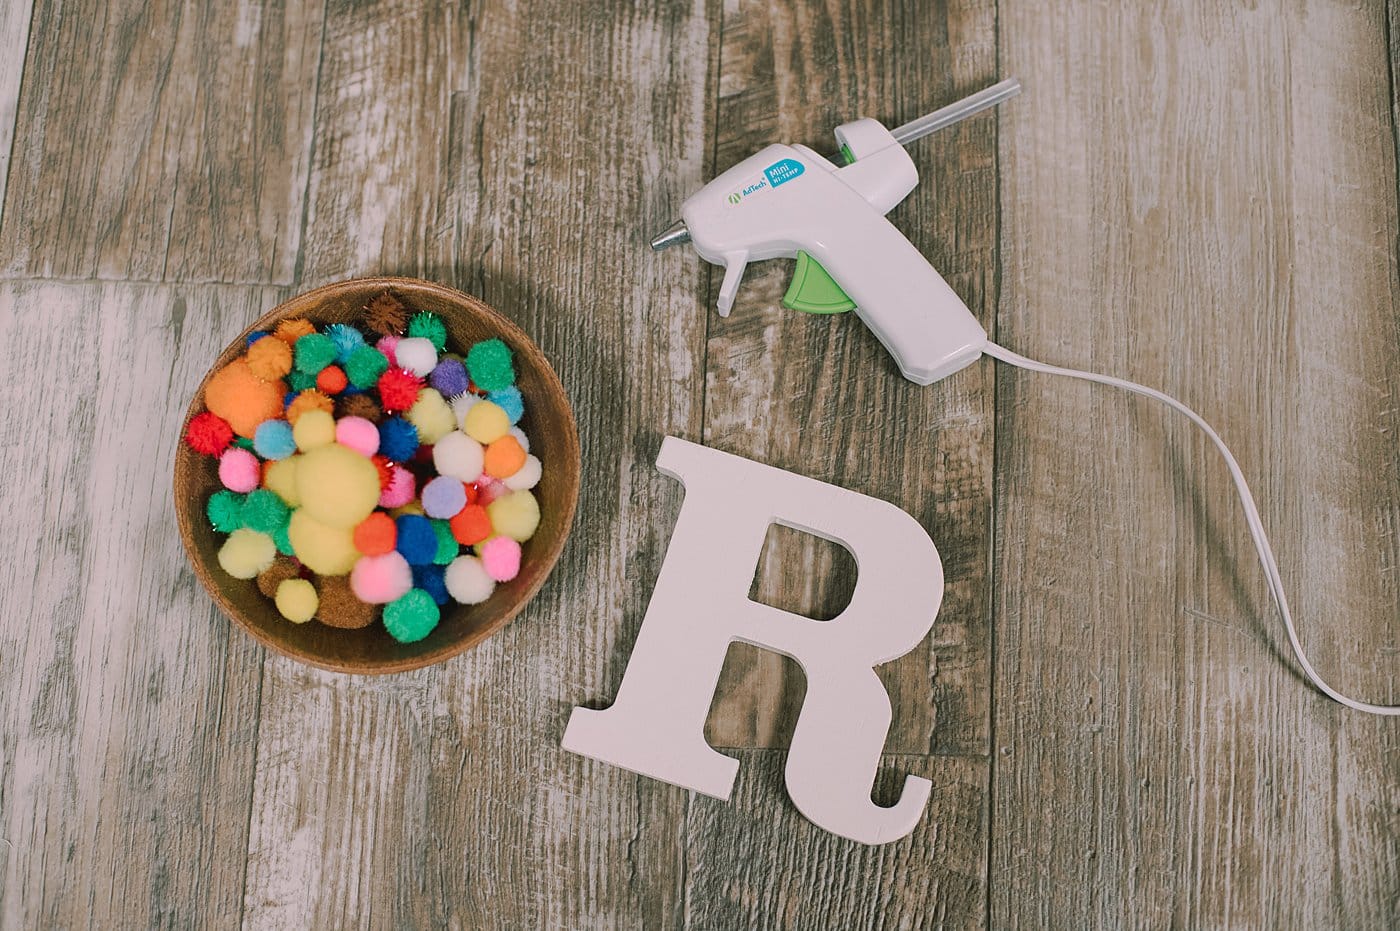
We will use a wooden letter R and decorate it with colorful pom poms in today's easy kids' craft tutorial - how to make a pom pom letter R.
Jump to:
Why You'll Love This Craft
- Pompoms are a cheap craft supply available everywhere from local craft stores and big box stores to online retailers and even dollar stores. You can find them anywhere!
- Kids love this project because they can choose the pompom colors and sizes, as well as put them on the wooden letter (as long as they are careful about the hot glue.)
- The same craft idea can be applied to letters, numbers, or shapes of any kind! Craft stores often sell wooden or cardboard shapes, letters, and numbers so you can decide what you want to cover in pom poms!
Craft Supplies Needed
- Wooden Letter - We used an "R" but you can use any letter(s) you want! ABCs would be fun for a preschool classroom! You can also leave the letter's color natural, or paint it. We painted the "R" white before beginning the project.
- Colorful Pom Poms - These often come in huge bags with lots of different colors.
- Hot Glue Gun and Glue - The quickest and easiest way to attach the pom poms! (You could also use school glue to make it safer for younger kids, but the project wouldn't dry as quickly.)
How to Make a Pom Pom Letter R
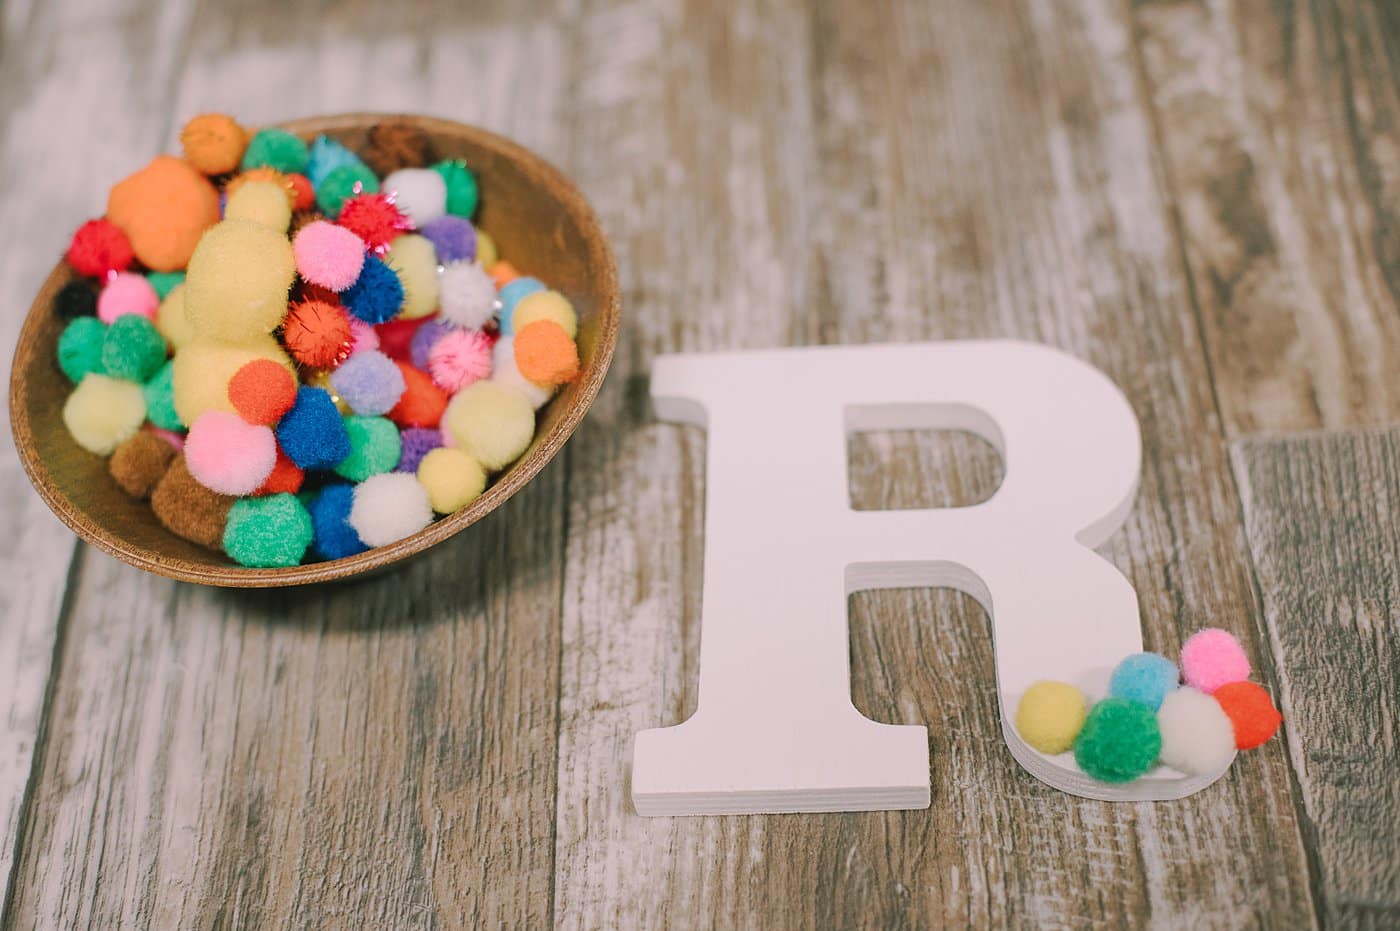
Step 1. Begin hot gluing pompoms onto the front of the letter.
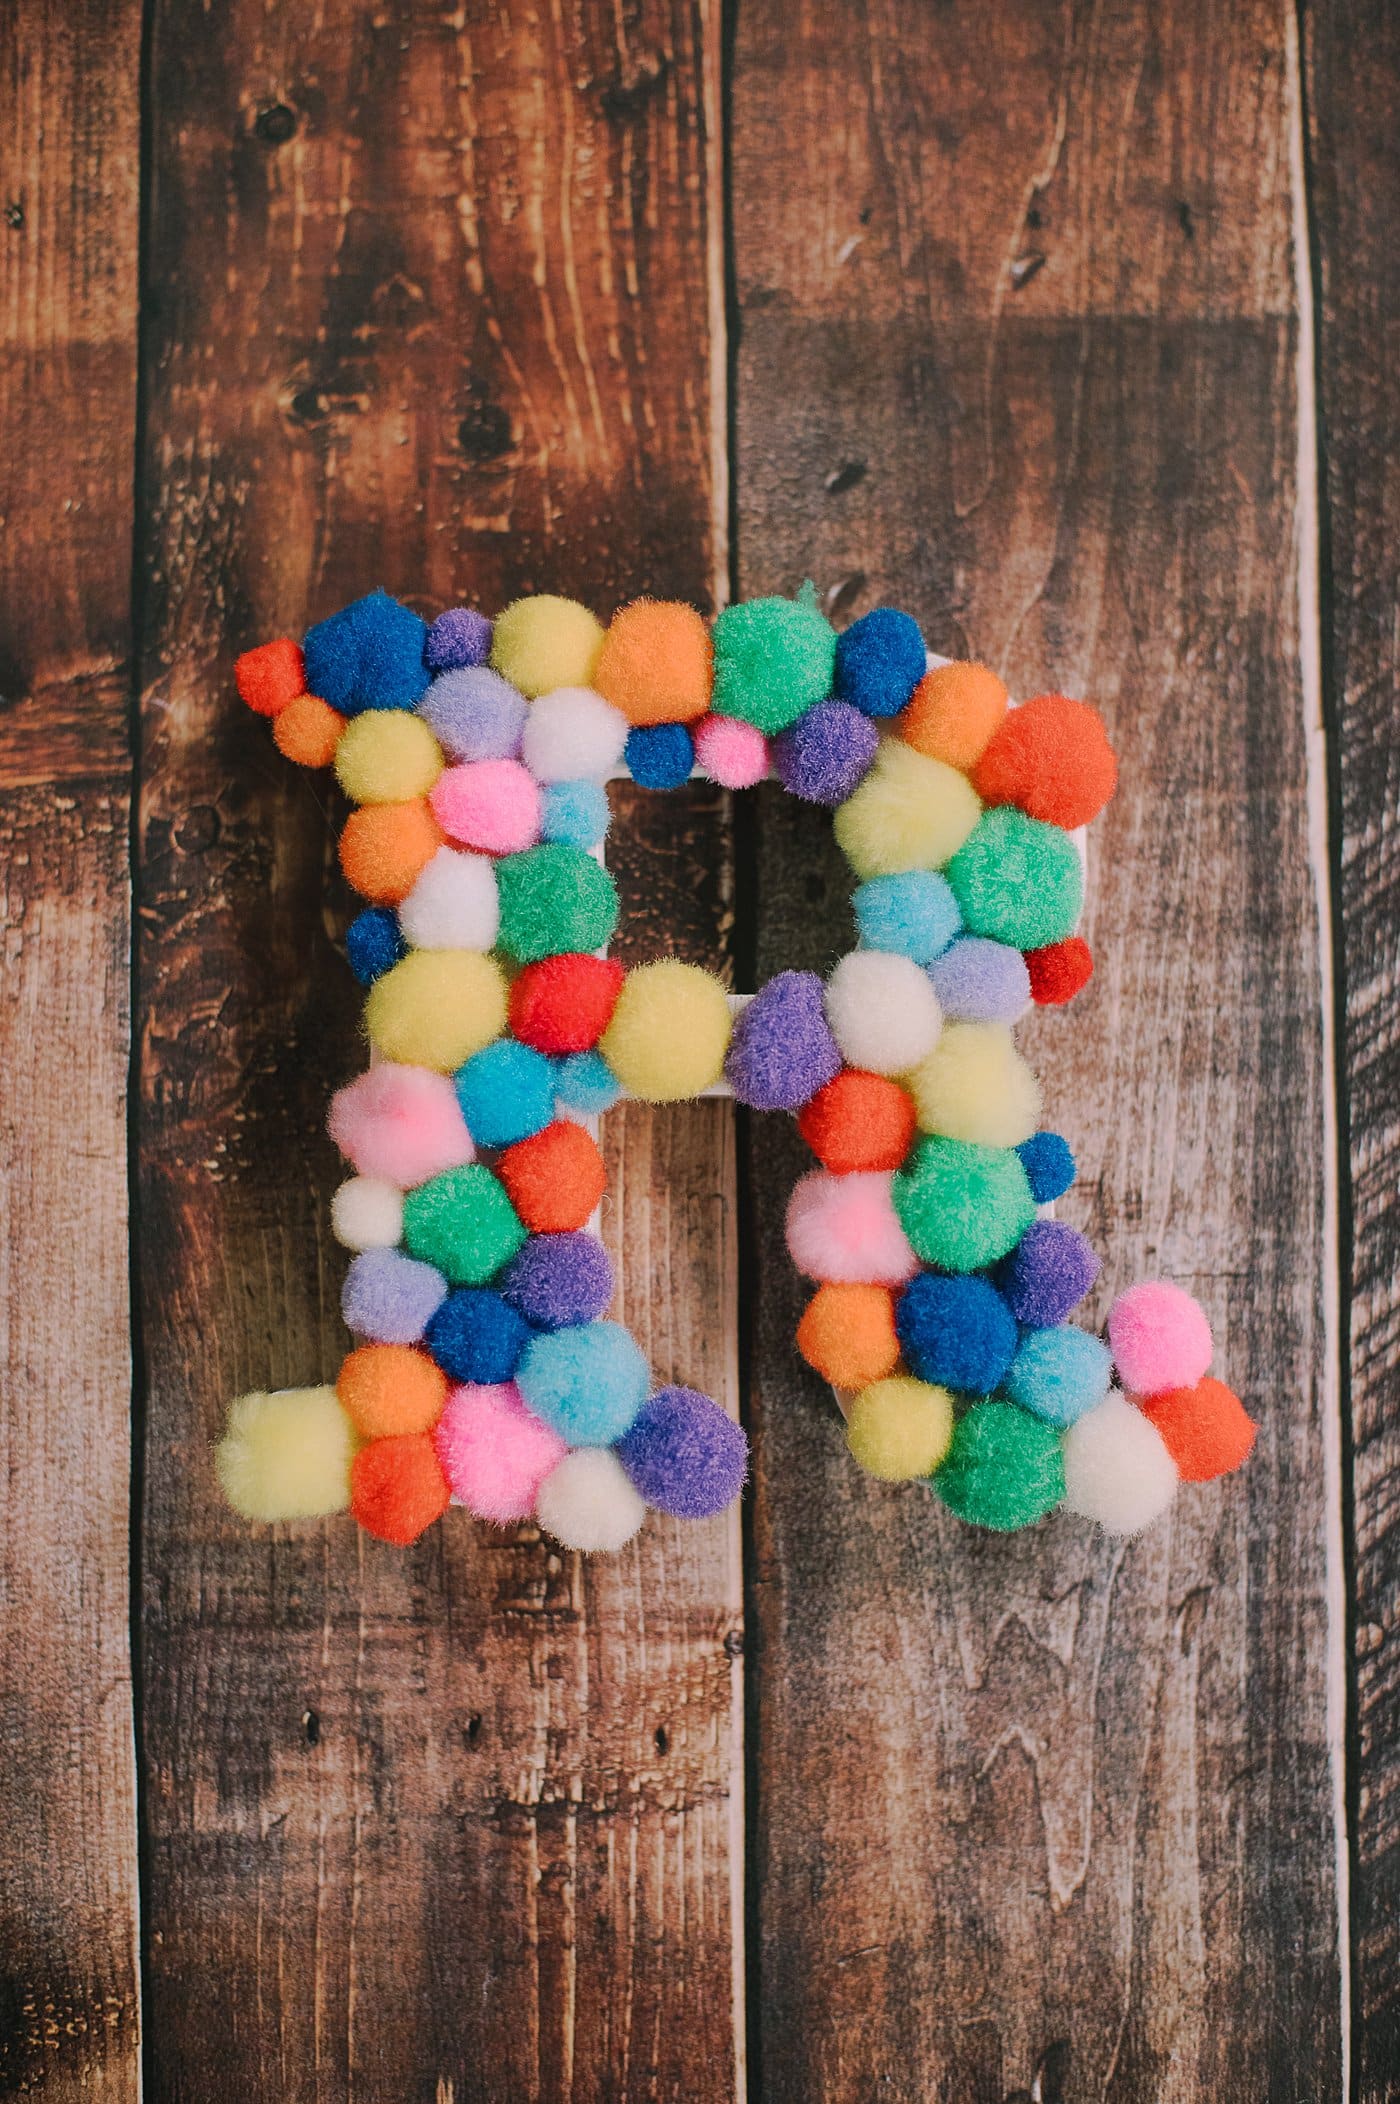
We decided to use pom poms that were all close to the same size, to give the project a uniform look despite the huge variety of colors.
You could experiment with using different-sized pom poms in your project. The result will be more eclectic when there is a range of sizes from tiny to huge.
PRO TIP: Pay attention to the colors as you're gluing, too. We tried hard to not place two of the same color next to each other because we wanted lots of variations in the colors.
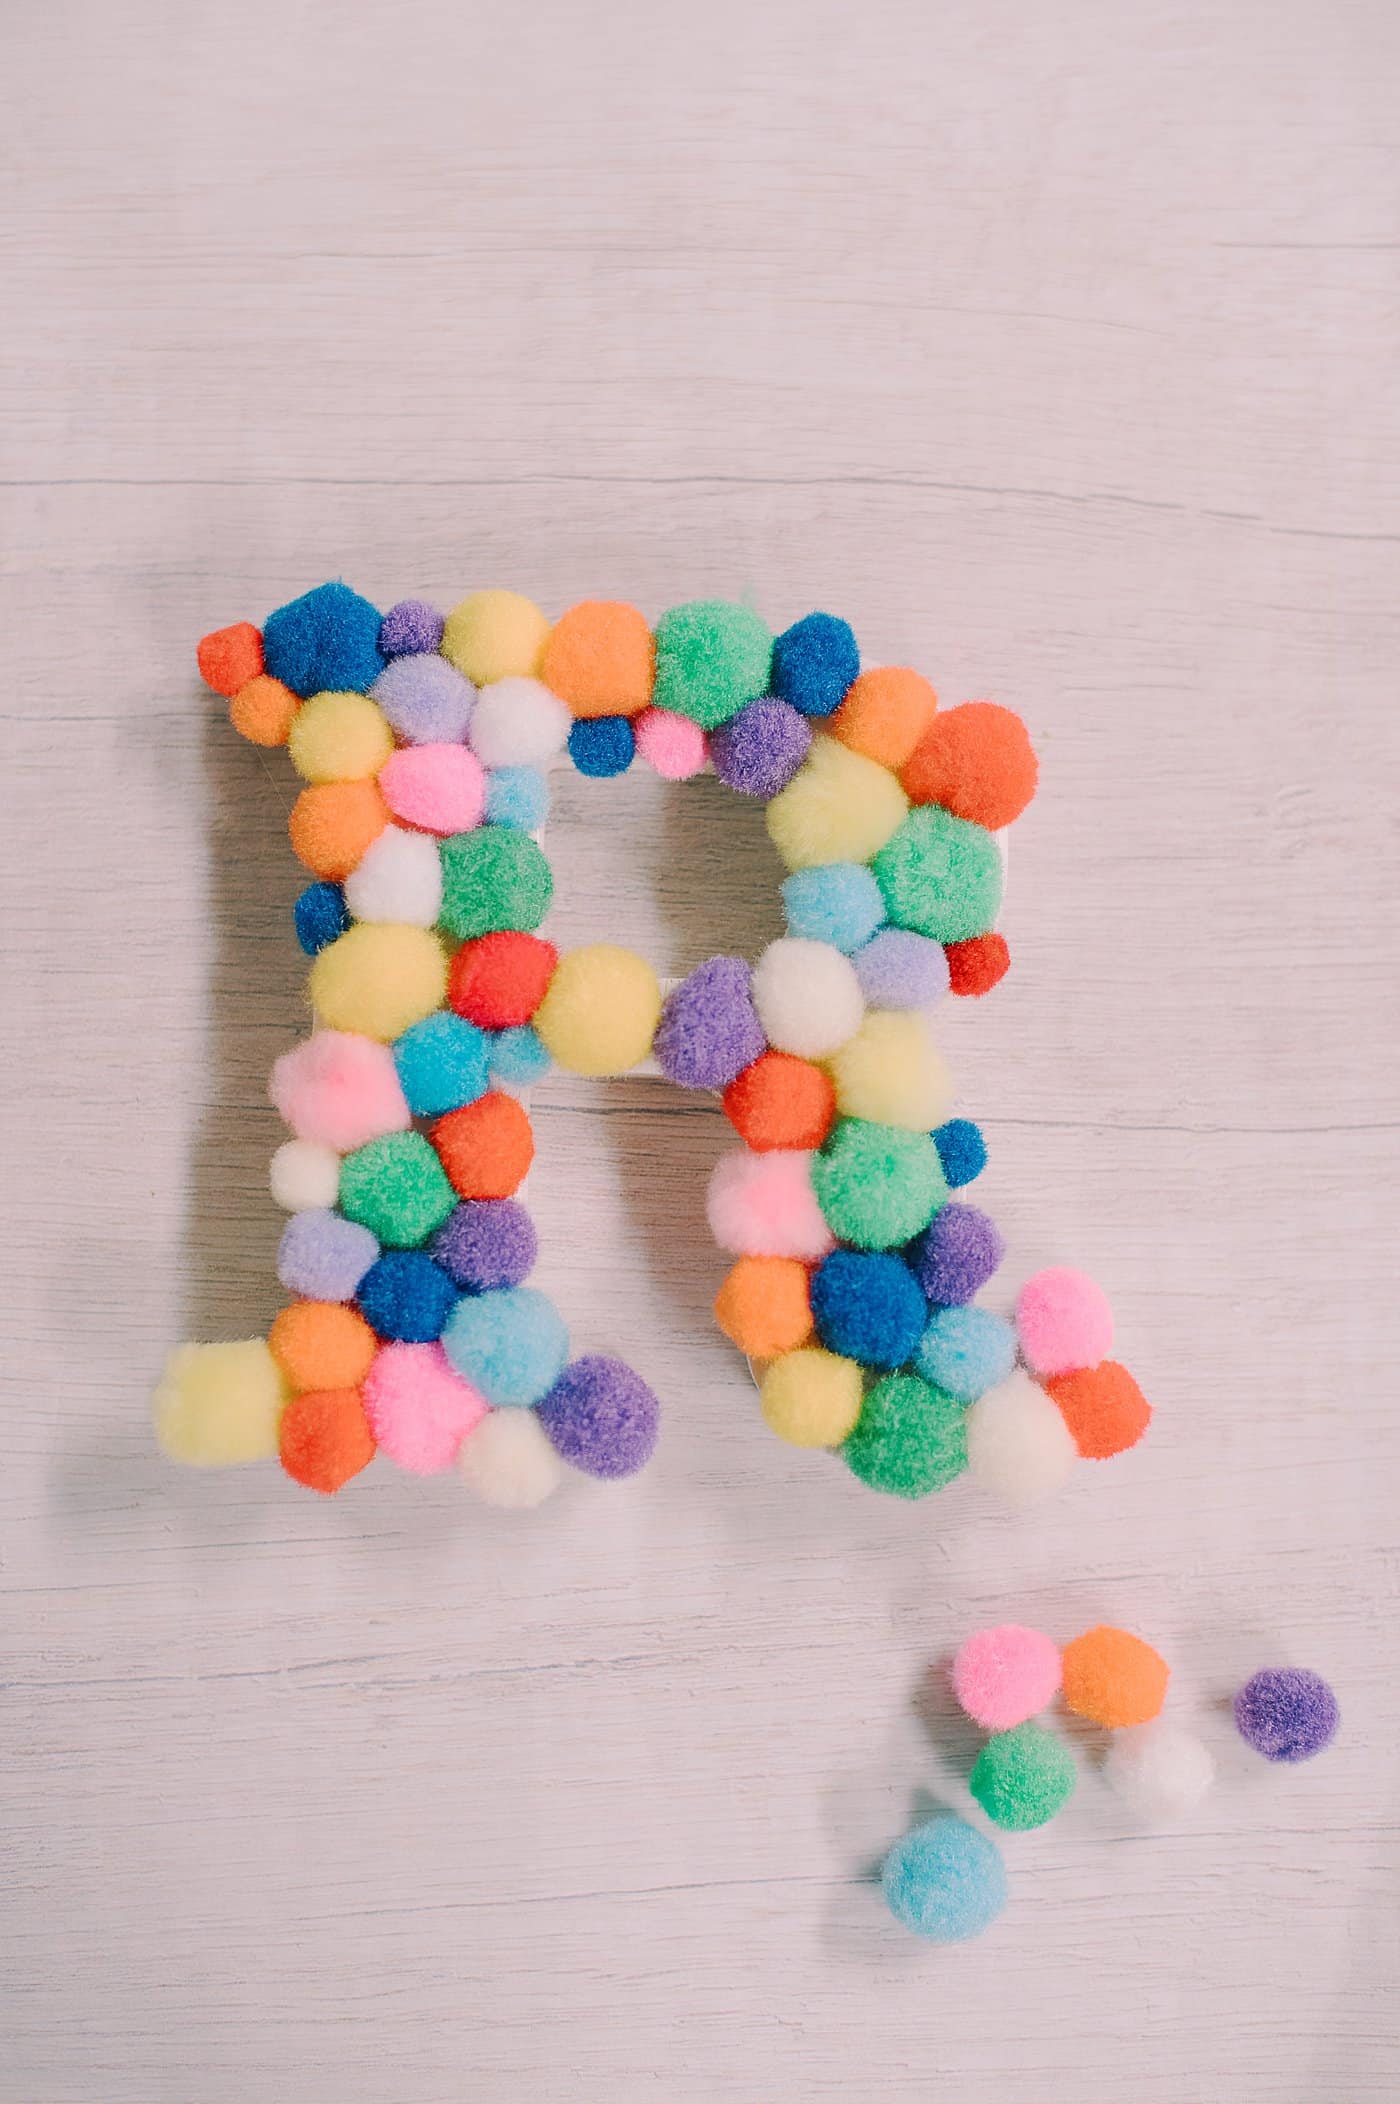
Step 2. Continue gluing pom poms around the front of the letter.
Step 3. We used smaller pom poms to fill gaps along the edges where larger poms would have been too big.
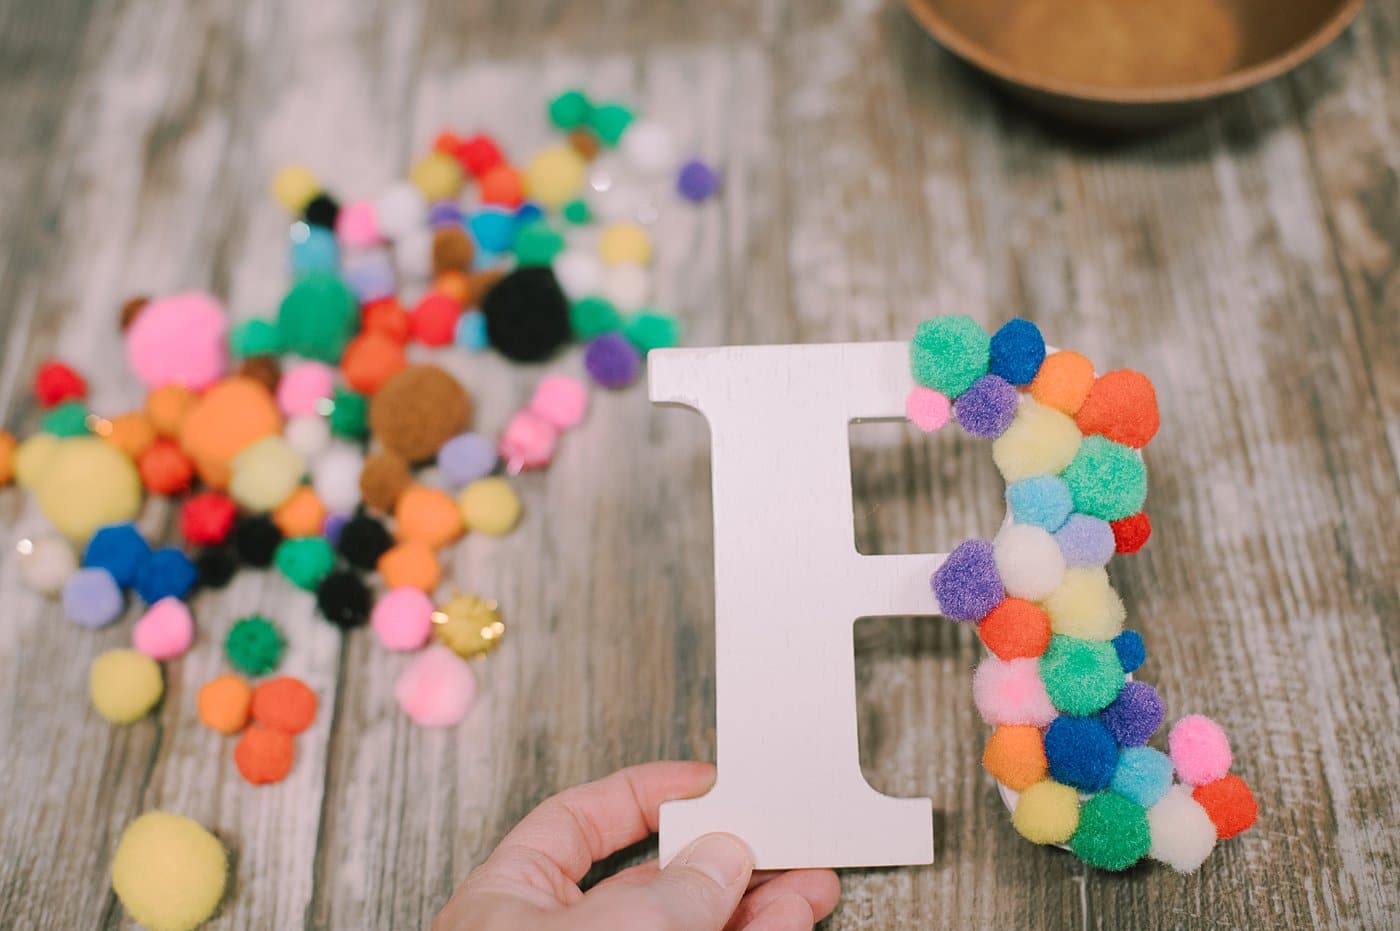
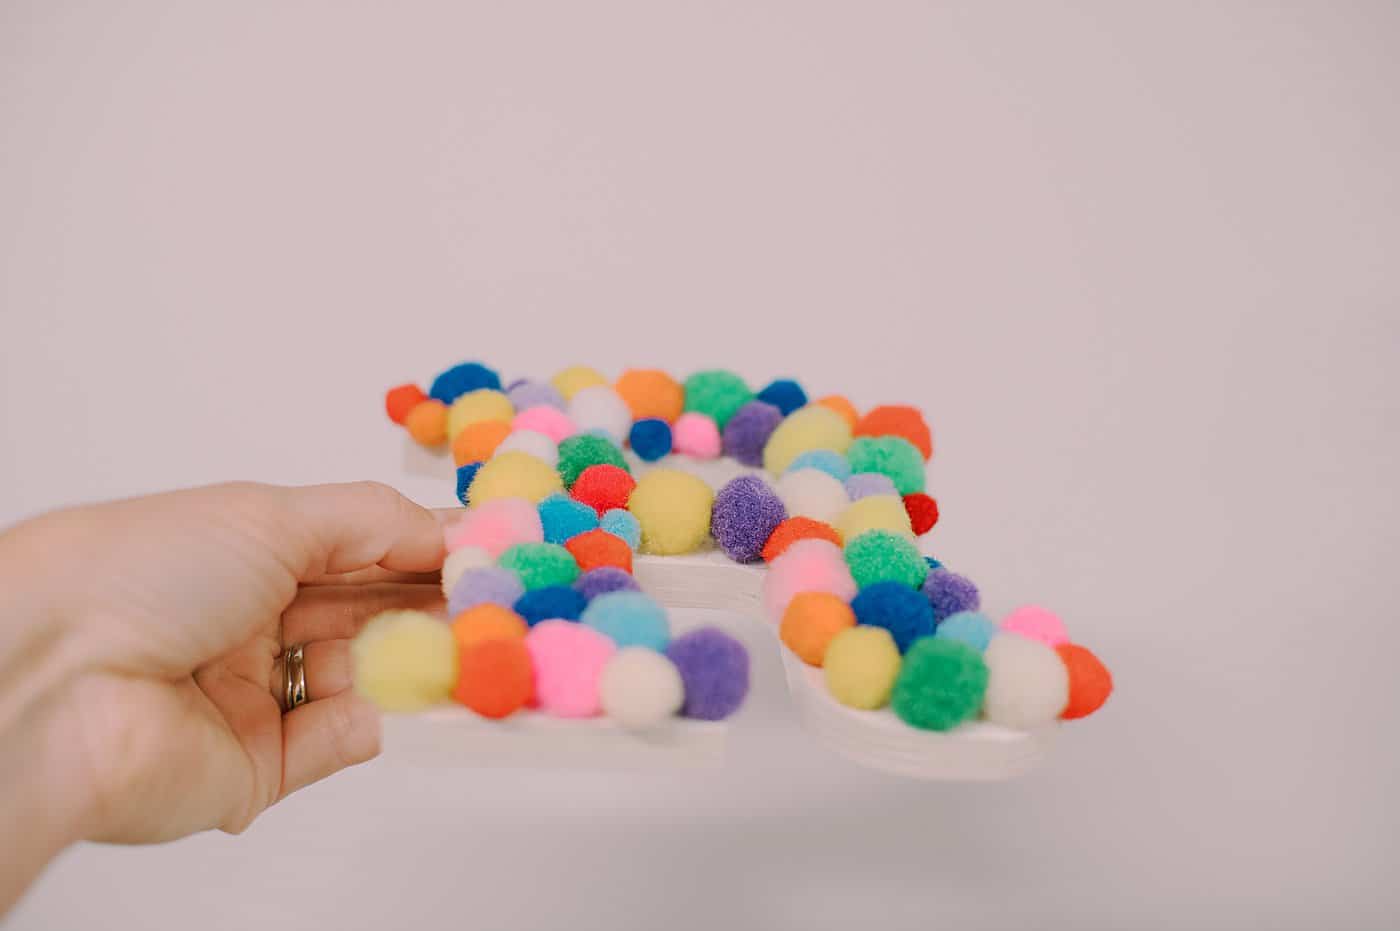
Step 4. We only added pom poms to the front surface of the letter; not the sides.
This helped the project look clean and polished.
(It would also be fun to do the same project but add pom poms around the inside and outside edges to see what the difference looks like.)
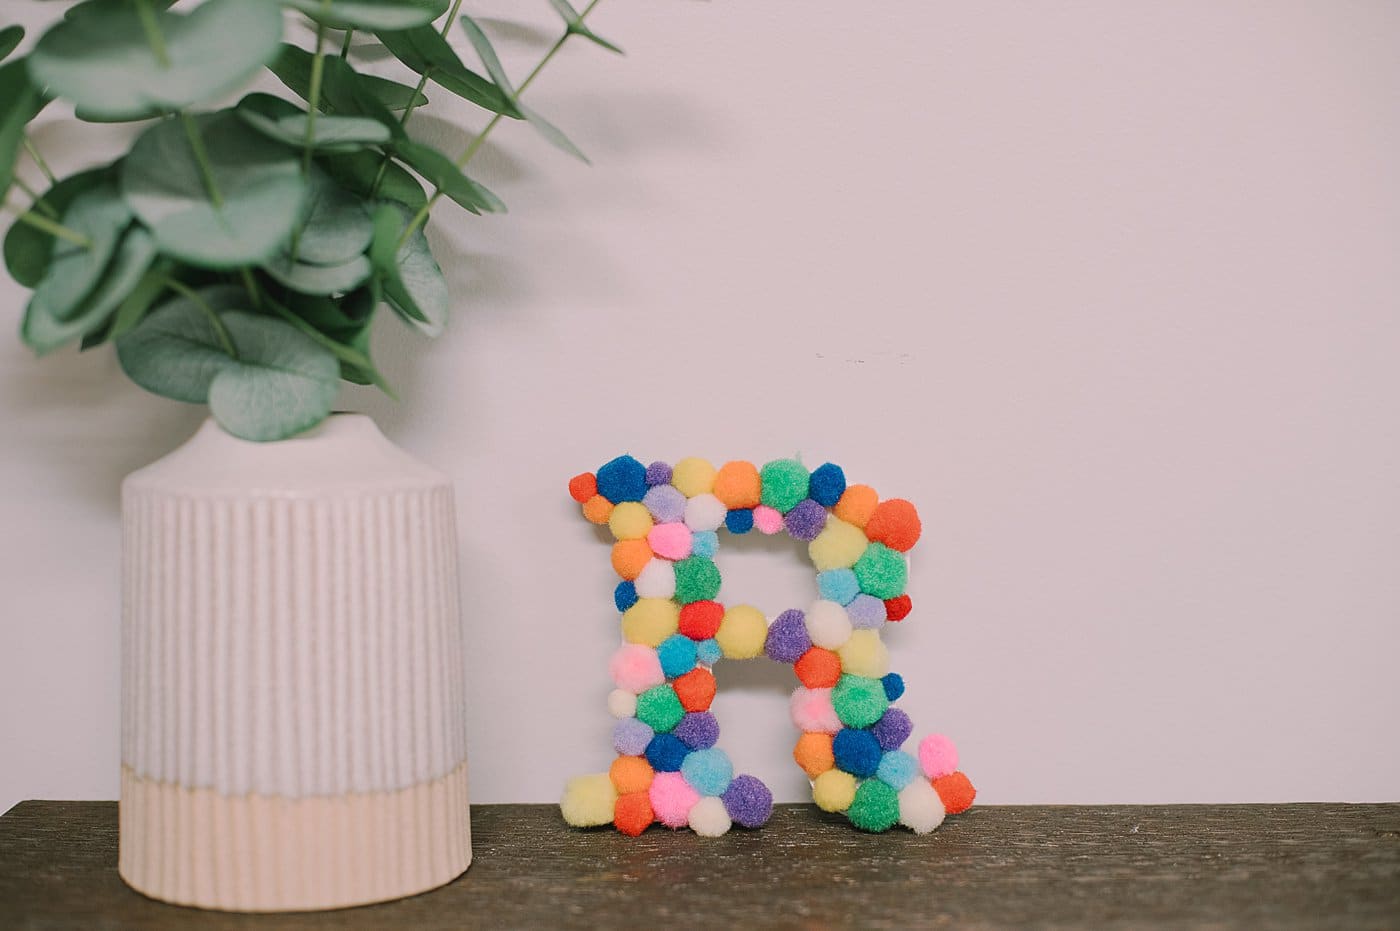
Isn't it cute?? Perfect for a kids' room, classroom, or daycare decor!
Common Questions
The good thing about these pom poms is they are sold everywhere from box stores and craft stores to dollar stores and of course, online. And they're usually cheap and come in a big bag with lots of different colors and varying sizes. That makes them the perfect supply for a kids' craft.
Yes, this project could be made with school glue instead of hot glue. This might be useful if you want to let younger children make their letter without having to do the hot glue part for them.
The downside of using school glue or other slow-drying glue is the poms will slide around if they're pushed on when the glue is still wet. It might make it a little harder to get the poms in place and keep them there.
But it's a trade-off for safety when you're dealing with young hands!
The easiest way to display a project like this is to set it up on a shelf! That way you don't need to worry about hanging it up.
If you do want to hang it, you can try command strips as a non-damaging way of hanging it up, because this project isn't very heavy.
You can also hot glue a piece of twine or string to the back like we did with this DIY canvas to make a place to hang it up.
Lastly, if you use a cardboard letter, you can punch a hole in the back of it and then use that hole to hang it on a nail in the wall too.
This craft project could even be made on a bigger scale with a huge cardboard letter like the one we used in this jumbo flower letter tutorial.
Use whatever letter applies to the kids in your life and you have a super fun craft the kids will love!
More Kids Crafts You'll Love
---
⭐️🧶 Did you enjoy this craft and want to see more like it? ✂️ Join our FREE email community and get inspiring craft ideas sent right to your inbox! 🧵 ⭐️
---
How to Make a Pom Pom Letter R
Materials
- Wooden Letter
- Colorful Pom Poms
- Hot Glue Gun and Glue
Instructions
- Begin hot gluing pompoms onto the front of the letter.We decided to use pom poms that were all close to the same size, to give the project a uniform look despite the huge variety of colors.You could experiment with using different-sized pom poms in your project. The result will be more eclectic when there is a range of sizes from tiny to huge.PRO TIP: Pay attention to the colors as you're gluing, too. We tried hard to not place two of the same color next to each other because we wanted lots of variations in the colors.
- Continue gluing pom poms around the front of the letter.
- We used smaller pom poms to fill gaps along the edges where larger poms would have been too big.
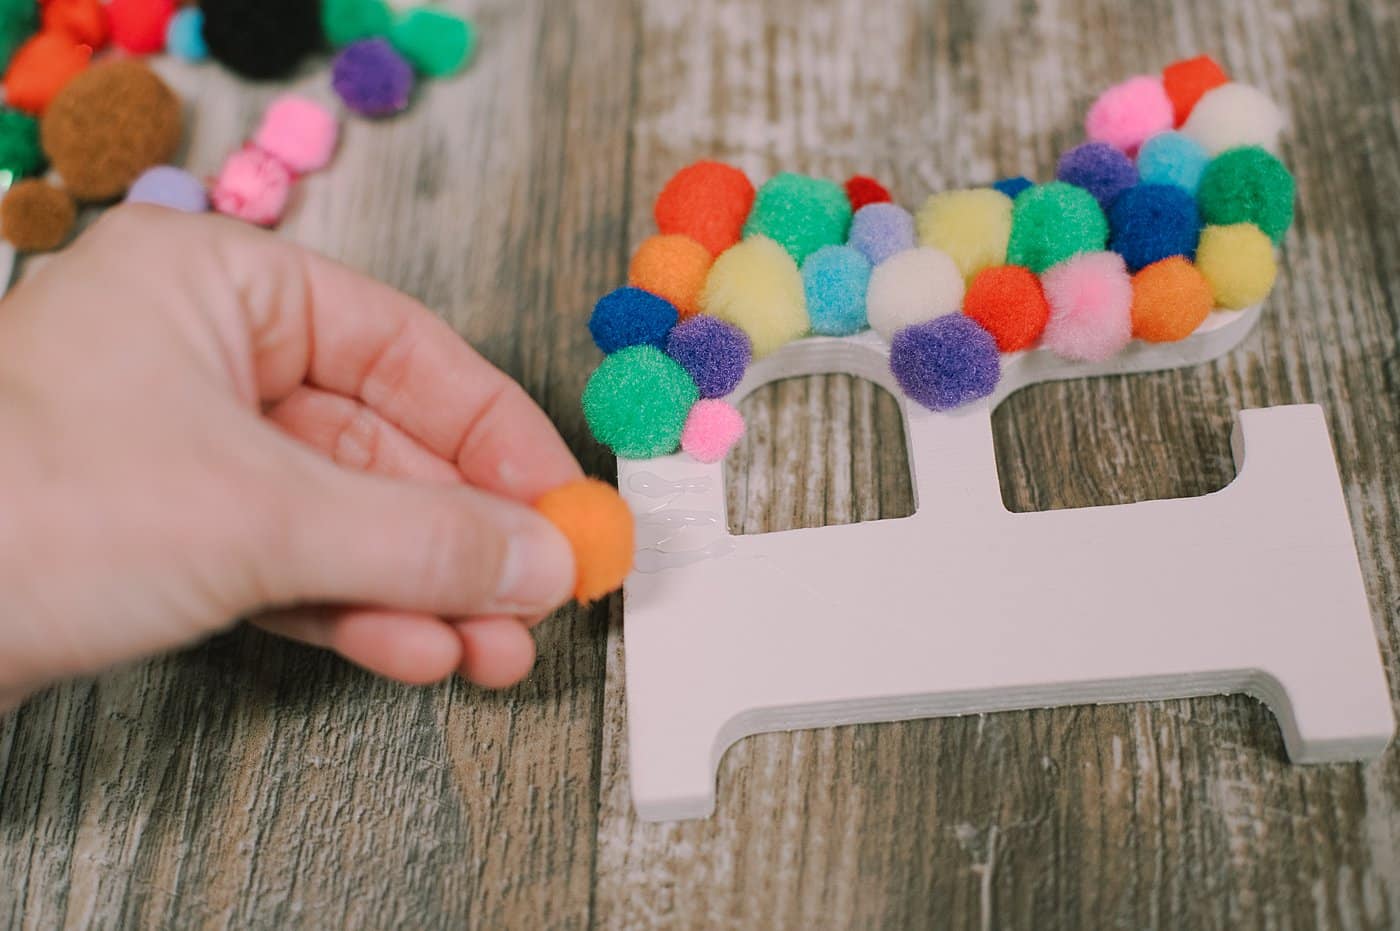
- We only added pom poms to the front surface of the letter; not the sides.This helped the project look clean and polished.
Notes
- Before you begin gluing pompoms onto the letter, number, or shape, decide if you want to leave it the natural color, or paint it. We painted our letter "R" white before we began.
- Use small pompoms to fill in gaps near the edges where bigger poms wouldn't fit.
- You can display your project on a shelf or hang it with one of several hanging methods like command strips, gluing a hanging string on the back, or punching a hole in the back of the letter of it is a 3D cardboard letter.
Leave a Reply