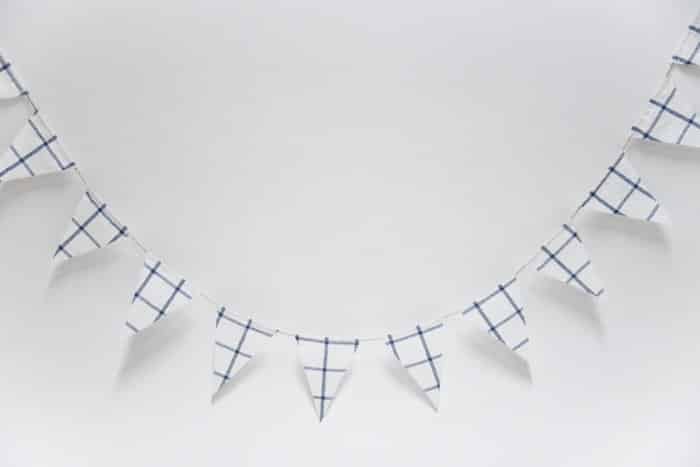
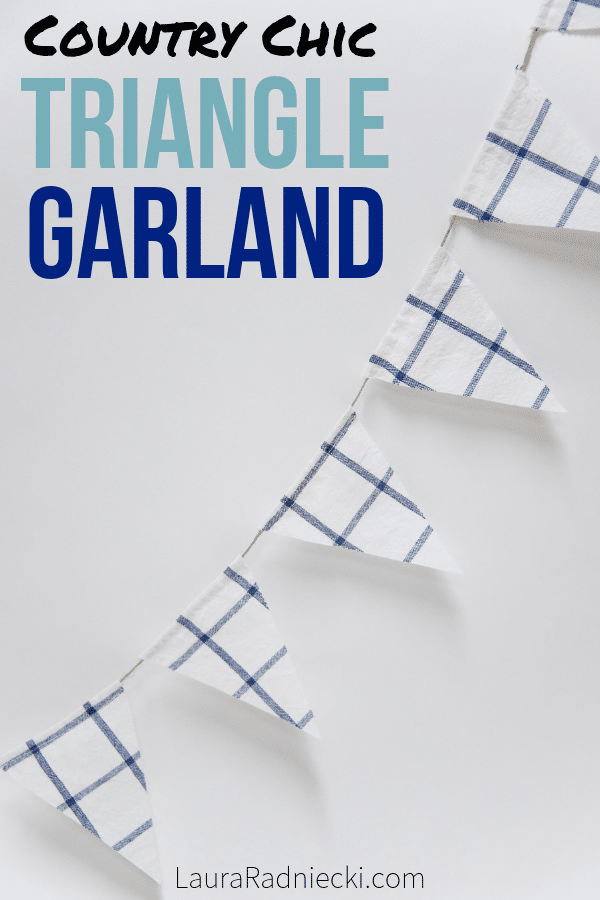
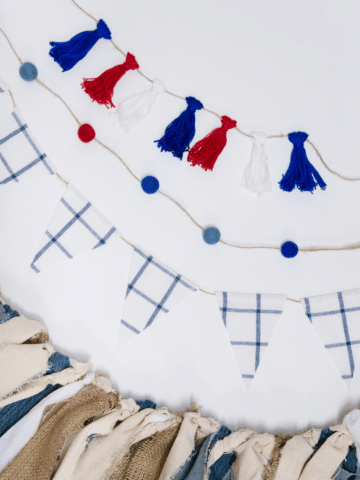
Garlands are a great way to easily add style and color to home or party decor. Felt ball garlands and embroidery floss tassel garlands can be customized to fit any color scheme, and instantly add a wow factor to a mantel or dessert table. A triangle bunting garland is another cheap, easy and fast banner that breathes new life into your home or party decorations.
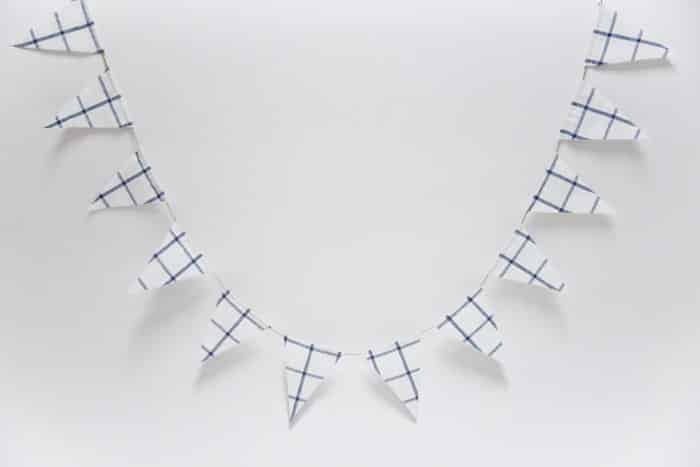
Here's how to make a triangle bunting garland.
How to Make a Triangle Bunting Garland
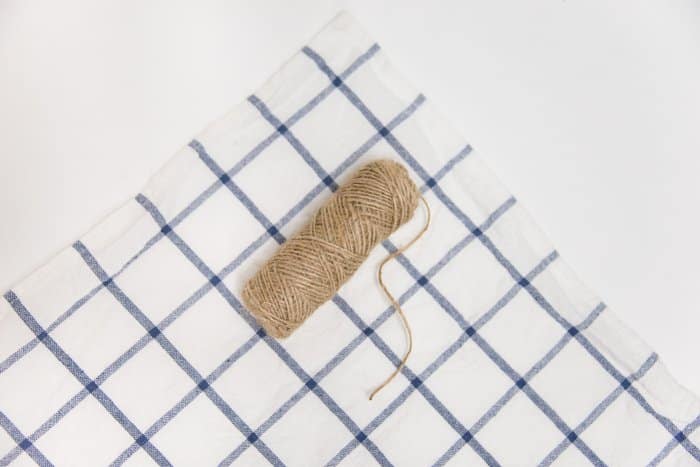
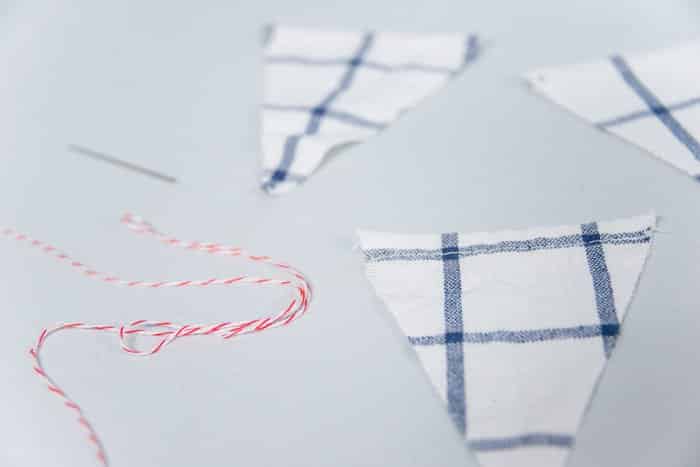
Step 1. Gather supplies.
Supplies Needed:
- Fabric
- Rotary cutter, cutting mat and fabric ruler
- Twine or other string
- Large embroidery or darning needle, big enough for your twine to fit
- Sewing machine
- Thread
- Iron
- Scissors
Step 2. Iron fabric flat.
The fabric for this country chic garland is actually a linen dishtowel from Ikea. Once washed and dried, it was very wrinkly, so the first step is getting as many of the wrinkles out as possible.
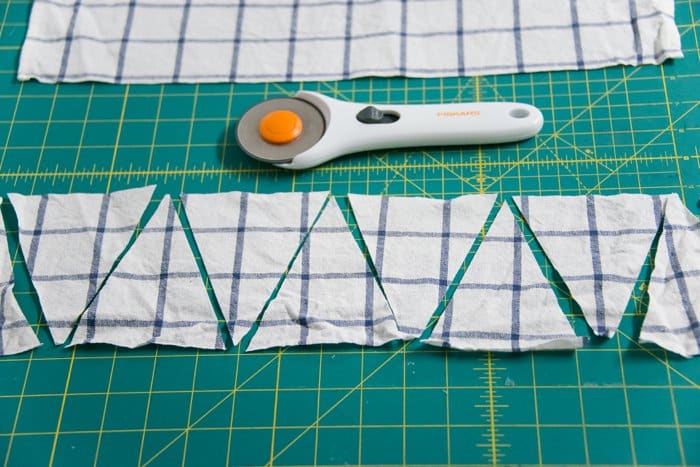
Step 3. Cut triangles.
My first cut was to make a large fabric rectangle 5" tall. I planned to cut my triangles out of this 5"-tall piece of fabric.
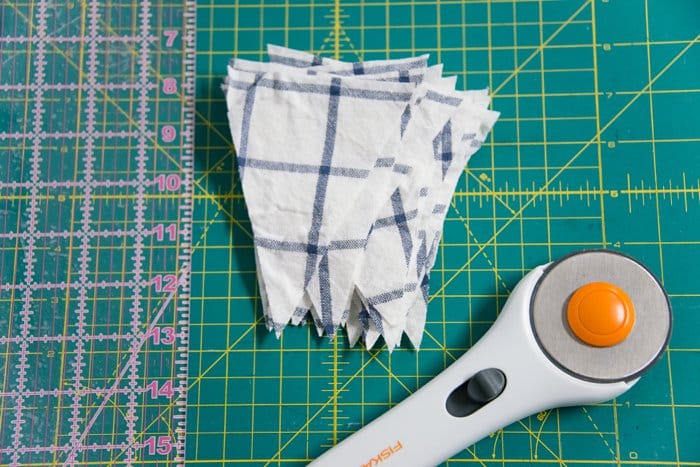
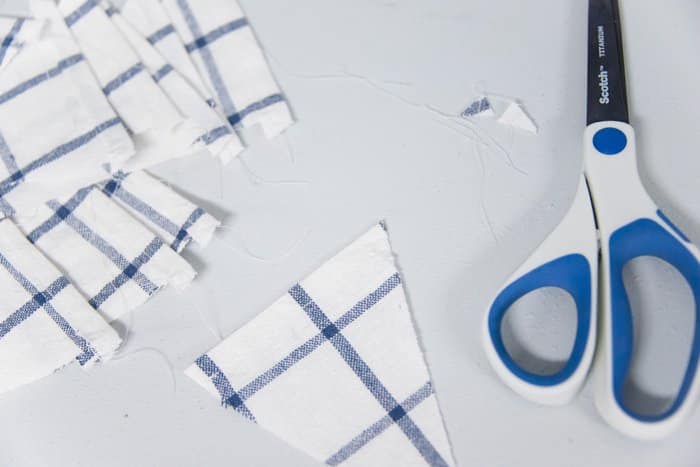
Then, I used my fabric ruler, cutting mat and rotary cutter to cut triangles that were 4" across the bottom and 5" tall.
Step 4. Again, iron the triangles flat, and then iron a section to sew.
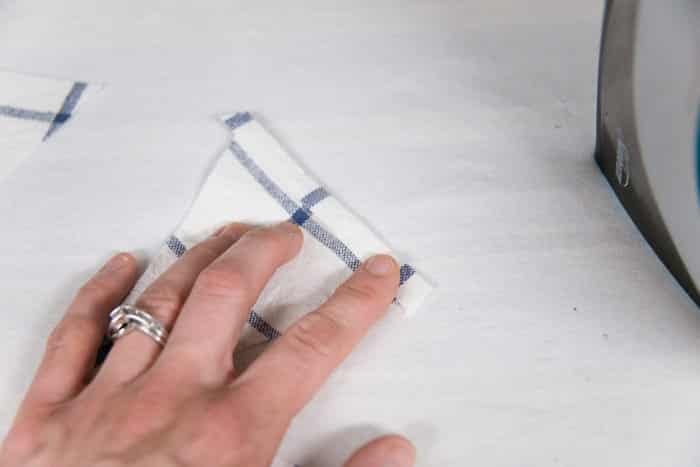
Flip them over so the good side of the fabric is down, and the “wrong” side is up. Iron flat.
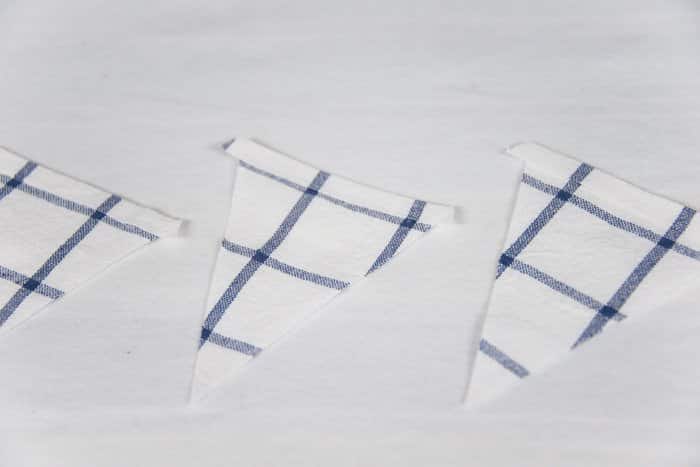
Then, fold the long 4" side of the triangle over ¼” and press well.
This creates a little section that you will sew and becomes the tube for your twine to be threaded into.
Repeat for all of your triangles.
Step 5. Sew along each triangle.
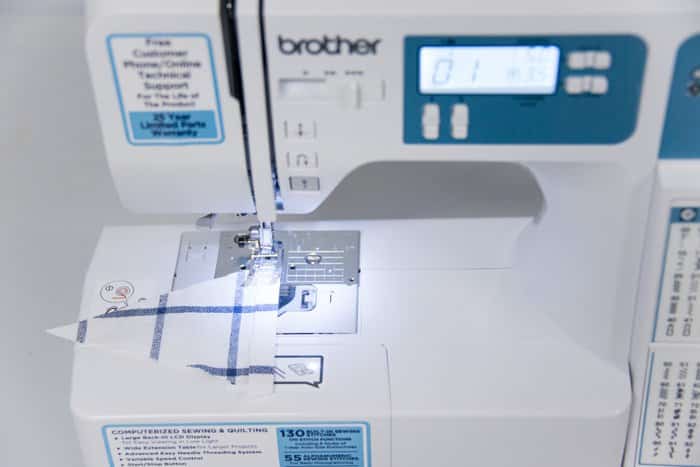
Using coordinating thread and a long, straight stitch, sew along the ¼” flap you ironed. Backstitch at the beginning and at the end of each triangle.
Repeat for all triangles.
Step 6. Trim wings and string from triangles.
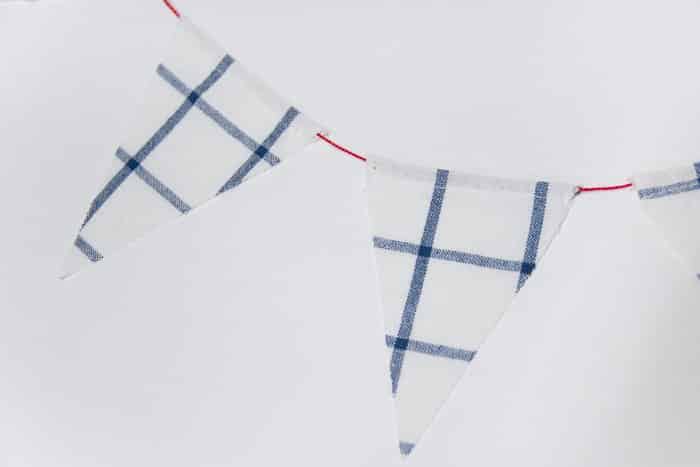
Trim the little wings off of each side of the triangle, as well as any excess thread, so you’re left with clean, pressed triangles with a little tube section at the top, perfect for threading your twine through.
Step 7. Thread triangles onto twine.
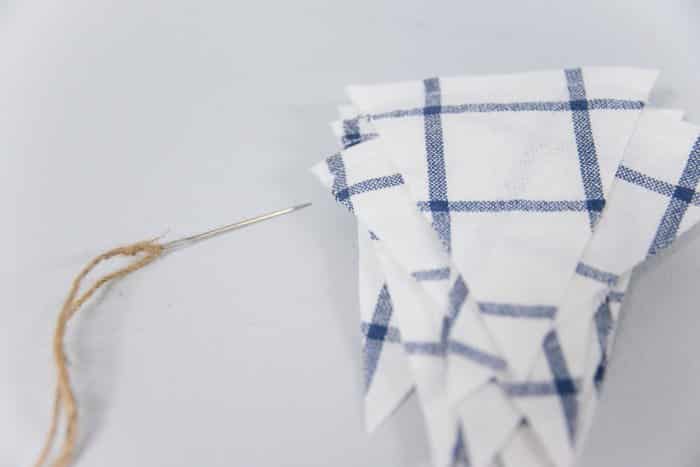
Thread your needle with twine or other garland string.
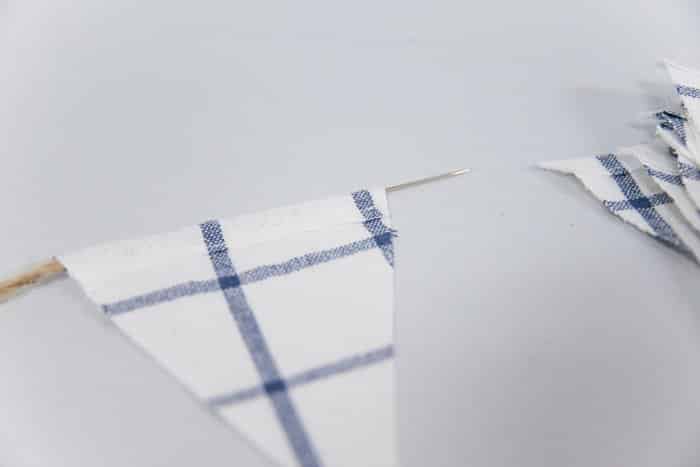
Carefully thread the twine through the top sections of each triangle, stringing them onto your garland string as you go.
Make sure all the triangles are facing the same way, so all of the “good sides” of the triangles face the same way and all the “wrong sides” face the same way.
Continue for all of the triangles.
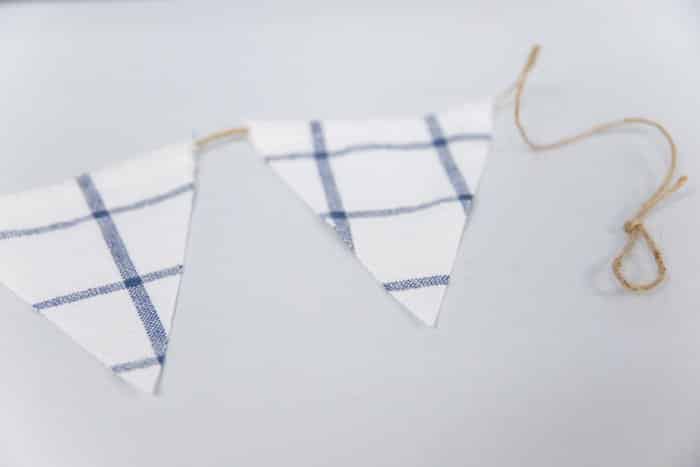
Step 8. Tie loops at each end of your triangle garland string and hang!
Command strips work great for hanging this type of garland. The small hooks designed for Christmas lights are my favorite.
All it takes is a little fabric and some twine, plus some basic sewing skills, to be able to make a triangle bunting garland like this!
It's also completely customizable, depending on the fabric you choose and the color and type of string you pick too.
Use red string instead and you've got the perfect banner for the 4th of July!
You can (should, and just might!) make one for every season!



Leave a Reply