
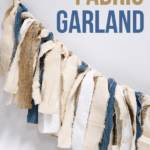
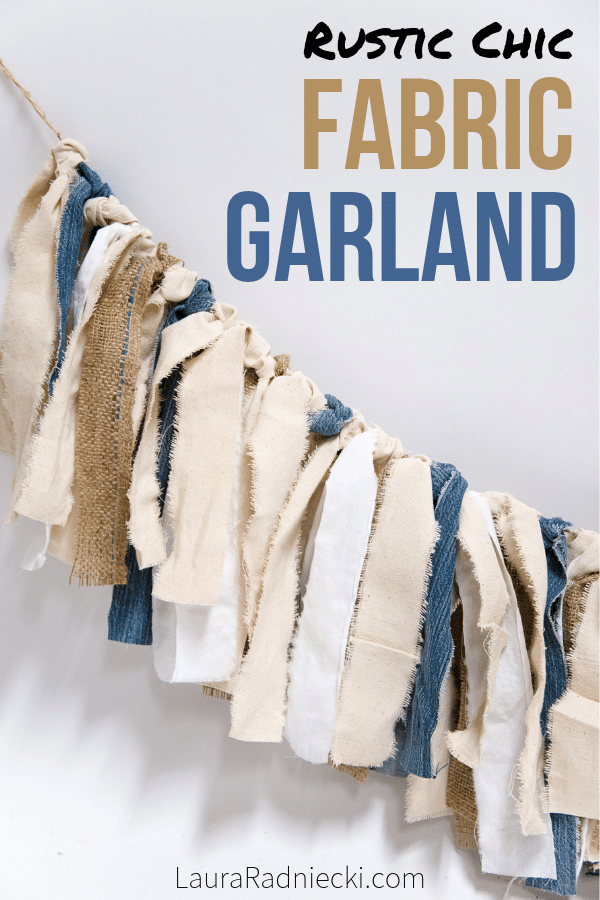
Garlands are a wonderful way to add personality and fun to any home or party decor, and a fabric garland works especially well. The colors and patterns of the fabric can make a banner match any theme or season.
With a little fabric, scissors and a piece of string, you can create a fabric strip garland that suddenly elevates even the most boring wall or mantel.
It's a great way to use up fabric scraps too; you don't need much fabric to make a beautiful fabric banner. Here's how to make one!
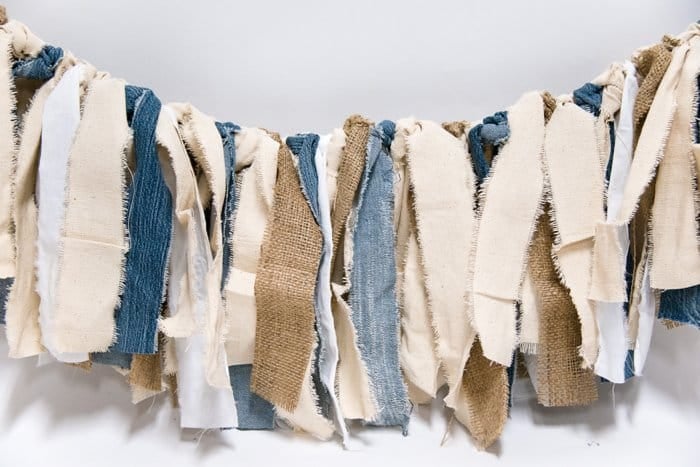
How to Make a Fabric Garland with Strips of Fabric Scraps
Step 1: Gather supplies.
Supplies Needed:
- Fabric - (Note: how thick or stiff your fabric is, and how close together you push the knotted strips will determine how much fabric you need. My finished garland used about 16 strips of fabric per 12" of garland and I pushed the strips together closely.)
- Twine or other garland string
- Scissors
- Rotary mat, ruler and rotary cutter - (optional but helpful)
Step 2. Prep your fabric.
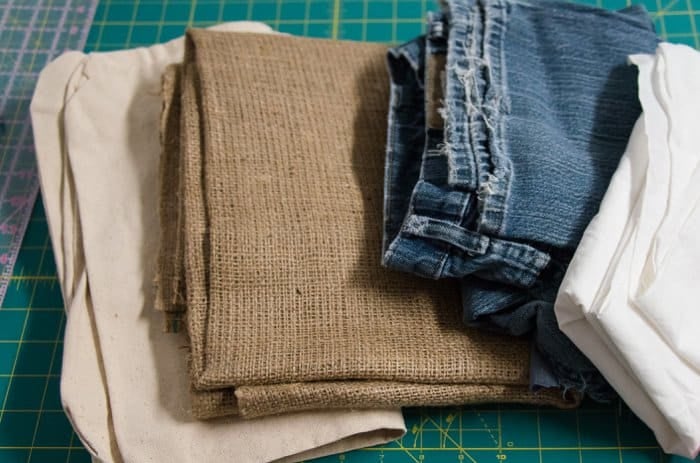
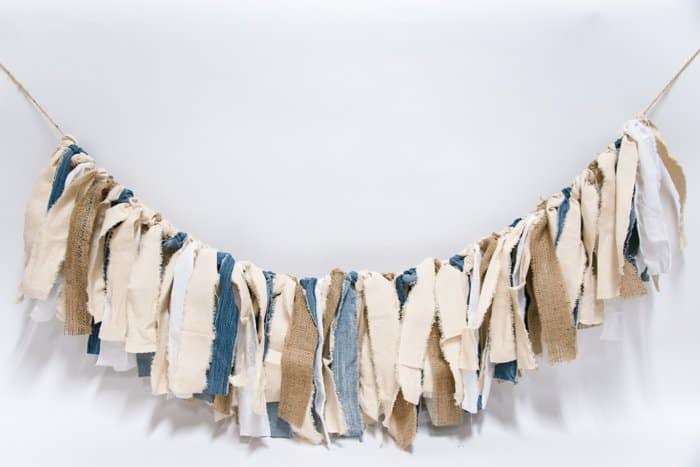
For fabric, I used an old pair of blue jeans, burlap, thin white cotton, and a heavyweight tan canvas. The canvas is very thick; I used it because I had a bunch in my fabric pile and I wanted to use it up. If I were to make this garland again, I would use something more flexible like osnaburg or a thinner canvas. The one I used is very stiff.
First, you want to cut your fabric into strips. Or in my preferred method, rip them into strips. I like the raw edges and the rustic chic look of the finished fabric banner.
The strips that you cut/rip should be about 24” long and 2” wide. You’ll be tying them onto the twine, so the finished fabric garland will hang less than 12”.
I began by taking the fabric I wanted to use, and cutting it into a large rectangle that was 24” long. It doesn’t matter how wide your fabric is; you’ll be ripping it into 2” sections, but if you can first make sure the fabric section you are working with is 24” long, that will make things easy.
An easy way to do this if you're buying fabric, is to buy ⅔ yard sections. ⅔ of a yard is 24" so your fabric will be the perfect length from the start!
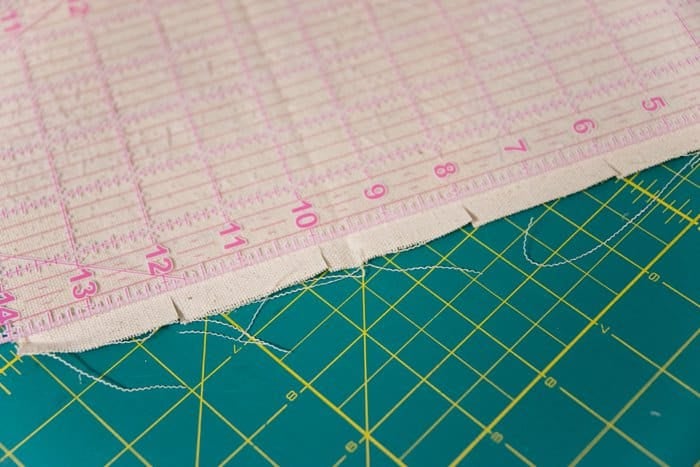
Step 3. Cut small slits in fabric, every 2".
Take a scissors, and cut slits that are ½" long into the fabric, every 2”. This is the beginning of your strips.
You want to cut the slits on the fabric edge that is NOT 24" long. You're setting the stage to be able to rip a strip that will end up being 2" wide and 24" long.
Step 4. Rip the fabric into strips.
Once all of your slits are cut, you can start ripping. I like the raw edge created by ripping the fabric, and I like how fast it goes. It's very satisfying to rip fabric like that!
If the raw edges look too messy to you, you can use a scissors or a rotary cutter to cut your strips too.
Grab the fabric and tear at one of the slits you made. The fabric should tear all the way down to the bottom of the fabric. You have your first 2” by 24” fabric strip!
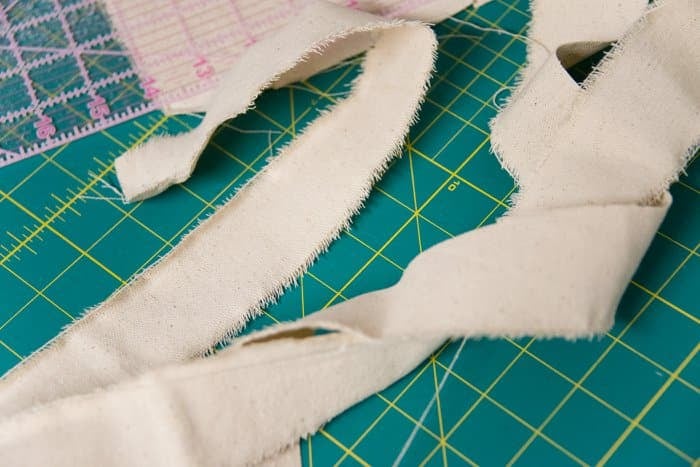
Step 5. Repeat for all fabrics you want to use for your garland.
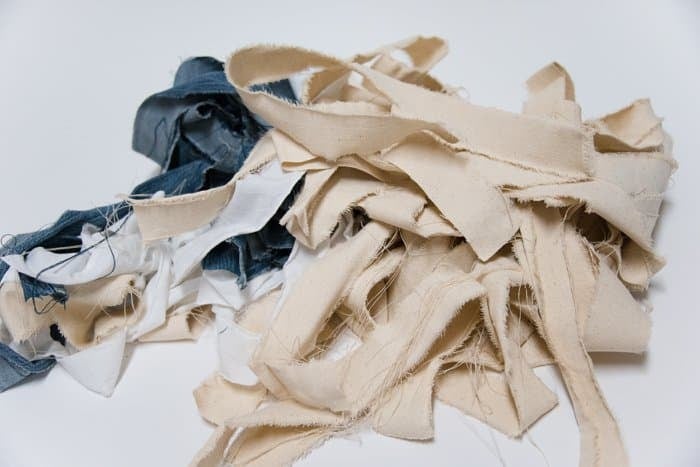
Step 6. Clean up your strips.
Ripping the strips will leave lots of thread strands and pieces that need cleaning up. I go through and give each strip a once over, pulling off any obnoxious excess strings.
The fabric will continue to have strands come loose over time if you play with or manipulate the fabric. Unless it’s a knit or some other type of fabric that is meant not to unravel, the threads will keep coming loose. That’s ok!
Once you hang up your garland, it won't be played with much, so you don’t have to worry about strings coming loose too often. It’s just the process of making the garland that bring more strands out. You can give it all a final once over at the very end too.
Step 7. Tie twine between two objects to give you space to work.
Take your twine or other garland string and tie it between two objects to give you room to work and tie your fabric strips on. You can tie it between two chairs, banister railings, or whatever you can find. I tied it underneath an ironing board because it was the easiest, closest option I had, but I've also used two chairs.
You want to have a section to work with, in the middle of your twine, so you can tie the fabric on easily. It does not work well to lay your twine on the floor and try to tie the strips on. I know this from experience.
Step 8. Start in the middle and tie a strip onto the twine.
I did one simple half-knot to tie the fabric to the twine. It’s not even really a knot, just like the very first part of tying your shoe. Pull it semi tight and continue with the next strip. You can add fabric in a pattern or completely random, the choice is yours.
Note: some tutorials have you looping the fabric onto the twine instead of actually tying it on. That works too and gives you a more uniform final look. But in my opinion, it's more tedious, takes longer, requires a ton of effort, and makes more of the fabric fray. Every fabric strip garland I've made, I take the simple way and tie the scraps on, and I keep doing it the same way because I like it.
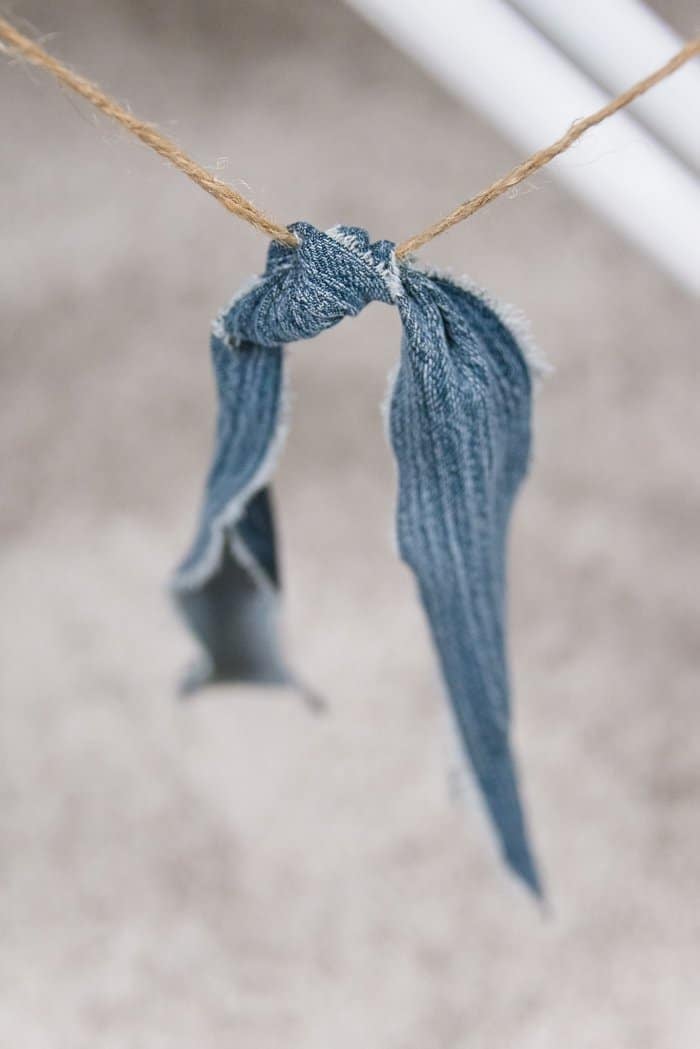
Step 9. Continue adding strips to both sides, pushing them toward the middle as you go.
The goal is to get all of the strips tied onto your twine, and then at the very end, you can finesse it and make sure the spacing and everything is perfect.
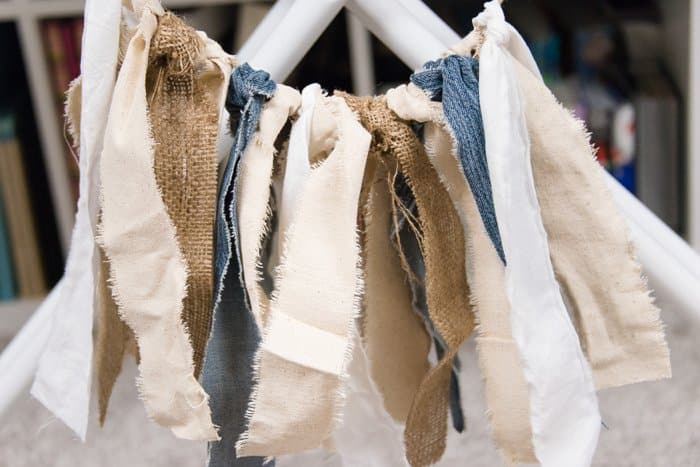
Step 10. Once all of the strips are added, you can go through and tidy things up.
Make sure the knots are all tight and similarly uniform. Make sure the strips are hanging down and look good. Trim up any long pieces of thread or any sections of fabric strips that are way too long. Fine tune the fabric strip spacing so it looks even and you like the look of it.
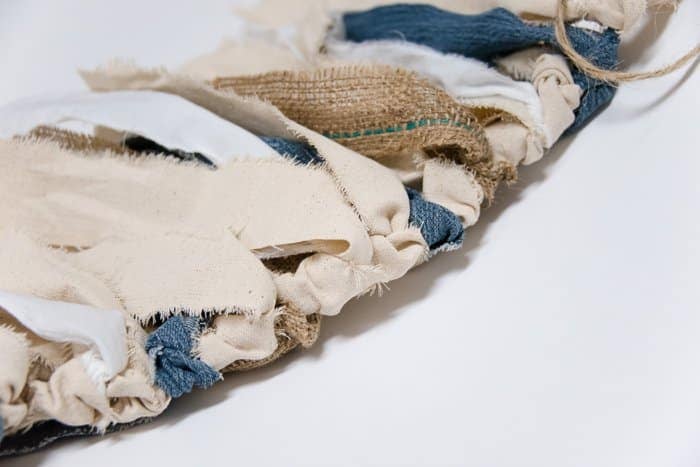
Step 11. Tie loops at each end of the twine and hang!
Like with all of the garlands I make, Command strips designed to hang Christmas lights are my favorite method for hanging up any type of banner. But in this case, depending on the type of fabric you use (jeans and burlap are pretty heavy fabric), it can get a little heavy for a Command Strip designed for Christmas lights. A heavier duty Command hook might be a more ideal choice if you make a heavier garland.
- - - - -
You can choose fabric types, patterns and colors to customize the fabric strip banner and make it fit any home decor style, party theme, holiday or season.
The fabric garland can even be made in a neutral color scheme (like the country chic color palette used here) and then made to fit each season by adding in some additional fabric strips or accent ribbon.
Orange and brown for fall, red and green for Christmas. Pink and purple for Valentine's Day or red for Fourth of July!
Then return the garland to neutral after the holiday passes by removing the added colored fabric and move on to the next holiday!
You can even layer this banner with another, like a felt ball garland, and elevate your decor even more.



Leave a Reply