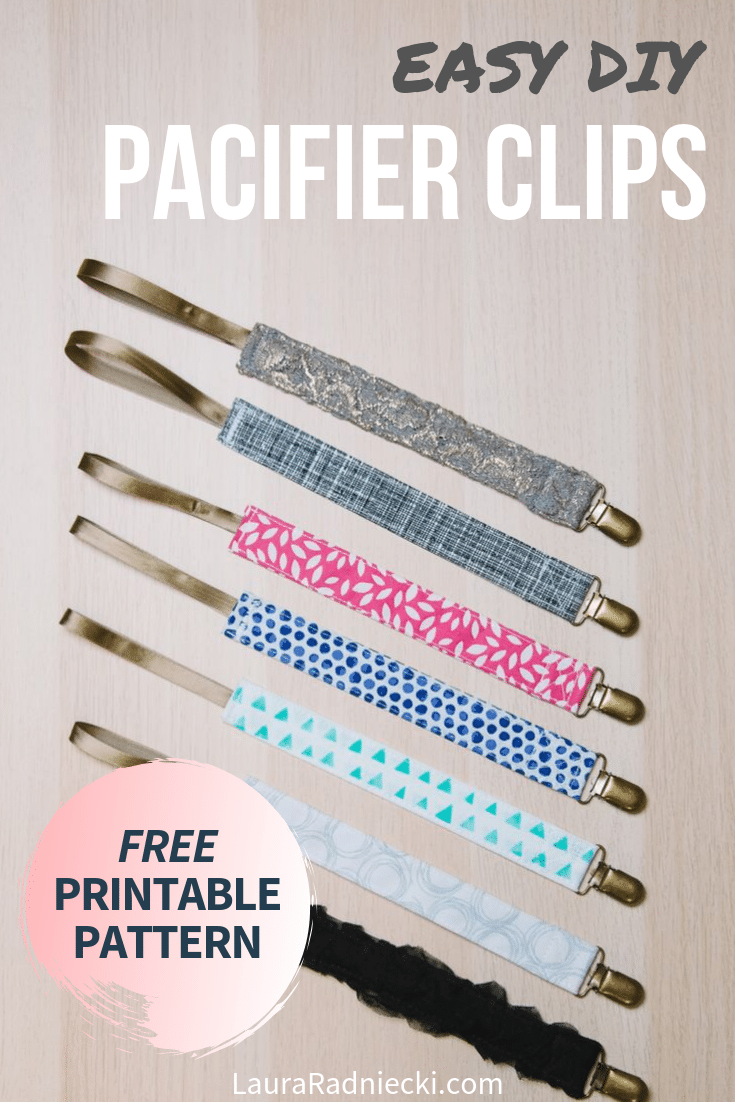
No more baby pacifiers on the floor! Here's a DIY tutorial showing how to make a pacifier clip for baby with fabric scraps, ribbon, and cute metal clips.
When I was younger, I LOVED my pacifier.
We called it a "nukie" and many of the photos from my first few years show me with one in my mouth, often upside down.
When my dad would ask me why I liked it, I'm told I would reply, "It tastes really good!"
I apparently gave it up around 2 years old, but then my sister was born shortly after, and I reverted back to my nukie-loving ways, probably because I wanted to be a baby again too.
In my quest to use up some of my fabric stash, I decided to make some of the pacifier clips I have seen both in the stores, out in public, and on Pinterest.
They are very easy to make. All it takes is a few straight seams, some fabric scraps and ribbon, and a clip, and you've got yourself a handmade pacifier clip perfect for the babies in your life!
Here's how to make one.
How to Make a Pacifier Clip
Step 1. Gather Supplies
Supplies Needed:
- Fabric - I used scraps from my fabric pile.
- Ribbon or elastic - for the end that will attach to the pacifier. I used ¼" ribbon.
- Pacifier clips - I used bronze ones, but as of this (edited) writing, it looks like bronze is out of stock, and only silver pacifier clips are available.
- Coordinating thread
- Iron
- Scissors, pins
- Sewing machine
- Pacifier PATTERN and CHECKLIST (they're FREE in the Resource Library!)
Step 2. Cut fabric strip into a 4"x10" rectangle.
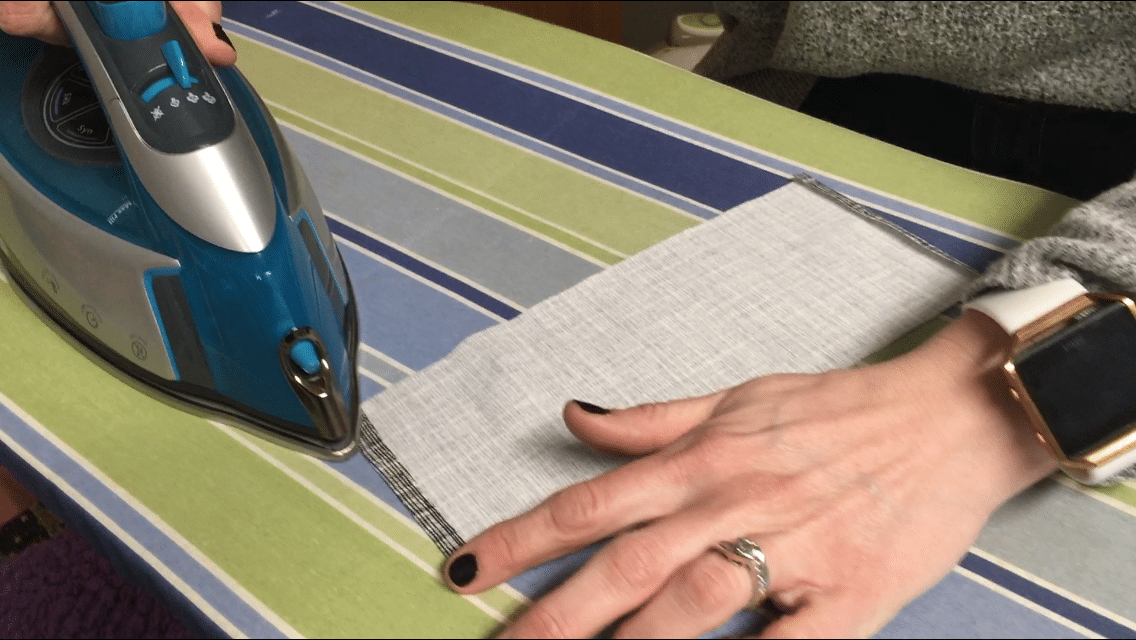
Step 3. Iron fabric rectangle into fourths to make a thin strip.
A) First, fold over the two 4" edges of your fabric strip ¼" and iron. This creates a clean edge for the ends of your pacifier clip.
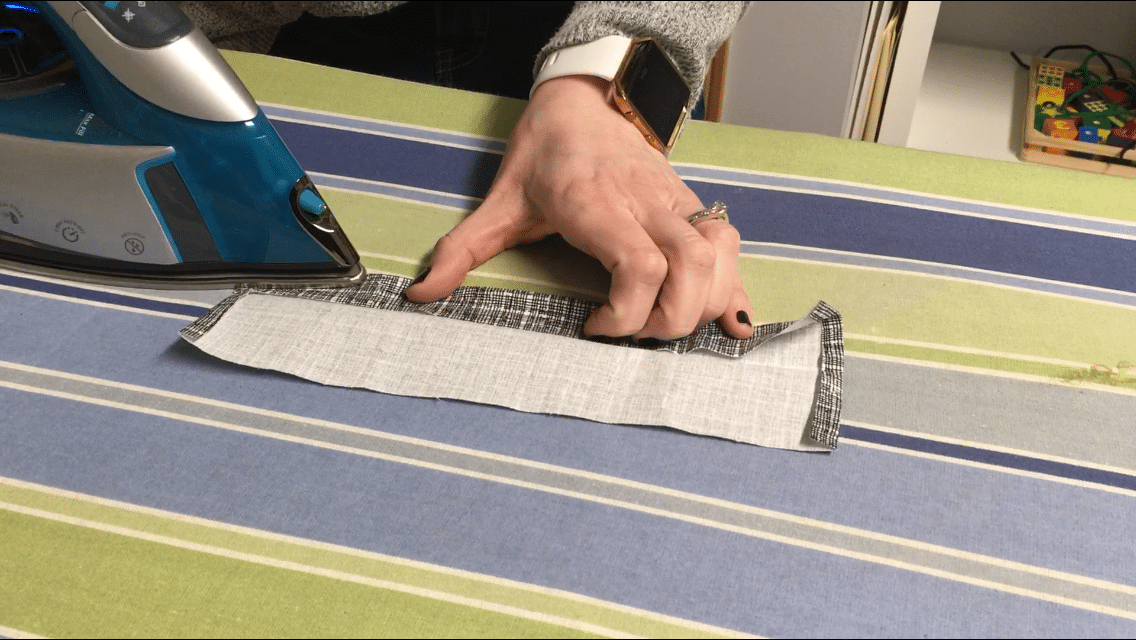
B) Next, fold it "hot-dog" style in half the long way, and iron that fold.
C) Open it back up, and then fold each of the long sides in toward the middle seam you just created with the iron, and iron again.
D) When you're done with one side, do the other side so both are now pressed in toward the center seam.
E) Fold the strip in half again and press the whole thing flat.
You're left with a strip that is ¼th the width of the original piece of fabric.
Step 4. Sew down the two long sides of the strip.
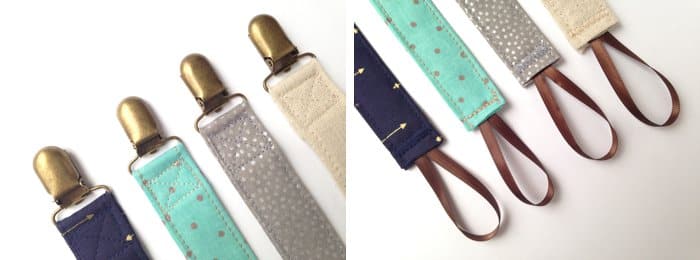
Step 5. Cut the ribbon (8" sections work well), fold it to make a loop, and tuck it into place in one open end of the strip.
Step 6. Sew the ribbon in place.
You can use a straight stitch or a zigzag stitch.
Step 7. Slide the clip onto the other end of the fabric strip, and fold the end of the strip over.
Step 8. Sew the clip in place.
You can use the "X and rectangle" method or a simple straight stitch.
Step 9. Attach a pacifier to the ribbon or elastic end and you're done with your pacifier clip!
These DIY pacifier clips are so easy and versatile, you will have so much fun making them.
(Baby doesn't take a paci? No problem! These work great for teethers and other toys to keep them off the floor too!)
Get ready to be obsessed and want to make a dozen, because that's exactly what's about to happen.
- - - - -
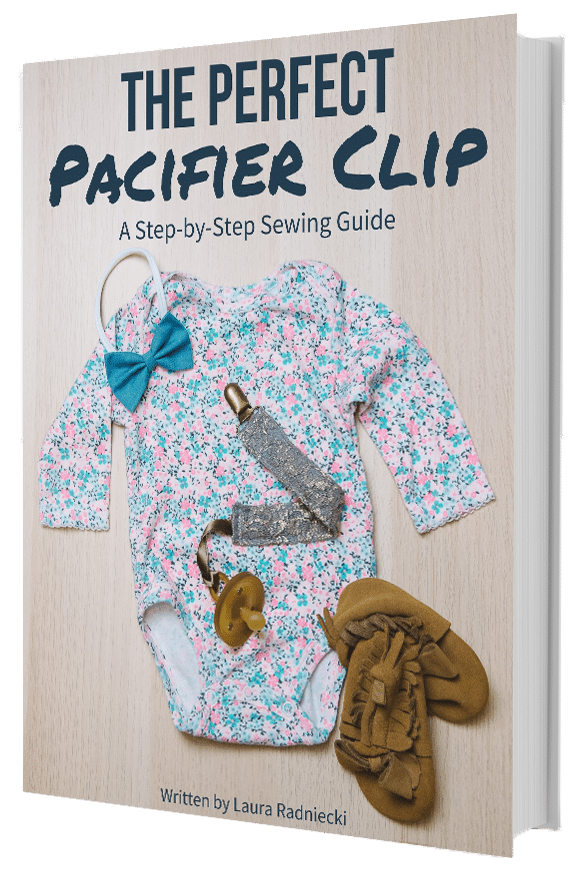
Get The Perfect Pacifier Clip Guide - 50% OFF!
Did you like this tutorial but want more depth, more details, and more PHOTOS?
Want to save time, make it extra easy, and let me hold you hand through the entire process of making your first pacifier clip?
That's exactly why I created The Perfect Pacifier Clip Guide; for people just like you.
It's an in-depth, detailed sewing guide of the entire process of making a pacifier clip, complete with photos of every single step. (Plus, there are two special bonuses included too!)
And I've got an exclusive 50% OFF discount code for The Perfect Pacifier Clip Guide inside The Resource Library, waiting for you!



kathy
wondered your thoughts on putting a clip on both ends. I can see that some toys may not attach with the ribbon idea, tho the clips arent very big. there are so may pacifier options these days (and some parents elect not to use them at all) so to attach a toy, rattle or small stuffie may be an option. Might make some with ribbon and some with two clips. just wondered your thoughts on clips on both ends. thank you
Laura
Hi Kathy! Yes, I think a clip at both ends would work great depending on the toy - something like a stuffy with an edge to clip on to would work great! If it were a ball or something without a pliable, thin edge, that wouldn't work. But it's sure worth a try!!
Melissa Flanagan
Can you explain how the pacifier attaches to the ribbon? I can't visualize it. Thanks!
Laura
Hi Melissa! It's a little hard to verbally explain haha, but you have to have a pacifier that has some type of loop or hole. You put the loop through the opening/hole/handle of the pacifier, and then pass the clip part through the looped ribbon. I hope that makes sense. Have you ever heard of the hair tie trick for extending life from regular jeans before buying maternity pants? It's basically the same type of loop/pass through method as that. Haha, I hope that helps you!
Lori
What type of fabric would work best for this? I have lots of flannel pieces, but would it be better to use a cotton?
Laura Radniecki
Hi Lori!
Great question! Flannel works just fine for these clips! It doesn't iron as crisply as a thinner cotton does, and the end result is thicker. But it sews fine and is worth making some if you have a lot in your stash!
Laura
Chelsea
Hi! I don’t understand #2 with all the folding. You’ve removed the video link tutorial so I’m not quite sure if I’m folding and ironing correctly.
Laura Radniecki
Hi Chelsea!
It is a tricky step! I added a couple of photos to the tutorial to help show it. I have a more detailed explanation and step-by-step photos as part of The Perfect Pacifier Clip guide I created, if you need more information or assistance.
Laura
Madeline
Hi Laura,
Where will be a great place to buy fabric. I really like the one you used with this pacifer.
~Thank you
Laura Radniecki
Hi Madeline!
I buy all of my fabric from JoAnn Fabrics in my local mall! They have a ton of great options and always have coupons too!
I hope that helps!
Laura
Rachael
I figured it out, wrong kind of thread!
Rachael
I need some help sewing up the ends. I folded the 4” ends up like the instructions, and when I try to sew over that section, my needle always gets jammed. I’m new to sewing and I don’t know what I’m doing wrong. It sews over the long sides just fine but it seems like the 4” ends are too thick. I put in a new needle and retreaded more times than I can count.
Laura Radniecki
Hi Rachael! I'm sorry to hear your machine is giving you trouble on the ends! I don't have any solutions for you except to maybe try a different material or a different needle? Sometimes there are needles that work better in thicker fabric; maybe you could try one made for jeans or other thick fabrics. That might help it go through better. I hope that might help you!
Colleen
What size clip did you use? It looks like there’s multiple choices for that clip on amazon you linked!
Laura Radniecki
Hi Colleen! Thanks for letting me know! I have updated my link to a set of clips in the same size I used. I used ones that were a little over 1" in size; made for ribbon that was 1" in diameter. I hope that helps!
Megan
How long a piece of ribbon did you use? I imagine you want it long enough to easily loop around the pacifier.
Laura Radniecki
Hi Megan!
Something like 8-10" inches is plenty for the ribbon part. You need enough make the loop and sew it into the fabric of the clip. The loop doesn't have to be huge but there's also no real right or wrong size so you have a little leeway.
Let me know what length works for you!
Laura
Lucy
Do you have any tips for sewing the clip in place with the x? My presser foot keeps getting hung up on the clip.
Laura Radniecki
Hi Lucy! You know, I had the same issues when trying to sew my X on the clips; there's no magic way to do it easily without starting it further from the clip, and if you start too far away, it can get kind of floppy.
I went really slow, and just tried my best. I experimented with which way I turned the fabric and sewed, to see which way let me get the closest with the least hang up. Once I did the straight stitch that followed the clip part (it's hard to explain via typing haha!), the rest of the X seemed easier because it was further from the clip.
And if you do need to start your X a little bit further away from your clip because it's impossible to sew it any other way without it hanging up too much, that's ok too. Your clip won't go anywhere, and it'll work just fine.
Good luck with your sewing! Let me know how it goes and what you end up doing!
Laura
Tracie
Hi. I love these and made one that turned out support cute but I wanted to know how you finished off the end where the ribbon of sewn in. How do you keep that part of the fabric from fraying? Thank you so much.
Laura Radniecki
Hi Tracie! I just updated the instructions to include a brief overview. You have to iron each short 4" end over 1/4". This makes it so that you have clean fray-free edges moving forward. Then you can fold it in half the hotdog way and iron, then unfold, and fold each end toward the center and iron, and you're left with the perfect tube needed to proceed, with clean edges on each end. Hope that helps!!
Taylor
Can you use cotton/flannel?
Laura
Hi Taylor!
Yes, you definitely can! The thicker the material, the stiffer and bulkier the finished clip will be, but I have made them in everything besides fleece! (It got too thick to use fleece with the steps outlined in the post.)
I used quilting cotton as well as flannel and it worked great!
Let me know how they turn out!
Laura
Ruth
Where can I find the clips that you use to make these?
Laura Radniecki
Hi Ruth! In the materials list and at the bottom of the post, the clips are linked. I bought them on Amazon! Happy crafting! 🙂