Learn how to make a DIY felt Easter egg garland in this fun, easy step-by-step tutorial! If you are looking for simple, colorful spring craft ideas, check this one out!

What is better than easter eggs made out of felt with cute embroidery stitches for decoration?
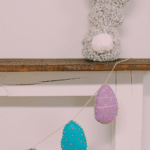
The answer? Turning those felt easter eggs into a garland - the perfect DIY Easter decoration for your home!
That's what we're doing today... stringing felt eggs onto twine to make a colorful spring garland!
Jump to:
Why You'll Love This Craft
- It uses felt which is widely available at every craft store and online.
- Felt also comes in a huge variety of colors which means you can personalize the color scheme of this spring egg garland however you like.
- You can adapt this craft to be as simple or as intricate as you'd like, depending on your skill level and the time you want to commit to making it.
Craft Supplies Needed
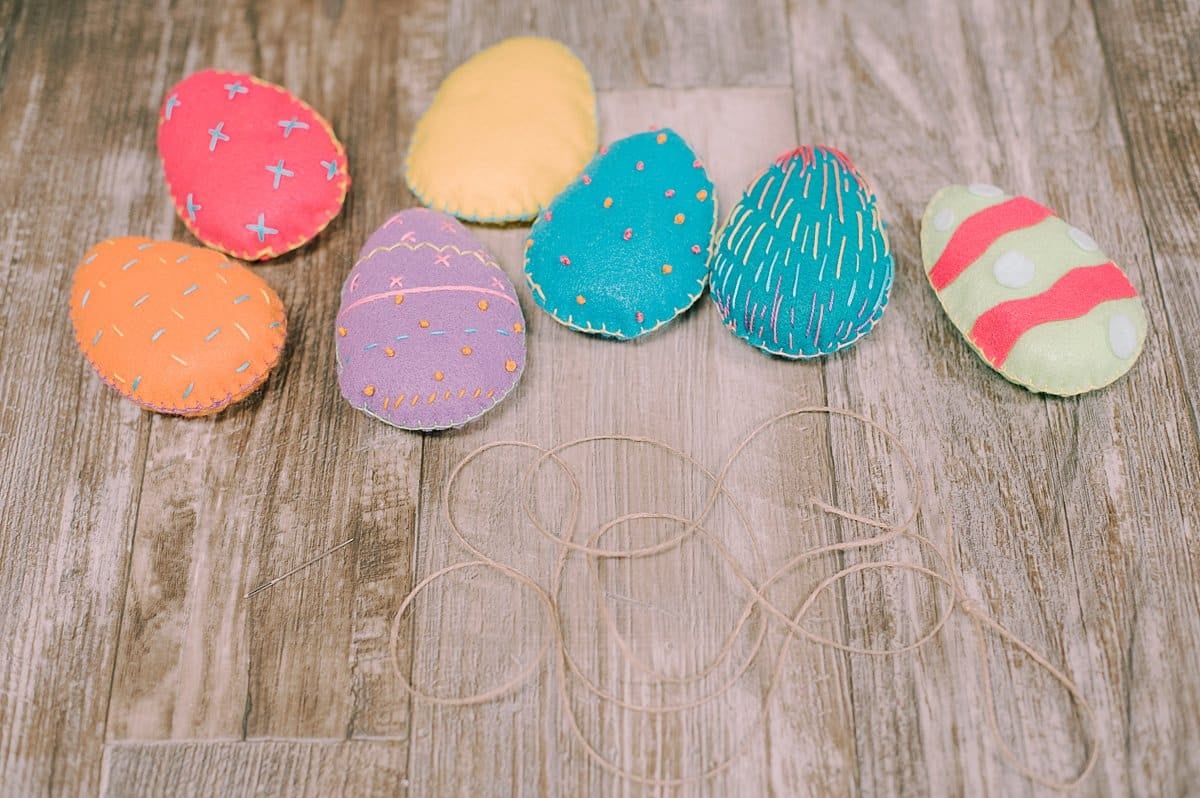
- Felt Easter Eggs - This felt easter egg tutorial shows exactly how to make the eggs we will use for this garland.
- Twine - We almost always use twine as the hanging string for any garland we make. It's cheap, durable, comes in different thicknesses, and we just love the look!
- Embroidery Needle - You'll need an embroidery needle with a large eye so the twine can be threaded through it.
How to Make a Felt Easter Egg Garland
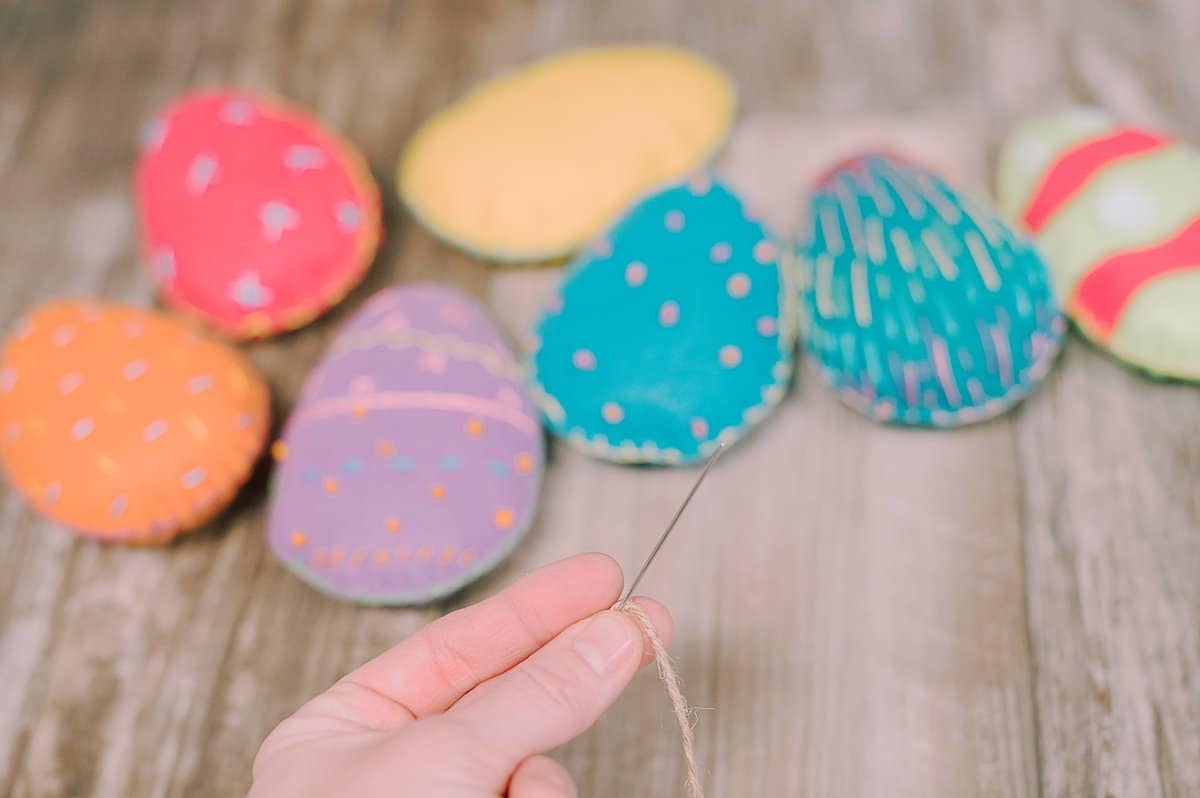
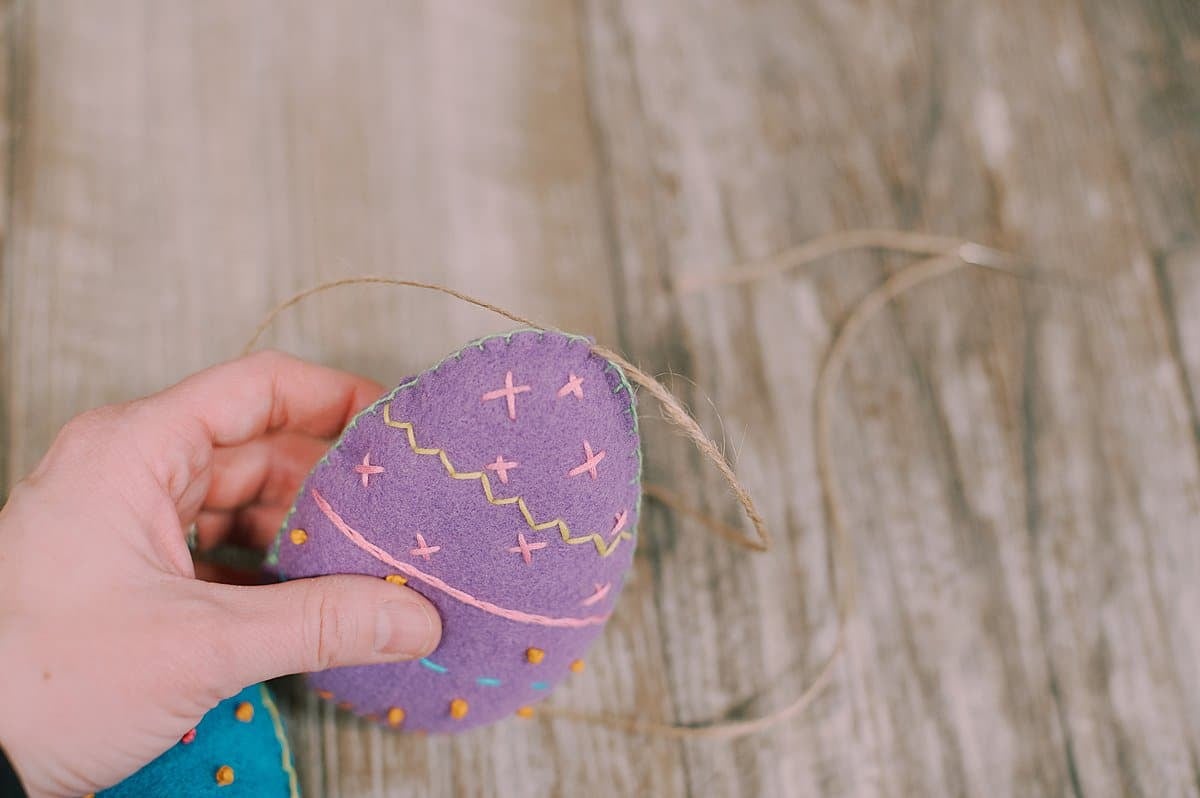
Step 1. Thread one end of a long section of twine through the large eye of an embroidery needle. Make a loop and knot at the other end.
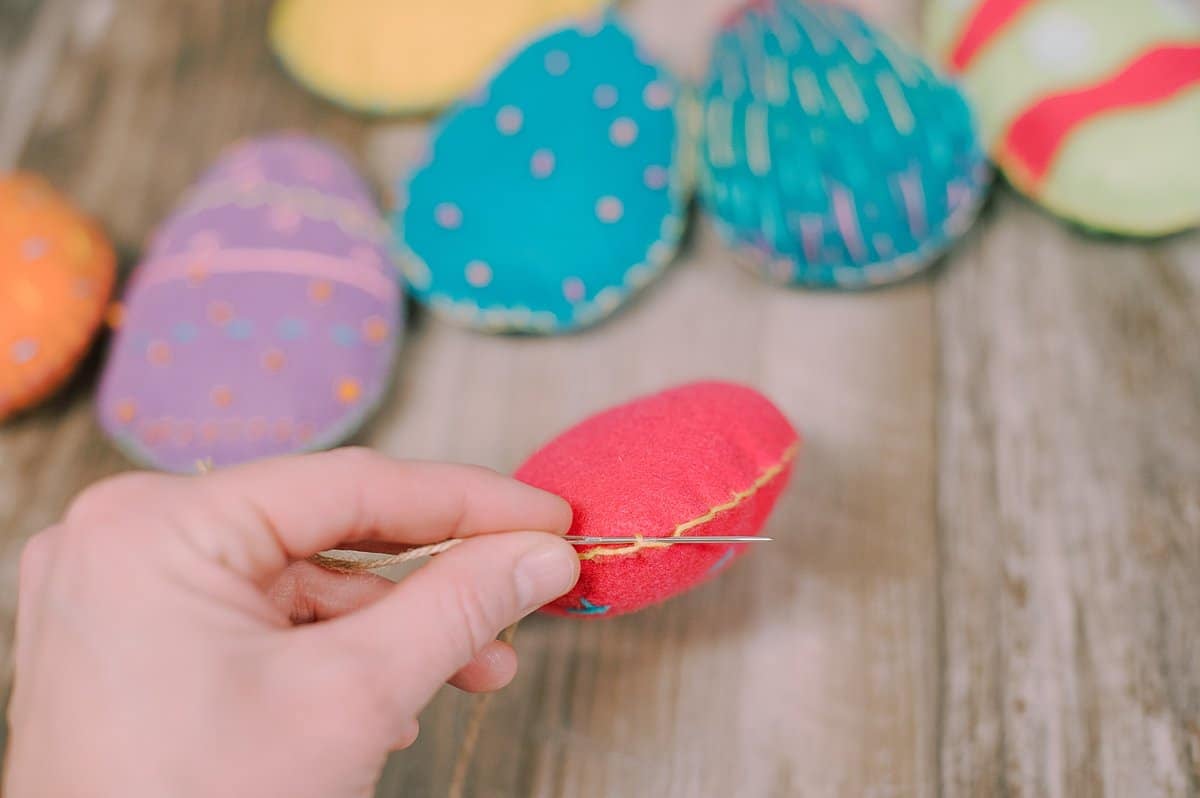
Step 2. Thread felt easter eggs onto the twine through the embroidery floss stitches of the felt eggs.
Step 3. Continue adding all of the eggs in any order you choose.
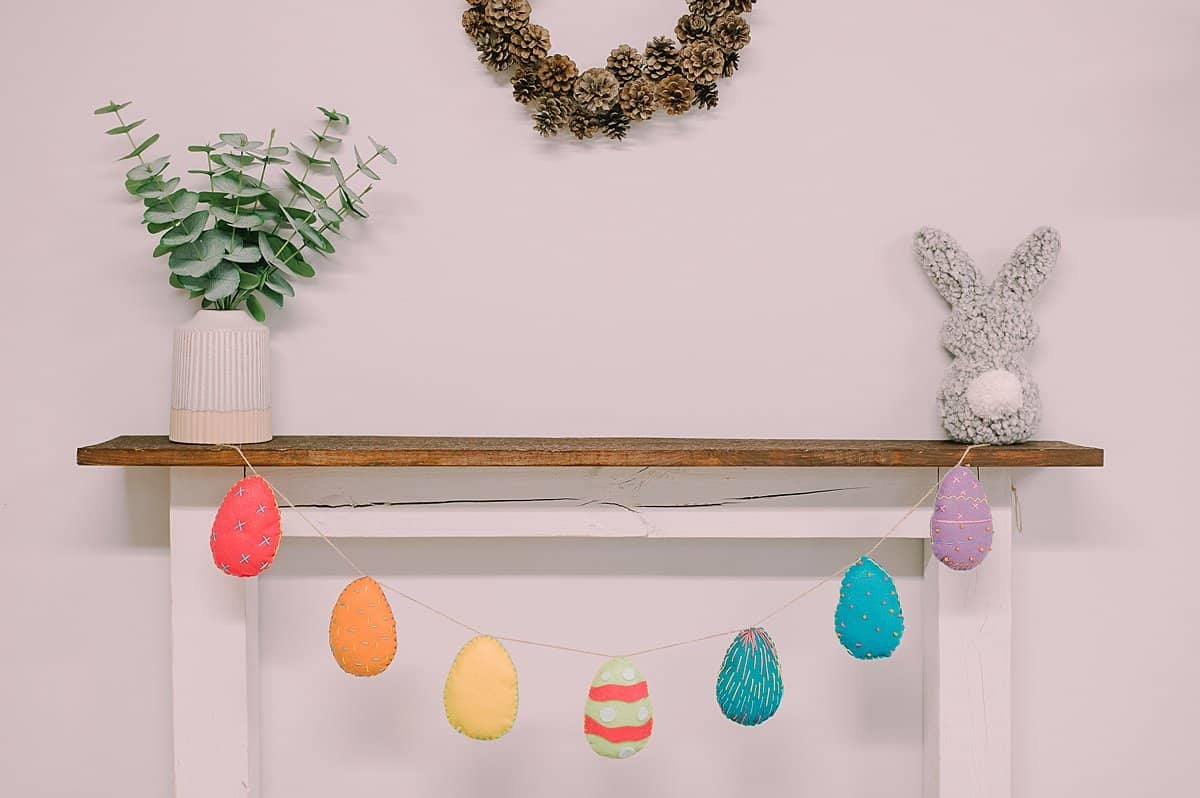
Step 4. Tie another loop and knot at the opposite end of the twine, and trim off any excess. Your felt egg garland is finished, with hanging loops on either end!
Common Questions
Craft stores sell different types of felt, and the quality and pricepoint can differ. The cheapest felt is usually sold in precut rectangles and can be stiff and coarse. Higher-end felt is softer and more expensive, and often comes in a wider range of colors. You can use any type of felt for these eggs! Look for your favorite colors and go from there.
Yes, you could make this with different fabric! The main reasons I love felt are it's easy to work with, cuts easily, and doesn't unravel along the edge. But you could make these eggs and this garland using fleece, flannel, denim, burlap, or any other fabric you have on hand!
Even better? Upcycle old clothing like we did with our DIY stuffed bunny. Use old shirts or pants (or even socks!) to make your DIY eggs!
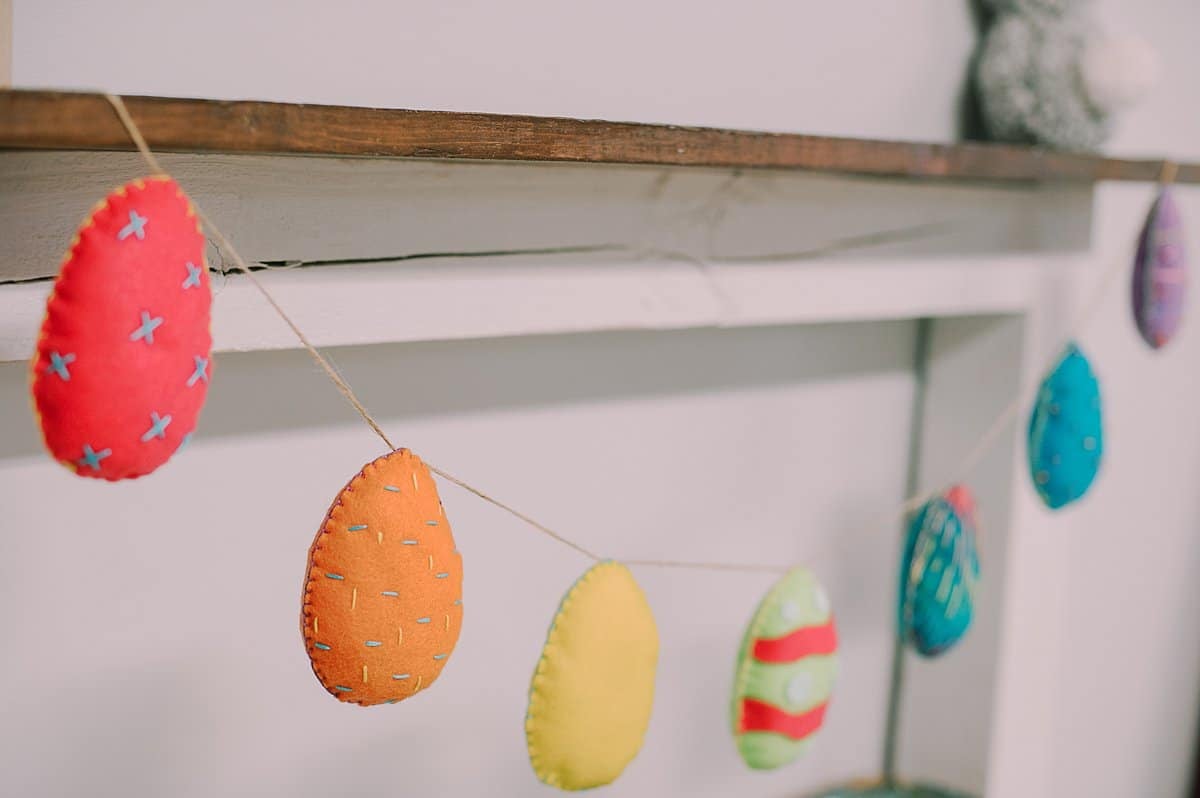
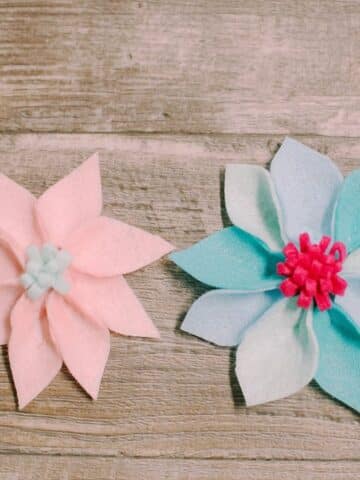
We decorated our felt eggs with different types of embroidery stitches, and used a blanket stitch around the edge. If you don't want to stitch on the front of your eggs, you can leave them plain. And if you don't want to do a blanket stitch around the edge, you could hot glue the two layers of the felt eggs together. (The egg edges would look different if you do it this way.)
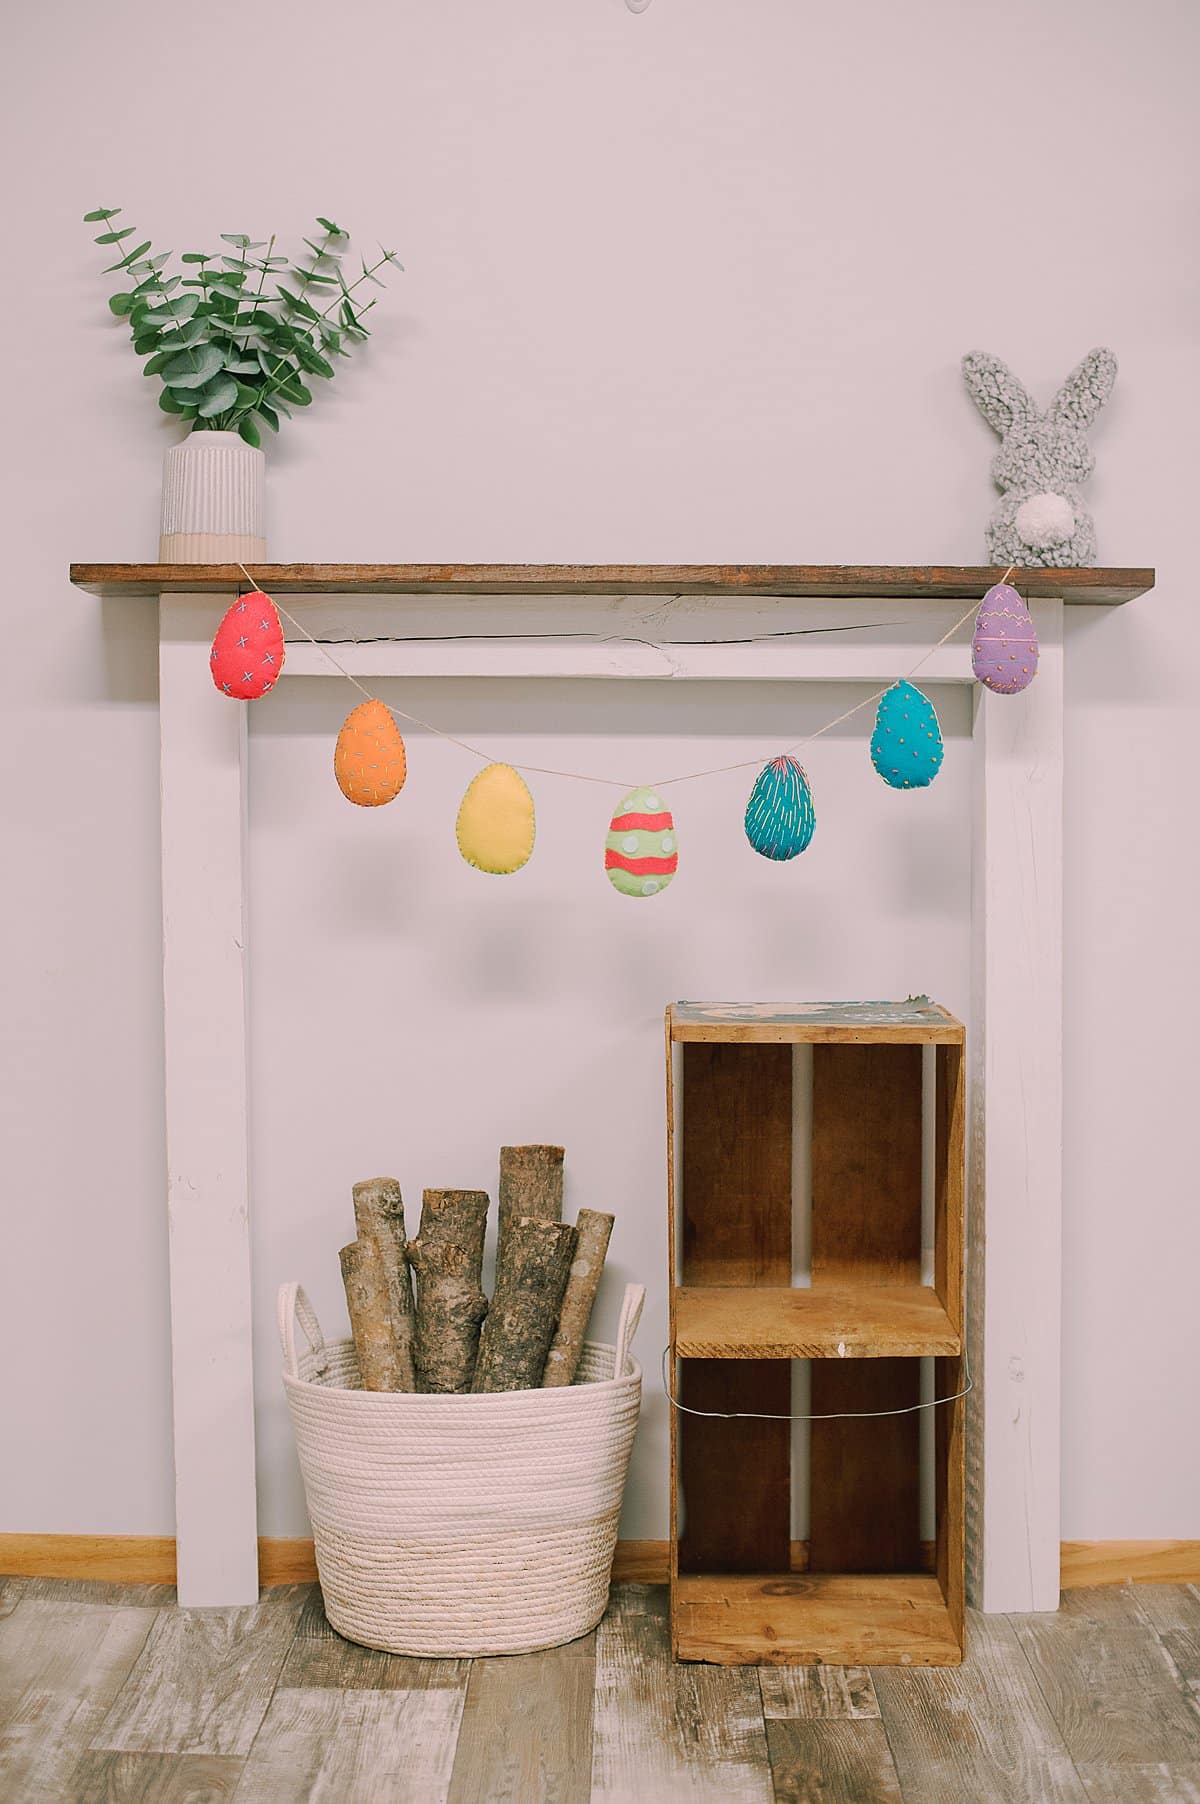
Garlands are one of the best ways to decorate for a new season or holiday. They pack a big punch without being complicated or expensive.
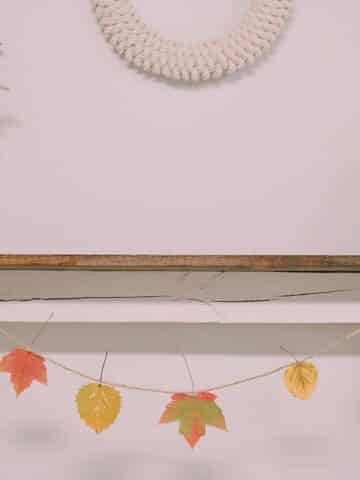
You can let nature help as you collect pinecones to make your own pinecone garland, or preserve fall leaves with Mod Podge to make a colorful leaf garland.
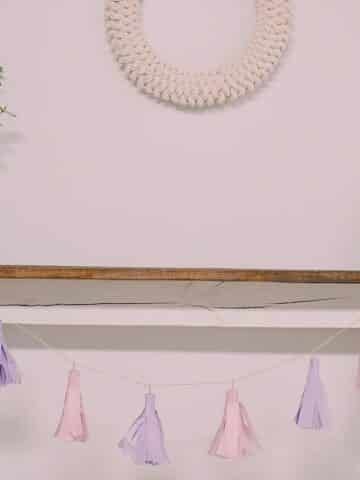
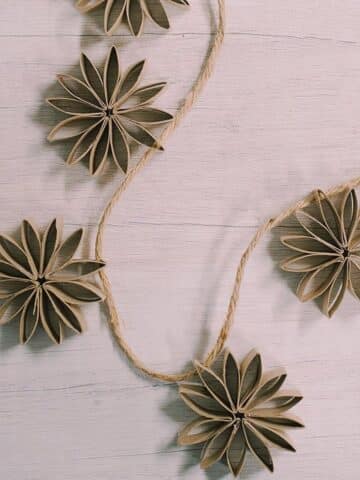
Don't forget, simple craft supplies make some of the best DIY garlands, like this simple tissue paper tassel garland, or even this unbelievable tassel garland made from toilet paper tubes!
This felt easter egg garland will be a showstopper because felt is easy to work with and comes in many beautiful colors. You'll smile every time you see it!
More Easter Crafts You'll Love
---
⭐️ 🧶 Did you enjoy this craft and want to see more like it? ✂️ Join our FREE email community and get inspiring craft ideas sent right to your inbox! 🧵 ⭐️
---

How to Make a Felt Easter Egg Garland
Materials
- Felt Easter Eggs Made using our felt easter egg tutorial.
- Twine
- Embroidery Needle
Instructions
- Thread one end of a long section of twine through the large eye of an embroidery needle. Make a loop and knot at the other end.
- Thread felt easter eggs onto the twine through the embroidery floss stitches of the felt eggs.
- Continue adding all of the eggs in any order you choose.
- Tie another loop and knot at the opposite end of the twine, and trim off any excess. Your felt egg garland is finished, with hanging loops on either end!
Notes
- Felt comes in many colors, qualities, and price points. Shop online if your local craft store doesn't have the colors you're looking for.
- If you don't have felt, you can use other fabrics like fleece, flannel, denim, or better yet - upcycle old clothing!
- You don't need to have extensive embroidery skills to make the felt eggs or this garland. Basic embroidery stitches are all you need to know (or learn). And if you don't want to stitch? Try making it with hot glue instead!

Leave a Reply