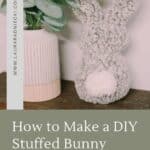
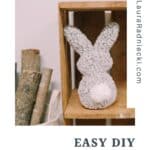

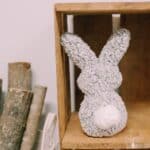


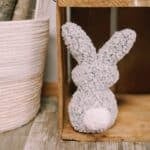
Learn how to make a stuffed bunny in this easy DIY Easter craft. Make it eco-friendly by using upcycled clothing for the fabric, and add a yarn pompom for the tail! It makes a super cute stuffed animal for kids!

Stuffed animals might be children's favorite things. They are cute, cuddly, and perfect for playing make-believe. And they are surprisingly easy to make too! Kids can even participate like they did in this DIY cat tutorial.
Today we are going to make a DIY stuffed bunny from an old upcycled shirt. All you need is a template for the shape of your bunny and you're on your way to making your own bunny stuffed animal!
Jump to:
Why You'll Love This Craft
- This sewing project is so simple, it's perfect for beginners.
- You can use any fabric to make this bunny. You can even recycle old clothing, which makes it sentimental and eco-friendly.
- Kids love to help add stuffing to projects like this. It's the perfect way to get them involved!
Craft Supplies Needed
- Fabric - It's best if the fabric is soft and cozy!
- Bunny Template - found in our free Resource Library!
- Fabric Marker - This one has disappearing ink, but you are going to be marking on the inside of the project only, so any marker would work.
- Pins - Straight pins or safety pins will work. You just need some way to hold the paper template in place and hold the layers of fabric together while you're sewing.
- Stuffing - I love using Poly-fil for all of my 3D projects.
- Needle and Thread - This is how you'll sew up the open bottom of the bunny once it is stuffed.
- Yarn - Choose cream or white yarn to make a traditional cottontail for your bunny.
- Embroidery Needle & Floss - Choose embroidery floss in a similar color to the pom pom tail.
How to Make a DIY Stuffed Bunny
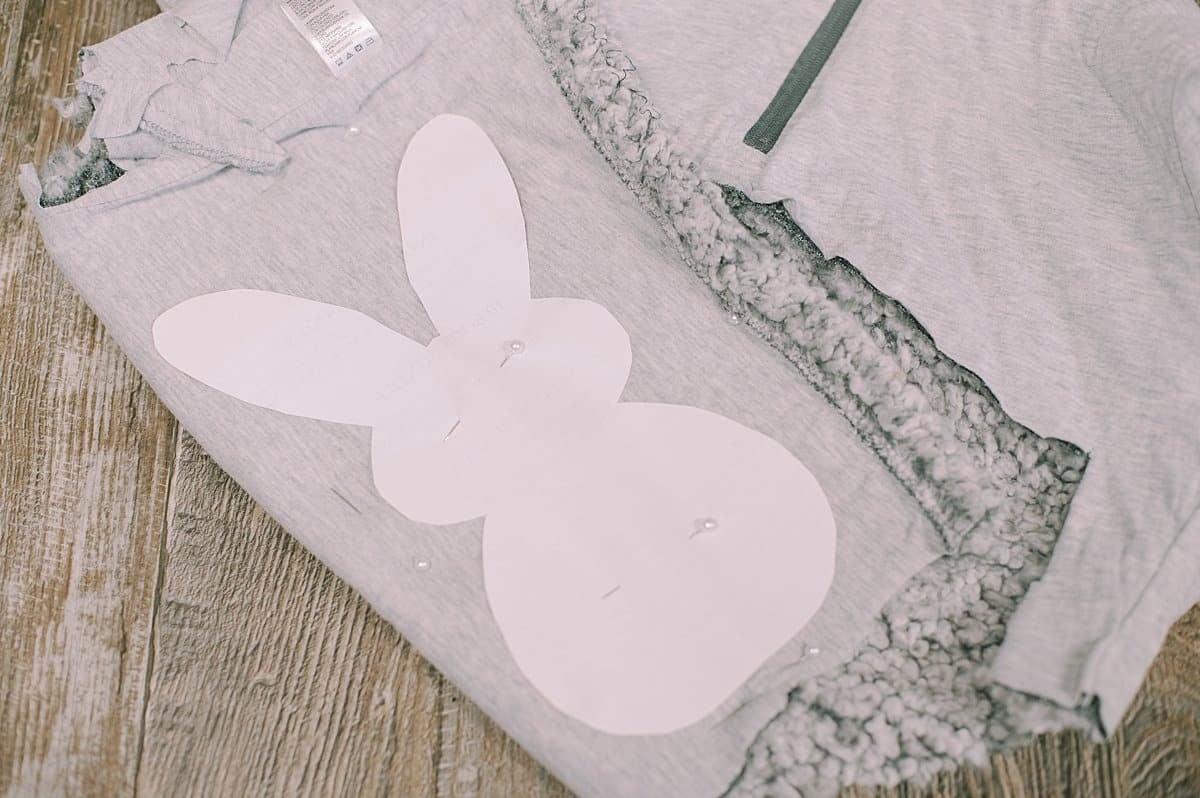
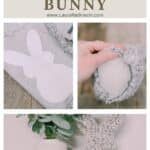
Step 1. Print and cut out the bunny template from our free resource library.
Lay the bunny shape over two layers of fabric (with the good sides of the fabric facing together). Pin it in place.
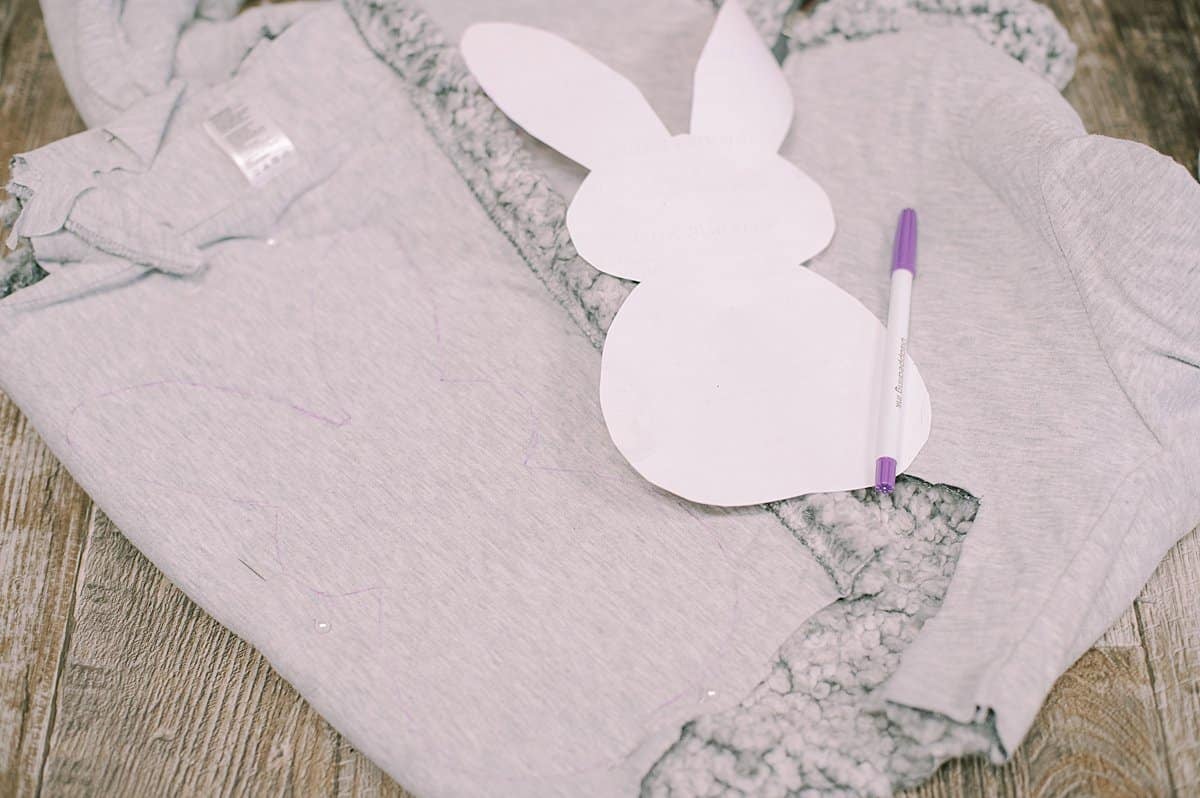
Step 2. Trace around the outside of the bunny template.
Remove the paper and make sure the two layers of fabric remain securely pinned together.
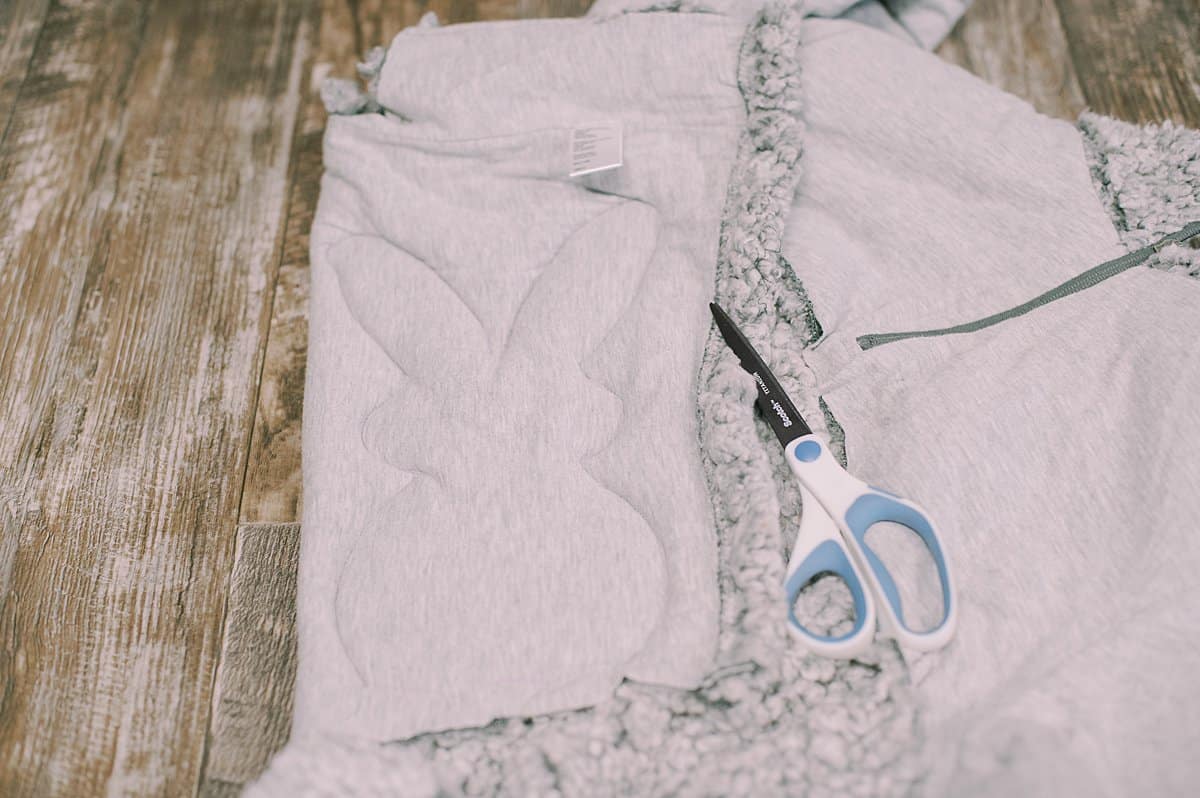
Step 3. Sew around the bunny outline, leaving the bottom open for stuffing.
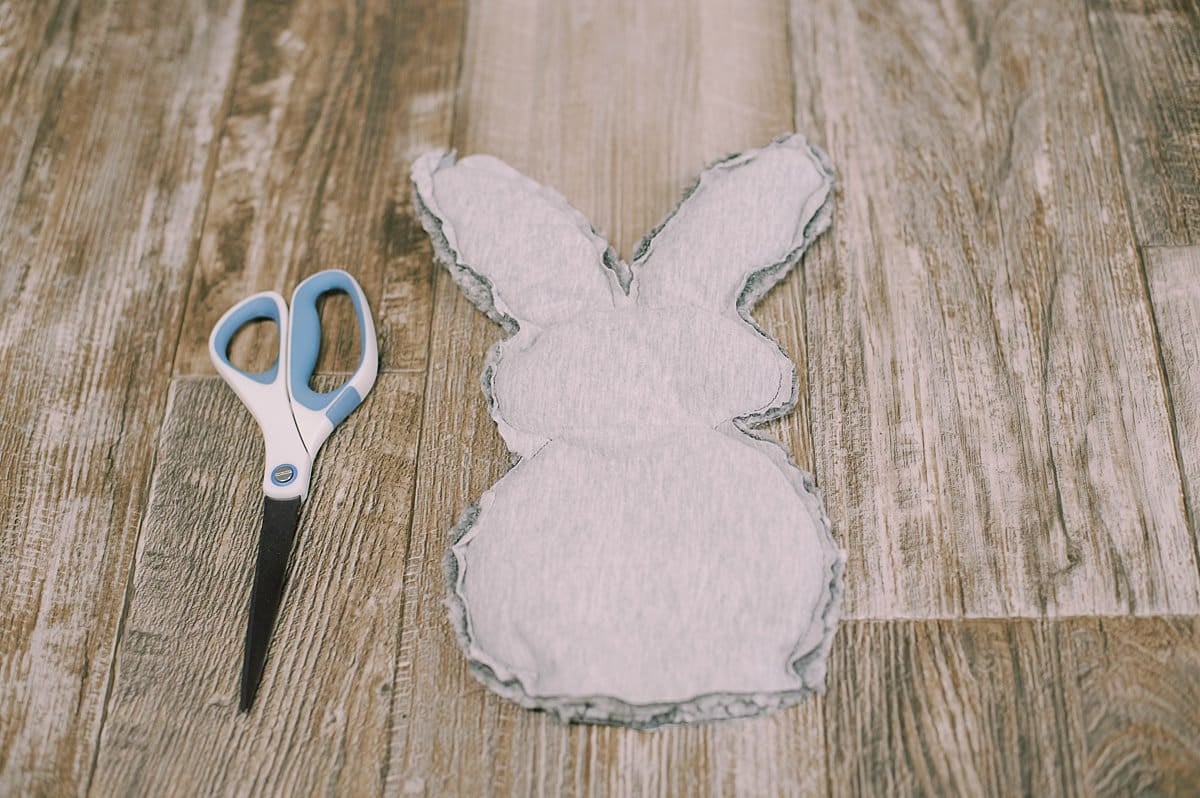
Step 4. Cut around the bunny shape, leaving ¼" of fabric from the stitched seam.
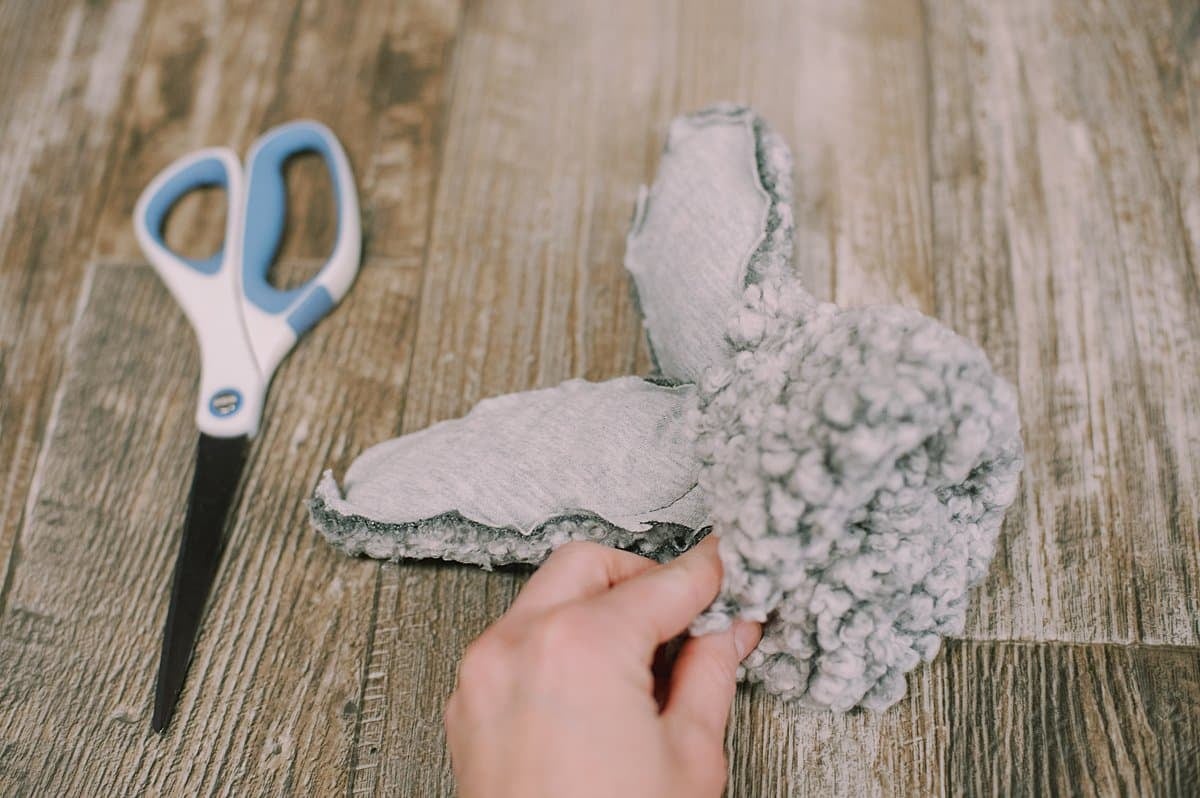
Step 5. Turn the bunny right side out through the opening at the bottom.
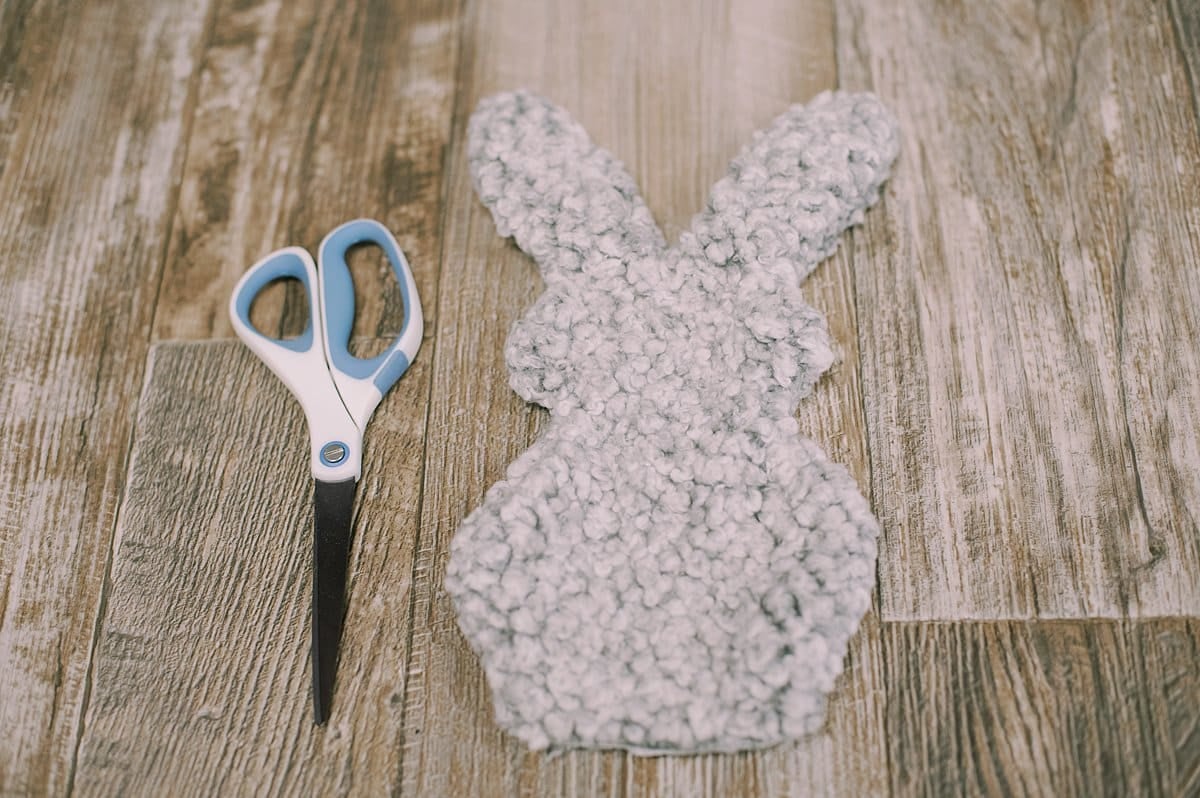
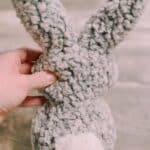
Step 6. Use your fingers or the blunt eraser end of a pencil to help push the ears out.
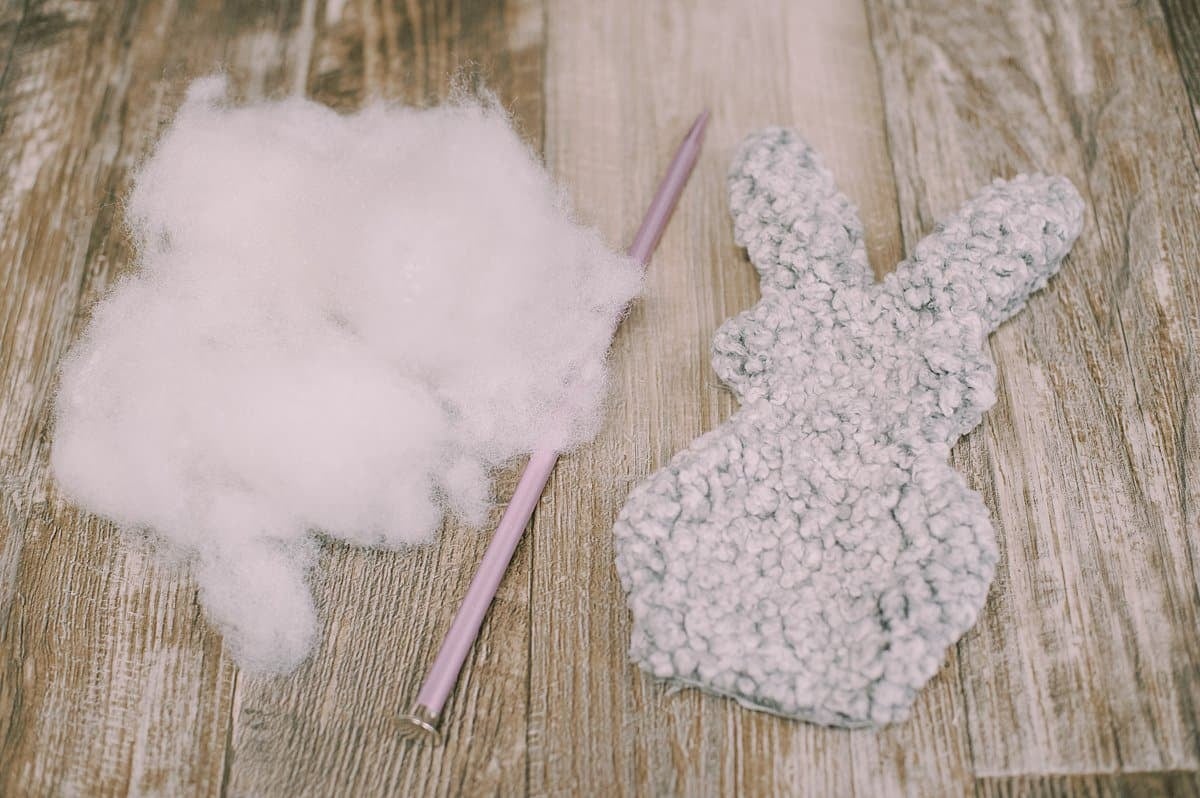
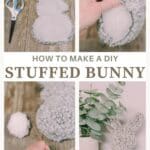
Step 7. Stuff the bunny with poly-fil.
If you want to make your bunny extra eco-friendly, you could use old scraps of fabric as stuffing instead.
Step 8. Push stuffing all the way up into the ears so they are firm and filled. Continue to fill the rest of the bunny until it's full yet still squishy.
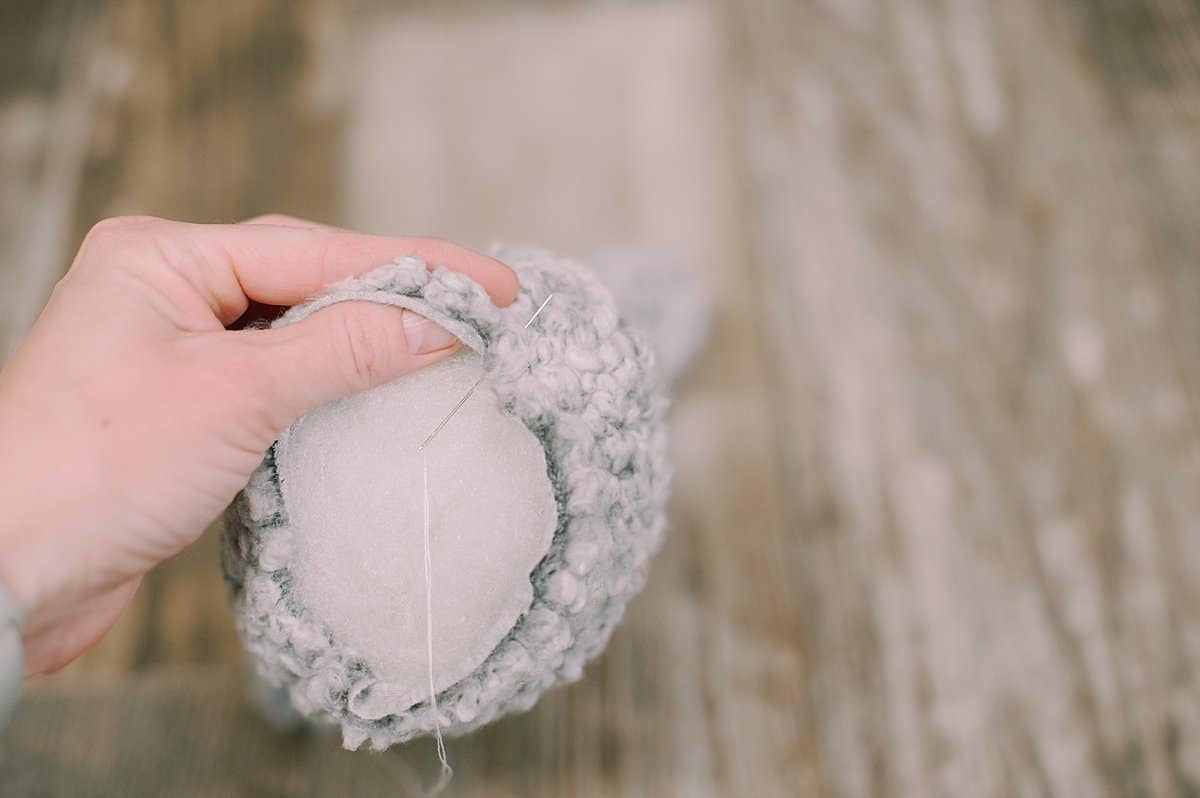
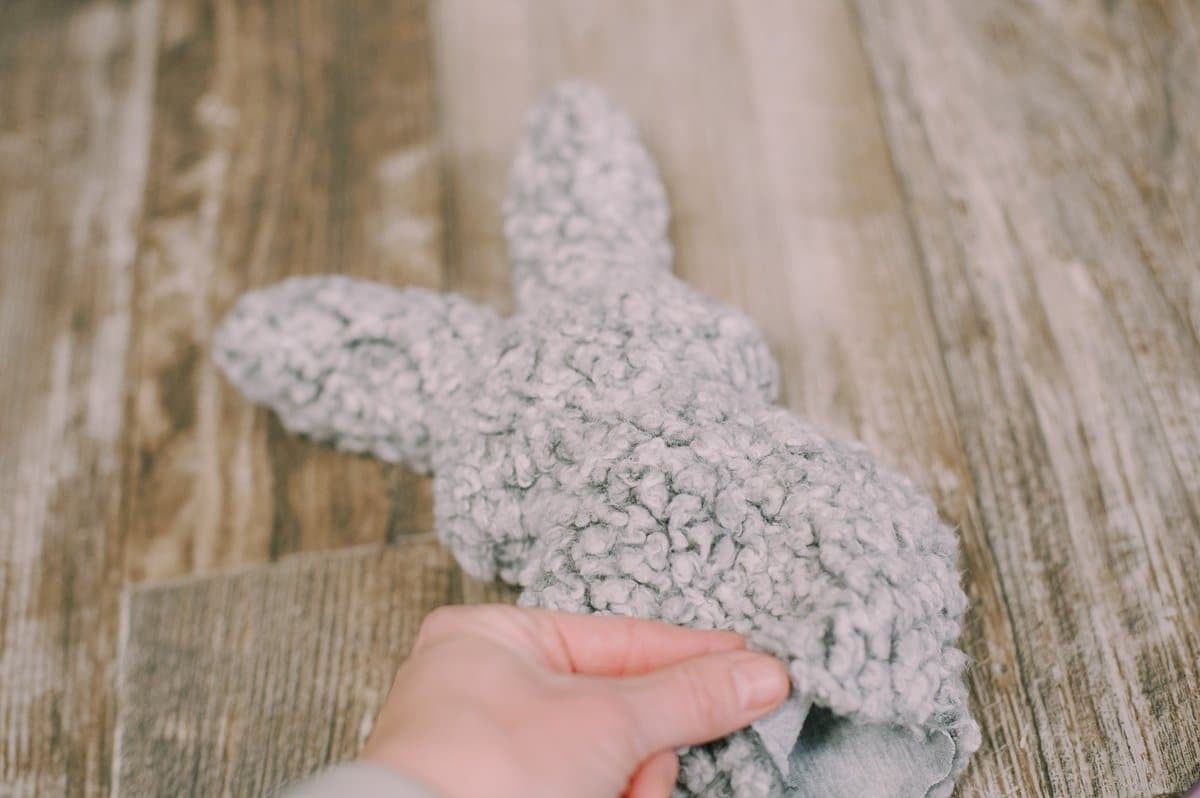
Step 9. Use a needle and thread to close up the hole in the bottom with an invisible ladder stitch.
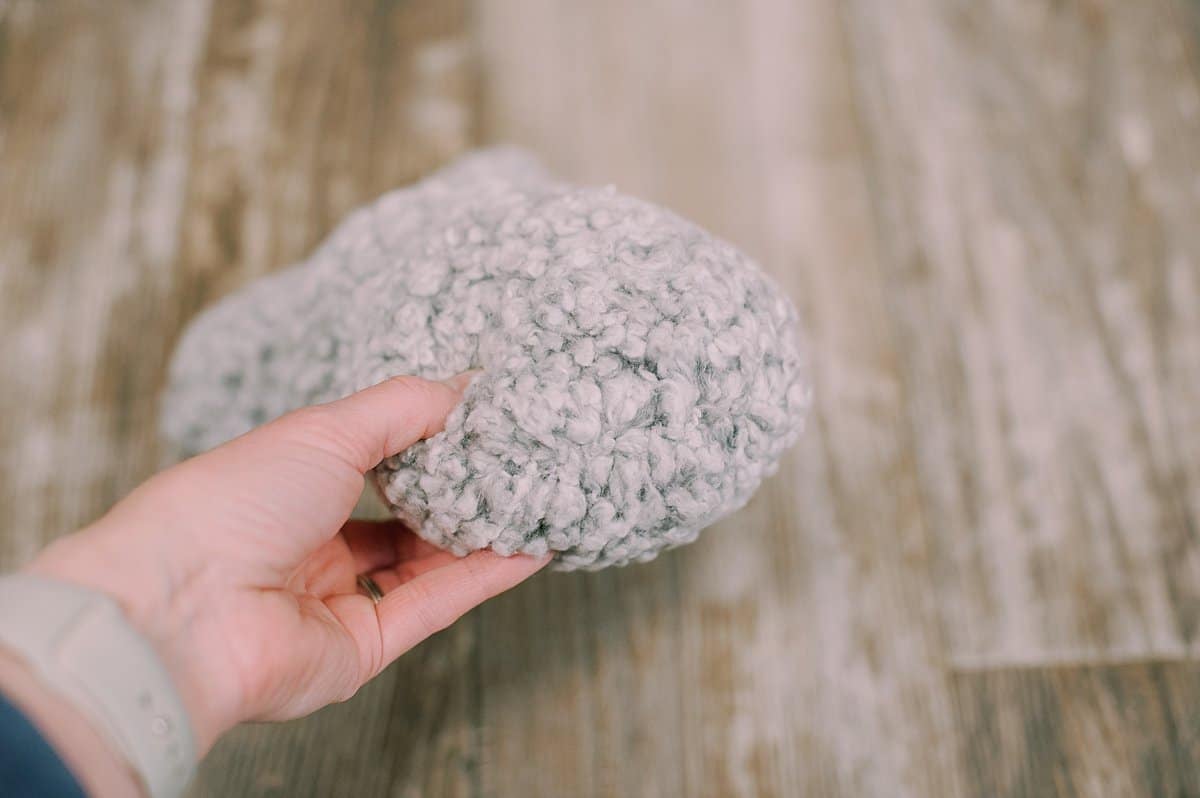
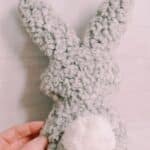
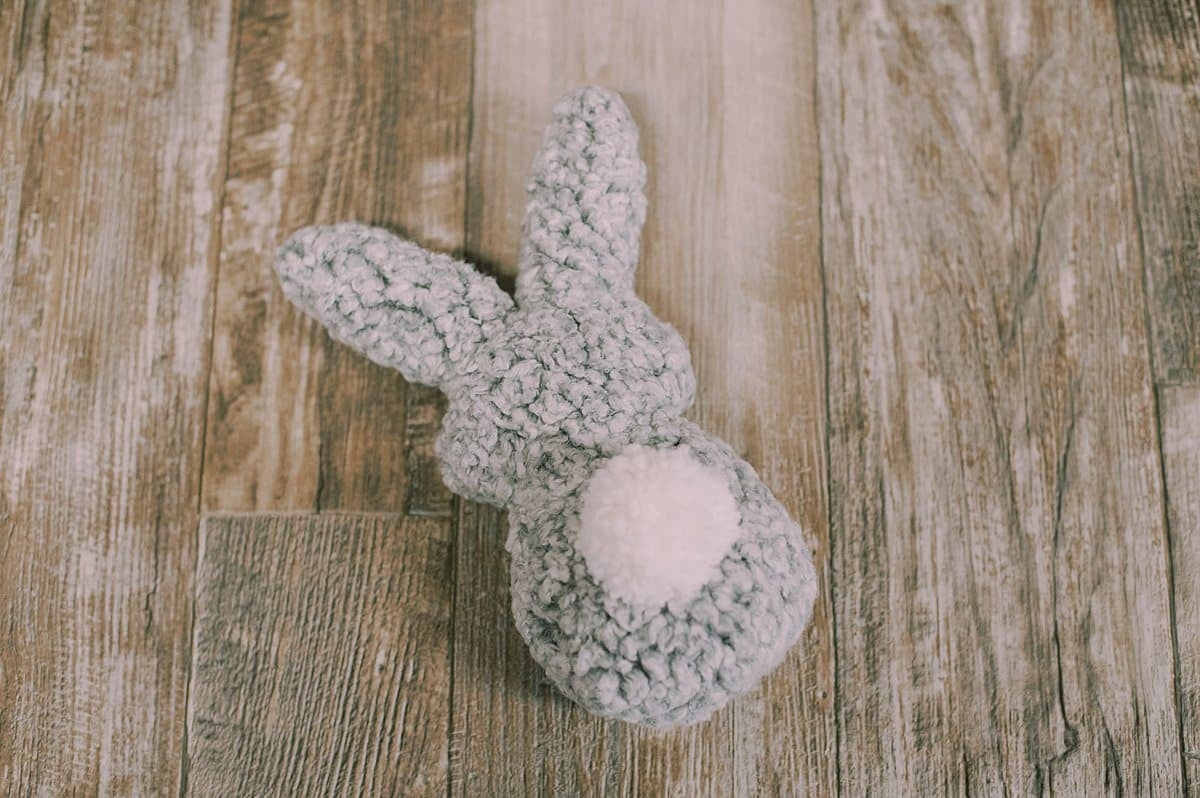
Step 10. Clip the extra thread, and the body of the bunny is finished. You could leave it, or add a tail.
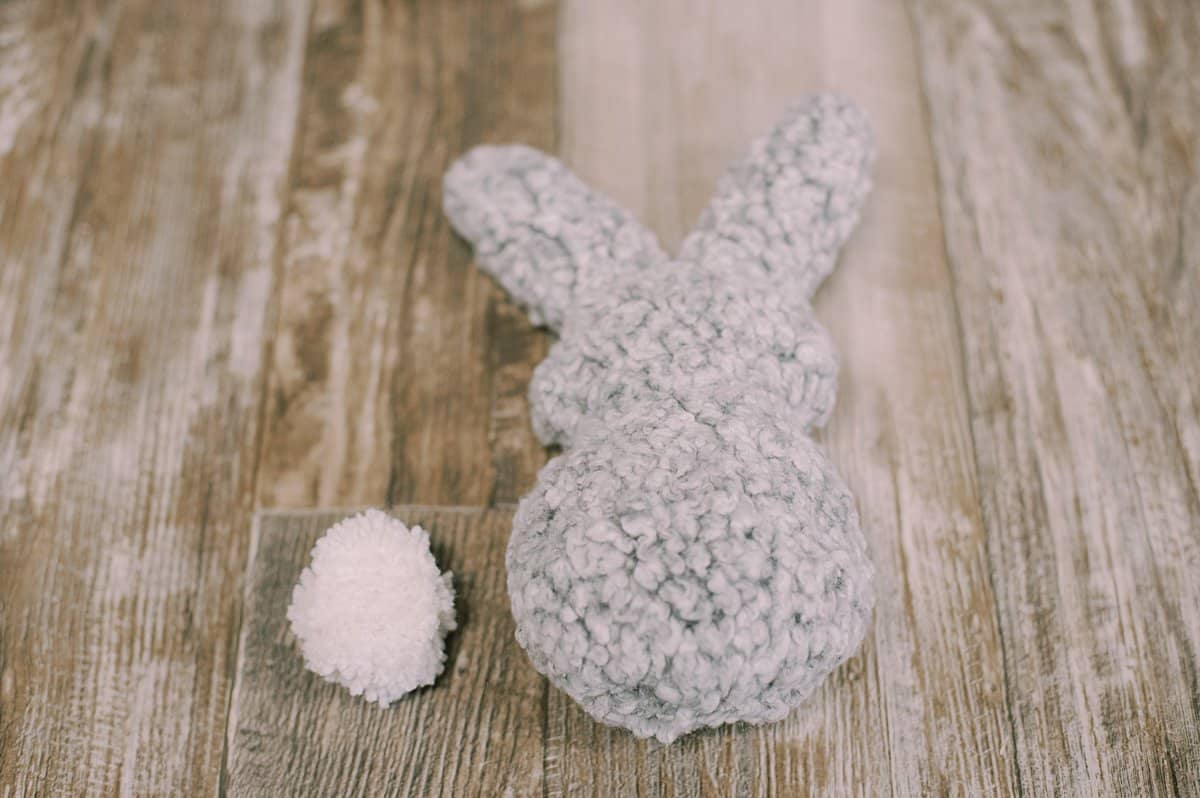
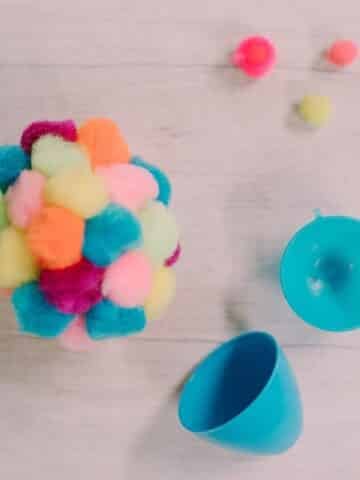
Step 11. Make a yarn pom pom to use as the fluffy tail for the bunny.
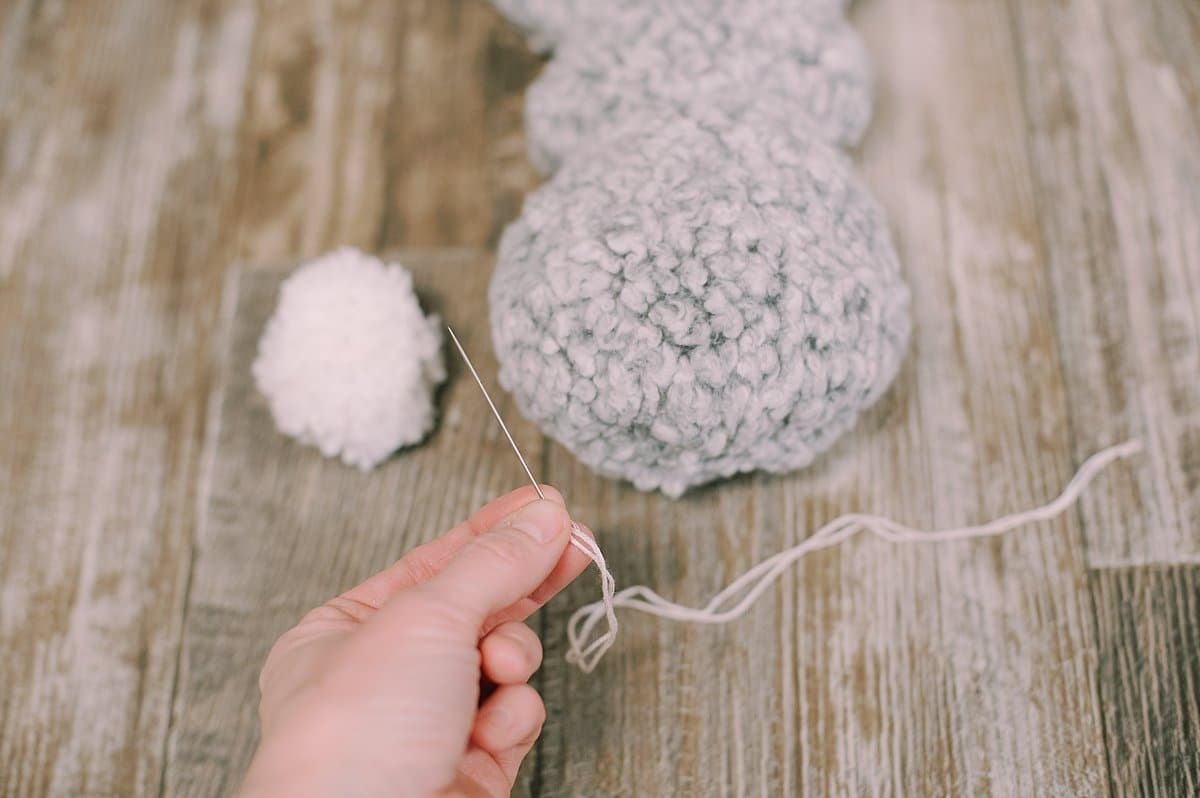
Step 12. Sew the yarn tail onto the bunny rabbit using a needle and embroidery floss.
I used embroidery floss because it's thicker and stronger than sewing thread, and I wanted extra durability to hold the tail on.
Common Questions
You can make a stuffed animal with any type of fabric. Soft, cuddly fabrics like fleece, sherpa, and minky varieties make cozy stuffies. My personal favorite is to use old clothing, either thrifted or from my own closet, and make the crafts with that.
Poly-fil is the perfect stuffing to use for this project, and is my first choice for any 3D sewing craft that needs to be stuffed. You could use any type of stuffing, or go the eco-friendly route and use scraps of fabric or even shredded paper. Just note that your bunny won't be as soft and squishy with an alternative type of stuffing as it would be with the typical soft poly-fil.
This simple bunny rabbit has a rounded bottom, but it isn't necessarily flat. Especially when it's stuffed solely with poly-fil, it won't stand up on its own unless it's propped against something else. However, you could modify the tutorial and add weighted beads to the bottom of the bunny to help it stand up on its own. You would need to leave a turn hole on the side of the bunny instead of the bottom so you can add in the beads.
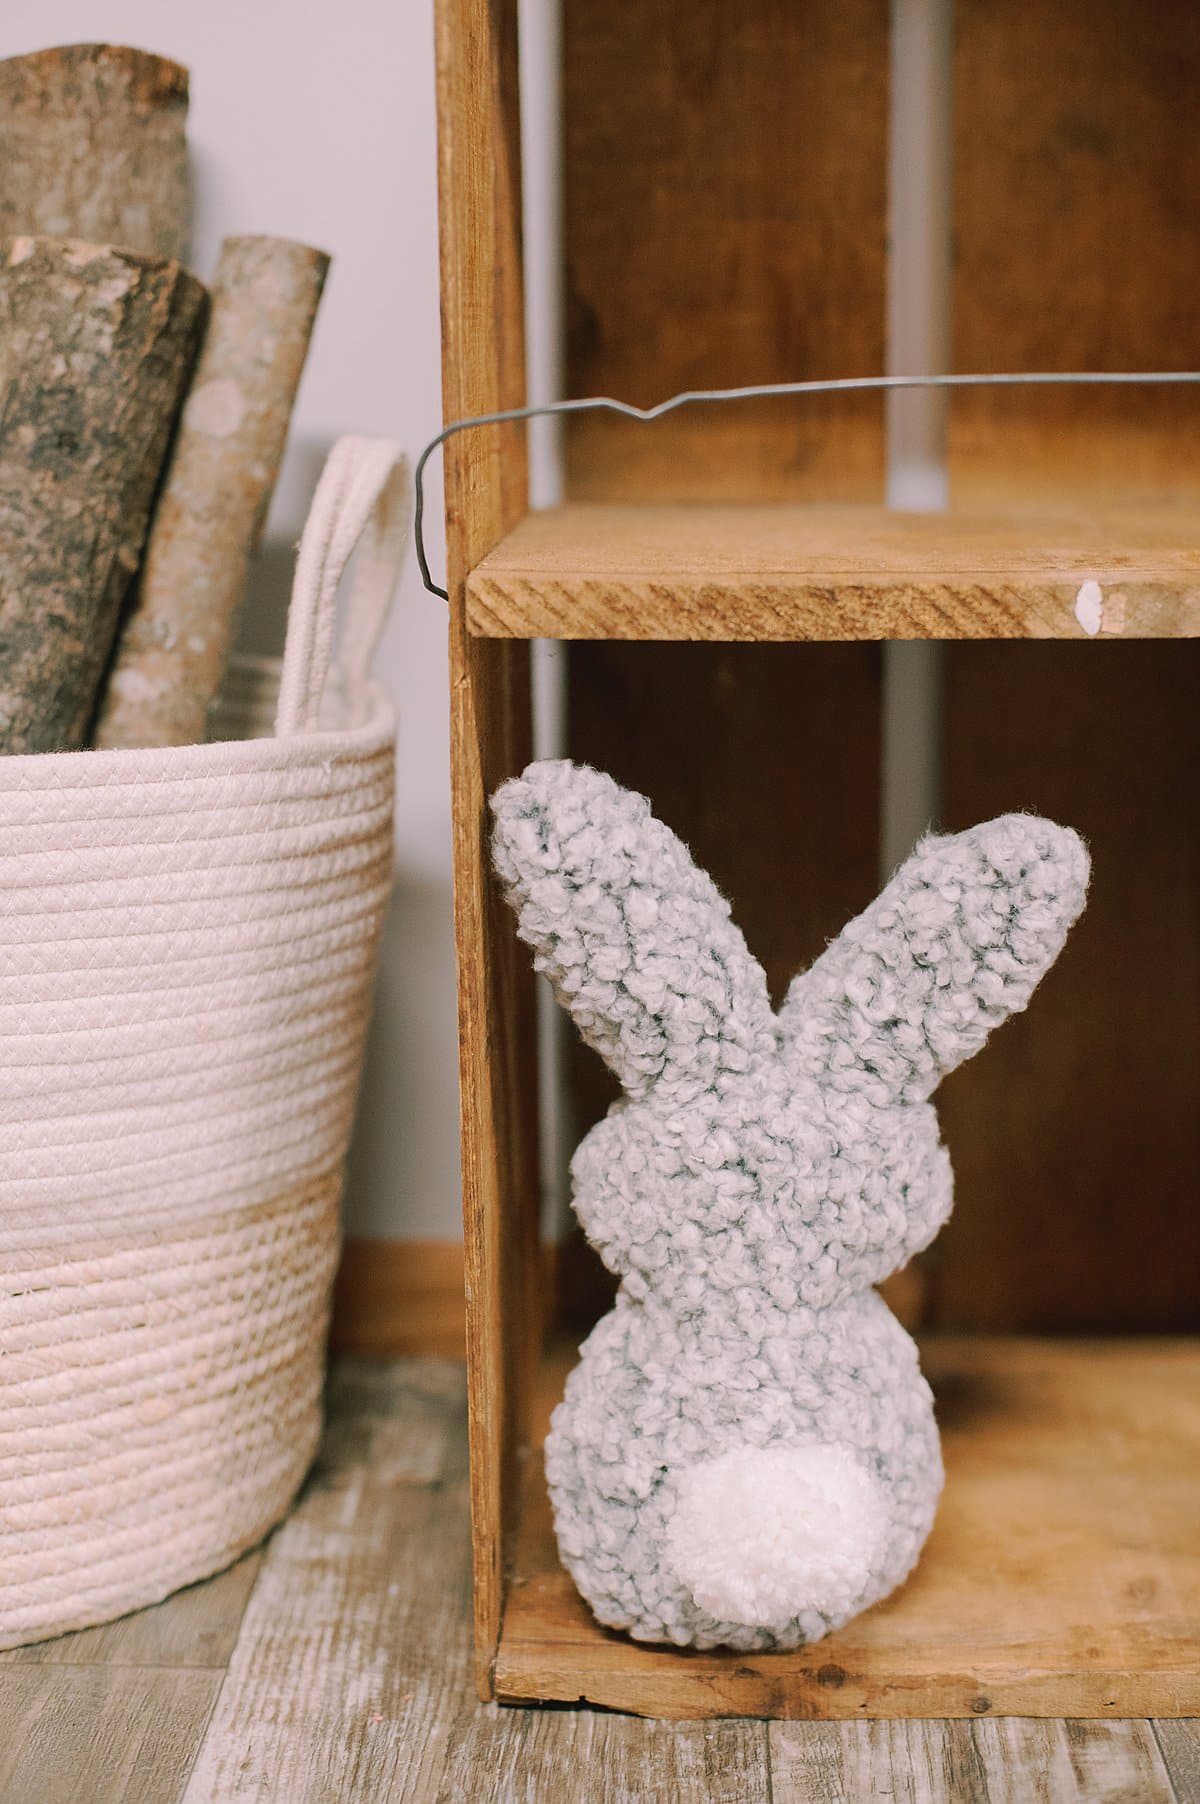
Making DIY stuffed animals can be as simple as having a shape to use for the outline - that's the hardest part!
Then you sew, cut out, and stuff the animal shape, and you're left with a quirky, cute kids' stuffy that's ready for someone to love!
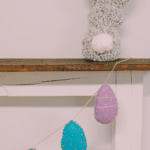
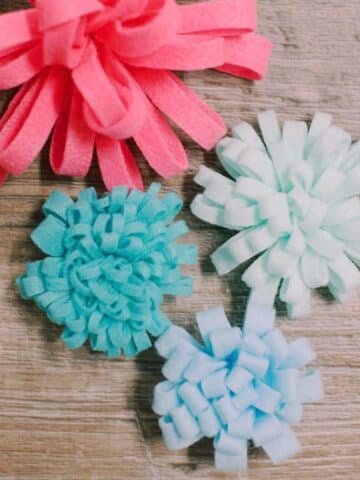
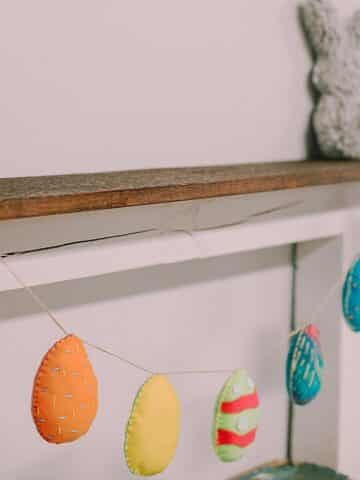
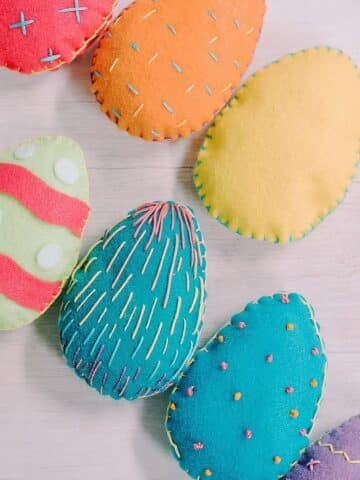
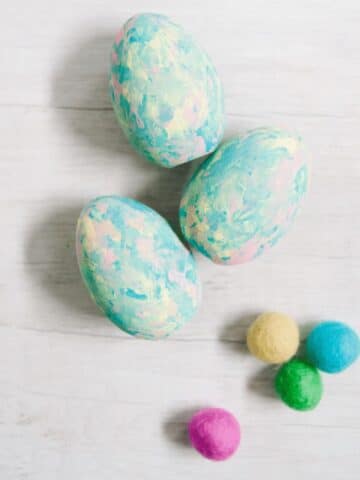
Add in a few painted Easter eggs, DIY felt eggs, or pompom-covered eggs and you've got your Easter decor ready!
More Easter Crafts You'll Love
---
⭐️🧶 Did you enjoy this craft and want to see more like it? ✂️ Join our FREE email community and get inspiring craft ideas sent right to your inbox! 🧵 ⭐️
---
How to Make a DIY Stuffed Bunny
Materials
- Fabric
- Bunny Template (from our free resource library)
- Fabric Marker
- Pins
- Stuffing
- Needle and Thread
- Yarn
- Embroidery Needle and Floss
Instructions
- Print and cut out the bunny template from our free resource library. Lay the bunny shape over two layers of fabric (with the good sides of the fabric facing together). Pin it in place.
- Trace around the outside of the bunny template. Remove the paper and make sure the two layers of fabric remain securely pinned together.
- Sew around the bunny outline, leaving the bottom open for stuffing.
- Cut around the bunny shape, leaving ¼" of fabric from the stitched seam.
- Turn the bunny right side out through the opening at the bottom.
- Use your fingers or the blunt eraser end of a pencil to help push the ears out.
- Stuff the bunny with poly-fil.
- Push stuffing all the way up into the ears so they are firm and filled. Continue to fill the rest of the bunny until it's full yet still squishy.
- Use a needle and thread to close up the hole in the bottom with an invisible ladder stitch.
- Clip the extra thread, and the body of the bunny is finished. You could leave it, or add a tail.
- Make a yarn pom pom to use as the fluffy tail for the bunny.
- Sew the yarn tail onto the bunny rabbit using a needle and embroidery floss.
Notes
- Poly-fil is the ideal stuffing material for this project because it makes a soft, squishy, cozy stuffed animal. But if you want to try something more eco-friendly, you can use fabric scraps.
- In order to sew the yarn pom securely to the back of the bunny for the tail, I opted to use embroidery floss instead of sewing thread since it's thicker, stronger and more durable.

Leave a Reply