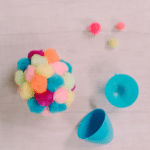
Learn how to make pompom-covered easter eggs in this easy kids' craft idea for the Easter season! Simply hot glue pompoms onto the outside of plastic easter eggs, and you have a cute DIY spring decoration!
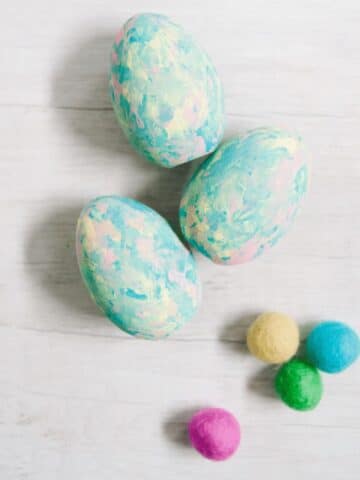
Easter is all about the eggs, and many people are looking for alternatives to dyeing Easter eggs. You can try our fun egg painting craft, or we've got another fun, easy alternative for you!
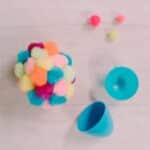
We're going to make pompom-covered Easter eggs using hot glue to add poms to the outside of the quintessential plastic Easter egg.
Jump to:
Why You'll Love This Craft
- You only need three craft supplies to make this project.
- It can be made in 5 minutes or less.
- The plastic easter egg is probably the most iconic type of easter egg ever. (You might even have a bag of them somewhere in your house right now!)
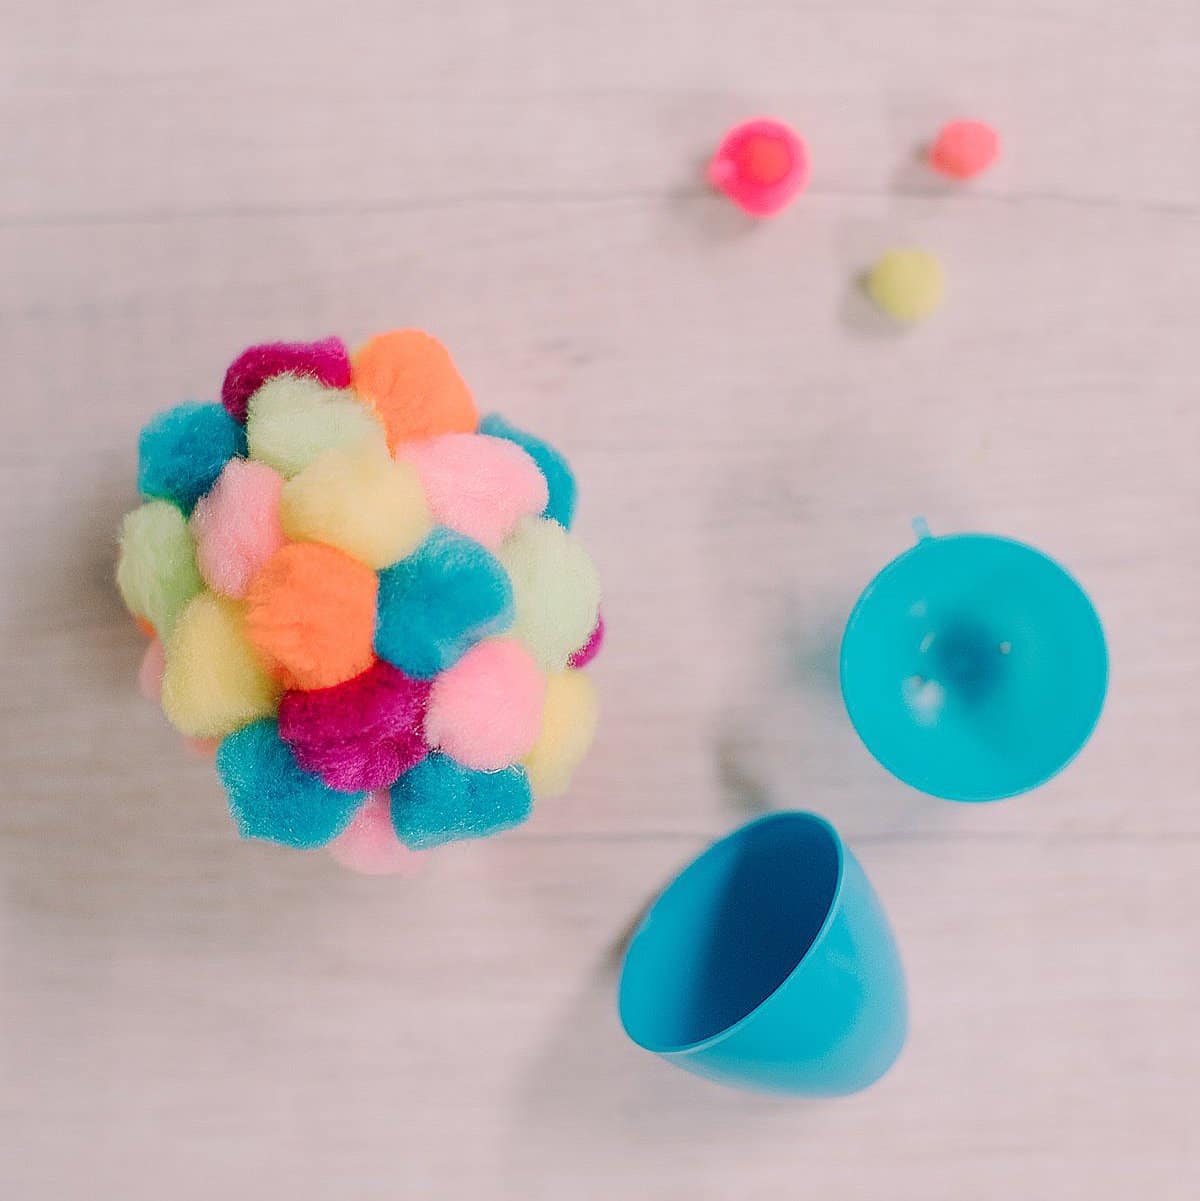
Craft Supplies Needed
- Plastic Easter Eggs - These are the plastic eggs that come apart to put candy inside. Every big box store and dollar store sells them, and you can buy them online.
- Pompoms - You can buy these at any craft supply store, big box store, or dollar store with a craft department, and of course, online. You could even make your own yarn pom poms and use those!
- Hot Glue Gun and Glue - Hot glue is the easiest to use and the fastest to dry. You could also use craft glue but it might be sloppier and take longer to dry. (Hot glue is almost always my first choice for any craft project!)
How to Make Pompom-Covered Easter Eggs
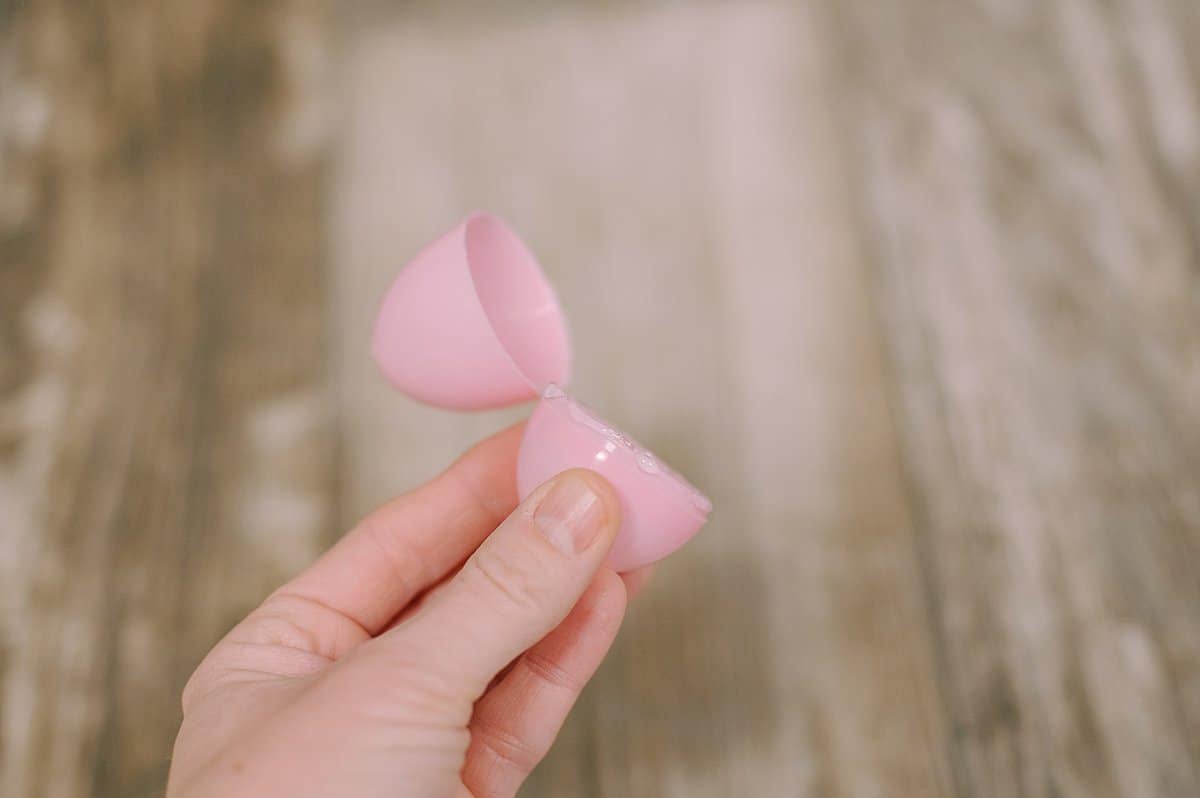
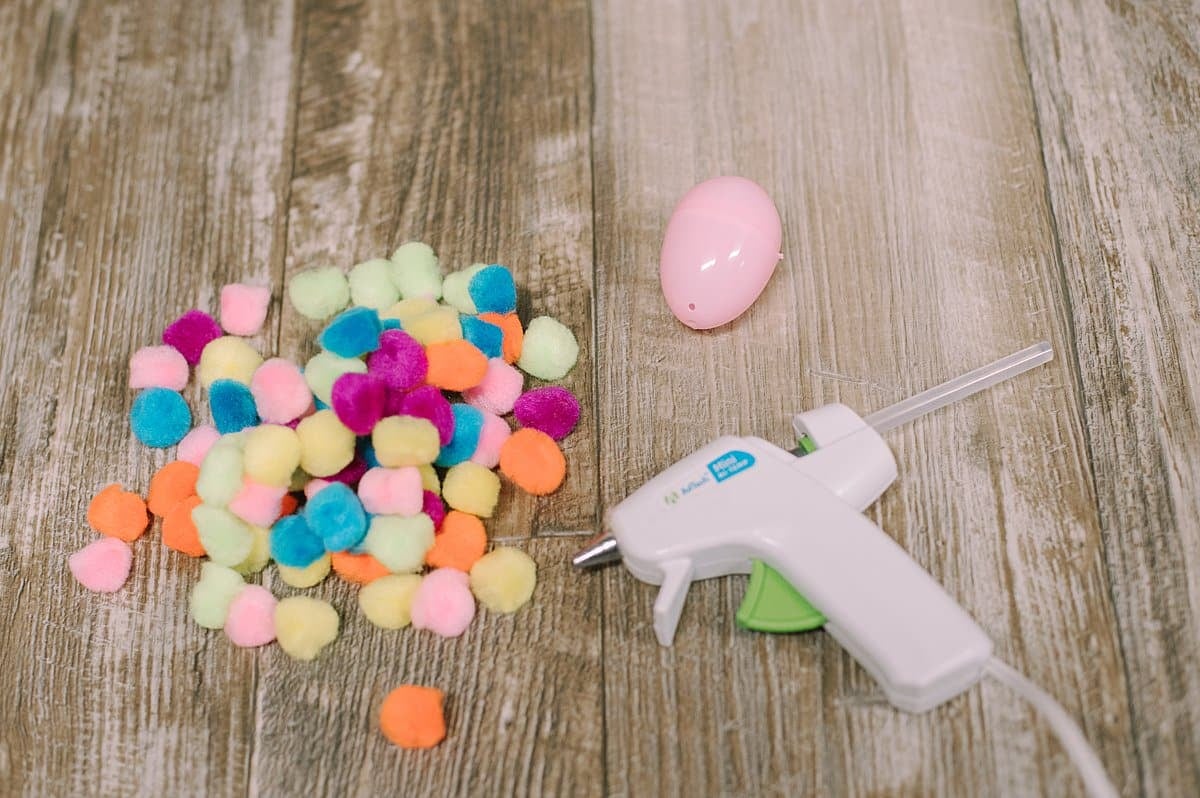
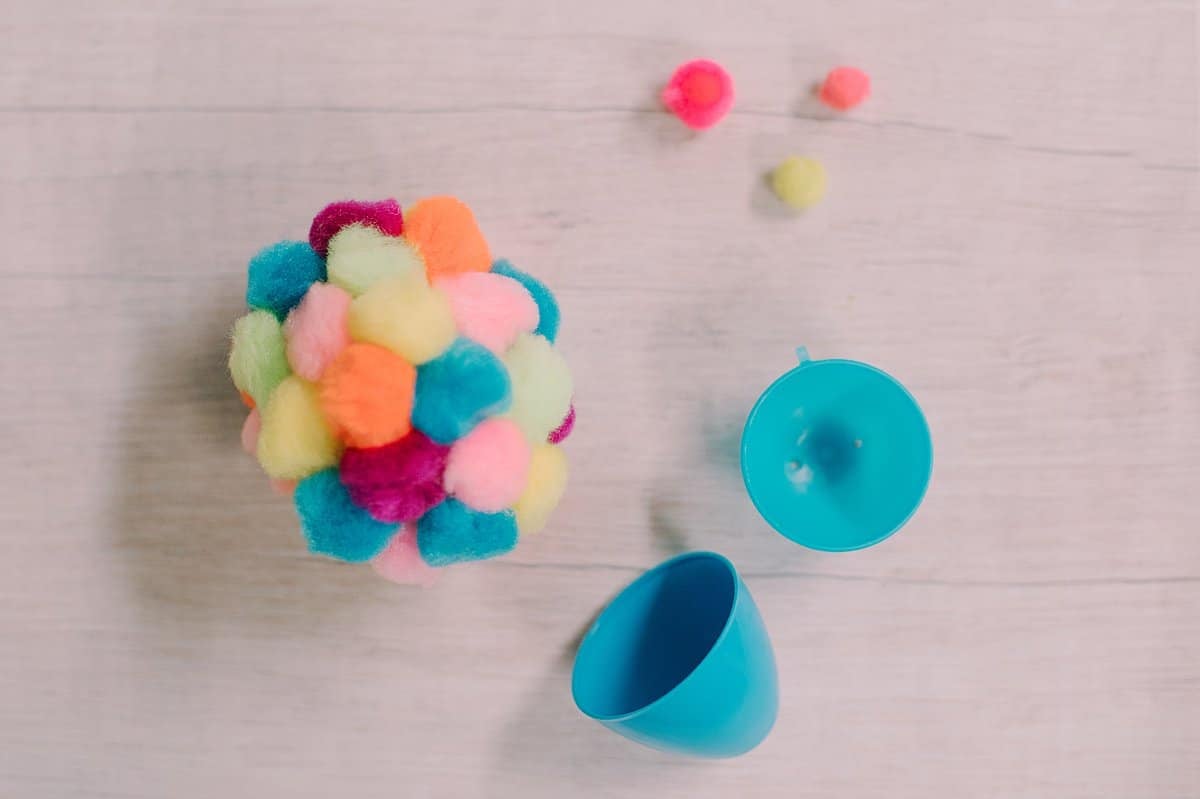
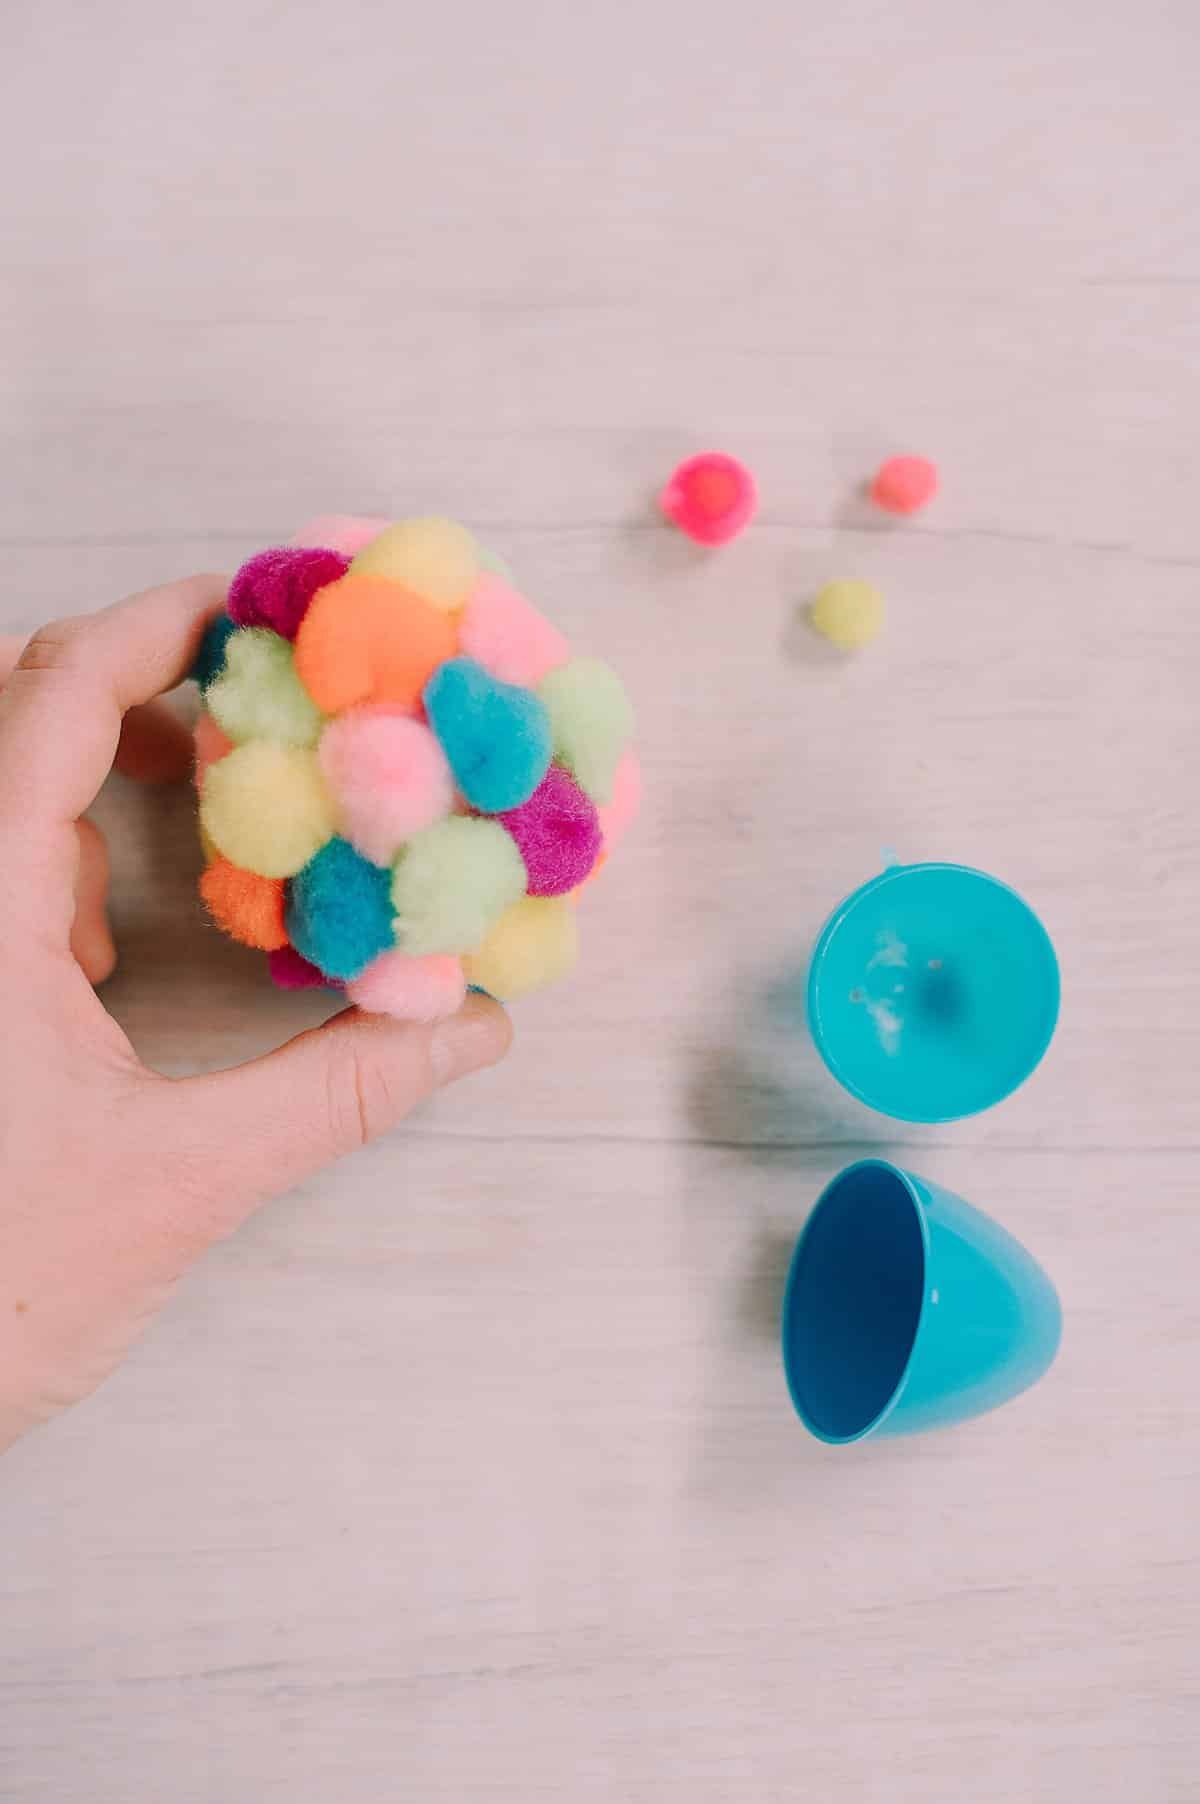
Step 1: Hot glue the two parts of the plastic egg together so it won't open up. Hold it in place until the glue has hardened.

Step 2. Begin gluing pom poms around the outside of the plastic egg, staggering the colors for maximum variety. Don't put poms of the same color next to each other if you can help it.
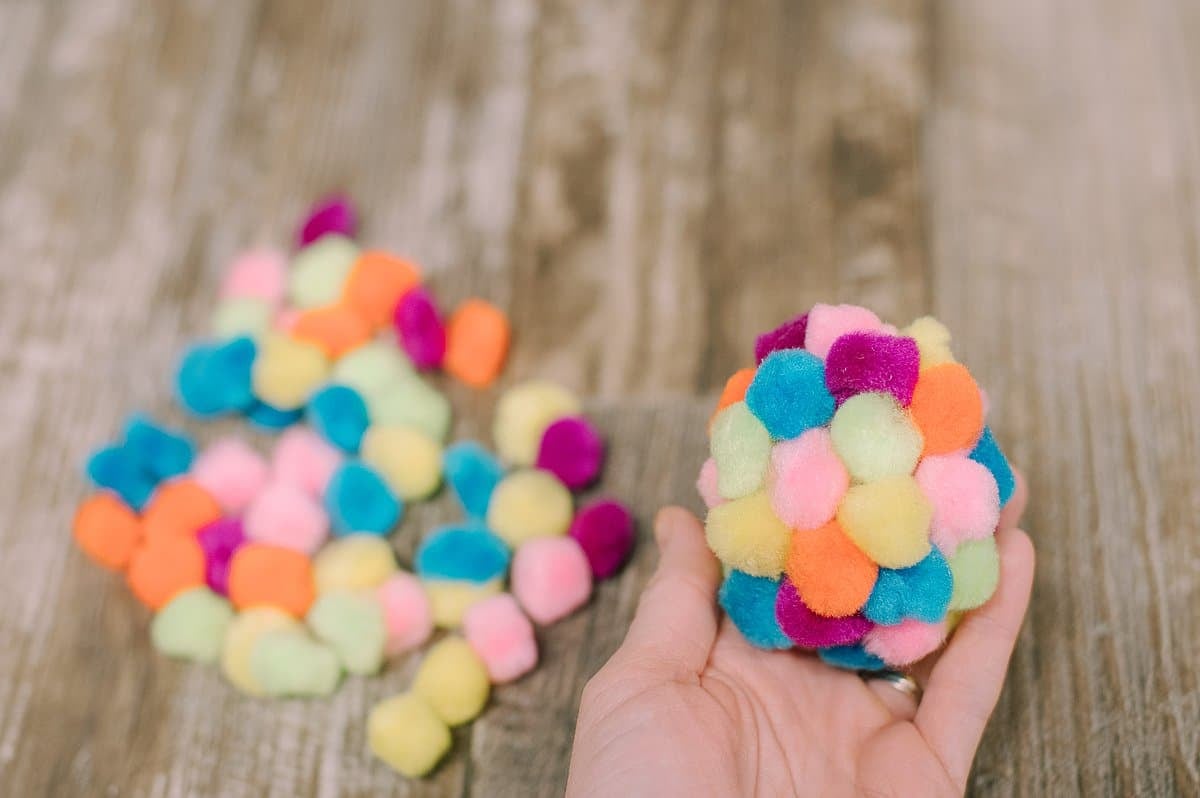
Step 3: Keep gluing more pompoms onto the egg, varying the colors, until the entire outside of it is covered.
That's it... Your super simple pompom-covered Easter egg is finished!
Common Questions
Depending on the age of the child and the skill level and competency they have with a hot glue gun, this could easily be a craft for kids! It's simple and quick with only 3 steps - perfect for kids. (But only if they are allowed to use a glue gun!)
Pro Tip: These silicone fingertip protectors work great for preventing burns in kids (and adults too!)
If your children are too young to use a glue gun, they can still help by handing you pom poms. (This is a great way for toddlers and preschoolers to work on fine motor skills!)
You could use any egg-shaped object as the base for gluing on the pom poms. Wooden eggs would work great! You could even make eggs using DIY salt dough, modeling clay, or even Play-Doh, and let it dry out and get hard before you glue on the poms!
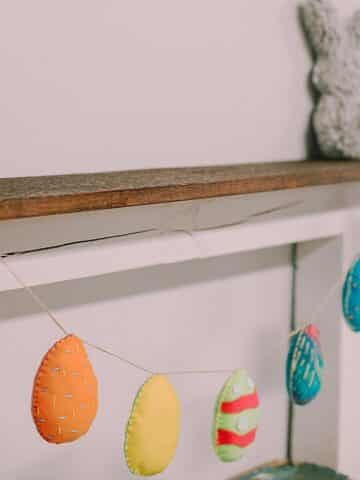
These colorful eggs look pretty just sitting on a shelf, or you can add hanging strings and turn them into DIY egg ornaments! Or whip up a couple DIY stuffed bunny rabbits, a DIY spring felt garland made with felt Easter eggs, and decorate your mantel for Easter!
Try a new spring craft for Easter this year - put a spin on the usual plastic easter eggs!
The finished pompom-covered easter eggs make fun squishy balls to toss around, and you could even use them to do an egg hunt!
More Easter Crafts You'll Love


---
⭐️ 🧶 Did you enjoy this craft and want to see more like it? ✂️ Join our FREE email community and get inspiring craft ideas sent right to your inbox! 🧵 ⭐️
---
How to Make Pompom-Covered Easter Eggs
Materials
- Plastic Easter Eggs
- Pompoms
- Hot Glue Gun and Glue
Instructions
- Hot glue the two parts of the plastic egg together so it won't open up. Hold it in place until the glue has hardened.
- Begin gluing pom poms around the outside of the plastic egg, staggering the colors for maximum variety. Don't put poms of the same color next to each other if you can help it.
- Keep gluing more pompoms onto the egg, varying the colors, until the entire outside of it is covered!
Notes
- Use a silicone finger protector to help prevent burns from the hot glue gun. This is especially helpful if kids are helping make these eggs!
- If you don't have plastic easter eggs, you can use wooden eggs or make your own with salt dough, modeling clay, or even Play-Doh. Just make sure they dry out and get hard before you start gluing on the pom poms.


Leave a Reply