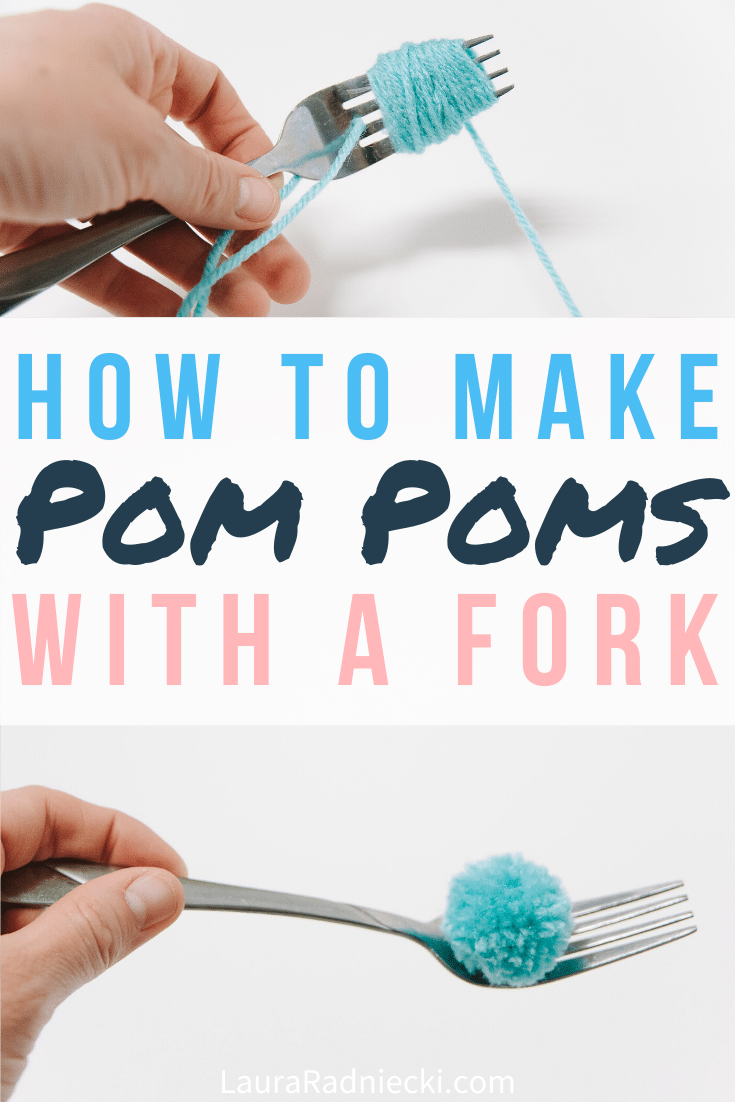
HERE'S A STEP-BY-STEP TUTORIAL FOR THE POM POM FORK METHOD; SHOWING EXACTLY HOW TO MAKE THE PERFECT POM POM USING A FORK, YARN, AND SCISSORS!
Pom poms are addicting to make and can be used in a ton of different craft projects.
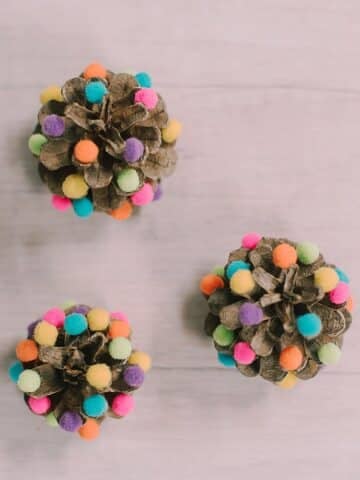
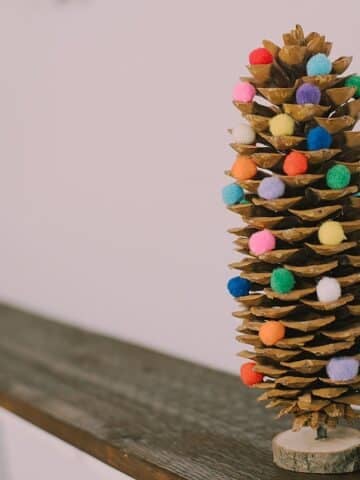
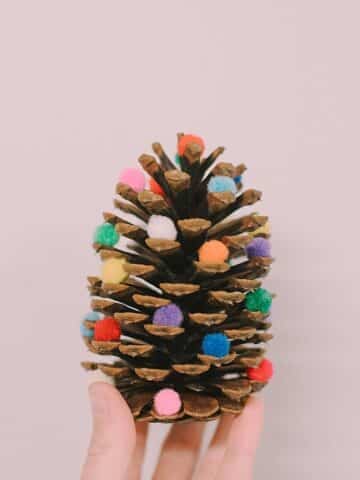
We've made a beautiful pom pom Christmas ornament, and we've combined small yarn pom poms with toilet paper rolls to make ice cream cones, and even turned those into an ice cream cone garland.
There are pom pom makers you can buy to help you make pom poms of varying sizes, but my preferred method is to make pom poms with my hand!
The hard part with the method of using your own hand to make a yarn wrapped pom pom is you can't make them very small. Even using just two fingers doesn't give you a pom pom small enough to be used in most jewelry-making.
So today, we are exploring the pom pom fork method!
It's a way of making pom poms using a fork from your kitchen, and results in small, perfect pom poms.
Here’s how to do it!

How to Make a Pom Pom with a Fork | Pom Pom Fork Method Tutorial
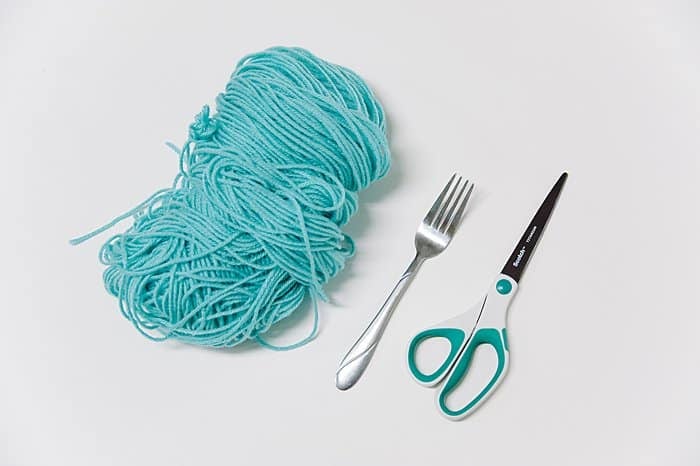
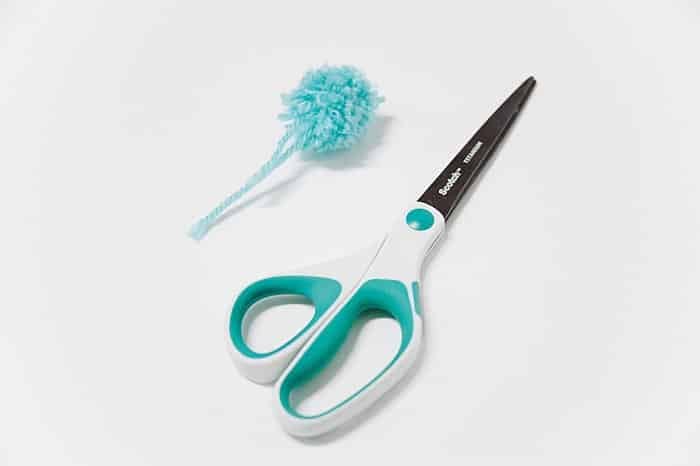
Step 1. Gather Supplies.
Supplies Needed:
- Yarn or String
- A Fork
- Scissors
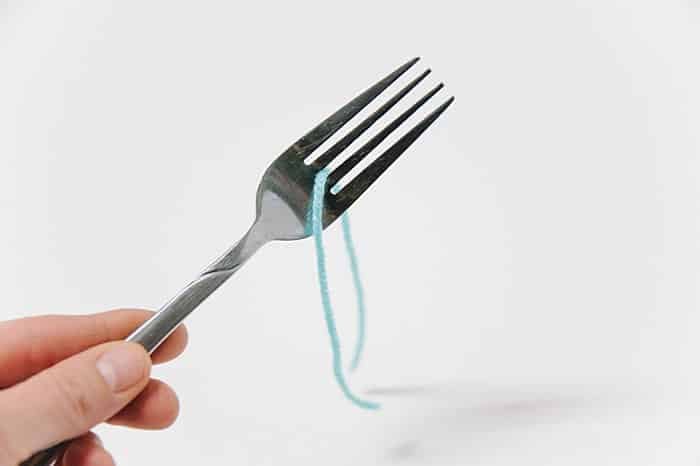
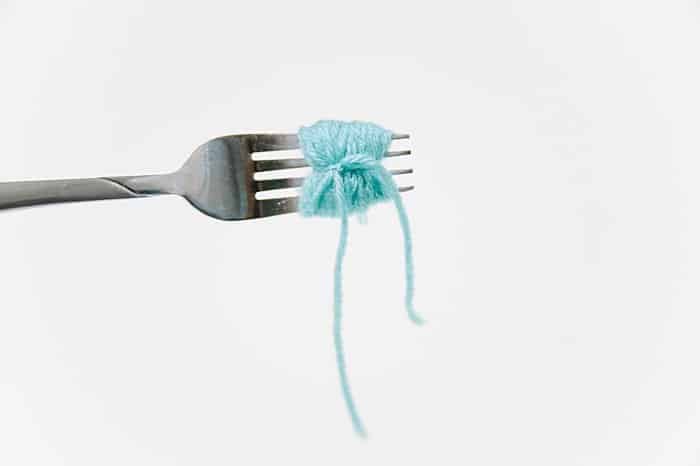
Step 2. Cut an 8" section of yarn and slide it onto the middle of the fork.
Cut an 8" section of yarn.
This will be the piece you use later to tie around your whole pom pom to keep it together.
Slide the piece of yarn into the middle section of the fork.
You'll leave it there during the next step.
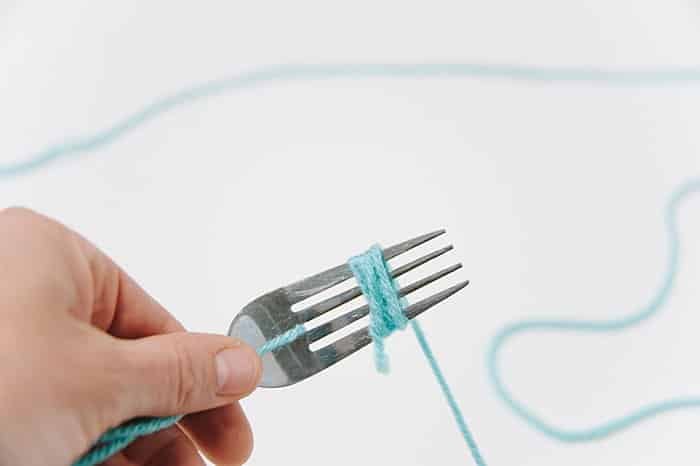
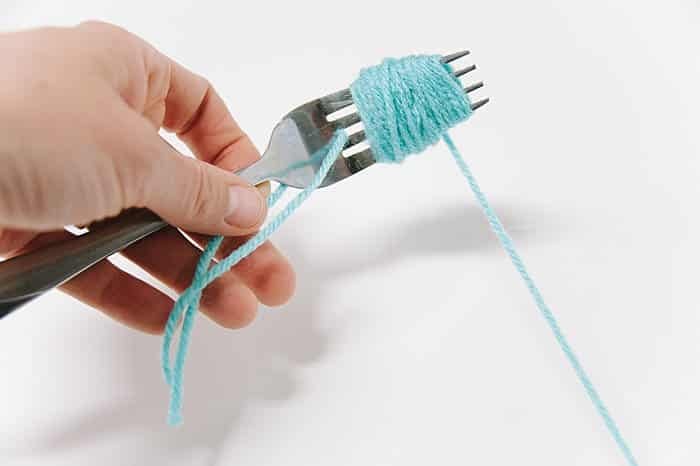
Step 3. Wrap yarn around fork 50 times.
As you hold the fork, try to also hold the 8" piece of yarn out of the way as pictured below.
Next, begin wrapping the yarn tightly around the fork.
The number of times you wrap will determine how dense your pom pom will be, and the type of yarn also impacts how much you need to wrap.
This is cheap, average yarn (which works great for making pom poms!) and I found the sweet spot is wrapping 50 times around the fork to get a nice, dense pom pom.
Once you've wrapped 50 times (wrap more times if your yarn is thinner, or less if it's thicker), cut the yarn ball free.
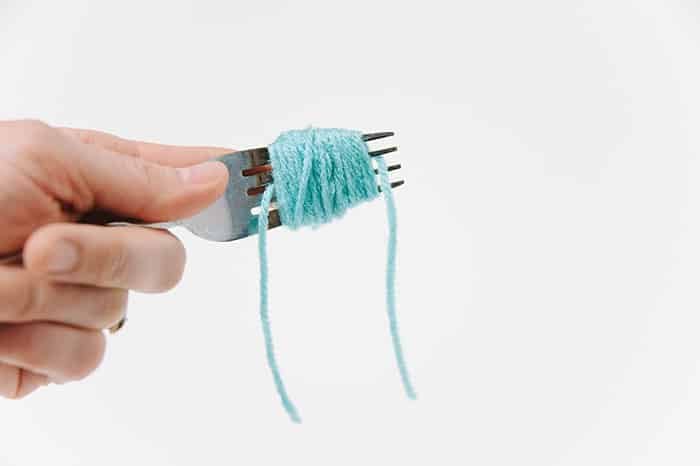
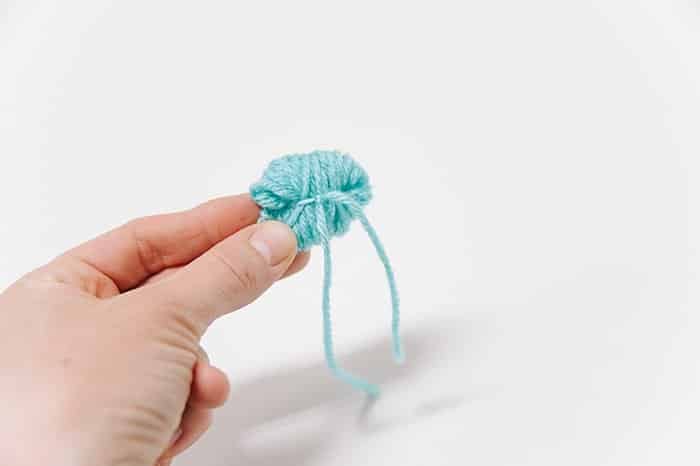
Step 4. Tie the 8" section of yarn around the wrapped yarn bundle to secure.
You're going to take the 8" section of yarn you've been holding out of the way, and use it to secure the wrapped yarn bundle.
This is the key to a tight, secure pom pom.
Bring the 8" section of yarn to the front of the fork and begin to tie a knot.
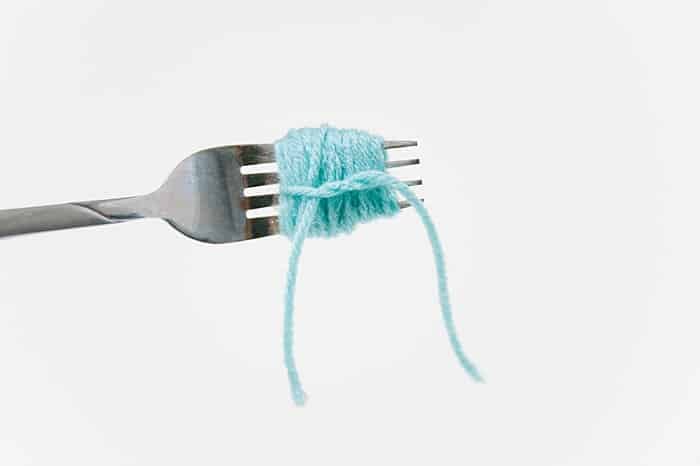
This is what the back looks like when you begin to tie your knot.
You want to tie a TIGHT knot.
The tighter you get it, the better your pom pom will be in the end.
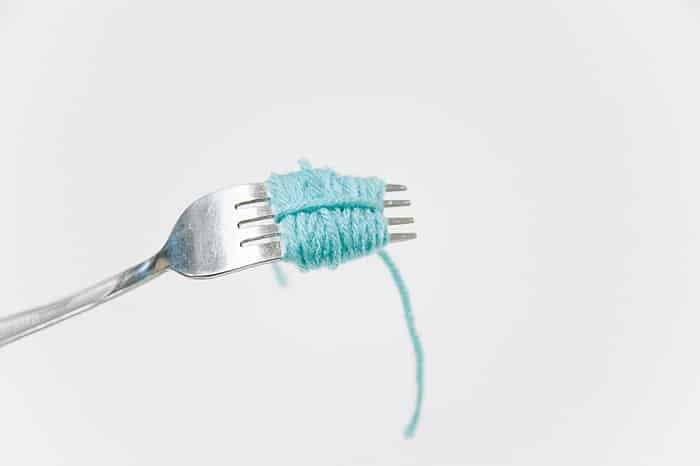
Tie the string as tight as you can and knot it to secure.
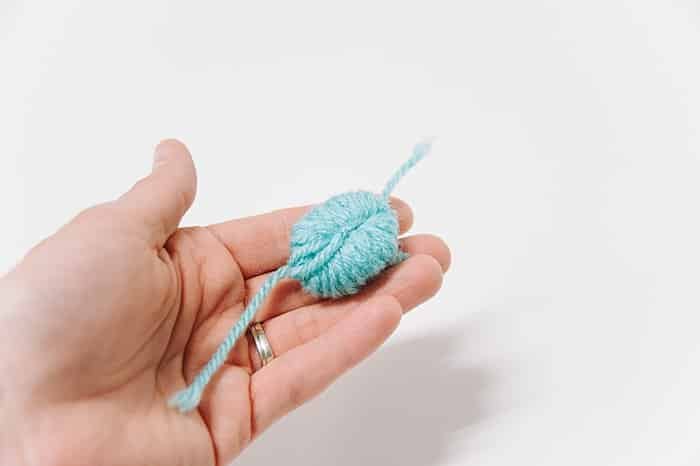
Once it's secure, slide the yarn bundle off of the fork.
Step 5. Check knot tightness. Tie again on other side of the bundle, if needed.
Sometimes I'm able to get a really tight knot and my pom pom bundle feels very secure at this point.
Other times, I haven't been able to get all the slack out when I tie my knot, and the bundle still feels loose.
If there's too much slack in the bundle, like pictured below, flip the bundle over to the back, wrap the two ends around and repeat the tying/knotting process again on the back side.
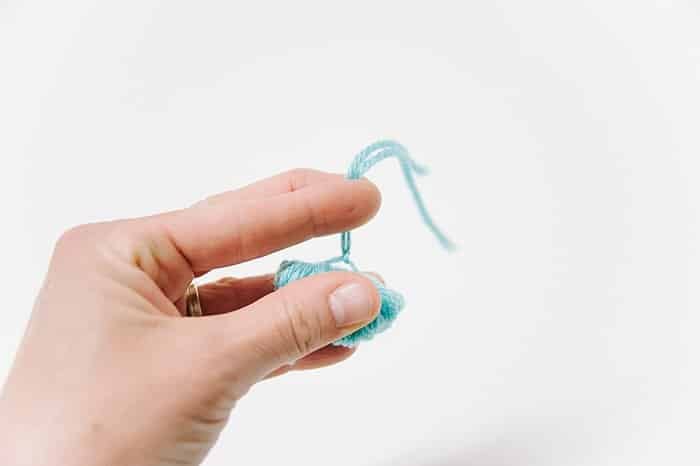
Tying another knot on the backside further secures the pom bundle, and usually does the trick so it's extra secure and ready for the next step!
Step 6. Cut yarn loops free and trim into a ball.
Using a sharp scissors, slowly begin to cut the loops of yarn around the edge of the pom pom free.
There are many layers, so start on the outside and work inward.
Continue to cut until every loop of yarn is free.
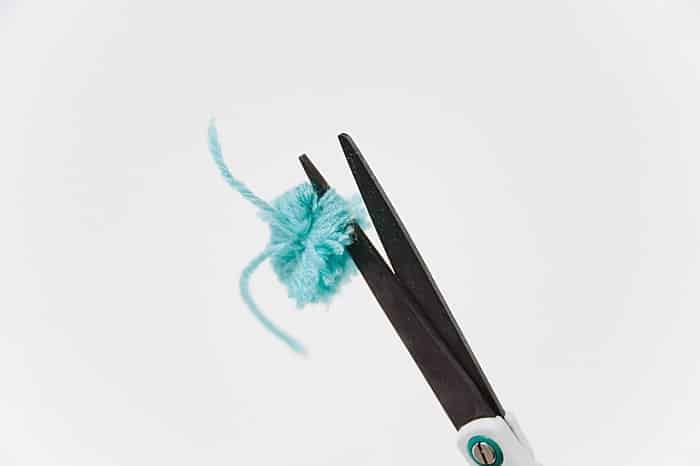
You'll end up with a straggly, weird-looking pom pom once all the loops are cut.
Next, trim the scraggly pom pom and shape it into a ball!


Continue to trim until you're happy with your ball-shaped pom pom.
You are done!

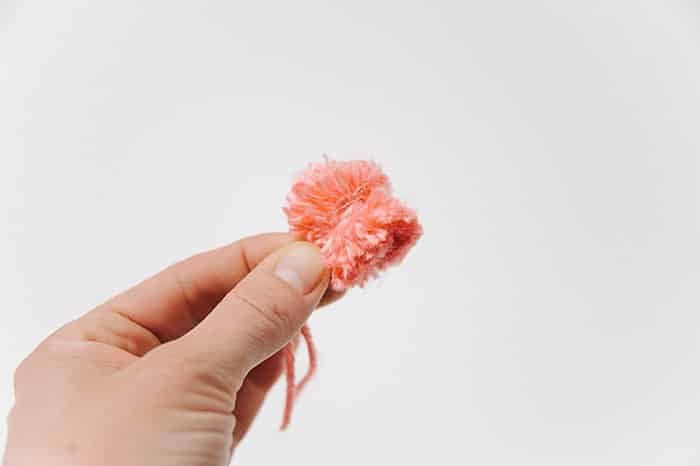
If you find some pom poms not turning into a nice ball, you can use a little hot glue to close up any major gaps.
This sometimes happens with fine yarn; it happened often for me with this soft, fine pink yarn.
In order to make the pink poms work better, I used hot glue to close up the gaps and make them look more like a ball.
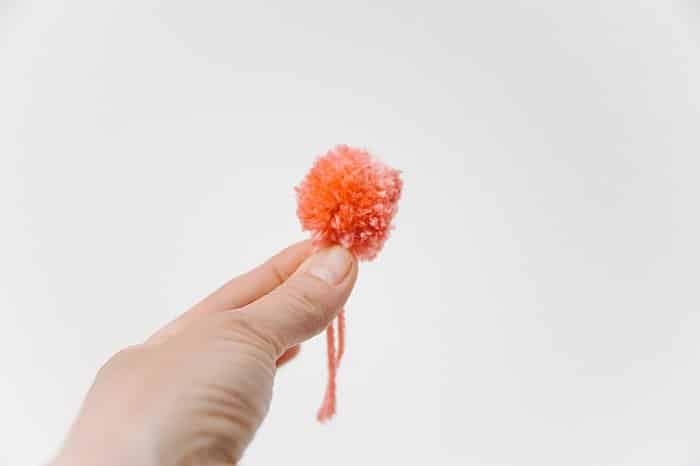
NOTE: Depending on what you plan to do or make with the pom poms, sometimes it can be helpful to leave the two longer tie strings, instead of cutting them off. You can use them to tie the pom pom onto a headband or a garland etc.
But if you are using the pom pom for something like jewelry, you don't need those tie strings and can cut them off like I did here.
These tiny yarn pom poms can also be used in this pom-pom letter project instead of store-bought pom poms!

It's amazing that something simple like yarn and a fork can make something so cute!
It's so fast and easy to make a pom pom with a fork; it takes less than three minutes per pom.
You'll be able to whip up a dozen in no time!
- - -
Save the idea for later by pinning the photo below to Pinterest!

Leave a Reply