LEARN HOW TO MAKE A FAST, EASY DIY YARN POM POM ORNAMENT IN THIS STEP-BY-STEP VIDEO TUTORIAL USING YARN, TWINE, SCISSORS, AND A POM POM MAKER (OR MAKE THE POMS BY HAND!)
Ask any crafter and it's likely they'll tell you they have a surplus of yarn in their craft room. I know that's true for me!
The obvious ways to use up yarn are knitting and crochet, but what else can you do with yarn?
How about turn it into a whimsical and surprisingly easy Christmas tree ornament?!
We’re on Day 6 of The 30 Days of Ornaments Project, where we will make 30 handmade ornaments over the next 30 days.
Today, we are busting out the yarn and the pom pom maker and making a DIY yarn pom pom Christmas ornament!
PRO TIP: You can also make these pom poms using just your own hand, if you don't have a pom pom maker or don't want to use it!
Here's how to do it!
Day 6: How to Make a Yarn Pom Pom Ornament
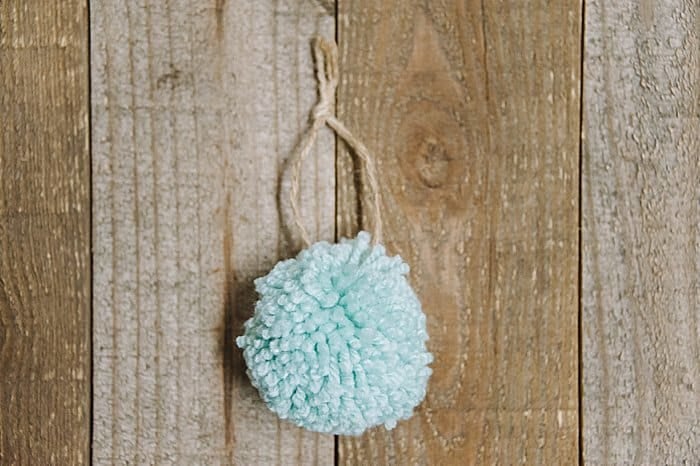
DIY Yarn Pom Pom Christmas Ornament
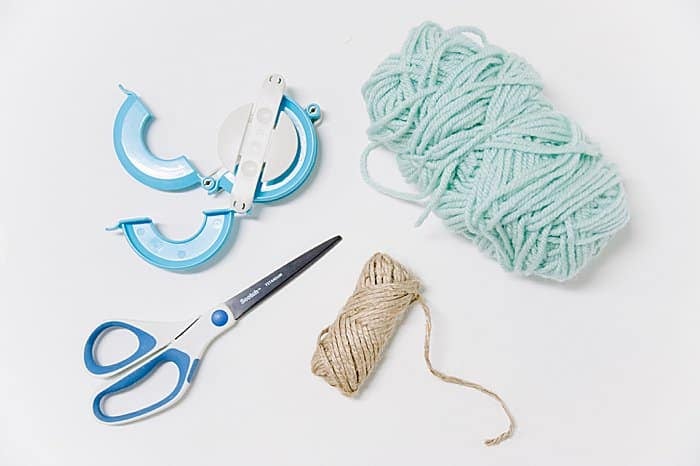
Step 1. Gather supplies.
Supplies needed:
Step 2. Cut an 18+ inch section of yarn to use as the center tie piece of your pom pom. Set aside.
Step 3. Cut a 12+ inch section of twine to use as ornament hanging string. Set aside.
Step 4. Open one side of pom pom maker, and wrap yarn fully. Close.
Step 5. Open other side of pom pom maker, wrap fully with yarn, and close.
Step 6. Use scissors to carefully cut yarn in center groove of pom pom maker on each side.
Step 7. Once cut, take 18" yarn string and tie it tightly into the middle of the pom pom maker to secure the pom.
Step 8. Remove plastic pom pom maker, and shake pom free.
Step 9. Trim up any uneven yarn pieces to create a well formed pom pom ball.
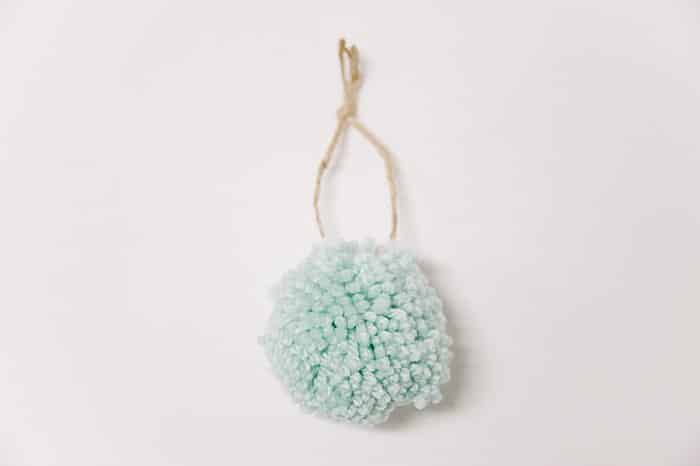
Step 10. Thread twine hanging string carefully through the center yarn tie string of the pom pom, knot, and hang!
Pom pom makers come in several different sizes, so you can customize your ornament by choosing how big to make your pom pom.
You can also pick the type and color of yarn you'll use, to match the color scheme of your Christmas tree and decor.
There are so many options; you'll want to make a dozen of them!
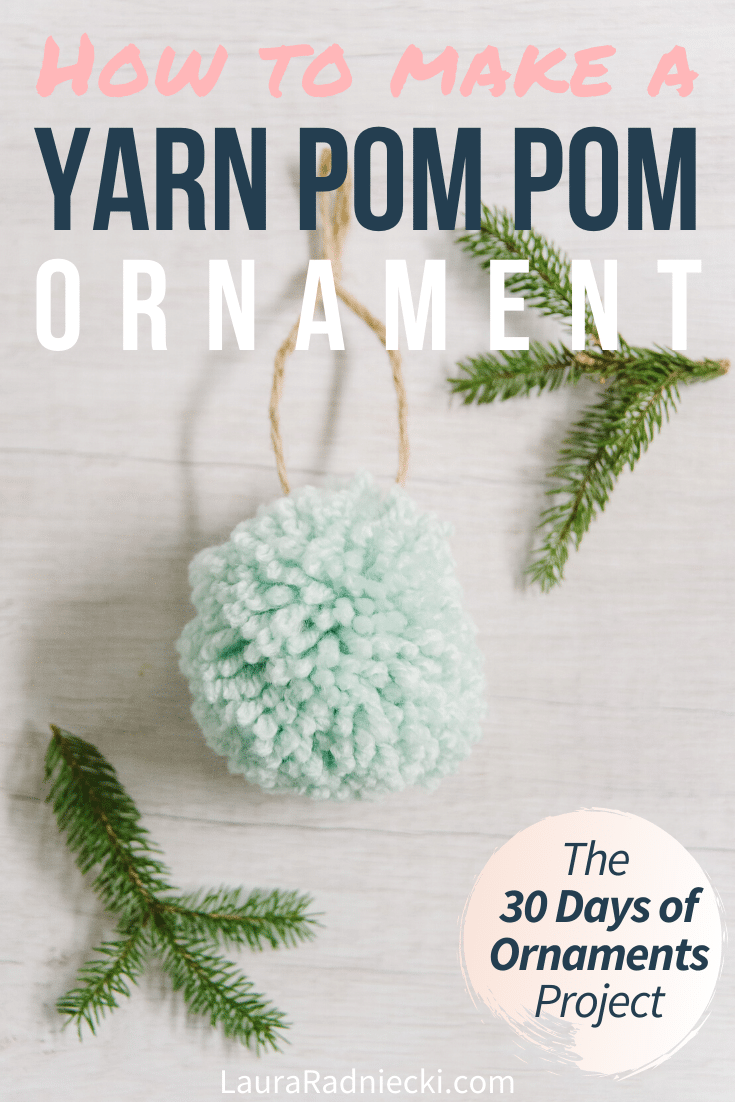
Save the idea for later by pinning the photo below to Pinterest!
. . . . . . .

Leave a Reply