


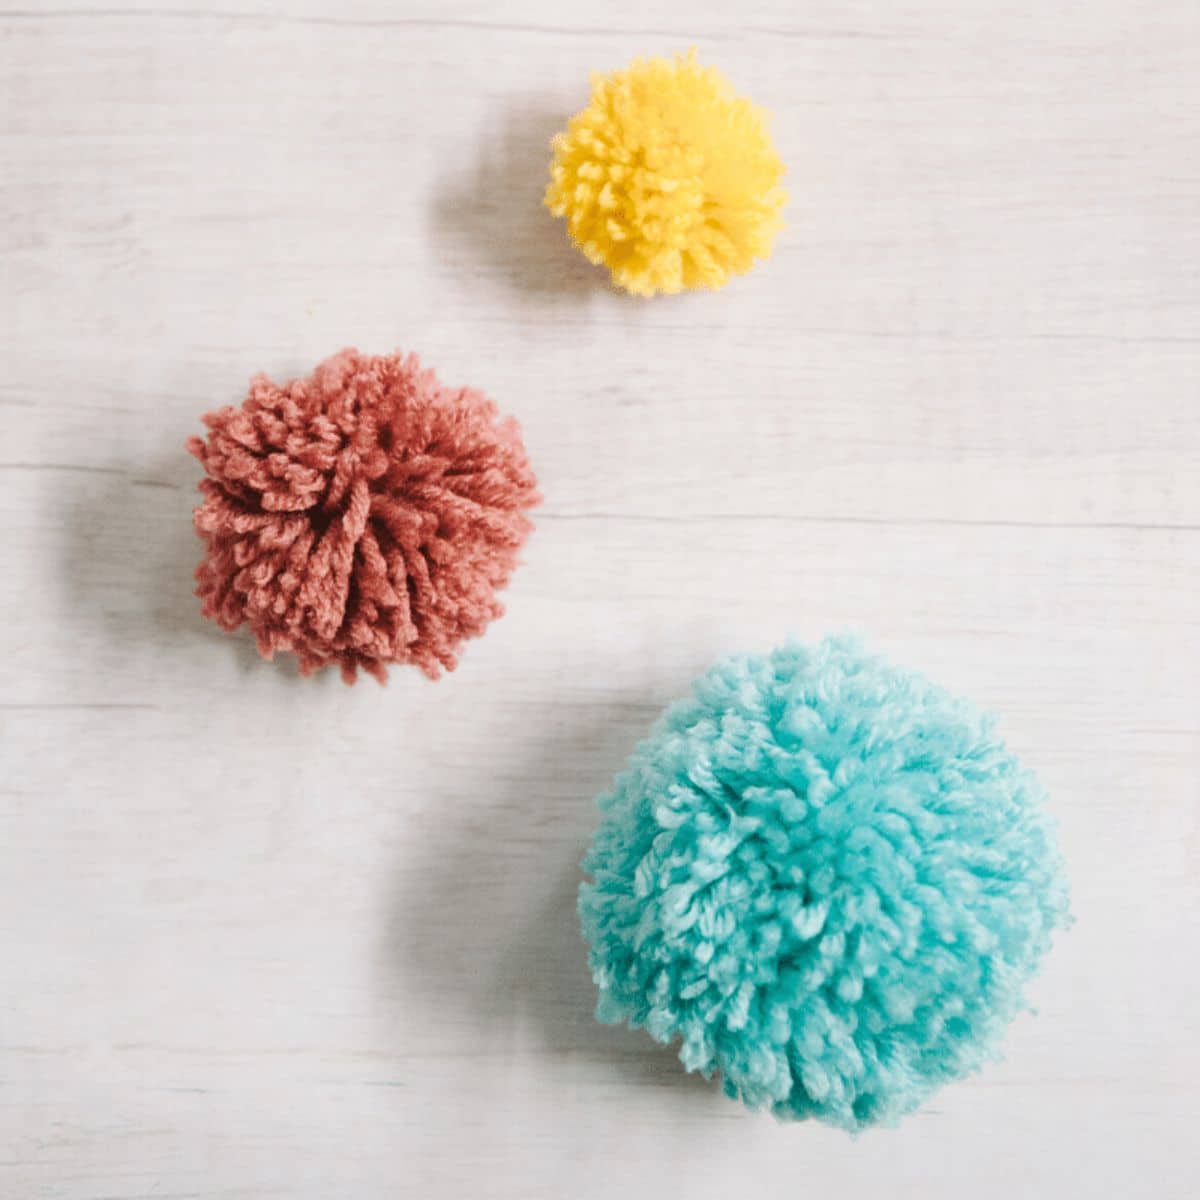
Learn how to easily make three different-sized DIY pom poms by hand, without using a pom pom maker in this fun photo tutorial!
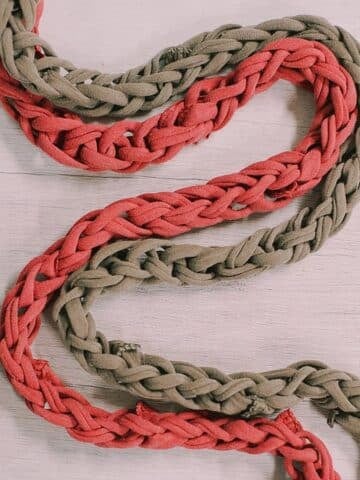
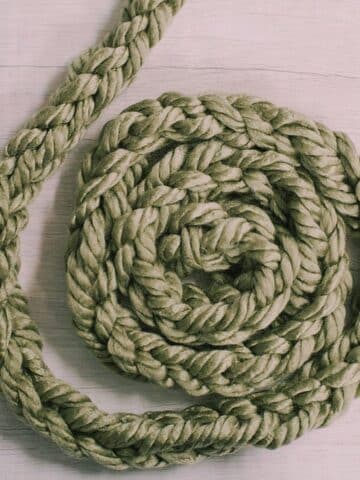
Yarn crafts vary from knitting and crocheting to string art, tassels, and pom poms, just to name a few.
You can buy pom pom makers, specifically designed to help you easily make varying sized pompoms out of the string of your choice.
They are easy to use and work great.
But what if you don't have a pom pom maker or if you'd rather use a DIY by-hand version that is maybe even quicker?
We're going to take a look at how to make a pom pom out of yarn by hand, and then look at size variations you can make to the pompoms: small, medium, and large pom poms!
We'll make three different sizes of yarn pom poms by hand, and talk about how to make the best pom poms possible using only yarn, scissors, and your hand!
Jump to:
Why You'll Love This Craft
- Yarn is one of the most basic craft supplies so you likely have tons of it already in your stash! That makes these pom poms even easier to make - you have everything you need already!
- The best type of yarn to use is medium-weight yarn which also happens to be the cheap stuff! It comes in dozens of colors so you can make pom poms of any color.
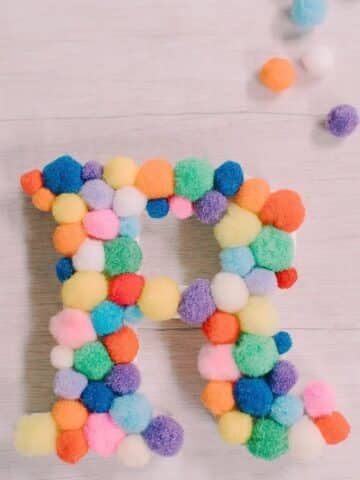
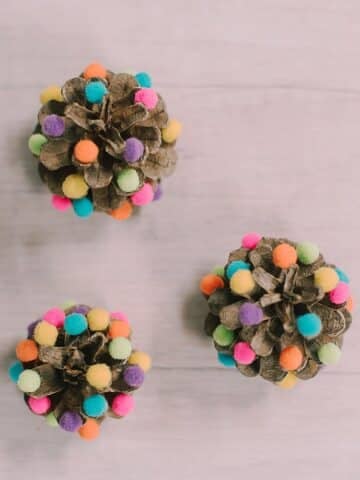
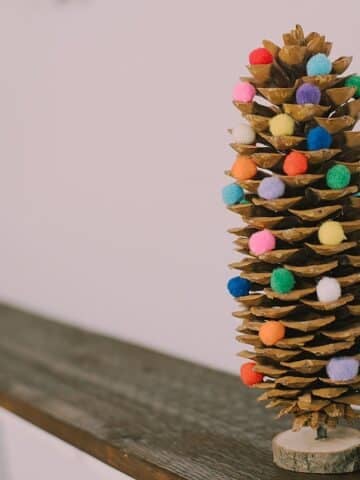
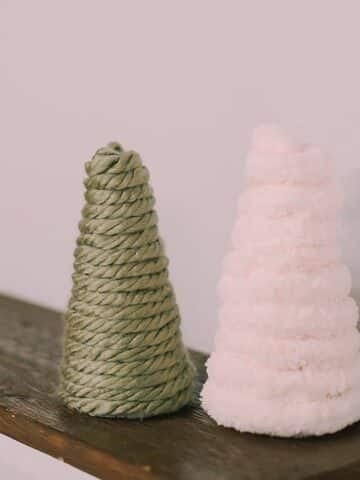
- You can make so many fun projects with yarn pom poms. You can make a beautiful yarn pom pom wreath, fun pom pom ornaments, and even cute ice cream cones with pom pom ice cream on top!
Craft Supplies Needed
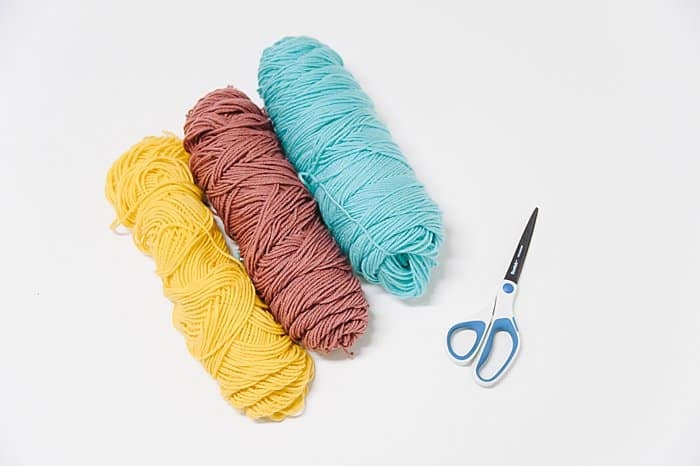
- Yarn - Medium-weight yarn seems to make the best pom poms which is great because this also happens to be the cheapest standard yarn! It comes in so many different colors.
- Scissors - Make sure the scissors are sharp! This will make the process of pom-pom-making SO much easier.
- Your Hand - You will use your hand to wrap the yarn up into a pompom!
How to Make Yarn Pom Poms By Hand
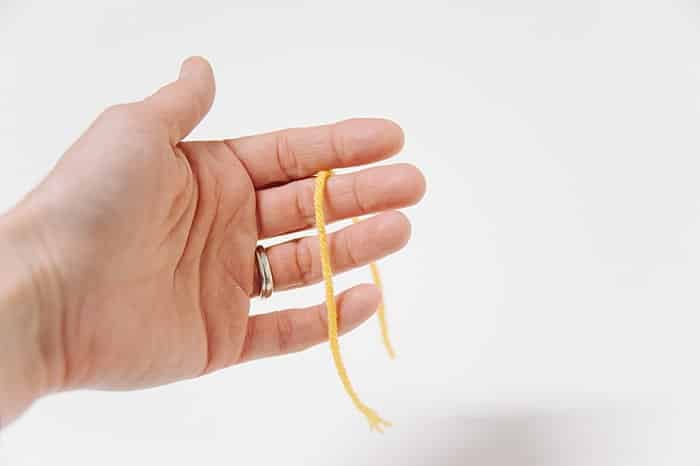
Step 1. Cut an 8" section of yarn, and slip it between the fingers you'll use to wrap yarn onto.
Cut an approximately 8-10" section of yarn.
This will be the string you use to secure your pom pom together later.
Slip the string between the fingers you'll use to wrap the yarn onto (see more details below); you'll leave it here while you do the next step.
IMPORTANT INFO:
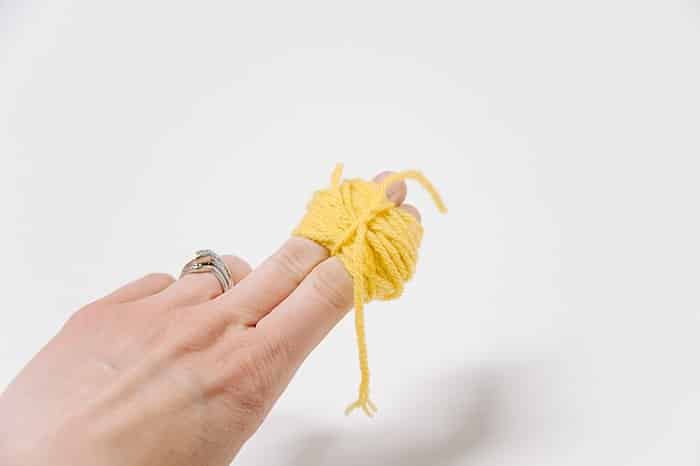
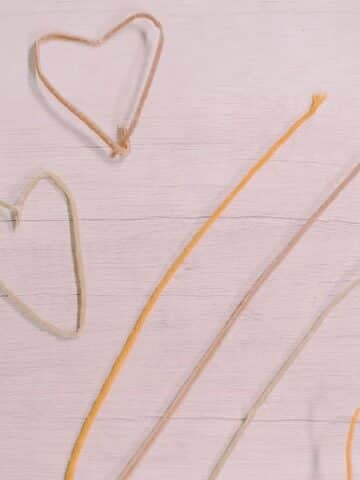
- For a SMALL pom pom, you use TWO fingers to wrap the yarn around. Slip the 8" yarn piece between your top 2 fingers, as shown below with the yellow yarn.
- For a MEDIUM pom pom, you use THREE fingers. Slip the 8" yarn piece between 2 of your top 3 fingers (this is not centered, but you can adjust later.)
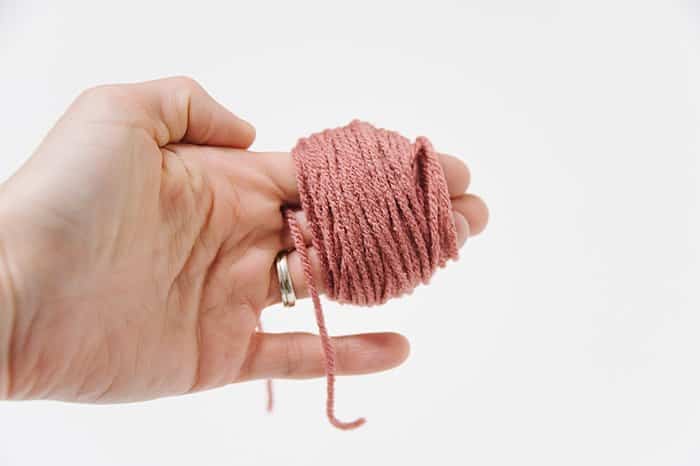
- For a LARGE pom pom, you use FOUR fingers. Slip the 8" yarn piece between the top 2 and bottom 2 fingers of your hand.
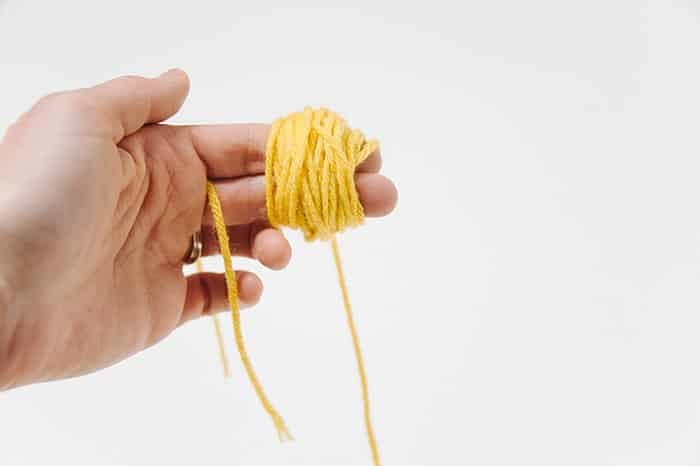
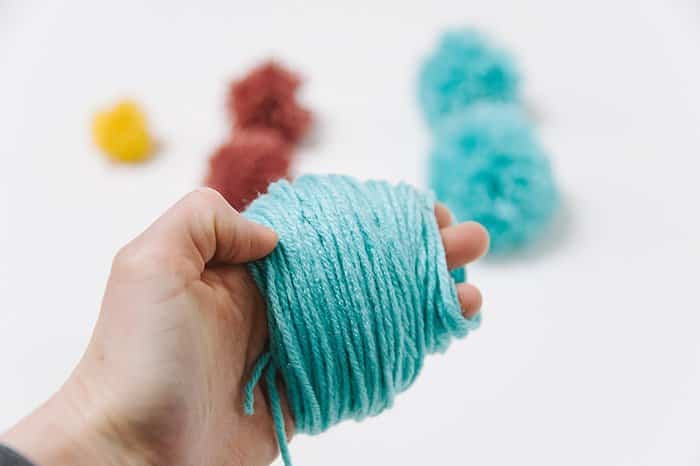
Step 2. Wrap yarn around your fingers.
Keep the 8" piece of yarn tucked into your fingers, and wrap yarn around the tips of your fingers.
(TWO fingers for a small, THREE for a medium, and FOUR for a large pom pom.)
At first, I tried wrapping 50 times for small, 75 times for medium, and 100 times for a large pom pom.
**I'll show you below how the pom poms looked, what modifications I made, and tell you the best wrapping numbers I found through trial and error. KEEP READING!
*Not pictured: my first try at a large pom pom was 100 yarn wraps on 4 fingers.
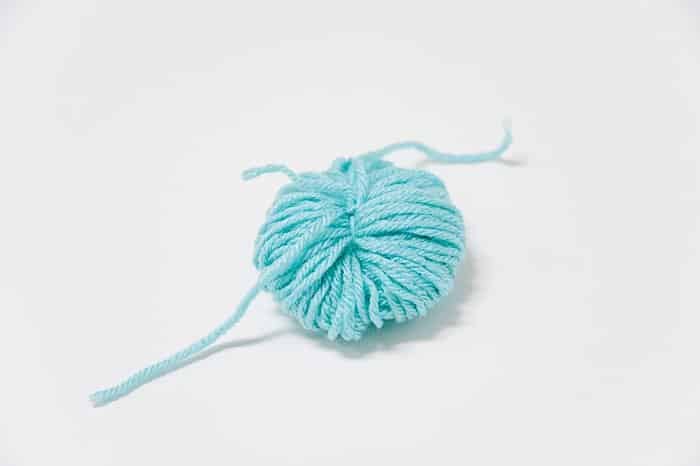
Step 3. Once wrapping is complete, take the 8" section of yarn and tie it tightly around the middle of the wrapped yarn bundle.
Once you're finished with the wrapping, carefully bring the 8" section of yarn toward the wrapped bundle of yarn at your finger tips.
Tie it around the wrapped bundle of yarn.
(I used the fingers of my non-wrapped hand, and then my teeth to tie it as the photo shows below.)
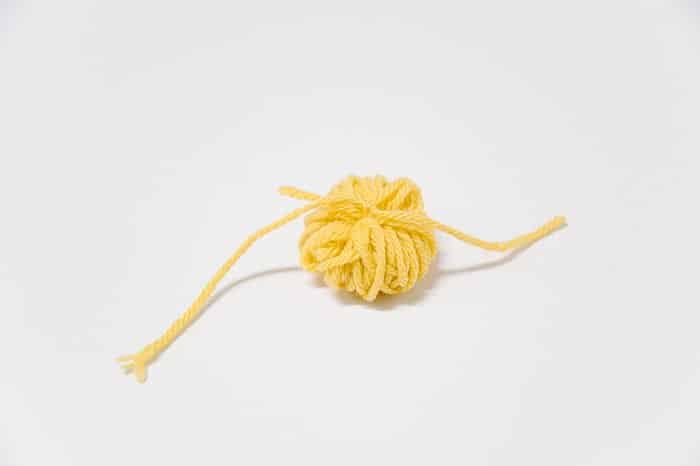
Slowly and carefully, remove the wrapped bundle of yarn from your fingers, making sure the 8" tied string stays in the middle of the yarn bundle and doesn't come untied. (If it does, your whole pompom will unravel.)
Pull the 8" string TIGHT and knot to secure it once it's off your fingers. This is what keeps the pom together.
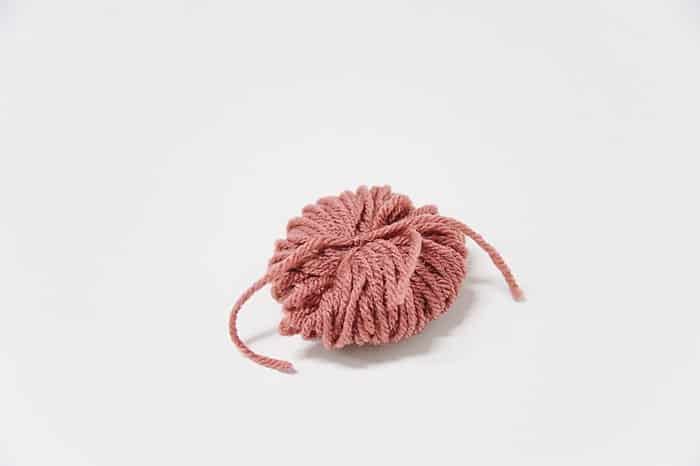
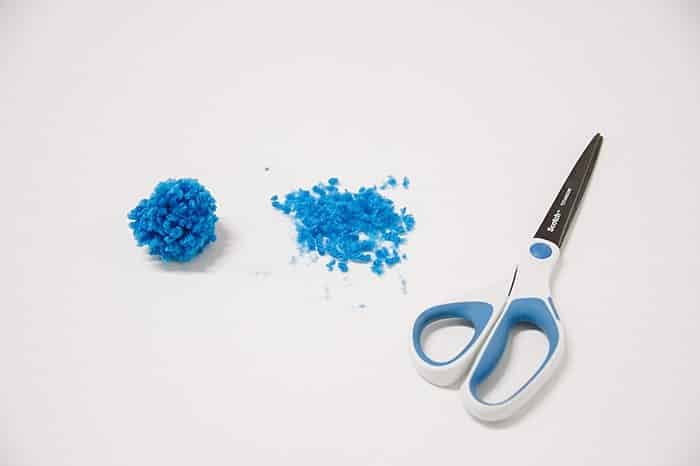
Step 4. Use scissors to cut all loops free around the pom pom bundle.
Using a sharp scissors (or you'll get annoyed fast), carefully cut all of the loops free around the outside of the pom pom bundle.
(Photo below from another pom pom project.)
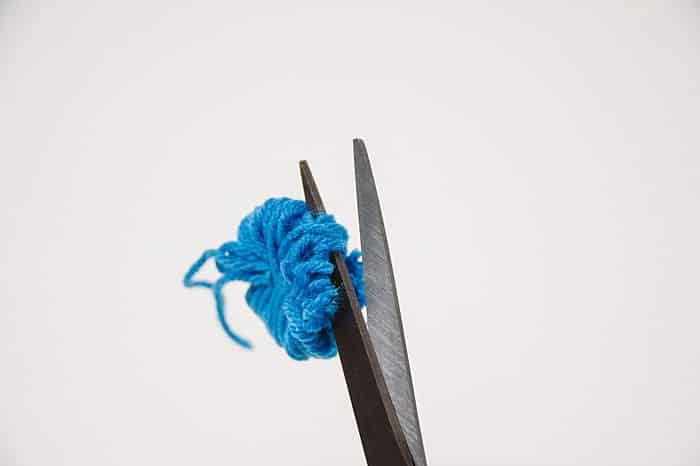
Continue cutting and you'll see your bundle turn into a pom pom. (A shaggy one, but we'll take care of that next.)
You can hold the two long ends of the tie-string and give your pom pom a shake as you cut the loops free.
Once you've cut all the loops free, you'll see shaggy looking pom poms. Now they need a trim!
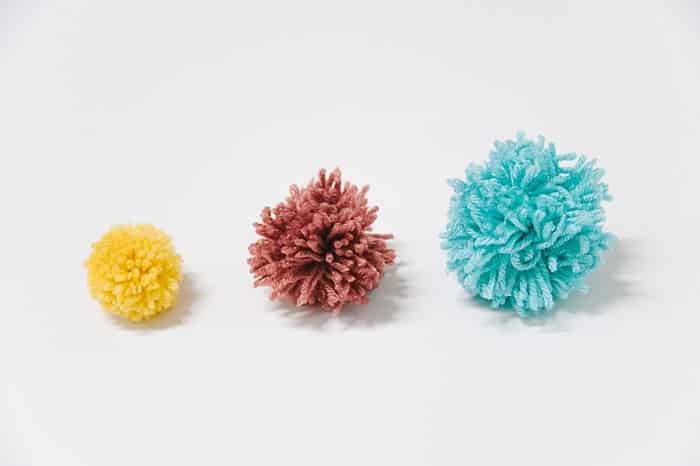
Step 5. Trim the shaggy pom poms into round balls.
Carefully trim the shaggy pom poms into balls.
Keep turning the pom pom and trimming off long or uneven sections until you have a tidy, smooth, round pom pom.
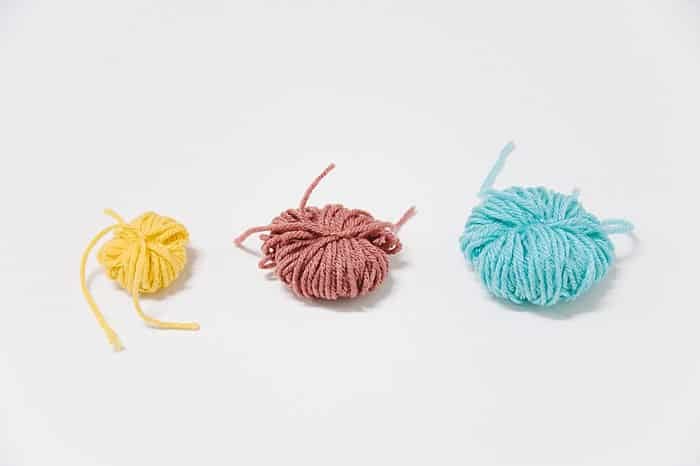
Below are what my pom poms looked like after their trim.
They are round and pom pom-like, but the medium and large versions look too sparse to me.
The small version looks full and round, so 50 wraps is perfect for a small pom pom.
I decided since the 75-wrapped medium looked a little sparse, I would try and see what 100 wraps of 3-fingers looked like for the medium pom pom.

The 100-wrapped 4-finger large also looked too sparse to me, so I tried both a 150-wrapped 4-finger version and a 200-wrapped 4-finger version of the large pom pom.
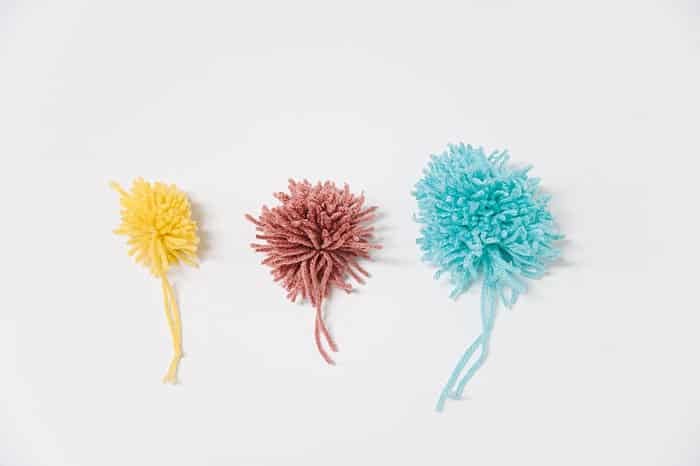
Once I trimmed them all up into round pom pom balls, they looked like the range pictured below.
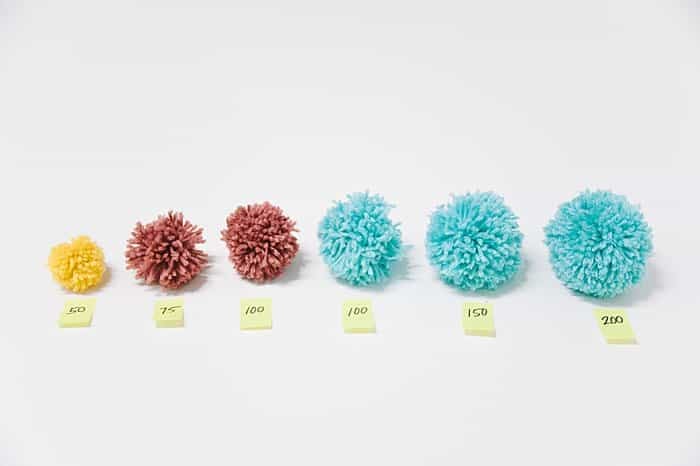
I eliminated my least favorites, which were the sparse 75-wrapped 3-finger medium and 100-wrapped 4-finger large pom poms.
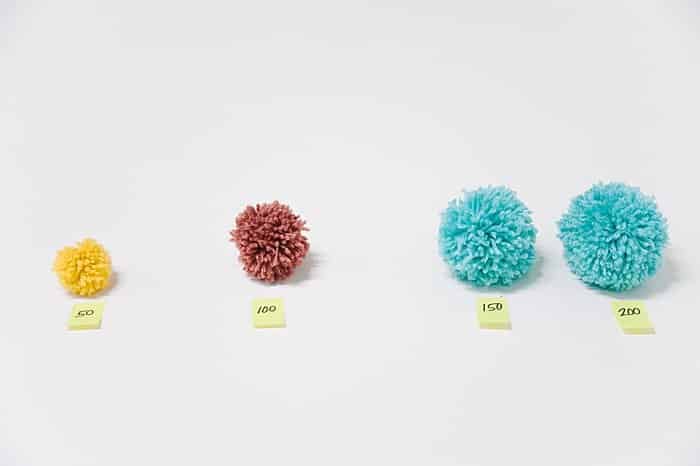
The difference between the 150 and 200 wrapped 4-finger large pom pom is subtle, but I still like the fuller 200-wrapped version better.
We have the pom pom winners!
Best Yarn-Wrapping Numbers for Small, Medium, and Large Pom Poms
- SMALL Pom Pom: Two fingers, 50 yarn wraps.
- MEDIUM Pom Pom: Three fingers, 100 yarn wraps.
- LARGE Pom Pom: Four fingers, 200 yarn wraps.
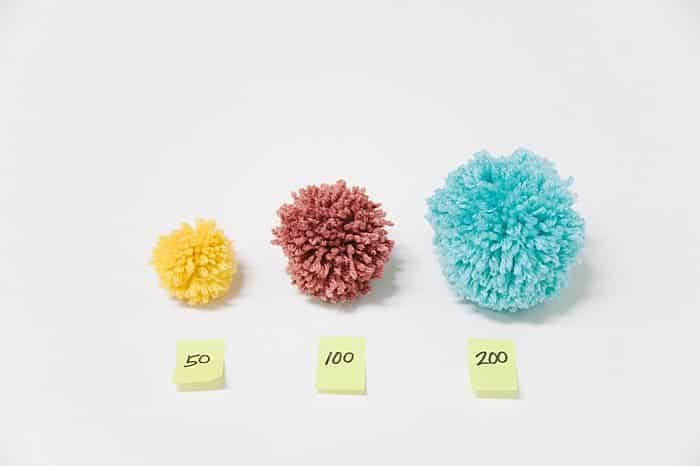
They look awesome!

Common Questions
We did an in-depth blog post looking at this exact topic - what is the best yarn for making pom poms? The winner is medium-weight yarn, which is also the cheapest kind! It comes in a ton of different colors which is fun because you can make them in lots of colors.
You definitely can use a Pom Pom Maker if you have one, or want to make the process more precise. Pom Pom Makers often come in a variety pack that gives you tools to make small, medium, and large pom poms. I've used them and like them fine. I often like to go more minimalist though, and like to work with my hands when I can. I like using less equipment, and I find it easier to wrap the yarn quicker on my hand versus wrapping it on the pom pom maker. (I also like making yarn tassels by hand best too!)
Through my extensive tests, I came up with the following wrap numbers when using standard medium-weight yarn.
Use two fingers, and wrap the yarn 50 times to make a small pom pom.
Use three fingers, and wrap the yarn 100 times to make a medium pom pom.
Use four fingers, and wrap the yarn 200 times to make a large pom pom.
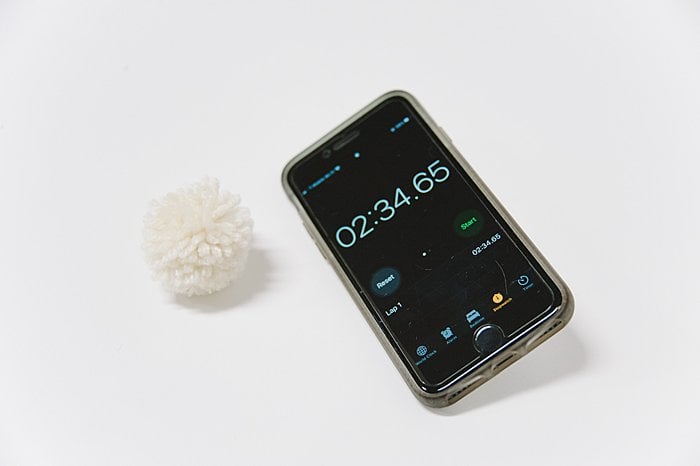
I timed how long it took me to make a small yarn pom pom (this was not my first one; this was after I had made a bunch and was familiar with the process) and it took just over 2 and a half minutes, start to finish!
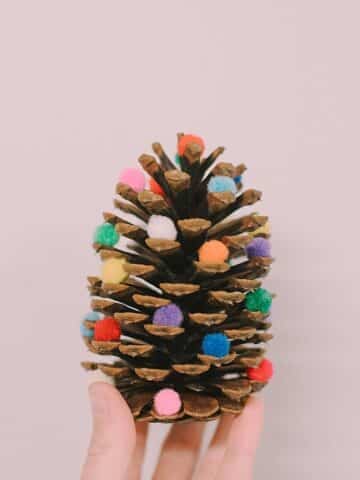
Yarn pom poms are a great craft to know how to make. They can be used to make Christmas ornaments, garlands, gift wrap embellishment, keychains, mobiles, and more.
You can obviously make the process more precise by using a pom pom maker; a tool specifically designed to help you make a pom pom.
But if you don't have one (or want to make them even faster by hand), you can easily make a pom pom with just yarn, your hand and a pair of scissors!
Watch out... now you'll want to make a dozen!
More Pom Pom Crafts You'll Love
---
⭐️🧶 Did you enjoy this craft and want to see more like it? ✂️ Join our FREE email community and get inspiring craft ideas sent right to your inbox! 🧵 ⭐️
---

How to Make Yarn Pom Poms By Hand, Without a Pom Pom Maker
Materials
- Yarn
- Scissors
- Your Hand
Instructions
- Cut an 8" section of yarn, and slip it between the fingers you'll use to wrap yarn onto.Cut an approximately 8-10" section of yarn.This will be the string you use to secure your pom pom together later.Slip the string between the fingers you'll use to wrap the yarn onto (see more details below); you'll leave it here while you do the next step.
- For a SMALL pom pom, you use TWO fingers to wrap the yarn around. Slip the 8" yarn piece between your top 2 fingers, as shown below with the yellow yarn.For a MEDIUM pom pom, you use THREE fingers. Slip the 8" yarn piece between 2 of your top 3 fingers (this is not centered, but you can adjust later.)For a LARGE pom pom, you use FOUR fingers. Slip the 8" yarn piece between the top 2 and bottom 2 fingers of your hand.
- Keep the 8" piece of yarn tucked into your fingers, and wrap yarn around the tips of your fingers.
- Once wrapping is complete, take the 8" section of yarn and tie it tightly around the middle of the wrapped yarn bundle.Once you're finished with the wrapping, carefully bring the 8" section of yarn toward the wrapped bundle of yarn at your finger tips.Tie it around the wrapped bundle of yarn.Slowly and carefully, remove the wrapped bundle of yarn from your fingers, making sure the 8" tied string stays in the middle of the yarn bundle and doesn't come untied. (If it does, your whole pompom will unravel.)Pull the 8" string TIGHT and knot to secure it once it's off your fingers. This is what keeps the pom together.
- Use scissors to cut all loops free around the pom pom bundle.Using a sharp scissors (or you'll get annoyed fast), carefully cut all of the loops free around the outside of the pom pom bundle.
- Trim the shaggy pom poms into round balls.Carefully trim the shaggy pom poms into balls.Keep turning the pom pom and trimming off long or uneven sections until you have a tidy, smooth, round pom pom.
Notes
- For a SMALL Pom Pom: Wrap around two fingers, with 50 yarn wraps.
- For a MEDIUM Pom Pom: Use three fingers, with 100 yarn wraps.
- For a LARGE Pom Pom: Use four fingers, with 200 yarn wraps.
- Use medium-weight yarn. This is usually the cheapest option, comes in a ton of colors, and makes the best pom poms.
- Sharp scissors are a must for cutting the loops of the pom poms apart. It's very annoying and frustrating to do this part with dull scissors.
Michele T
This is the best tutorial for pompoms! Thank you!
Laura
Thank you, Michele! That's great to hear, and I'm so glad it was helpful!!
Dana McDaniel
Do you use a glue to to keep the ties secure? I’m afraid the Pom poms will come loose when placed on a hat after many wears. Any suggestions?
Laura
Hi Dana! No, I don't use any glue on the knots of the center string, but I do double knot them. You could triple knot them too. The pompoms are fragile in the sense that if you pull on any of the strings of the pompom, you'll pull it free from the pom. But that's kind of the nature of yarn poms. They shouldn't come apart just from normal wear though; not if they are double knotted after being tied real tight. I hope that helps!
Angie Abraham
How much yarn (in inches) is needed for each size of pom pom?
Laura
Hi Angie!
I'm not certain on the inches of yarn required; I haven't worked them backwards - wrapping and unwrapping them to measure the yarn. But its not very much. Even a small bundle of yarn could make many pom-poms!