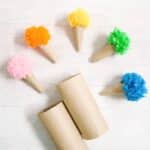
Learn how to make these fun, easy DIY pom-pom ice cream cones! Use recycled toilet paper rolls to make the cones, and yarn to make the colorful ice cream scoops; it's the fast perfect craft for kids!

Once you start brainstorming crafts to make from recycled toilet paper rolls, the ideas flow!
We've used toilet paper tubes to make Feelings Buddies, Toilet Paper Animals, a toilet paper tassel garland, and three versions of paper flowers.
Today, we're going to combine yarn pom poms made by hand with simple rolled "cones" made from toilet paper rolls to make darling little pom pom ice cream cones!
Jump to:
Why You'll Love This Craft
- Crafts are more fun when you get to recycle items and save them from the dumpster. This is a fantastic project to use up the cardboard tubes from toilet paper or paper towel rolls.
- This tutorial includes a printable template with two different cardboard cone shapes - a waffle cone and a sugar cone.
- You can change the "flavor" of the ice cream you make by choosing different colored yarn. Brown yarn = chocolate! Pink yarn = strawberry! Pick your favorites.
Craft Supplies Needed
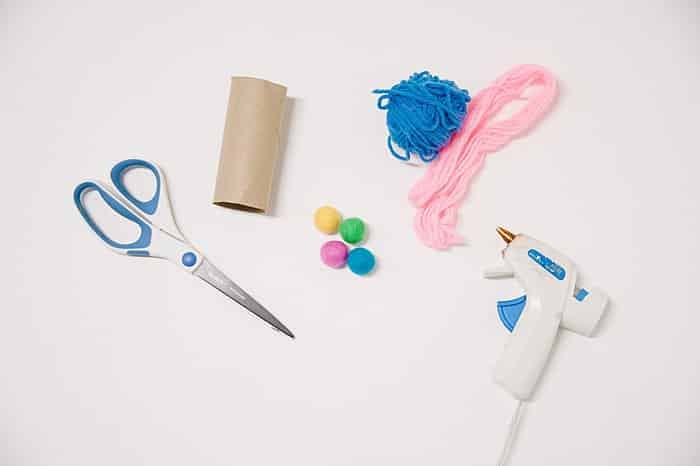
- Toilet Paper Tubes - You can use the cardboard tubes inside paper towels too.
- Hot Glue Gun and Glue - You could also use craft glue if you want a child-friendly way to make these. Just remember: craft glue dries much slower than hot glue, so find a way to prop up the cones while the glue dries.
- Ice Cream Cone Templates - (Available free in The Resource Library)
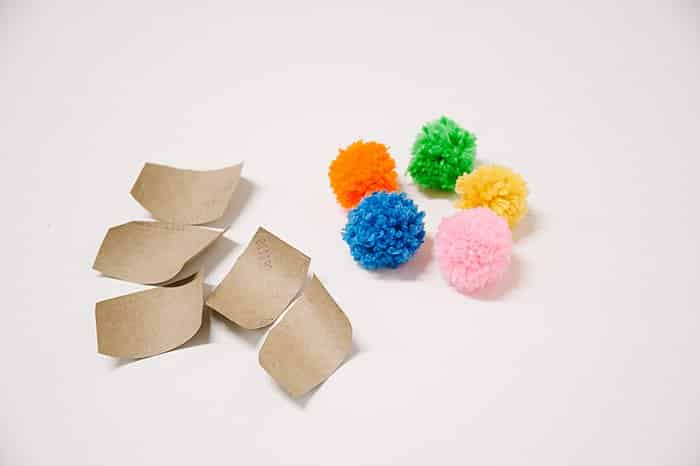
- Yarn - Choose what colors you want your "ice cream" scoops to be. I chose bright neon colors for mine.
- (Optional): Felt Balls - This makes another version: felt ball ice cream cones.
How to Make Pom Pom Ice Cream Cones
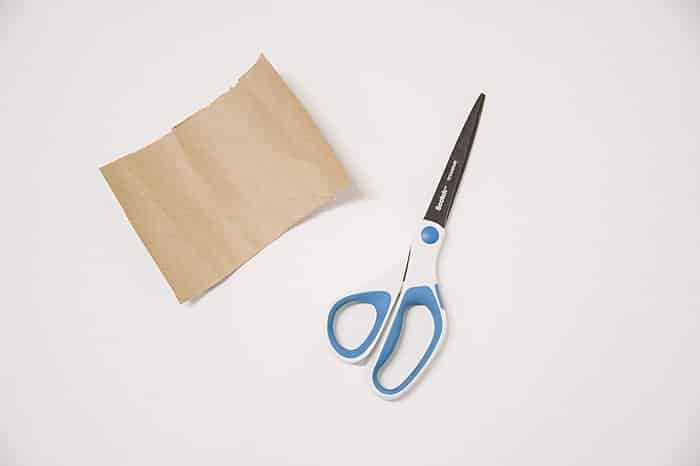
Step 1. Take one toilet paper tube and cut it up the side vertically, to make a rectangle.
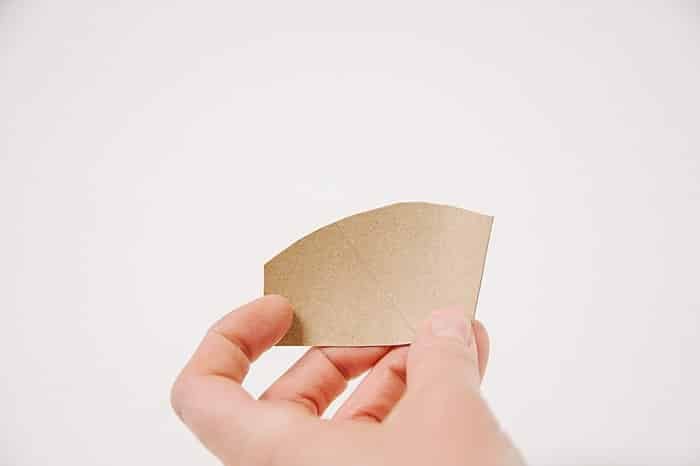
Step 2. Use the cone template from the resource library, and trace and cut out cone shapes. There are two shapes of cones to choose from: a waffle or a sugar cone.
You can make two cones per toilet paper tube. (You can make more if you are using the tube from paper towels.)
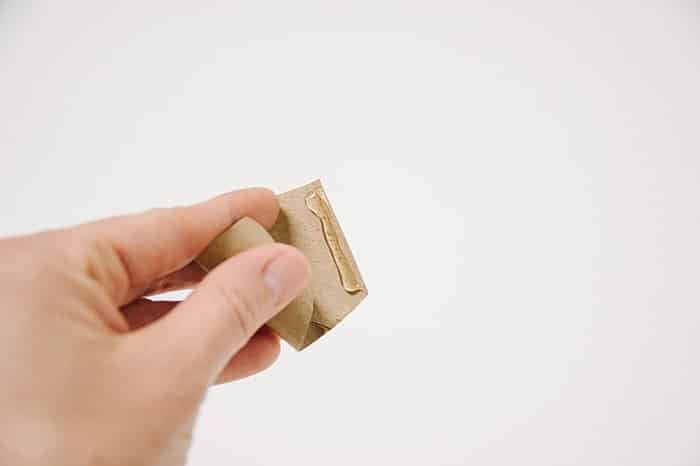
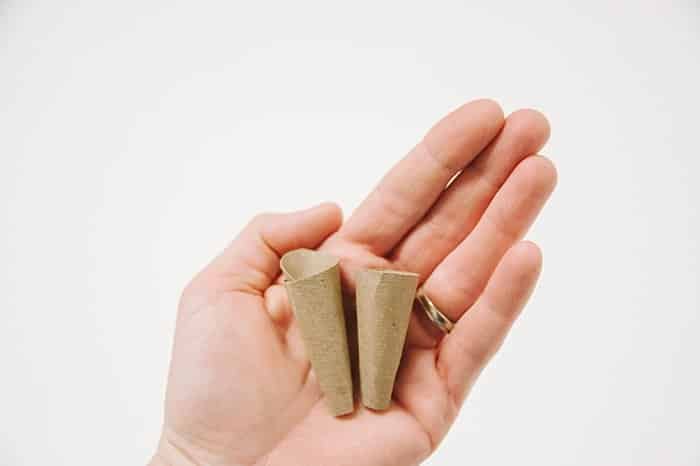
Step 3. Put a line of hot glue on one edge and roll the cardboard into a cone shape.
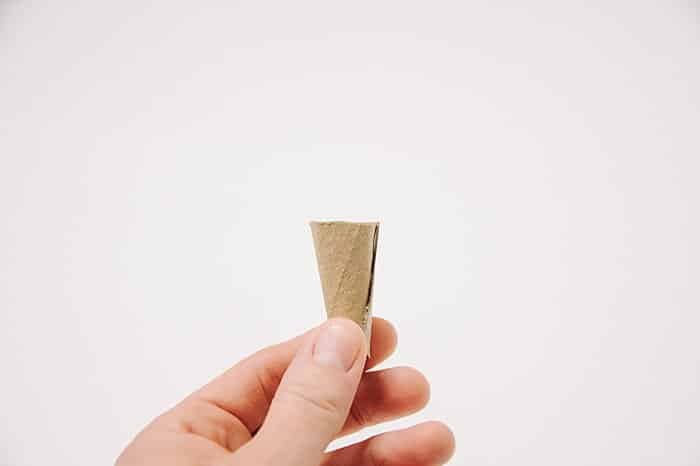
Step 4. Hold it in place until the glue is dry.
That is the cardboard sugar cone!
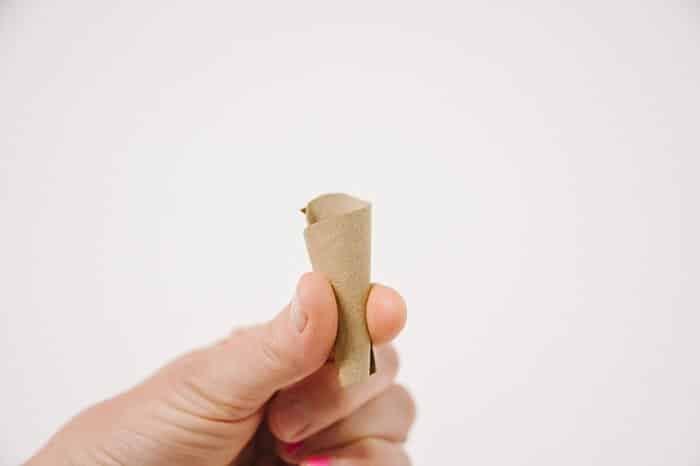
Step 5. For a waffle cone, roll the cardboard up. This type of cone will have a higher back.
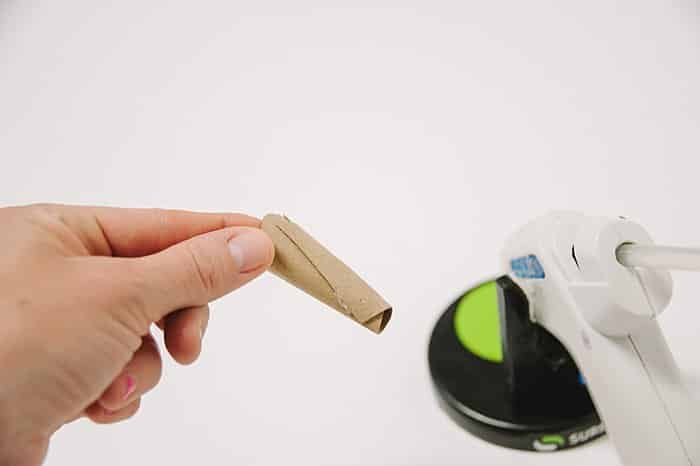
Step 6. Hot glue along the seam and hold it in place until it's dry.
That is the cardboard waffle cone!
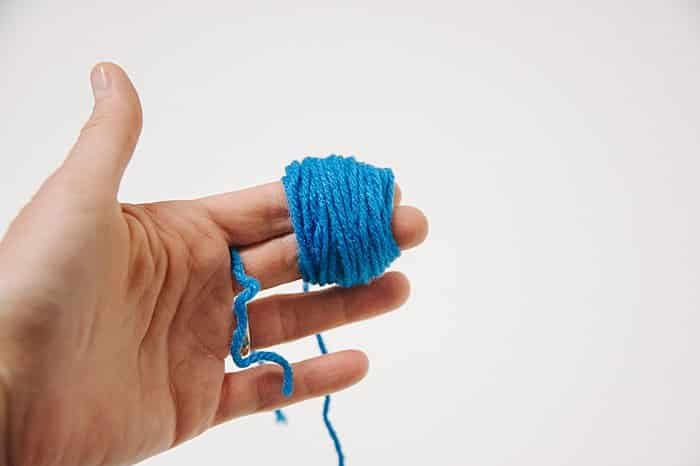
Step 7. Follow our tutorial showing how to make yarn pom poms by hand, and wrap it around two fingers, 50 times, to make a pom pom ball.
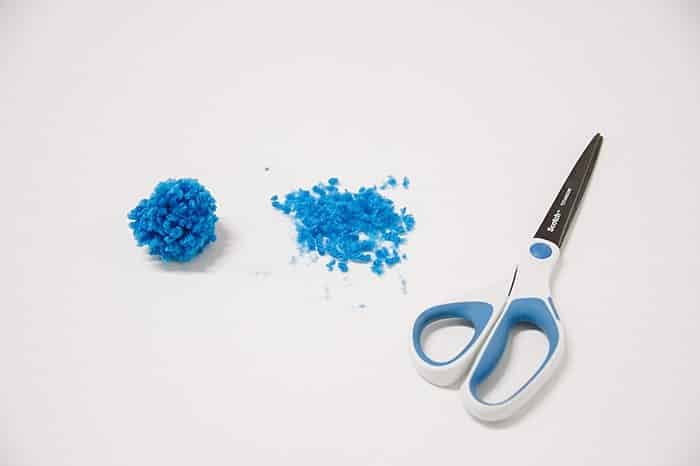
Step 8. Trim the pom's ends into a nice round yarn ball.
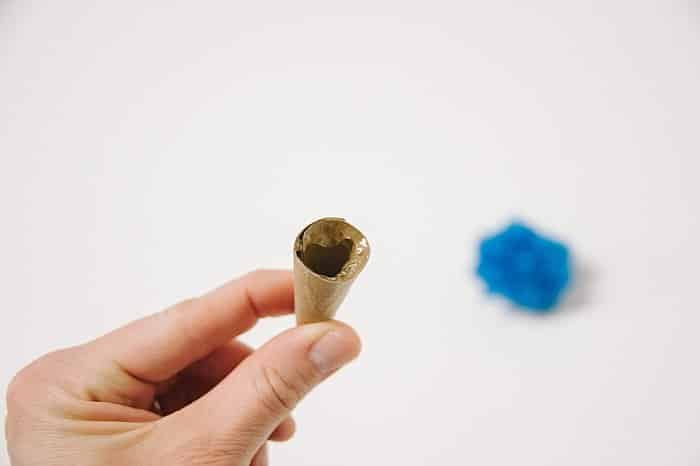
Step 9. Hot glue around the rim of the cardboard and add the yarn ball.

Step 10. Hold the cone firmly together while the glue dries.
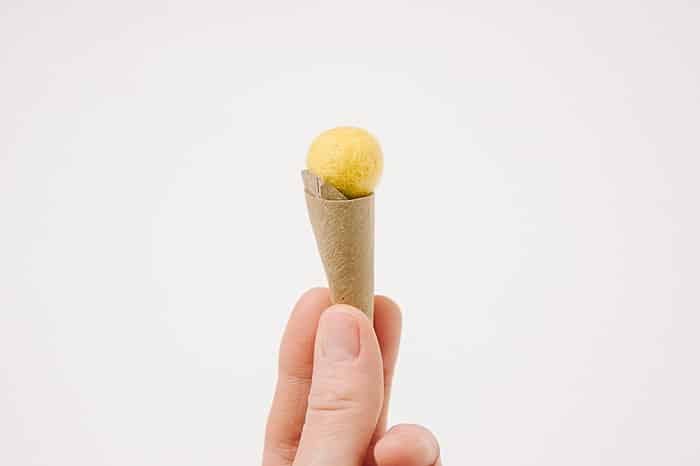
Step 11. You can make a felt ball variation by hot gluing a felt ball to the top of the cardboard cone.

Step 12. Hold the ice cream cones together while the glue dries.
Common Questions
For this tutorial, we used recycled cardboard tubes from inside toilet paper rolls and paper towels. That way, it's an eco-friendly and affordable craft project! You can also make ice cream cones out of thick paper like cardstock if you need to.
You can use yarn to make handmade pom poms for the scoops of ice cream. You can also use a pom pom maker to make the poms if you prefer that method. You can make solid color scoops or multi-colored yarn pom poms - neopolitan ice cream cones, anyone?
You can also use felt balls for the scoops of ice cream if you want to try a different variety.
These tiny ice cream cones are perfect for imaginative play like dolls or in a play kitchen. You can also string them together to make a fun ice cream cone garland like we did here!
This is such a simple craft and yet they are SO darn cute!
With yarn to make the pom poms, plus toilet paper tubes, scissors, and hot glue, you can easily make a batch of pompom ice cream cones, and you'll be brainstorming other ways to use them too!
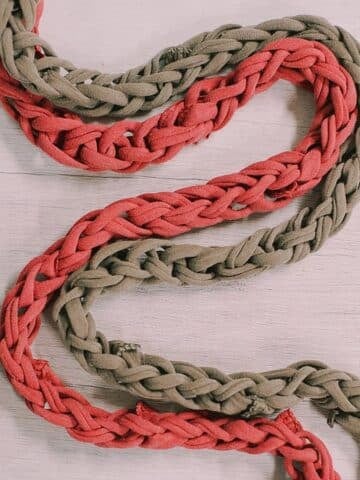
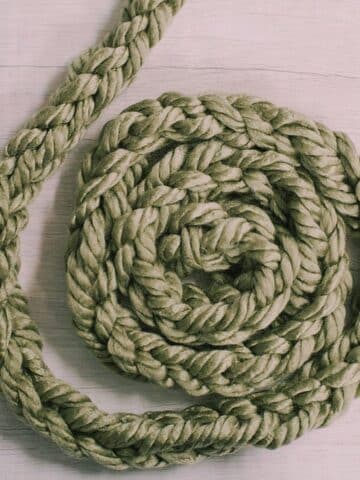
More Yarn Crafts You'll Love

---
⭐️🧶 Did you enjoy this craft and want to see more like it? ✂️ Join our FREE email community and get inspiring craft ideas sent right to your inbox! 🧵 ⭐️
---
How to Make Pom Pom Ice Cream Cones
Materials
- Toilet Paper Tubes
- Hot Glue Gun and Glue
- Ice Cream Cone Templates (Available free in The Resource Library)
- Yarn
- Felt Balls (To make an optional variety)
Instructions
- Take one toilet paper tube and cut it up the side vertically, to make a rectangle.
- Use the cone template from the resource library, and trace and cut out cone shapes. There are two shapes of cones to choose from: a waffle or a sugar cone.You can make two cones per toilet paper tube. (You can make more if you are using the tube from paper towels.)
- Put a line of hot glue on one edge and roll the cardboard into a cone shape.
- Hold it in place until the glue is dry.That is the cardboard sugar cone!
- For a waffle cone, roll the cardboard up. This type of cone will have a higher back.
- Hot glue along the seam and hold it in place until it's dry.That is the cardboard waffle cone!
- Follow our tutorial showing how to make yarn pom poms by hand, and wrap it around two fingers, 50 times, to make a pom pom ball.
- Trim the pom's ends into a nice round yarn ball.
- Hot glue around the rim of the cardboard and add the yarn ball.
- Hold the cone firmly together while the glue dries.
- You can make a felt ball variation by hot gluing a felt ball to the top of the cardboard cone.
- Hold the ice cream cones together while the glue dries.
Notes
- The "sugar cone" template works best for yarn pom pom ice cream cones. The "waffle cone" template works best for felt ball ice cream cones.
- Hot glue dries fastest, but you can use craft glue to make it a more kid-friendly craft.
- If you don't have toilet paper or paper towel tubes, you can use thick paper like cardstock to make your own ice cream cones too.

Leave a Reply