
Learn how to make DIY Beeswax Yarn Sticks with our simple step-by-step guide. Bring this versatile and natural craft material into your DIY projects!
Beeswax is an amazing natural product that can be used for many things from lotions and chapstick to food wraps and candles.
We used beeswax to preserve fall leaves and keep them from turning brown too quickly, and today, we're going to use it to make another fun craft project.
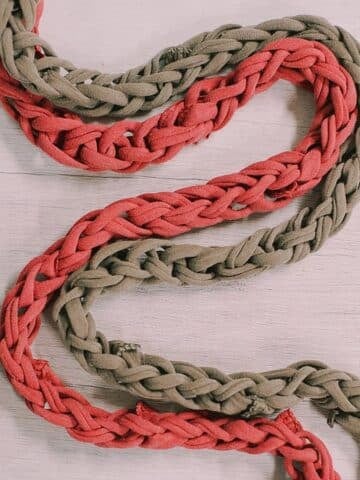
We will dip pieces of yarn into melted beeswax to make DIY waxed yarn sticks - a fun kids' toy!
Jump to:
Why You'll Love This Craft
- Beeswax is fun to work with, and can be used for anything from DIY beeswax candles to dipping fall leaves in the wax to preserve them!
- Yarn is a craft room staple which means you likely have a lot of it on hand.
- These DIY beeswax yarn sticks are a non-toxic kids' toy that is perfect for keeping kids busy in the car, at restaurants, or during church. You can buy these types of wax sticks on Amazon, or make your own!
Craft Supplies Needed
- Beeswax - You can buy beeswax online, at craft stores, or from your local beekeeper!
- Saucepan or Crockpot - You want one that will be only used for melting beeswax (you'll never get the beeswax off.)
- Stovetop, double boiler, or hot plate - Beeswax should be heated slowly and gently. I use a hot plate but many people use a double boiler.
- Yarn - Medium-weight yarn works well.
- Scissors - To cut the yarn into sections.
- Tongs - I like to use tongs with silicone tips.
- Parchment Paper - To protect your surface.
How to Make DIY Beeswax Yarn Sticks
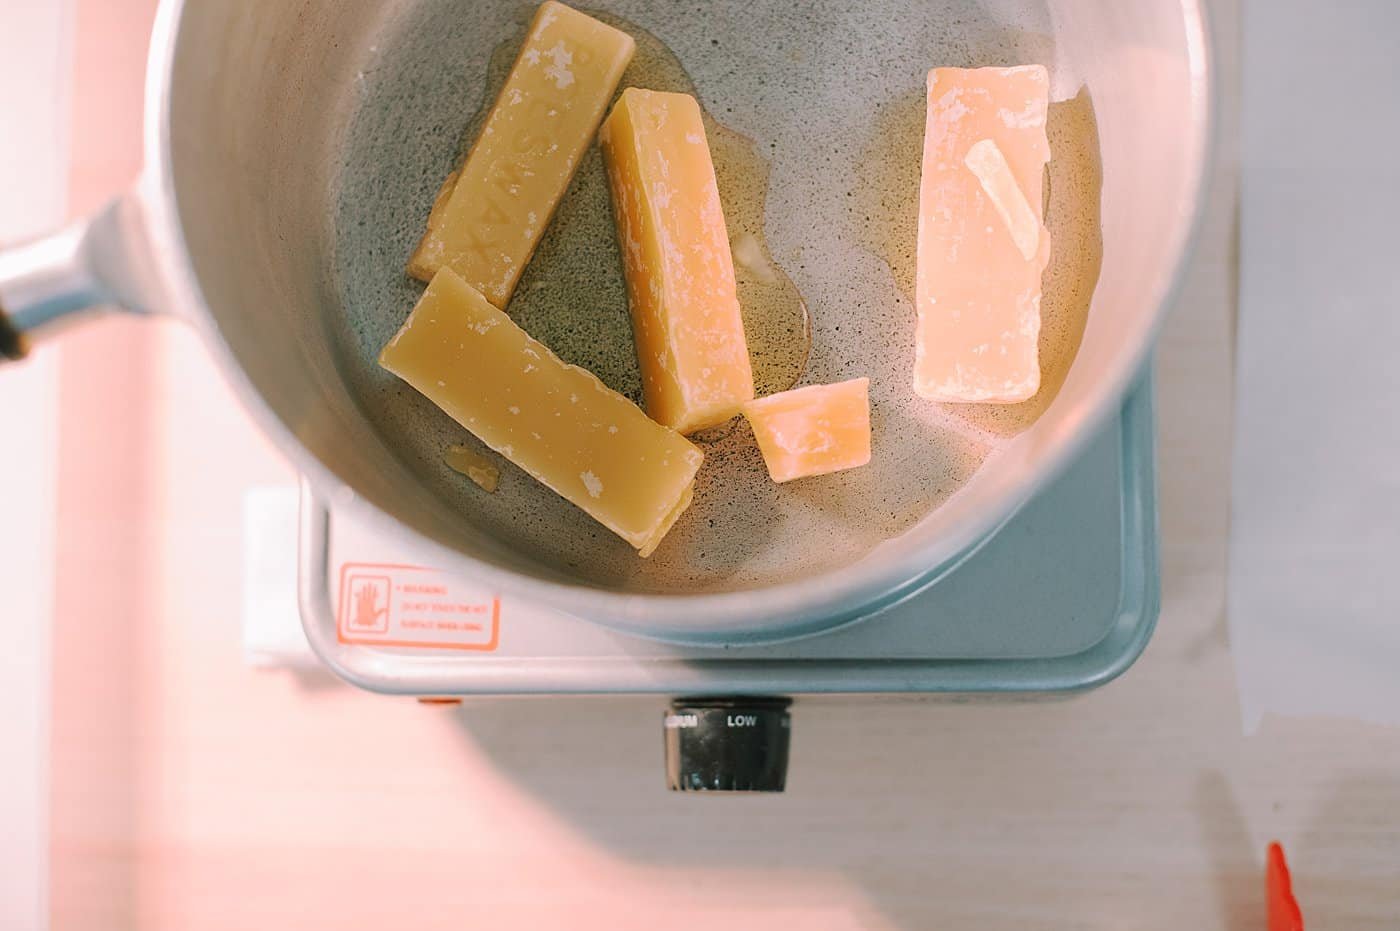
Step 1. Slowly melt beeswax in a pan or crockpot on LOW heat.
Beeswax has a low melting point and can be volatile and flammable at high heat.
Melt the beeswax slowly and carefully.
PRO TIP: Buy a pan or crockpot at a thrift store or garage sale. After you use it to melt beeswax once, it will forever be your beeswax pot because you'll never get the beeswax off.
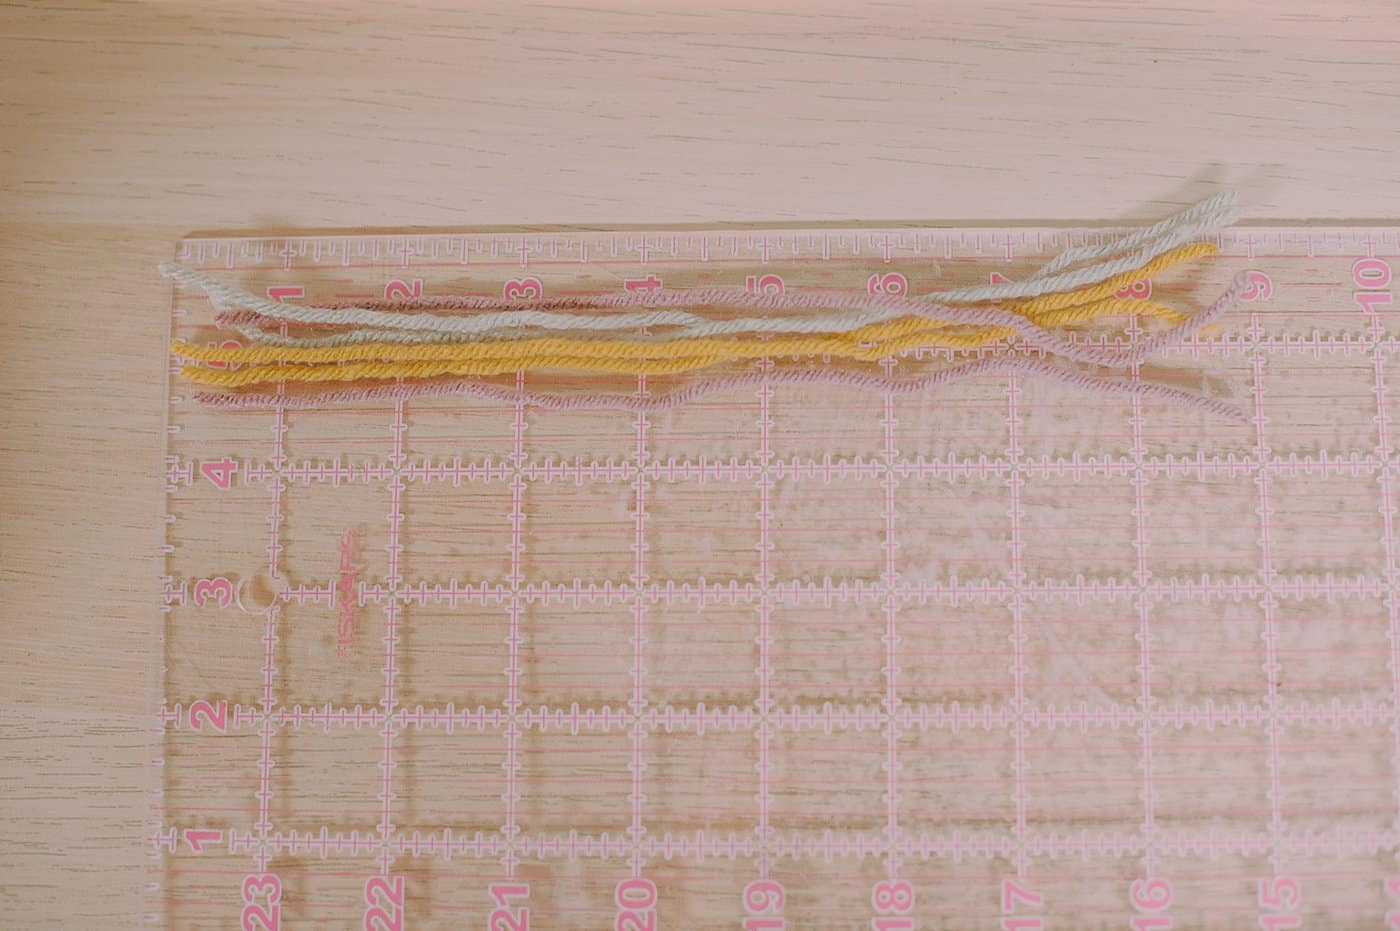
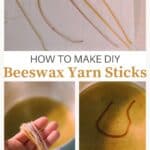
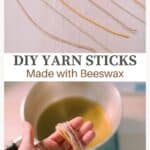
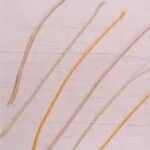
Step 2. Cut sections of yarn.
I cut sections of yarn that were about 8"-9" long.
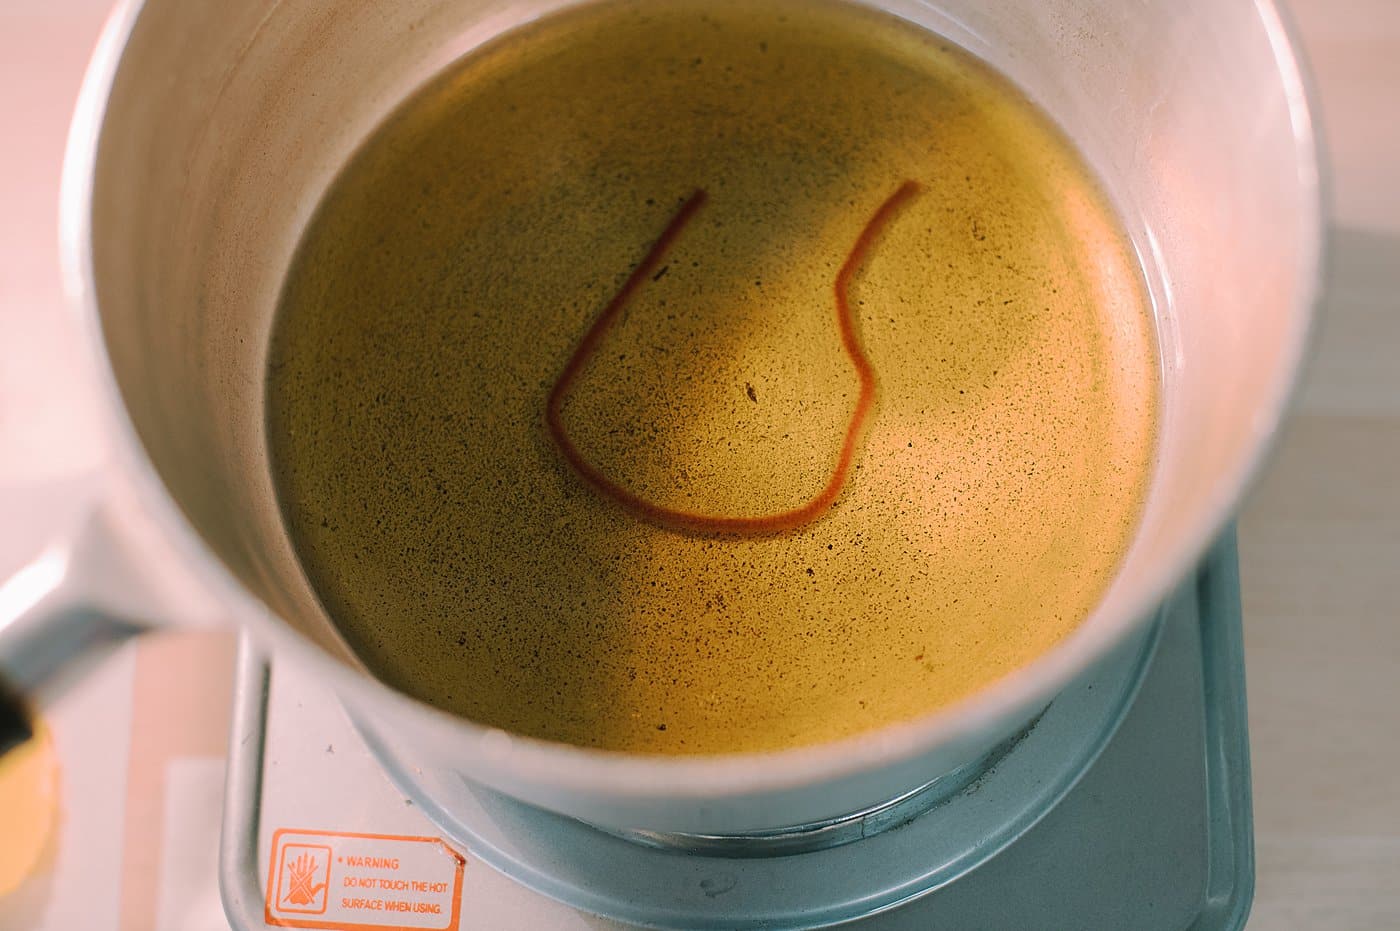
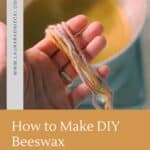
Step 3. Once the beeswax is completely melted, carefully place the pieces of yarn into the wax, one at a time.
The yarn may sizzle and bubble in the wax as any air bubbles escape. This is normal.
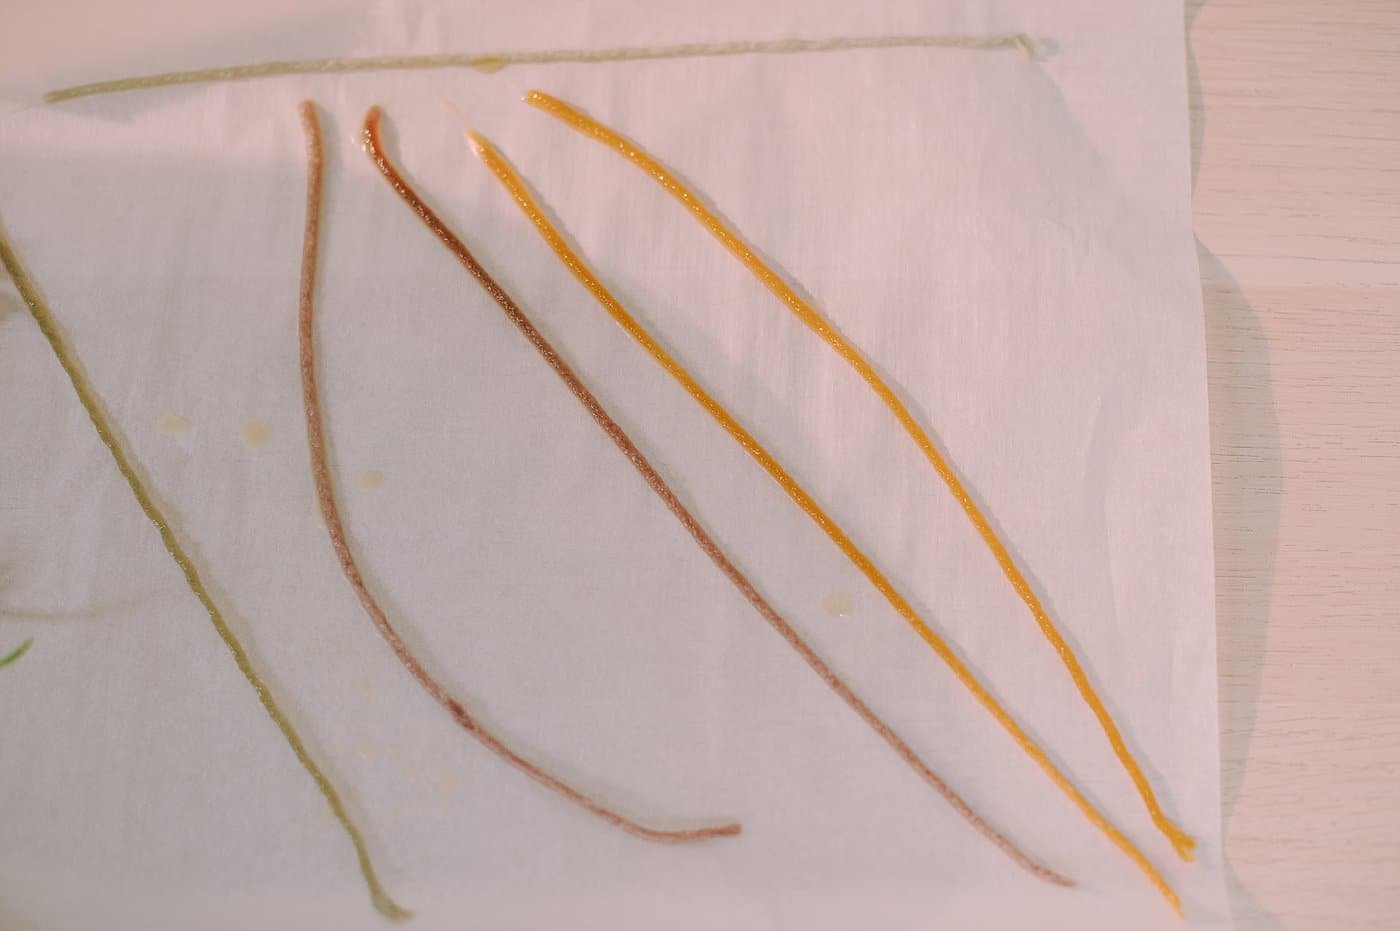
Step 4. Once it's done bubbling, carefully remove the yarn with tongs and lay it out flat onto parchment paper to cool and harden.
Repeat for all pieces of yarn.
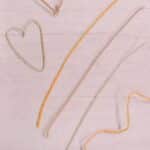
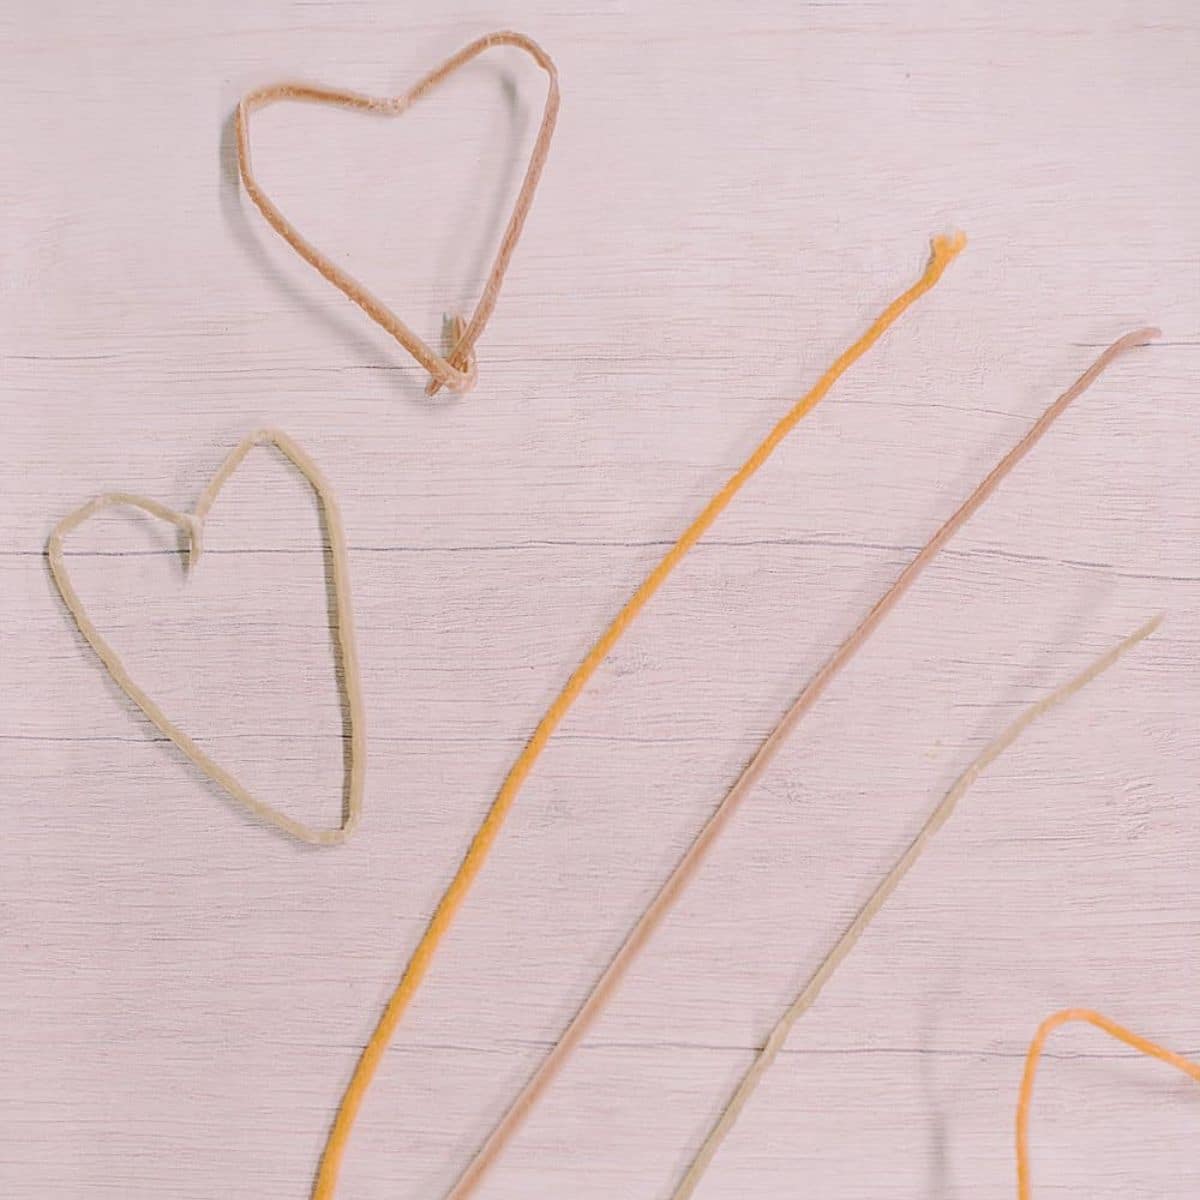
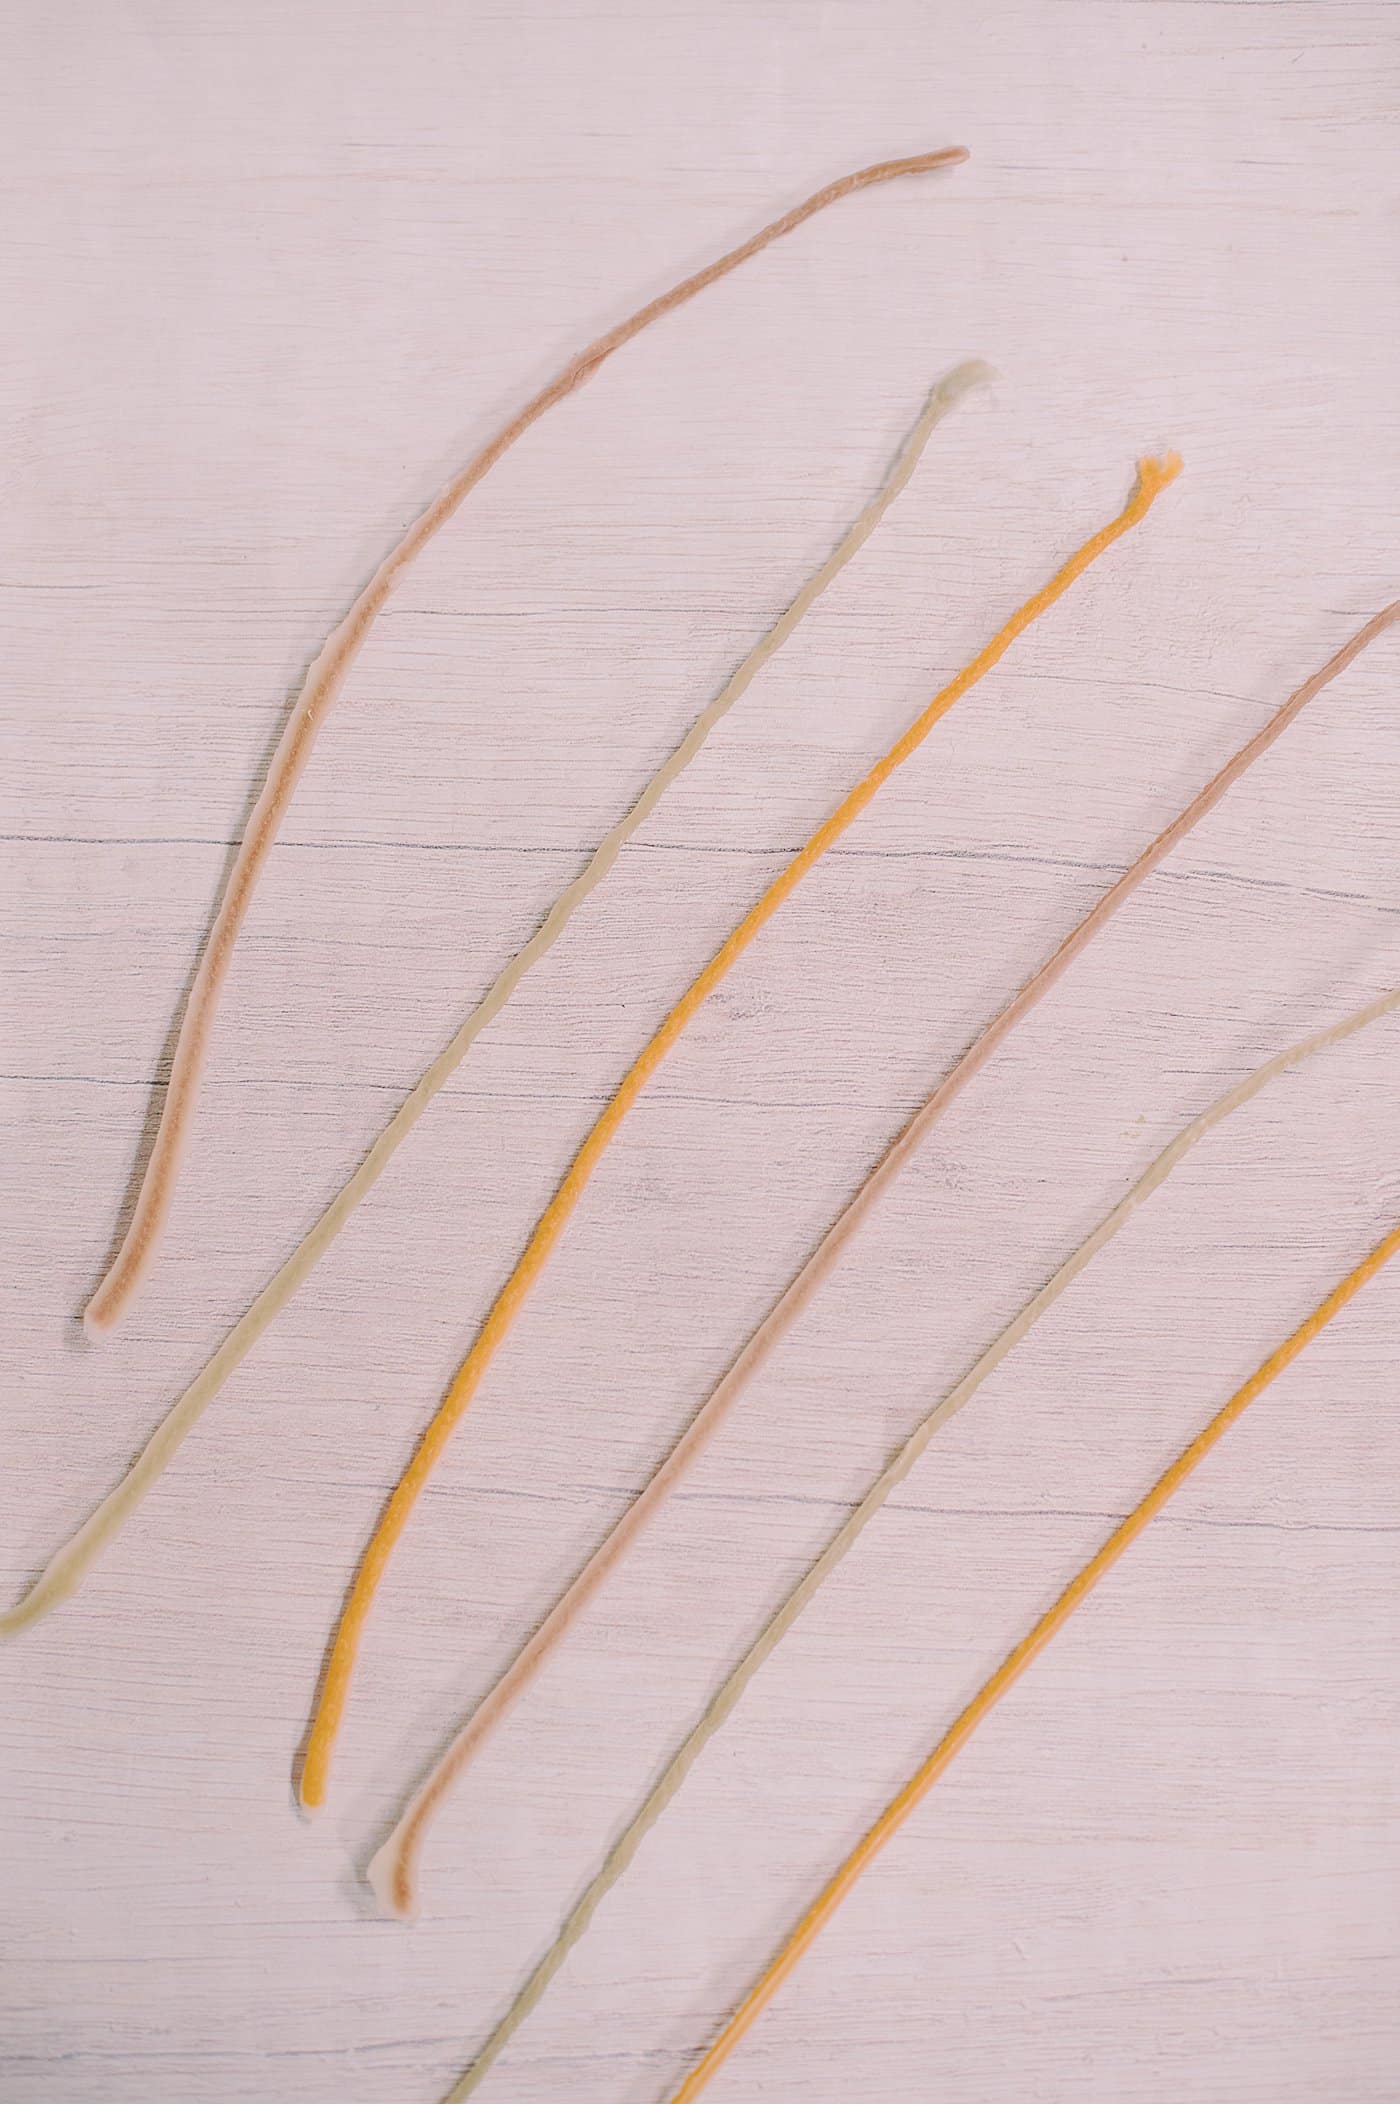
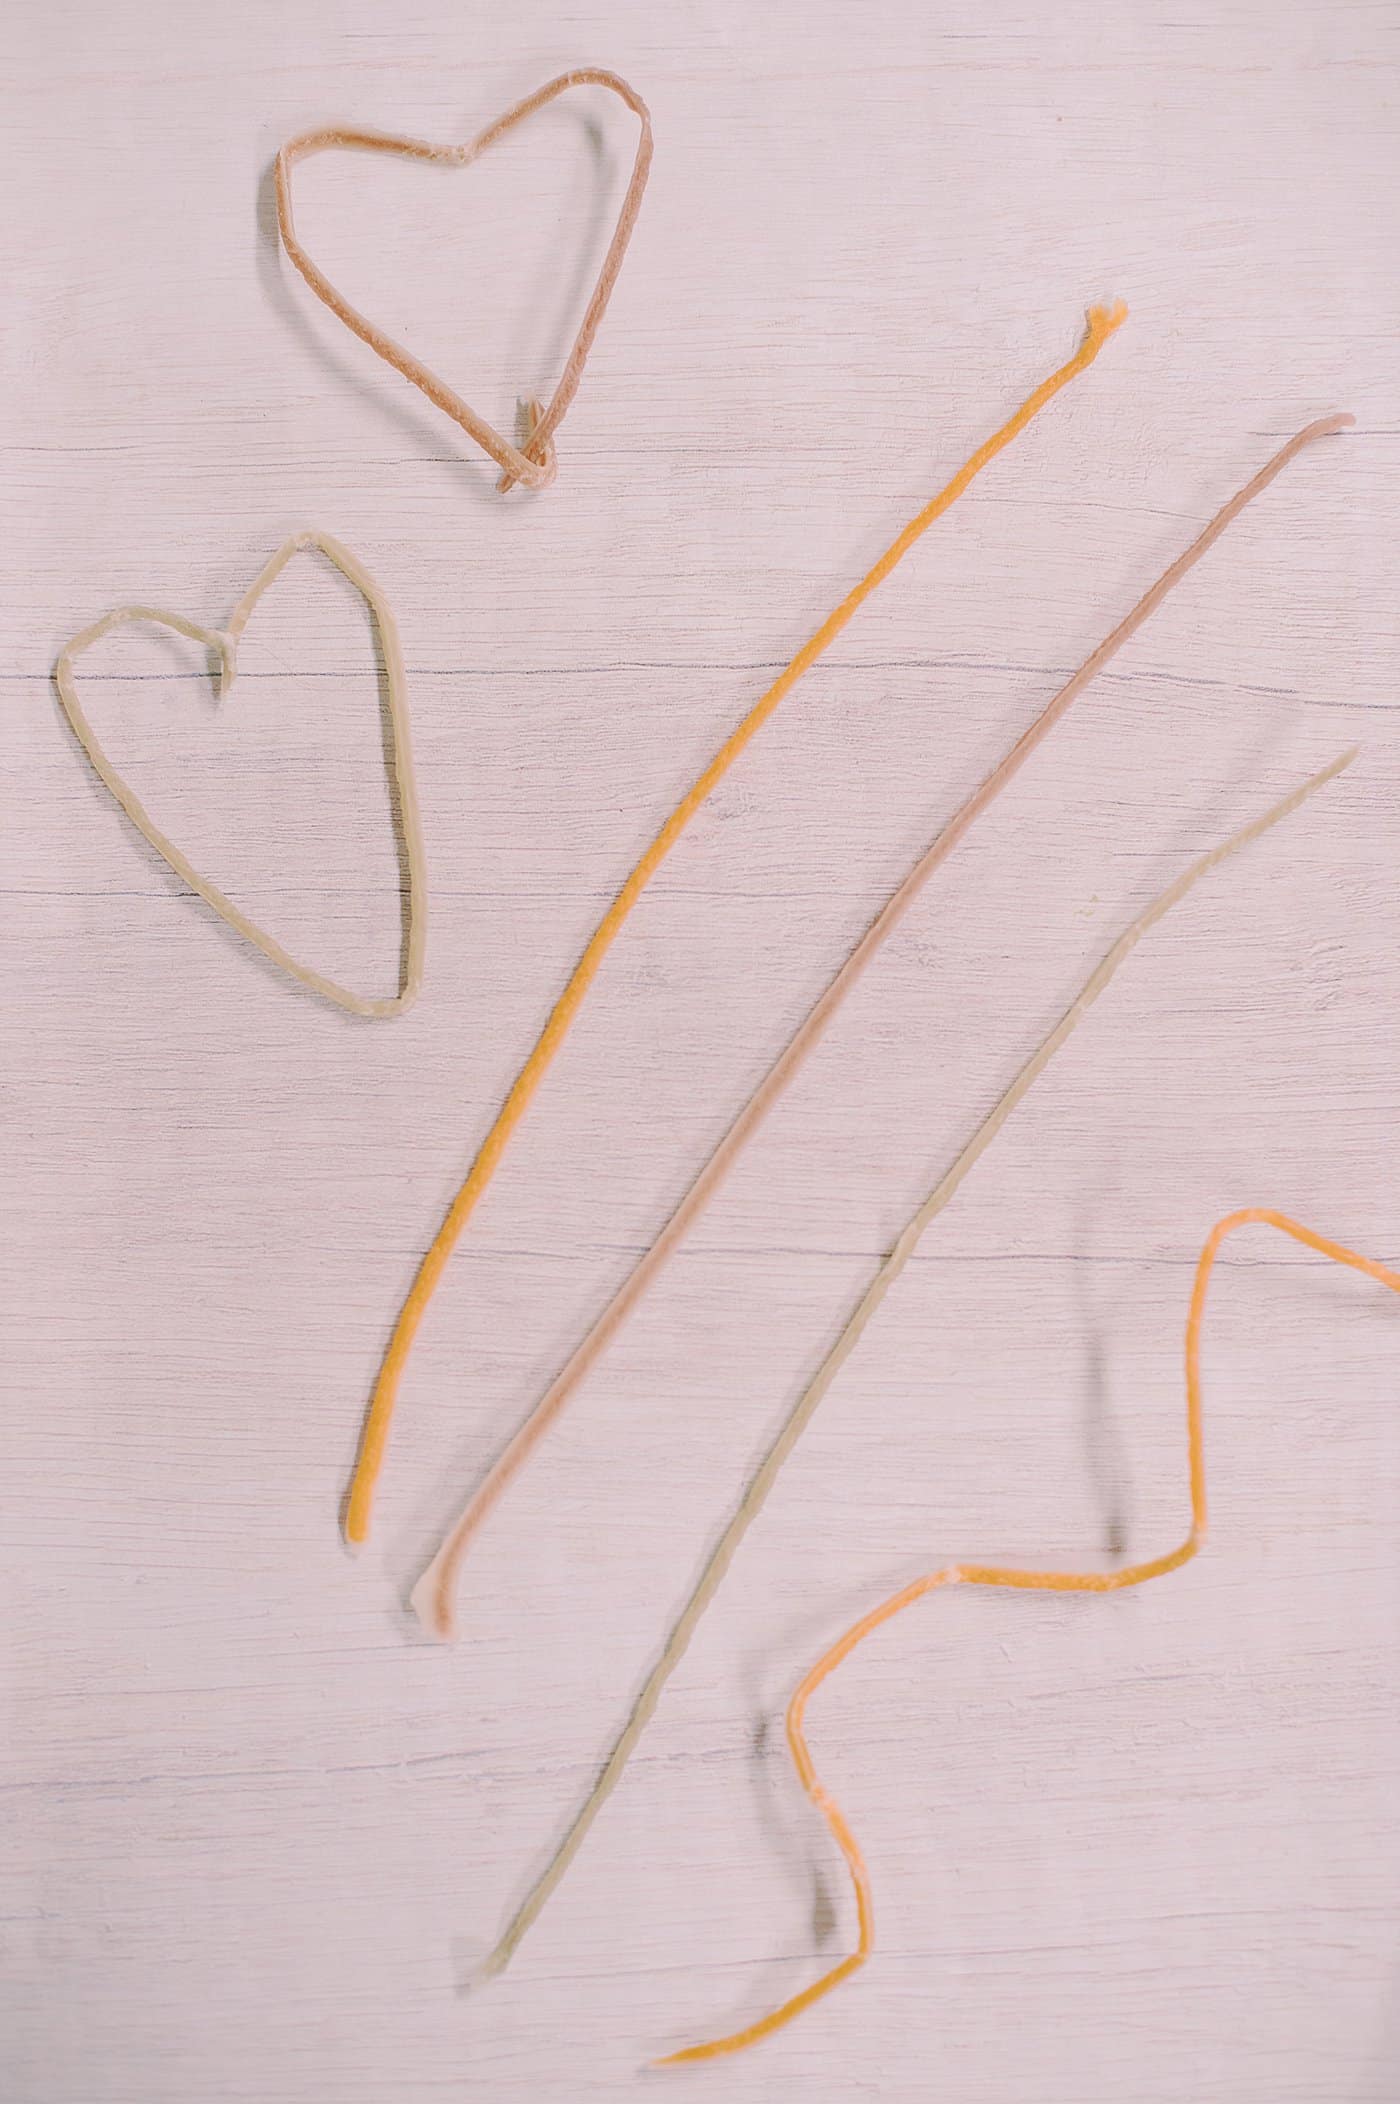
Once the yarn sticks have hardened, they're ready for playing!
Common Questions
My kids have been given wax yarn sticks at a restaurant before - they're a great toy to keep kids busy while waiting for their food to come out and restaurants know this! Besides fidgeting with them, the wax sticks can be used to make letters, shapes, numbers, and other simple concepts which makes them very useful in preschools and daycares. Wax sticks are also handy to have in the car to keep kids busy, and the best part? There is no mess at all!
Once you melt beeswax in a pot or pan, it is nearly impossible to remove all of the wax. Therefore, I have one put that is my designated "beeswax-melting pot" and that's the only thing I use it for. Check garage sales and thrift stores for pots or pans to use. You can also get a used crockpot and use that for melting beeswax. That's a win-win because it is a pot and heating element in one!
You can buy beeswax at any craft store; they sell it for making candles. It's available online of course, and you may also be able to buy it from a local beekeeper. Check farmers markets to connect with local beekeepers who may have wax to sell you.
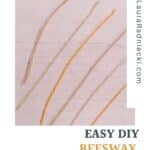
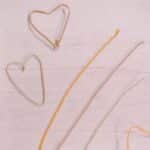
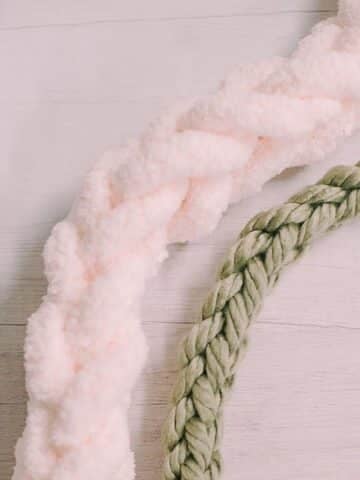
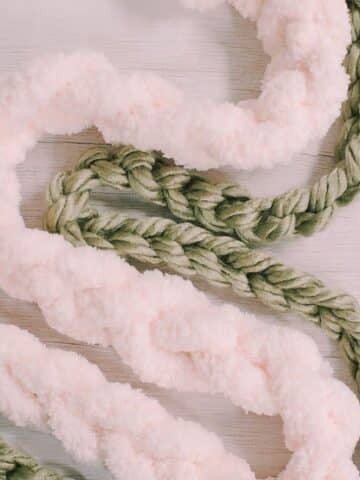
You can bend the waxed yarn sticks, making shapes or designs with them.
Beeswax is 100% natural and non-toxic so it's the perfect medium to use for these DIY wax yarn sticks.
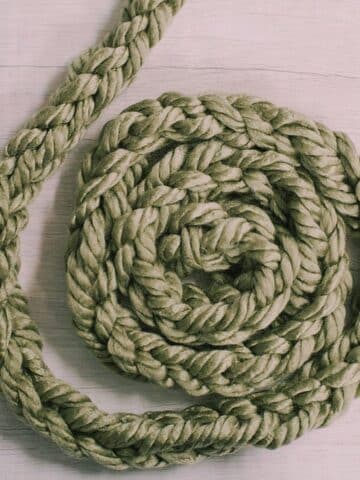
You can experiment with making these using different types, thicknesses, and colors of yarn, as well as varying the lengths of the yarn pieces.
While beeswax isn't cheap, a little goes a long way, so you can make a whole bunch of waxed yarn sticks!
More Recycled Crafts You'll Love
---
⭐️🧶 Did you enjoy this craft and want to see more like it? ✂️ Join our FREE email community and get inspiring craft ideas sent right to your inbox! 🧵 ⭐️
---
How to Make DIY Beeswax Yarn Sticks
Materials
- Beeswax
- Saucepan or Crockpot
- Stovetop, Double Boiler, Hot Plate
- Yarn
- Scissors
- Tongs
- Parchment Paper
Instructions
- Slowly melt beeswax in a pan or crockpot on LOW heat.Beeswax has a low melting point and can be volatile and flammable at high heat.Melt the beeswax slowly and carefully.PRO TIP: Buy a pan or crockpot at a thrift store or garage sale. After you use it to melt beeswax once, it will forever be your beeswax pot because you'll never get the beeswax off.
- Cut sections of yarn.I cut sections of yarn that were about 8"-9" long.
- Once the beeswax is completely melted, carefully place the pieces of yarn into the wax, one at a time.The yarn may sizzle and bubble in the wax as any air bubbles escape. This is normal.
- Once it's done bubbling, carefully remove the yarn with tongs and lay it out flat onto parchment paper to cool and harden.Repeat for all pieces of yarn.Once the yarn sticks have hardened, they're ready for playing!
Notes
- Check garage sales or thrift stores to buy a "beeswax-melting only" pot or pan. Or better yet, get an old crockpot that is a pot and a heating source in one!
- I like tongs with silicone tips the best because the beeswax peels right off.
- Once the beeswax yarn cools and hardens, it's ready to bend into shapes! You can practice letters, numbers, and shapes with the yarn sticks, or make different designs with them.
Leave a Reply