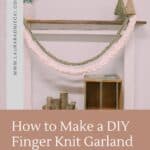


Learn how to make a stylish DIY Finger Knit Garland with chunky yarn in this easy step-by-step craft tutorial. Create a cozy and trendy home decor piece effortlessly with just yarn and your hand!
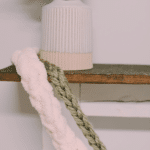
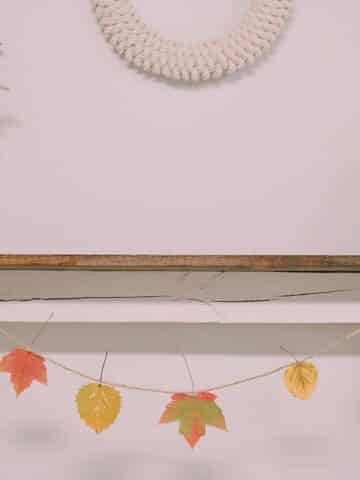
Yarn garlands are a fantastic way to update your decor as the seasons and holidays change.
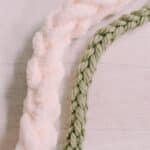
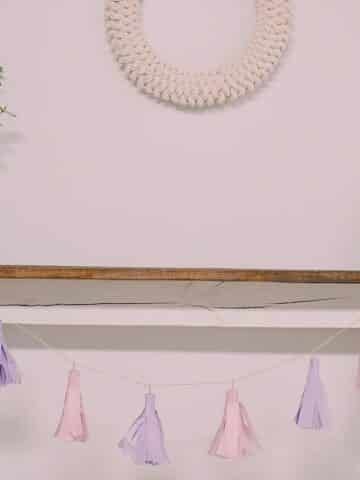
Yarn tassel garlands can be made in endless color combinations, and we recently shared a chain stitch garland that is quick and easy to make and looks beautiful hung up on a mantel.
Today, we are finding inspiration from the chain stitch garland, but this time, we are going to finger-knit a DIY yarn garland for the mantel!
Here's how to make one!
Jump to:
Why You'll Love This Craft
- Yarn crafts are crowd favorites because every crafter has loads of yarn in their stash at all times.
- You can find yarn at big box stores, craft stores, specialty yarn shops and of course, online.
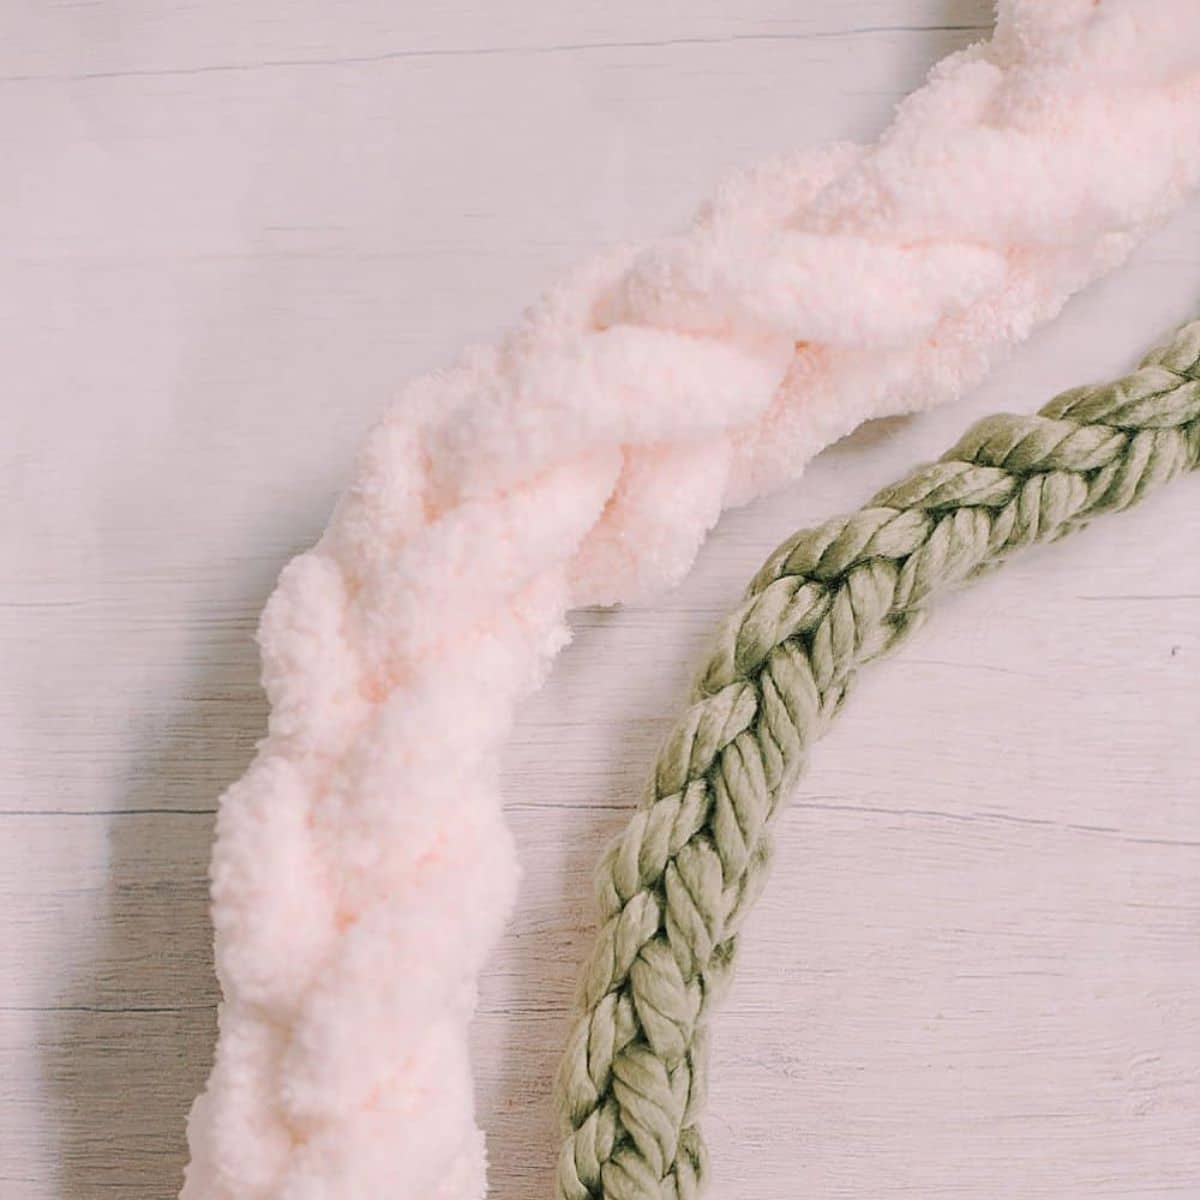
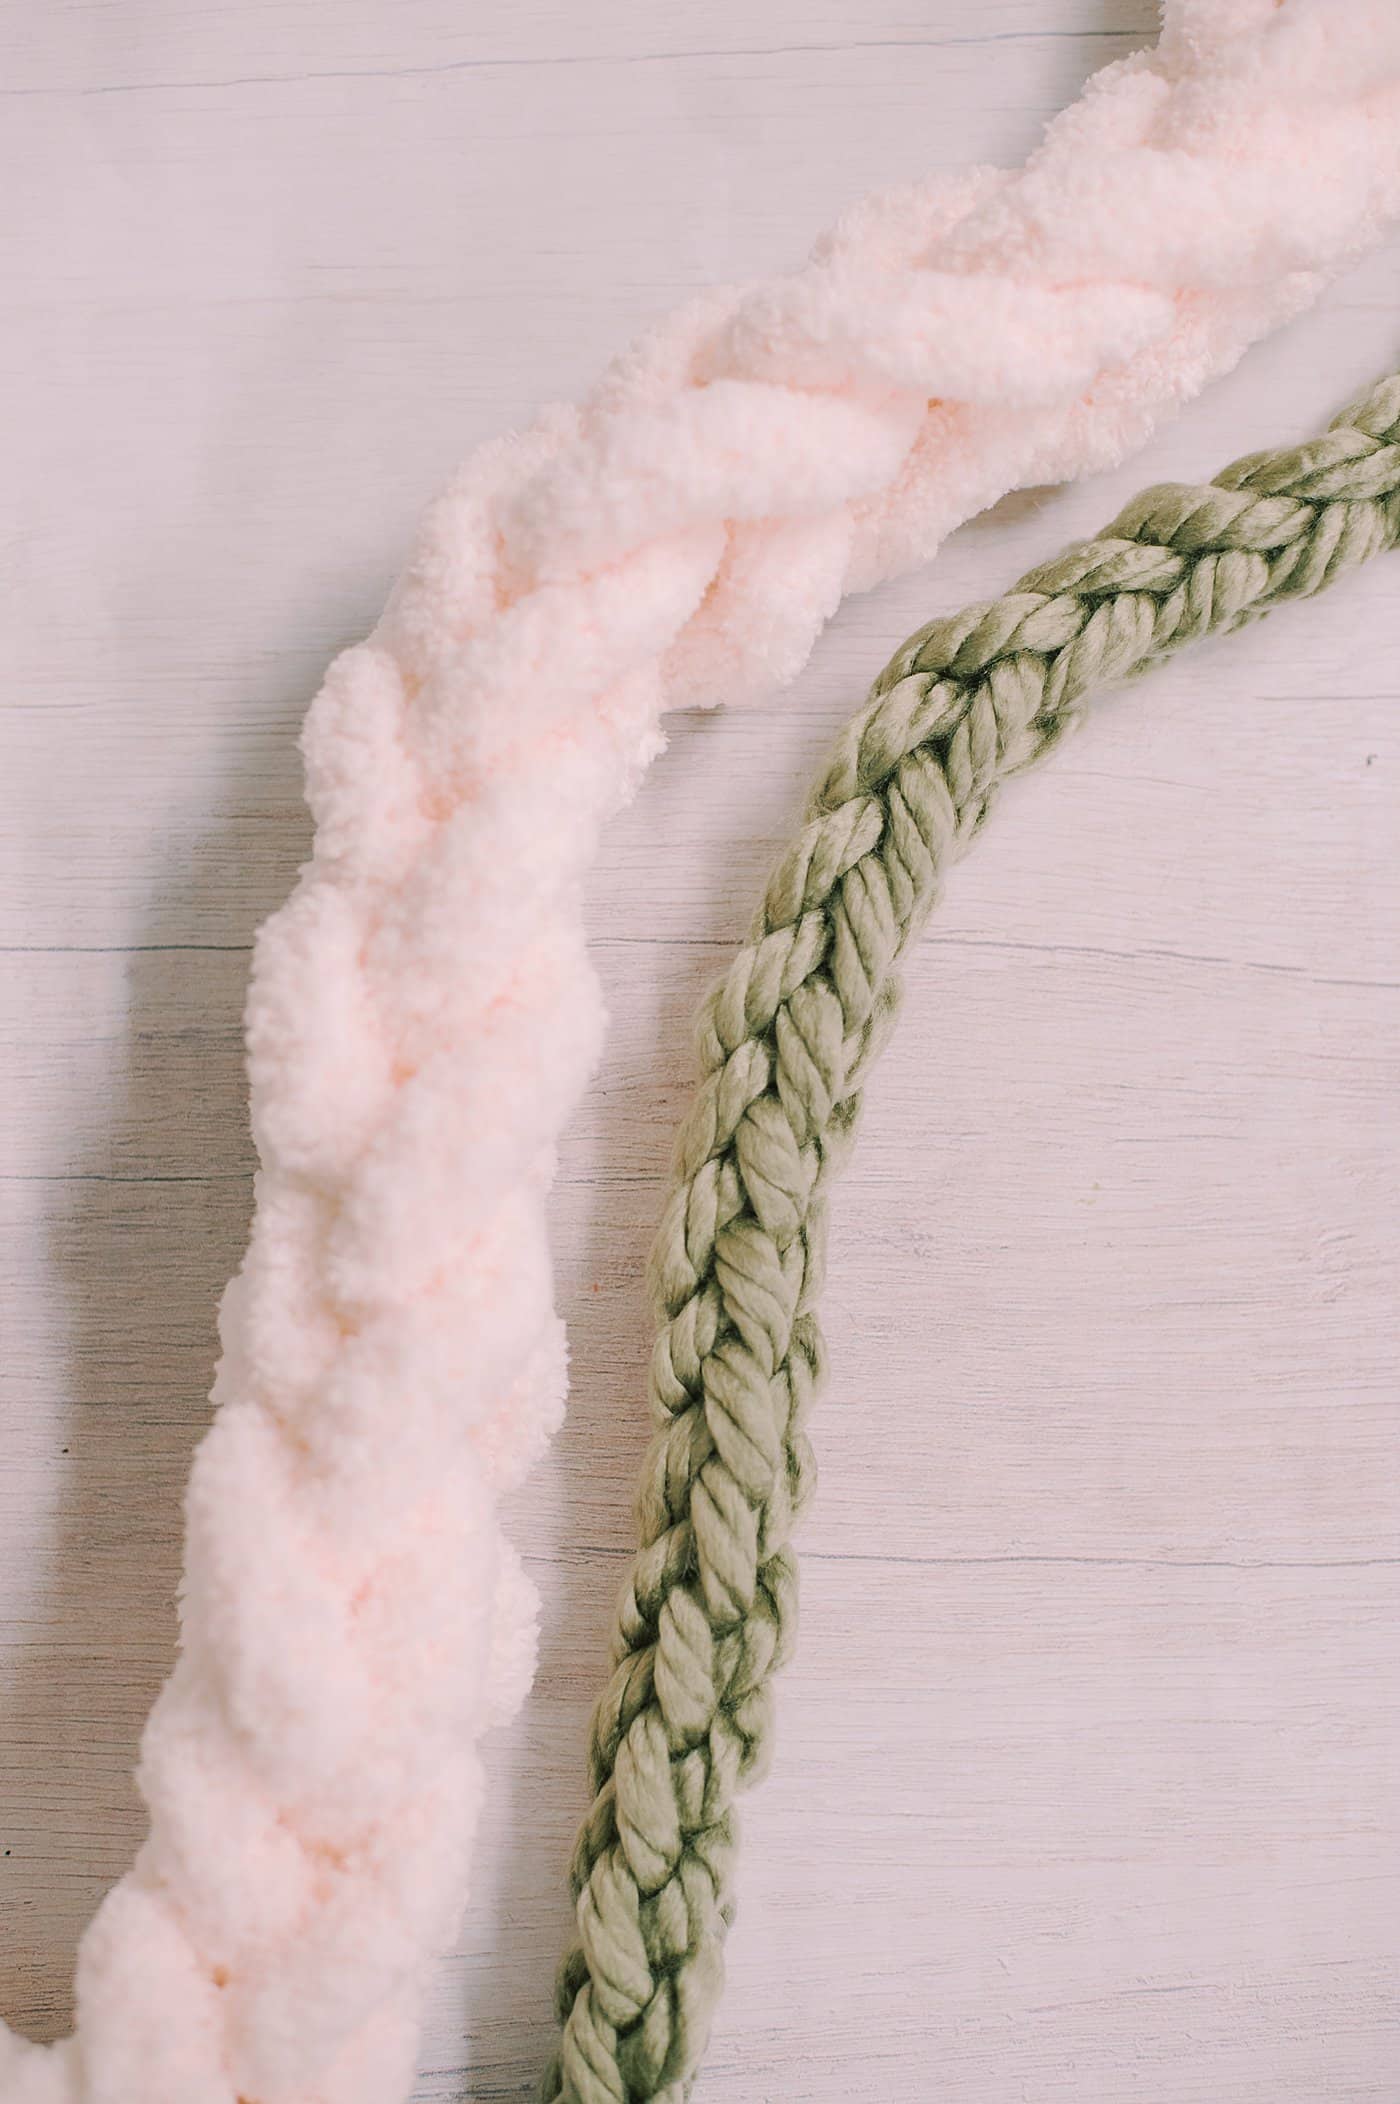
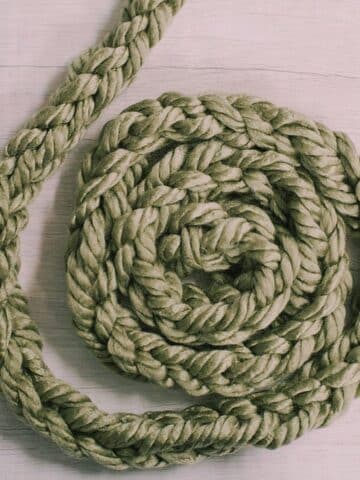
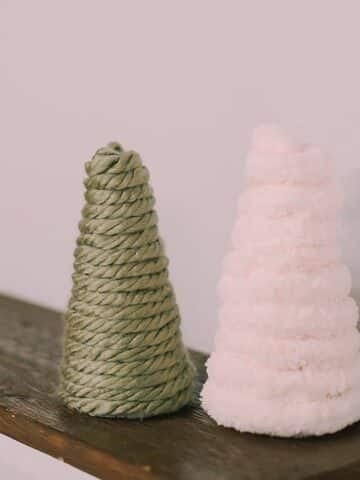
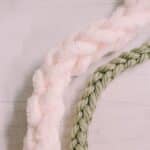
- This same finger-knitting process can be used with any thickness of yarn or string, so it's a very versatile craft. Chunky yarn makes great garlands for the mantel, and thinner yarn would make a lovely garland for the Christmas tree.
Craft Supplies Needed
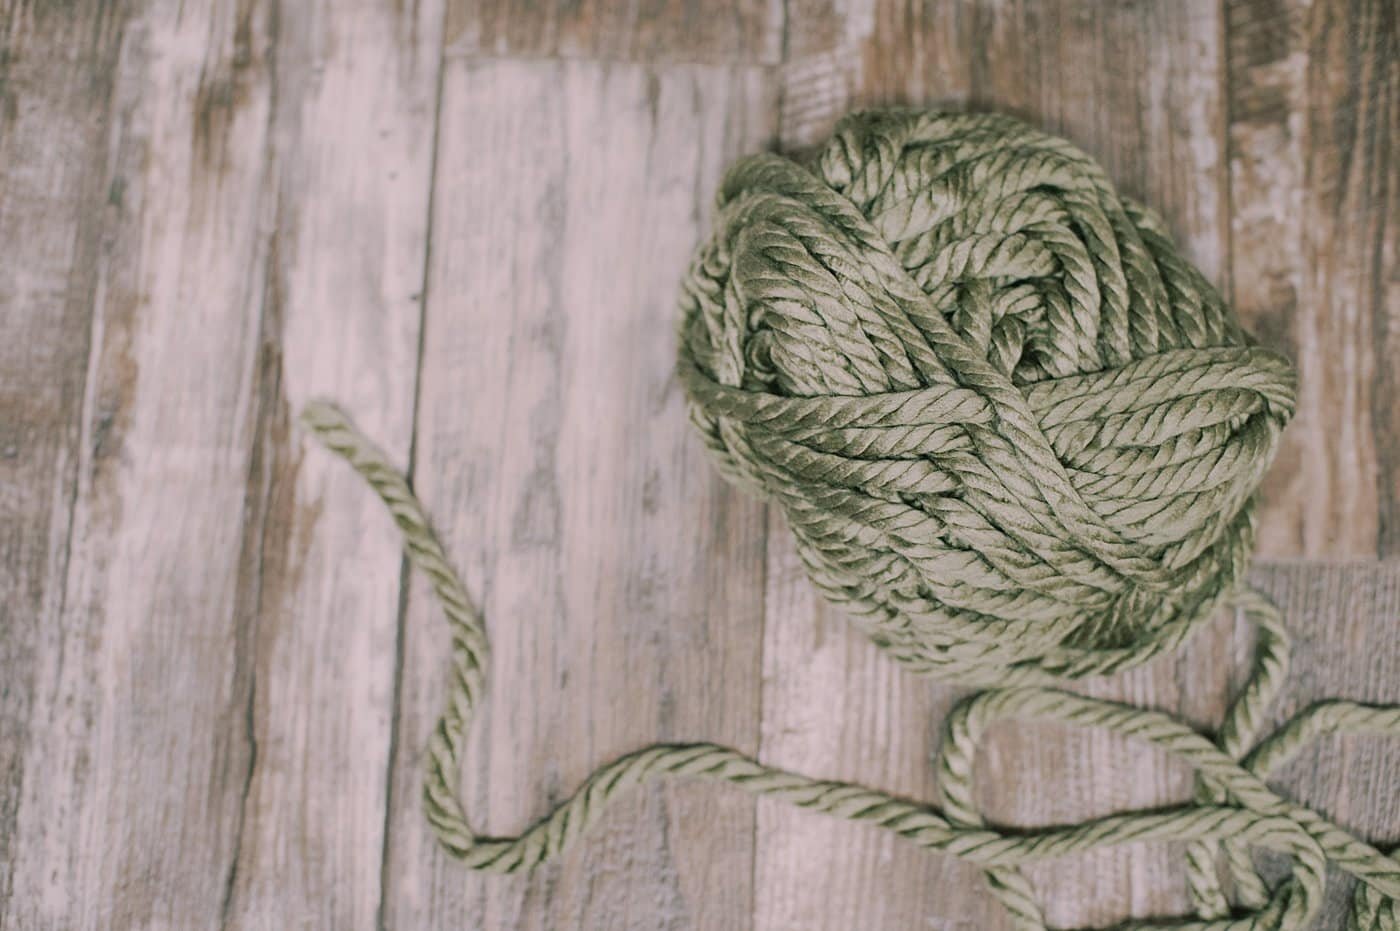
- Chunky Yarn - This green yarn is about the thickness of my pinky finger.
- Scissors - To trim the yarn.
- Your Hand - It's called finger-knitting after all!
How to Make a DIY Finger Knit Garland with Chunky Yarn - (The Two-Finger Finger-Knit Technique)
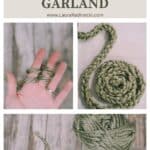
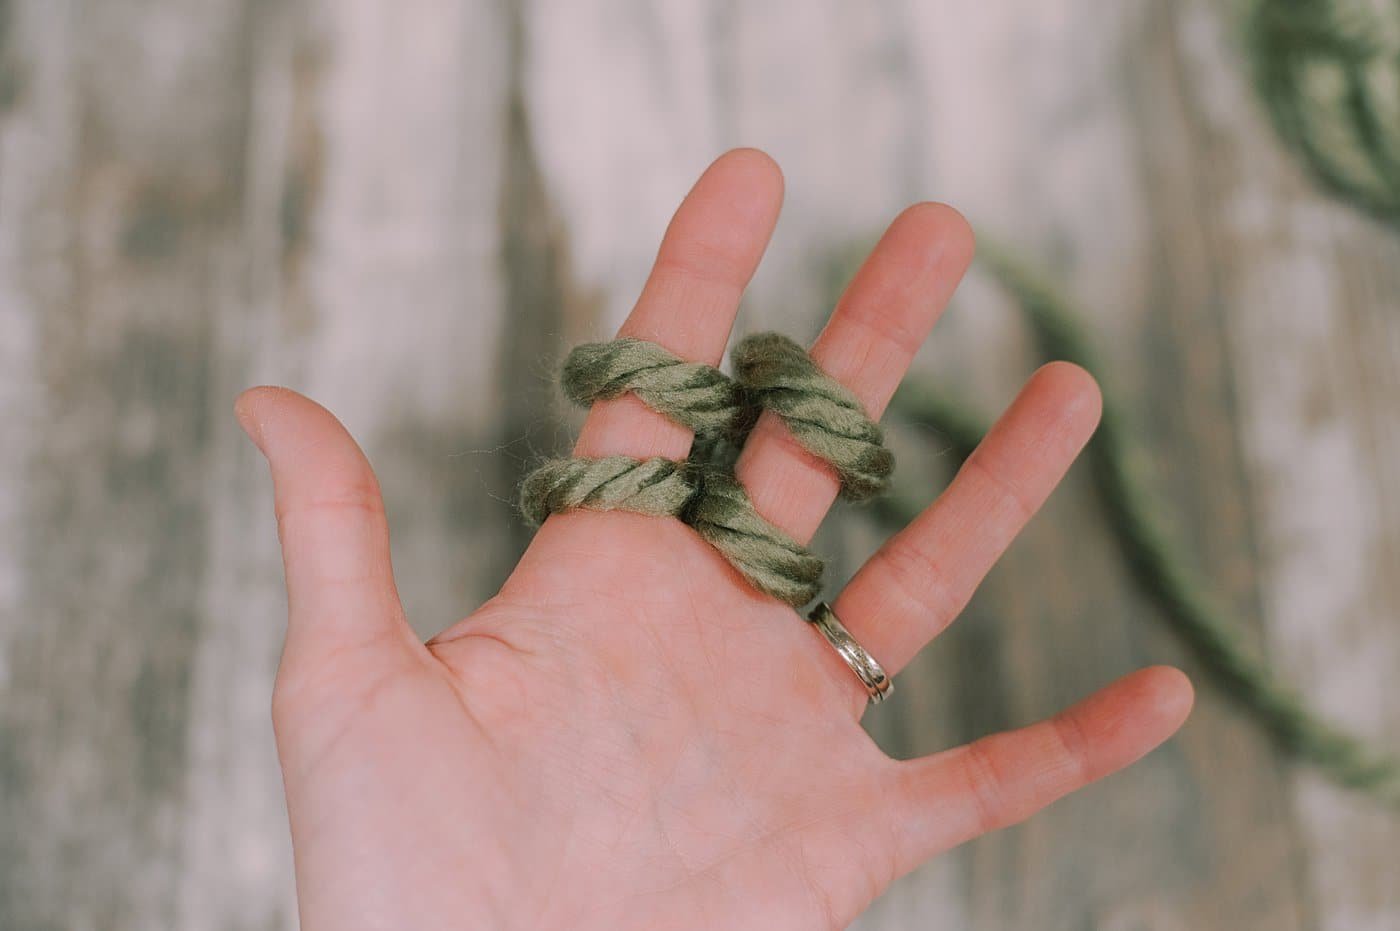
Step 1. Start by pinching the tail end of a skein of yarn between your thumb and the base of your pointer finger.
Wrap the yarn over the front of the base of your pointer finger, as pictured, and behind the base of your middle finger.
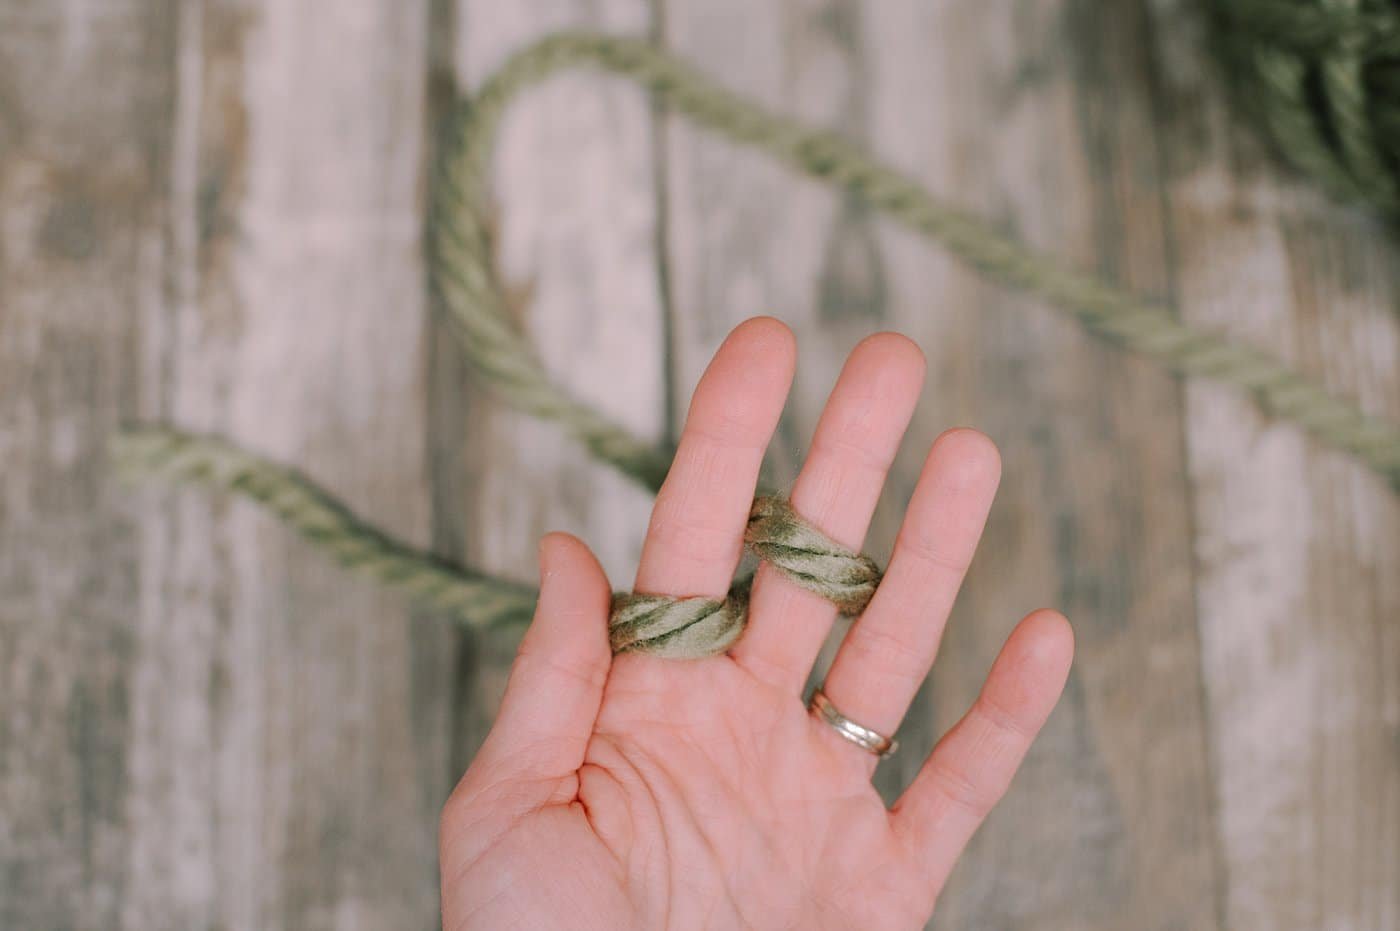
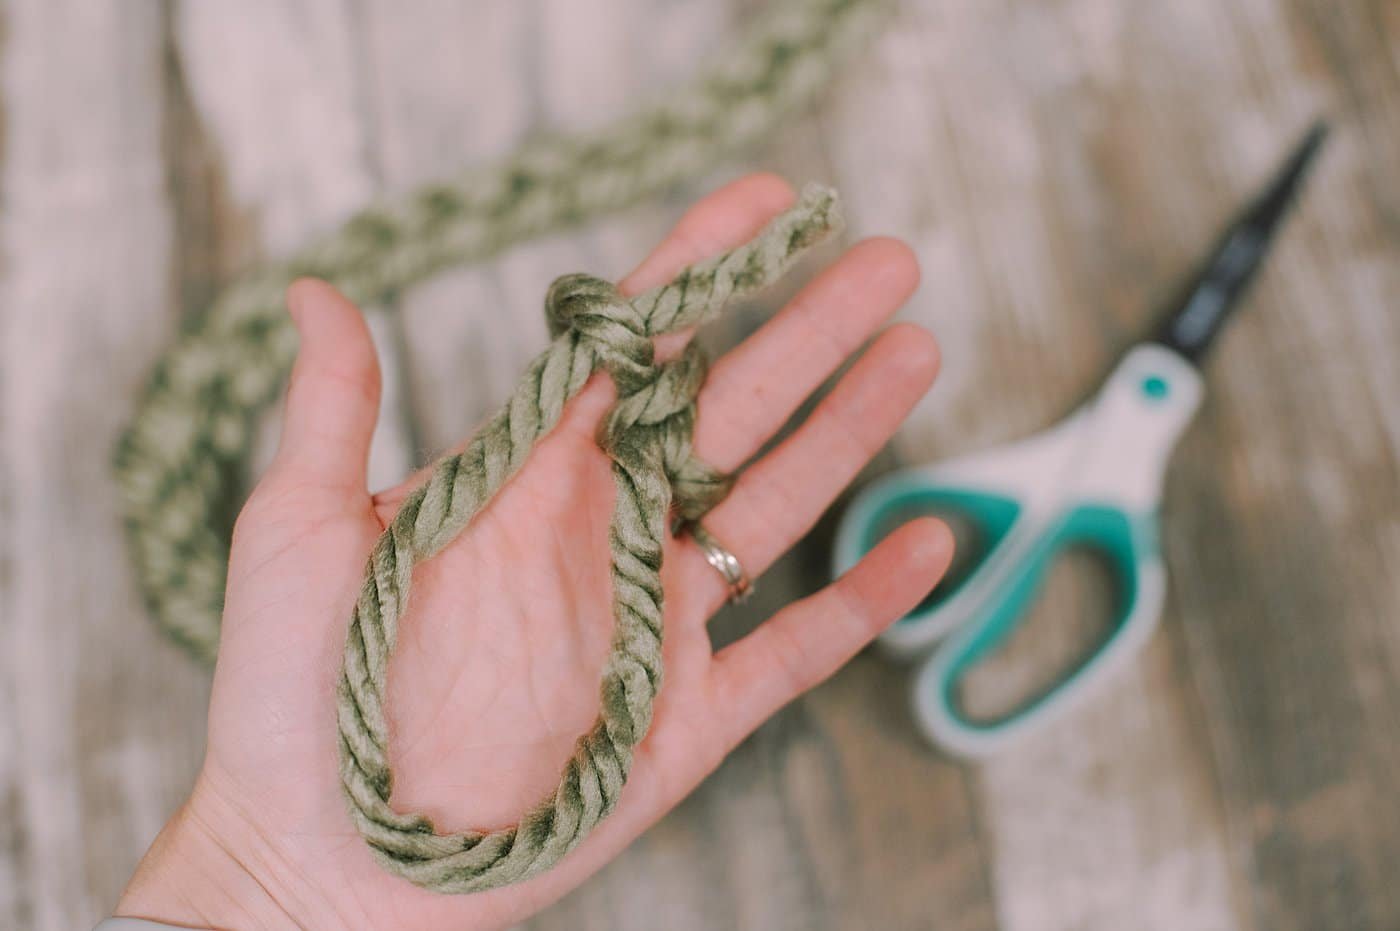
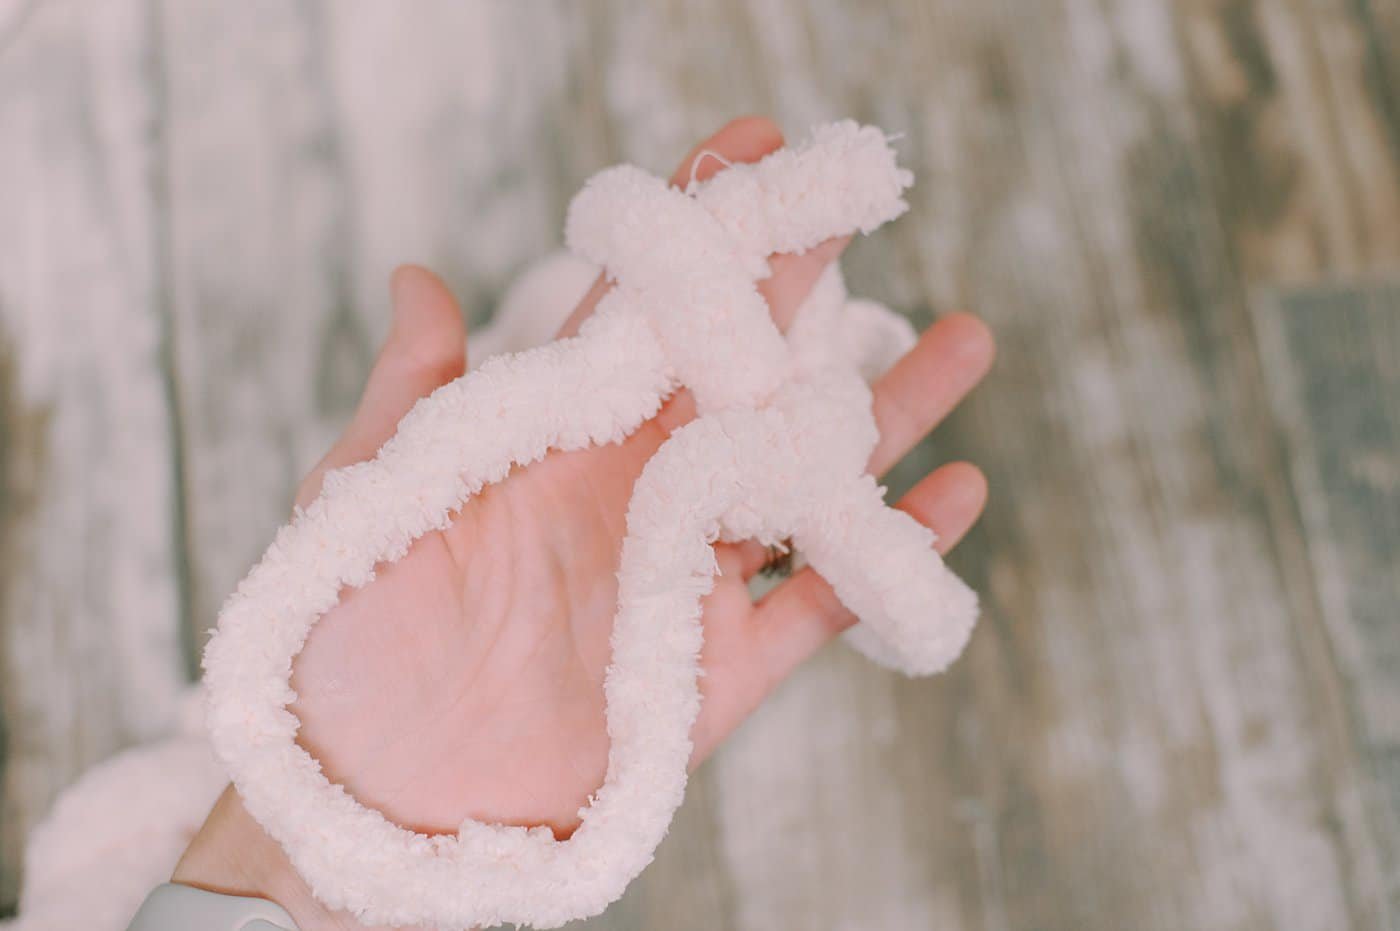
Step 2. Then bring the yarn around your middle finger and wrap it in front of the middle finger, and behind the pointer finger.
At this point, you should have one piece of yarn visible on the front of each of your two fingers.
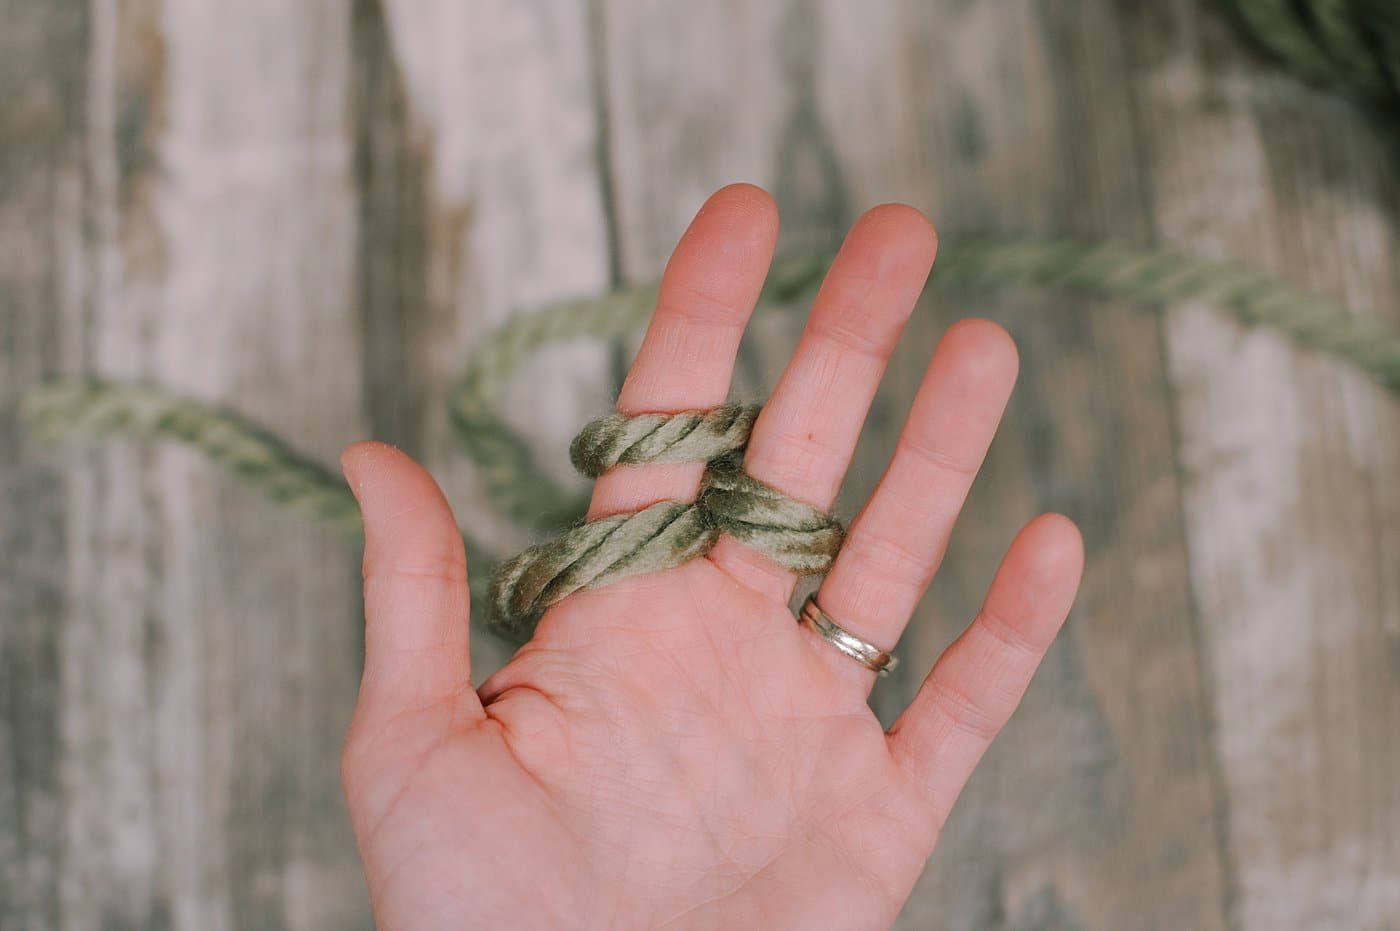
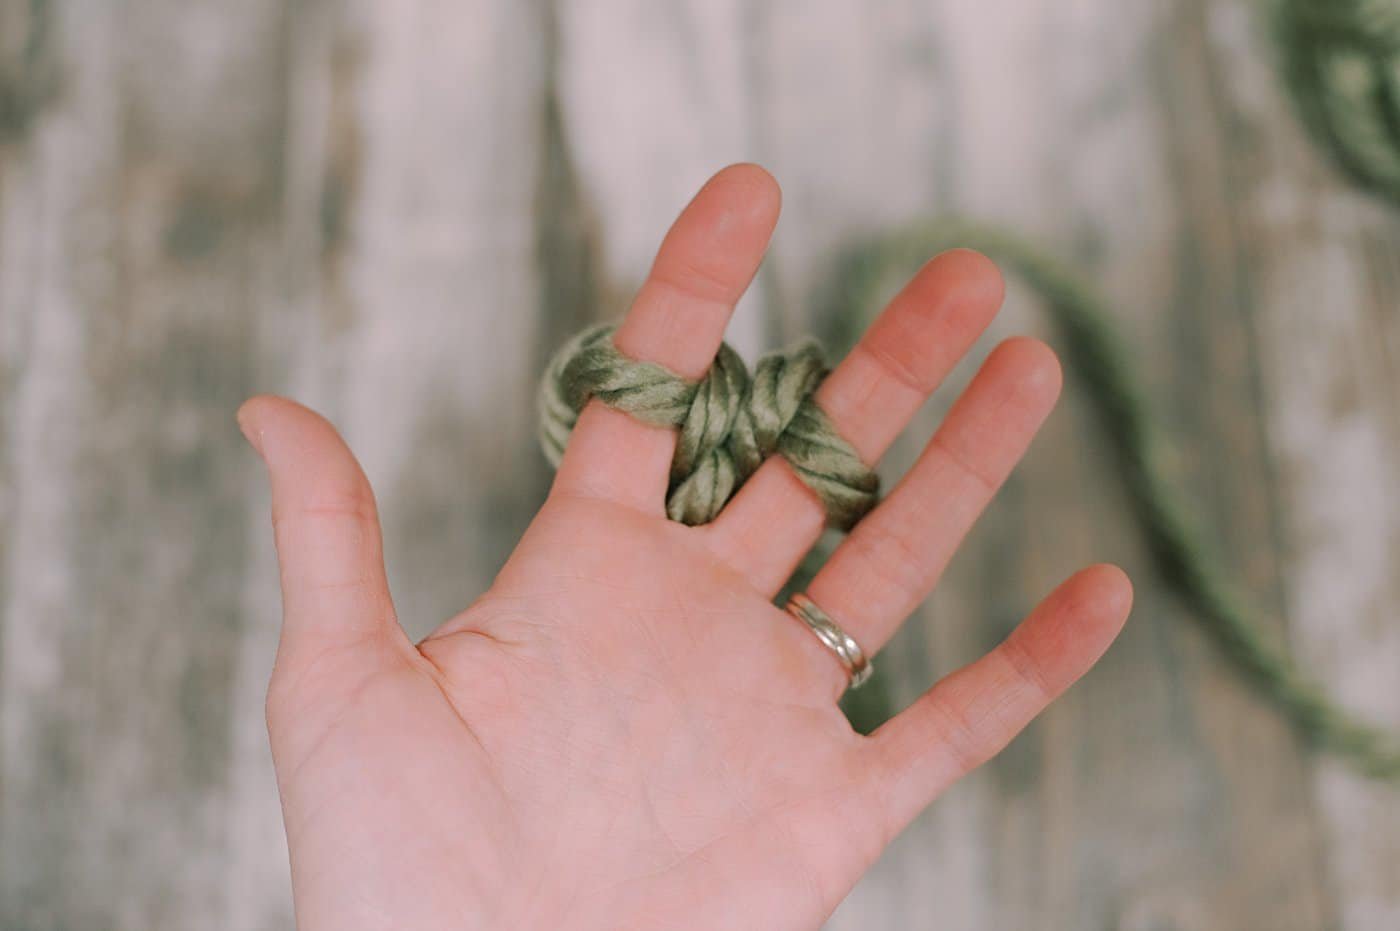
Step 3. Wrap the yarn around the front of the pointer finger again, and behind the middle finger again.

Step 4. Come around the outside of the middle finger and bring the yarn in front of the middle finger once again, and behind the pointer finger.
Now, you will have two sections of yarn on the front of each of the two fingers, as pictured below.
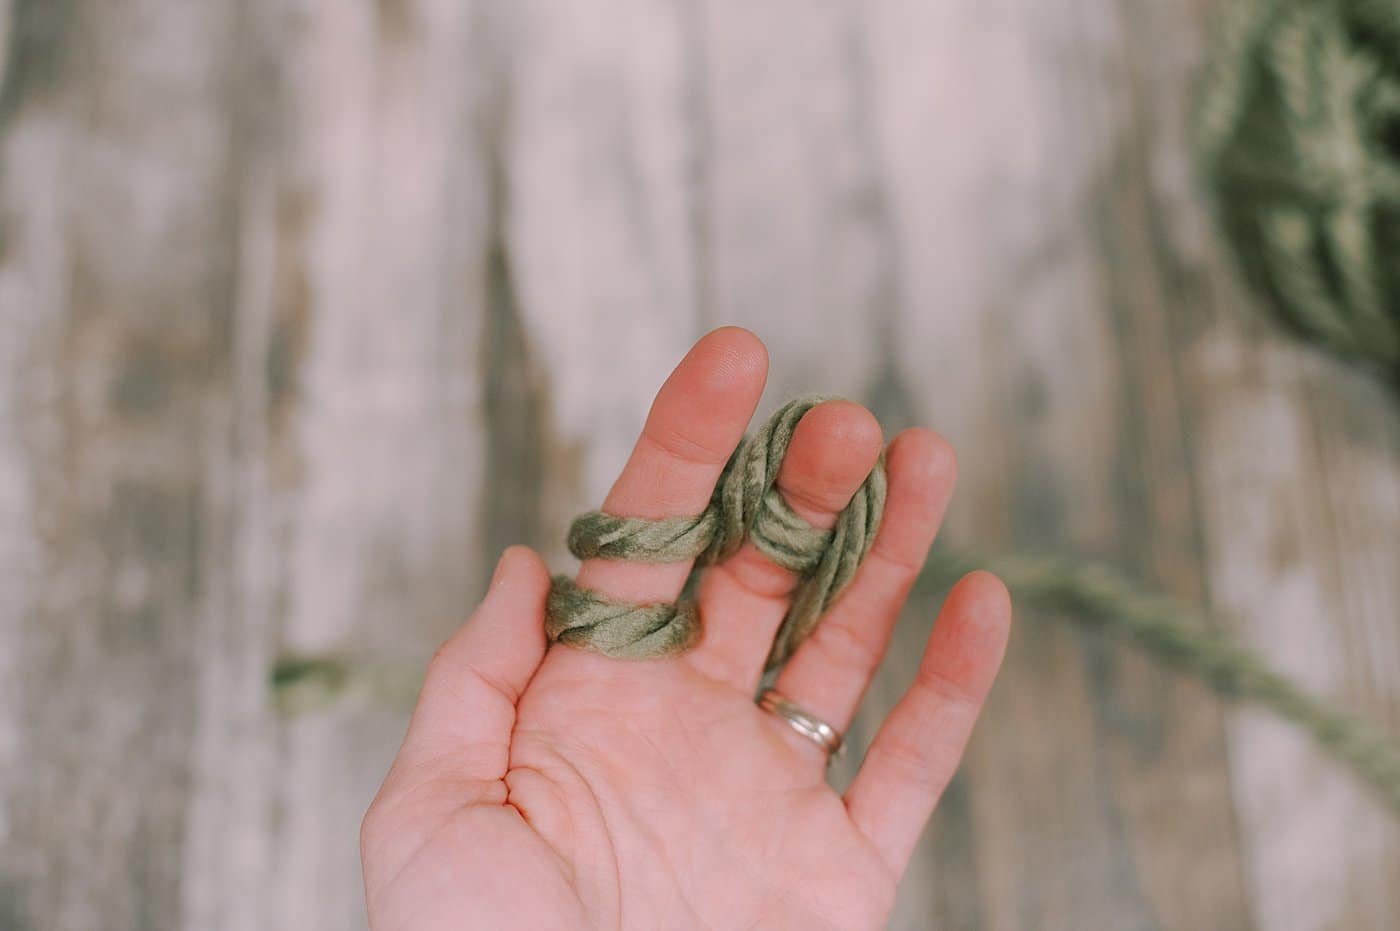
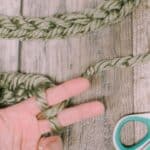
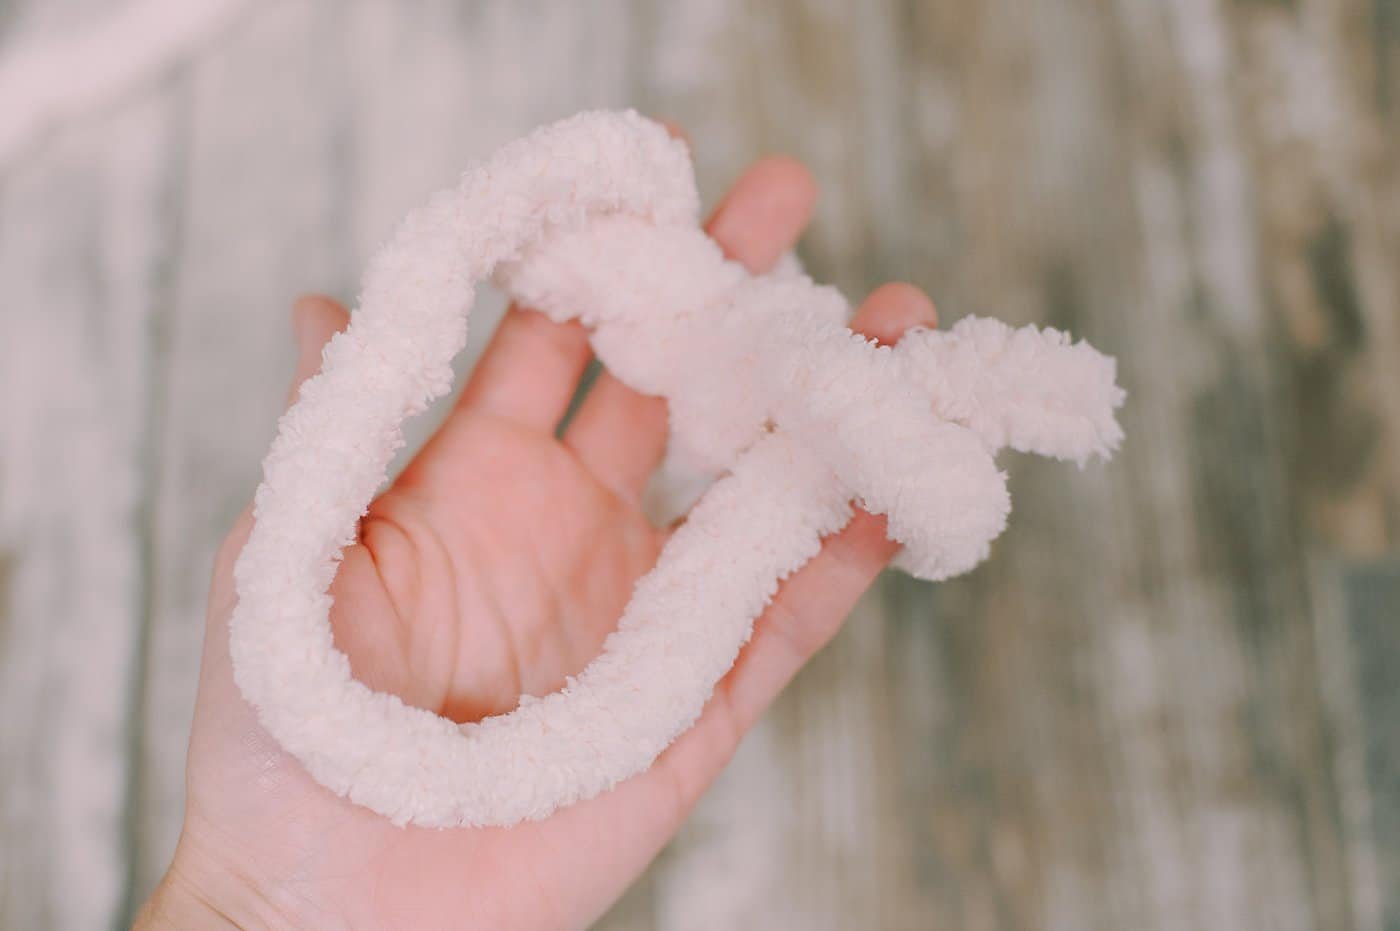
Step 5. Carefully lift the bottom section of yarn up, over the top section and off of the finger, for each of the two fingers.
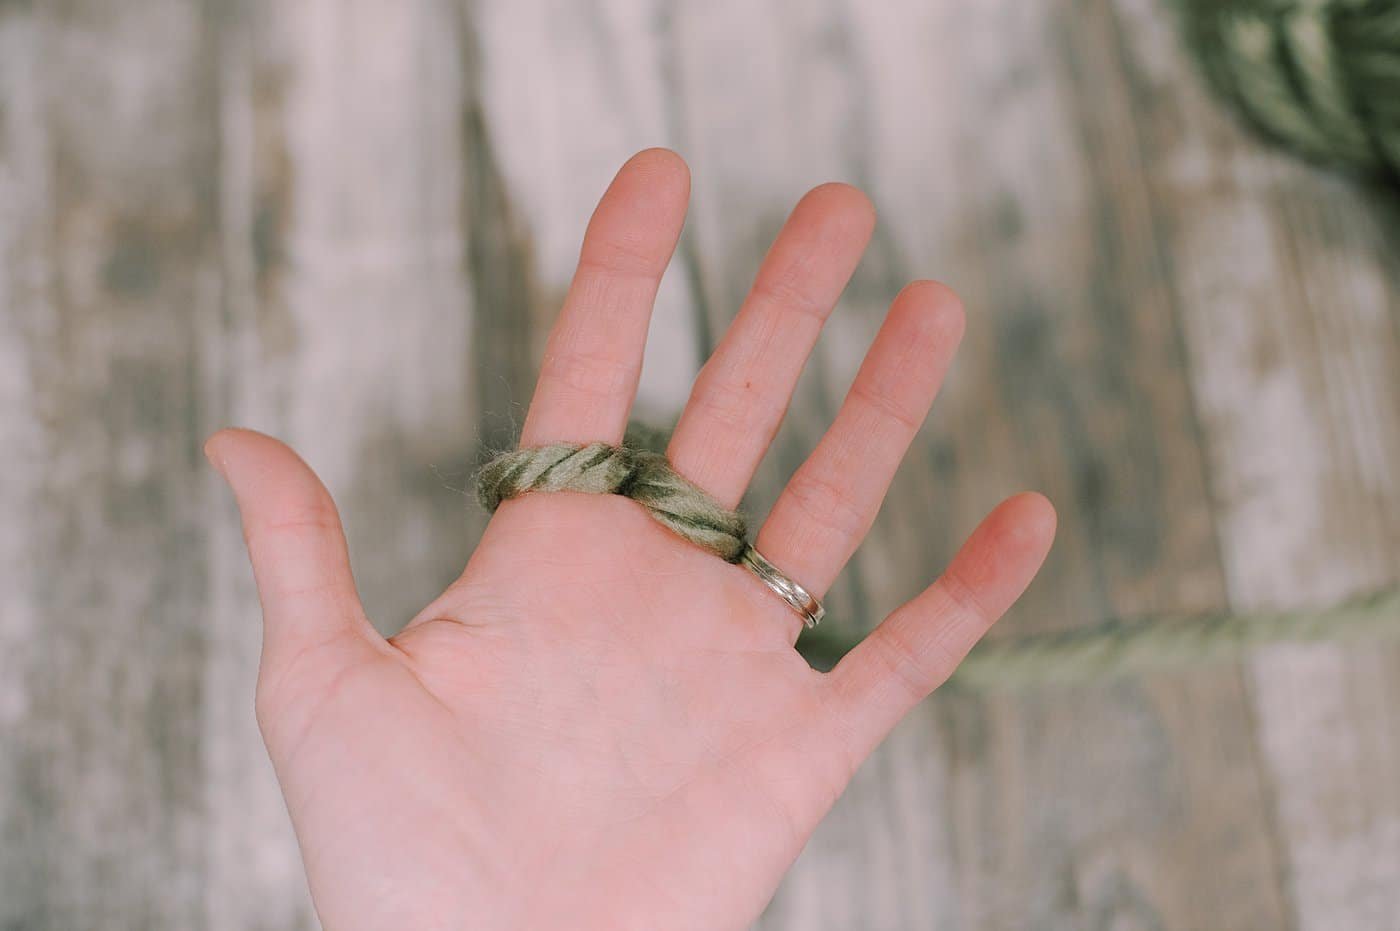
Step 6. Once you do this, you'll have one section of yarn on each finger.
Step 7. Repeat the wrapping procedure, bringing the yarn around to the front of the pointer finger, back behind the middle finger, around the outside to the front of the middle finger, and back behind the pointer again.
(The motion is like a figure 8 around the fingers.)
Step 8. Once you have two sections of yarn on each finger again, take the bottom section closest to the base of each finger and lift it up and over the top section, and off of your fingertip.
Repeat for both fingers.
You'll be left with one section on each finger again.
You can push the yarn down to the base of your fingers as you go. It has a tendency to ride up as you continue to finger-knit.
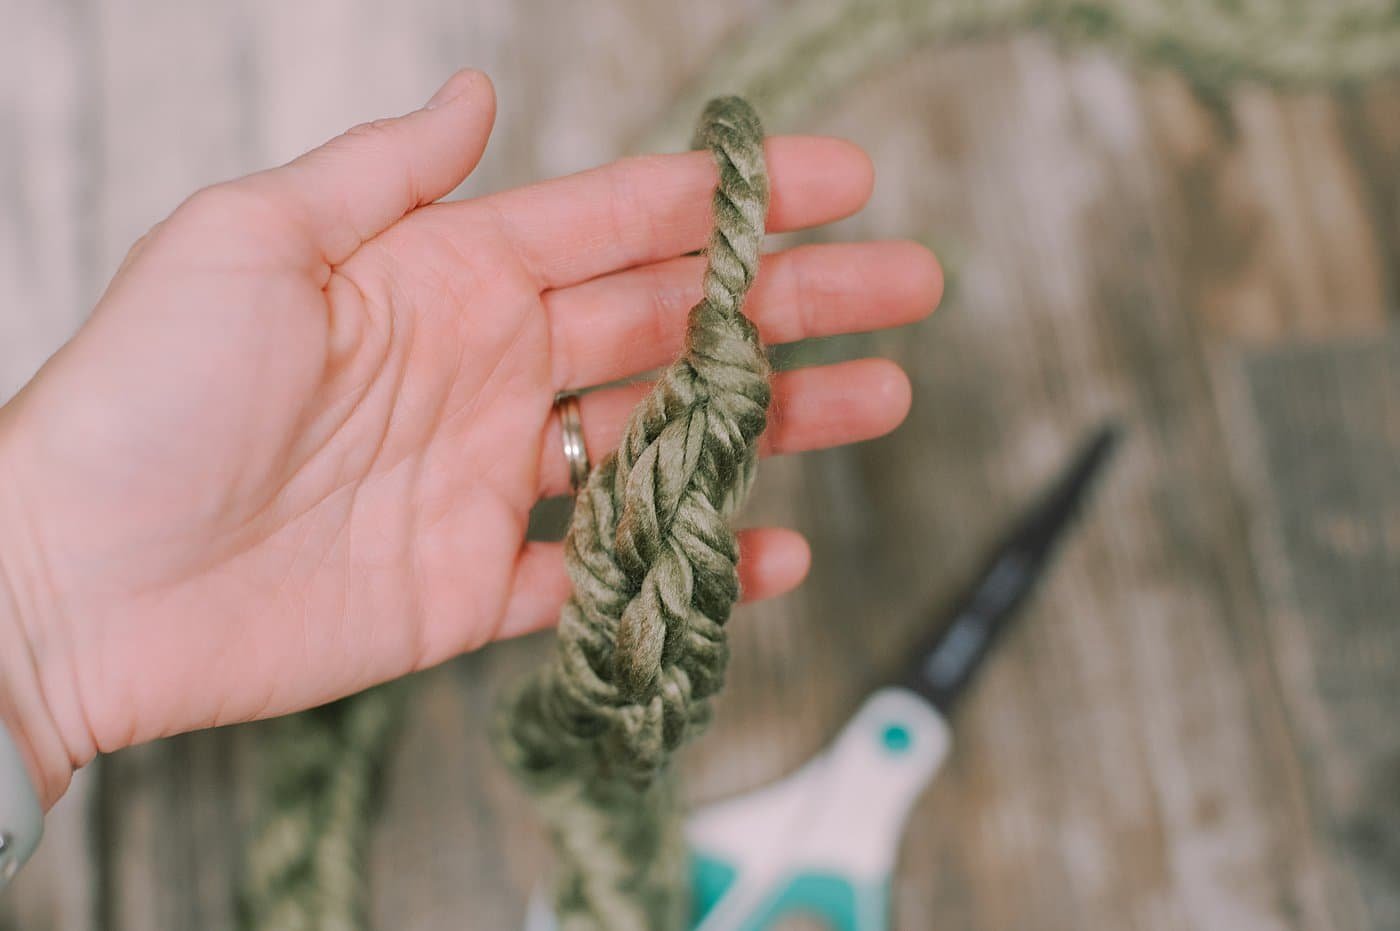
Step 9. Repeat this process - wrap a figure 8 around the fingers to add a second section of yarn to each finger. Lift the bottom section up over the one above it and off of the finger tip.
Each time you do this, you are adding another "stitch" to your finger knit yarn garland.
You can carefully pull the yarn tail end of the garland as you go, and the stitches will tighten up.
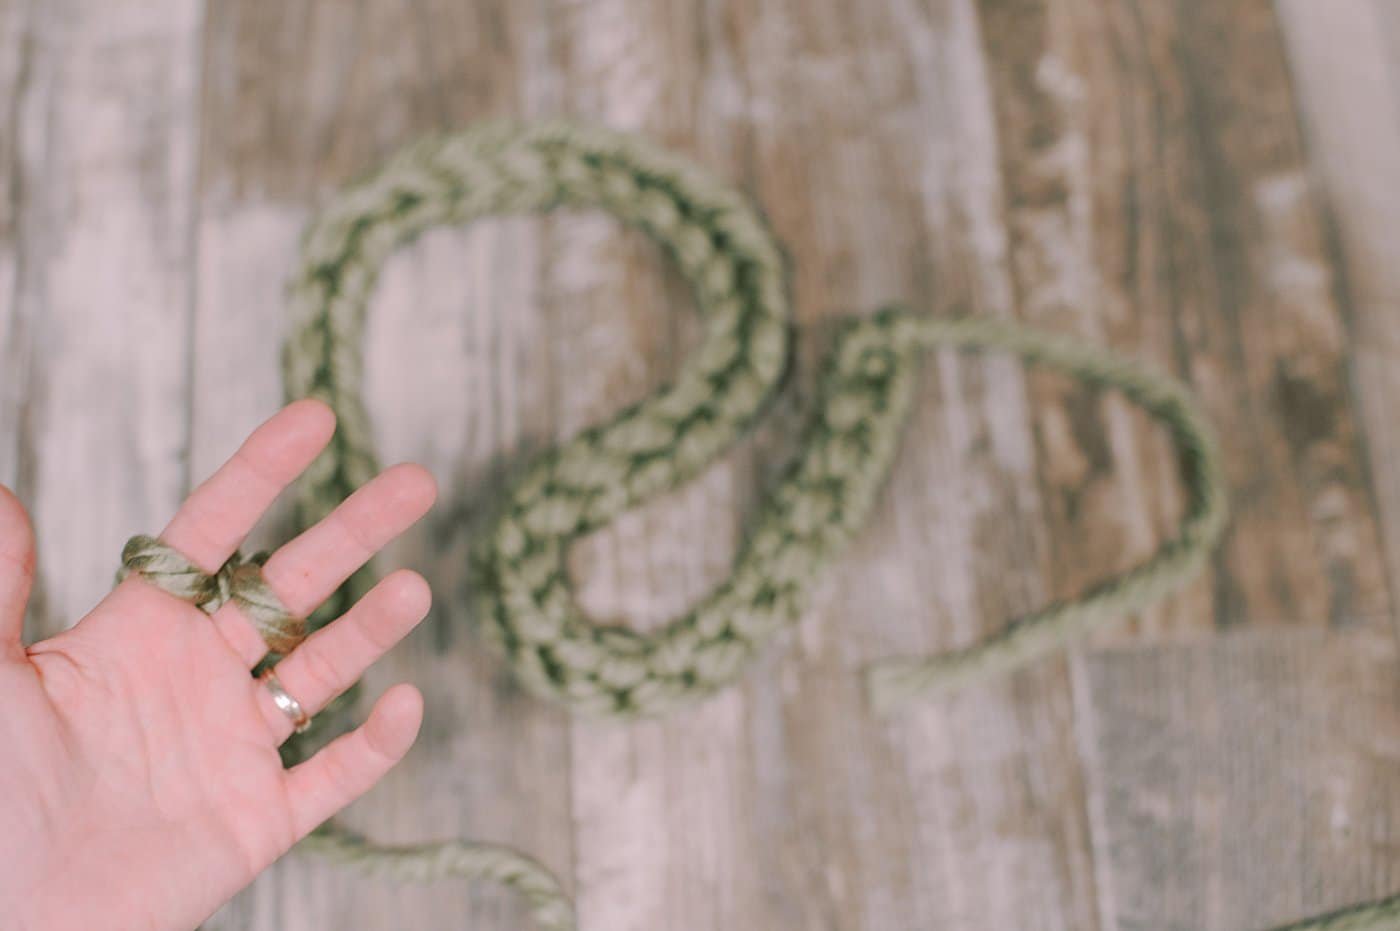
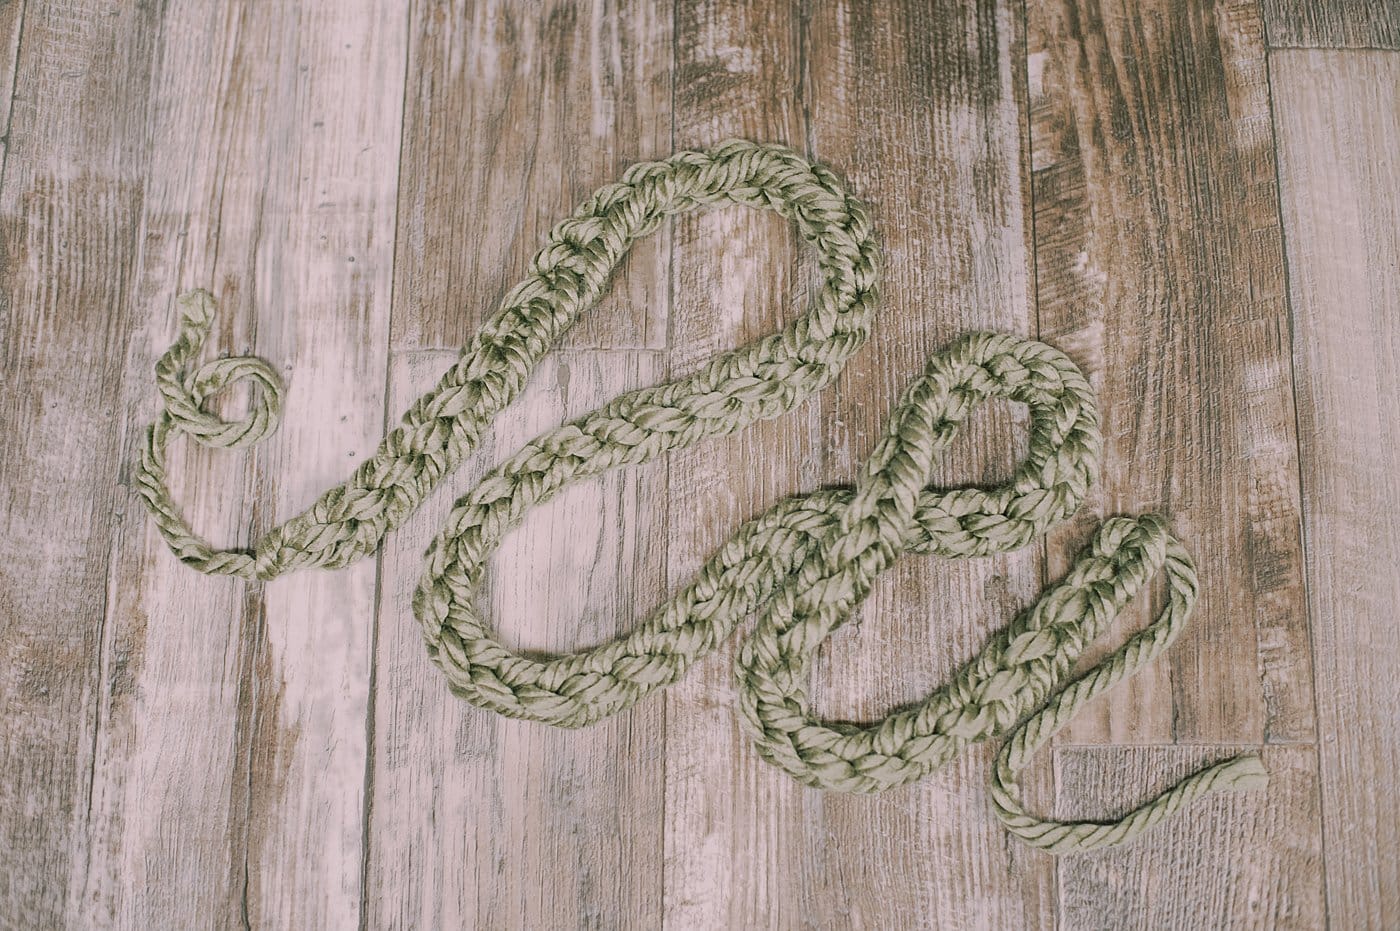
Continue to add to the garland until it is as long as you want it to be.
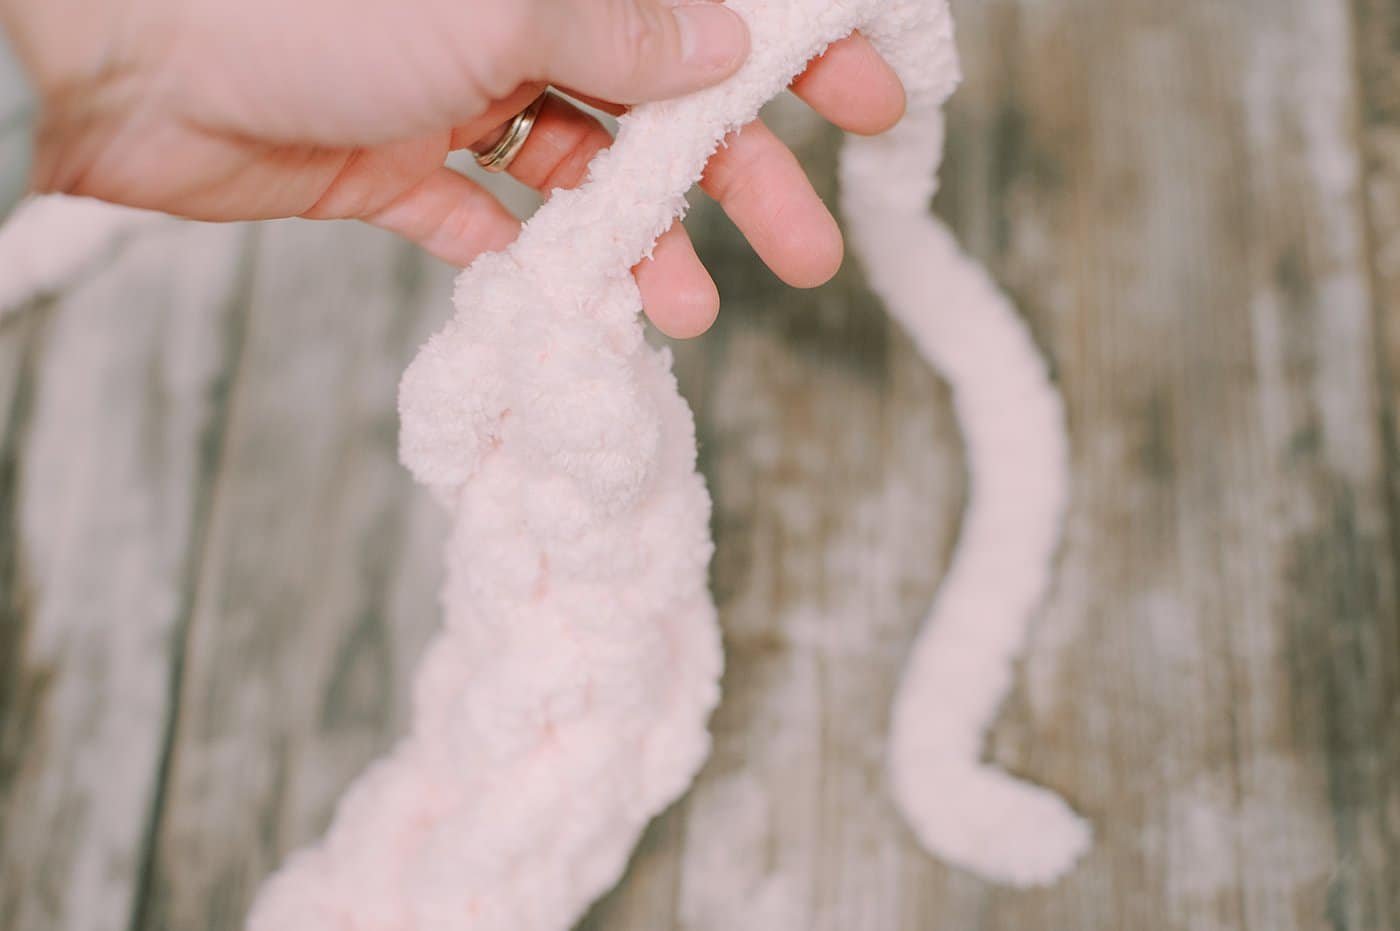
Step 10. Cut the yarn, leaving an 8"+ tail.
It should be in between your two fingers, laying behind your hand.
Carefully move the yarn tail to the front side, in between your two fingers.
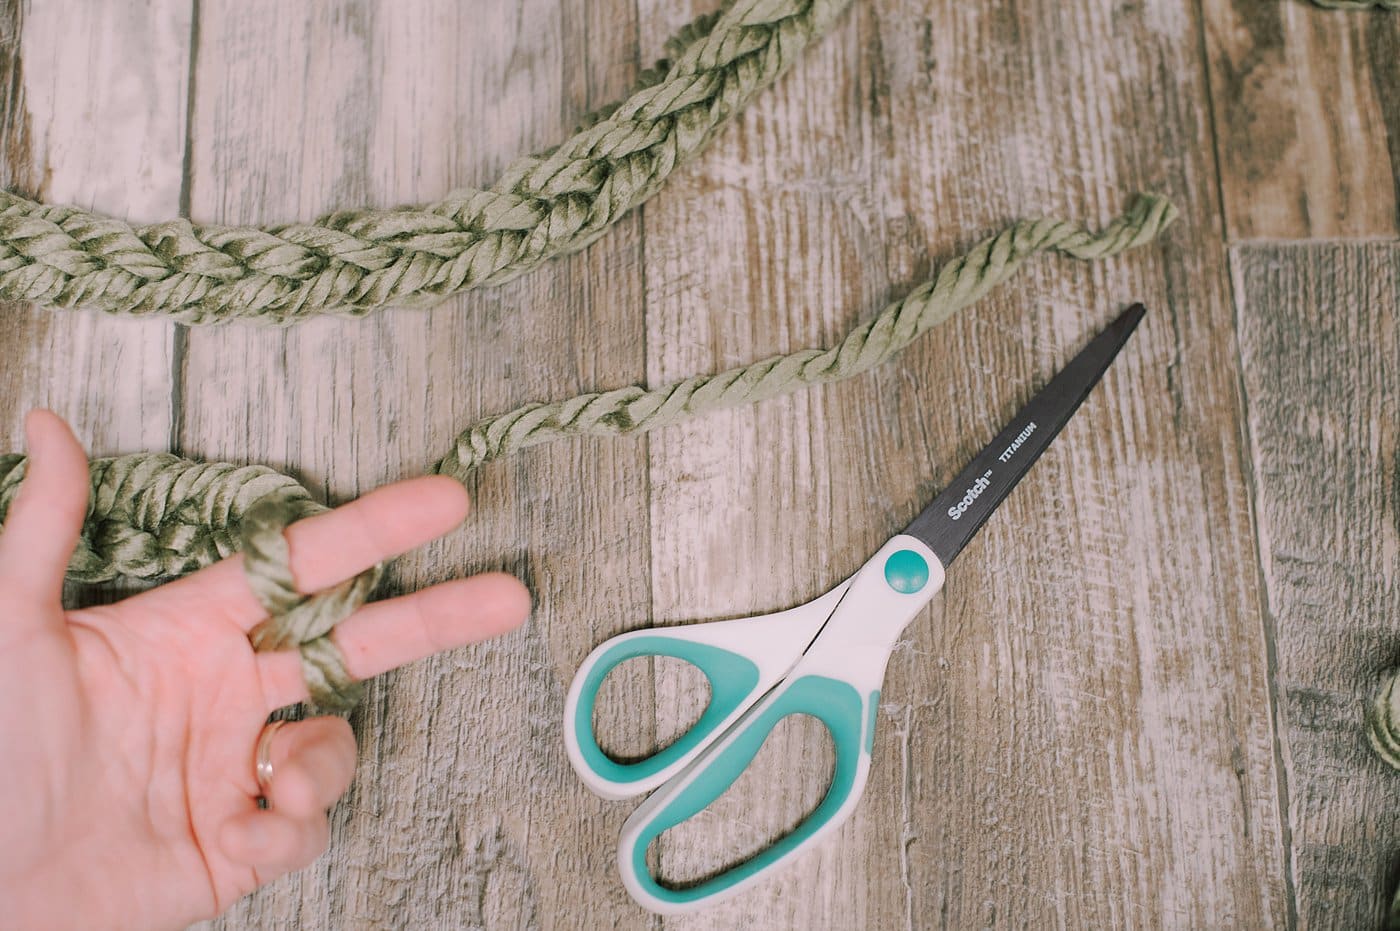
Step 11. Slip the end of the yarn tail under the section of yarn on one of your fingers and pull through.
Then slip the yarn underneath the section on your second finger and pull tight.
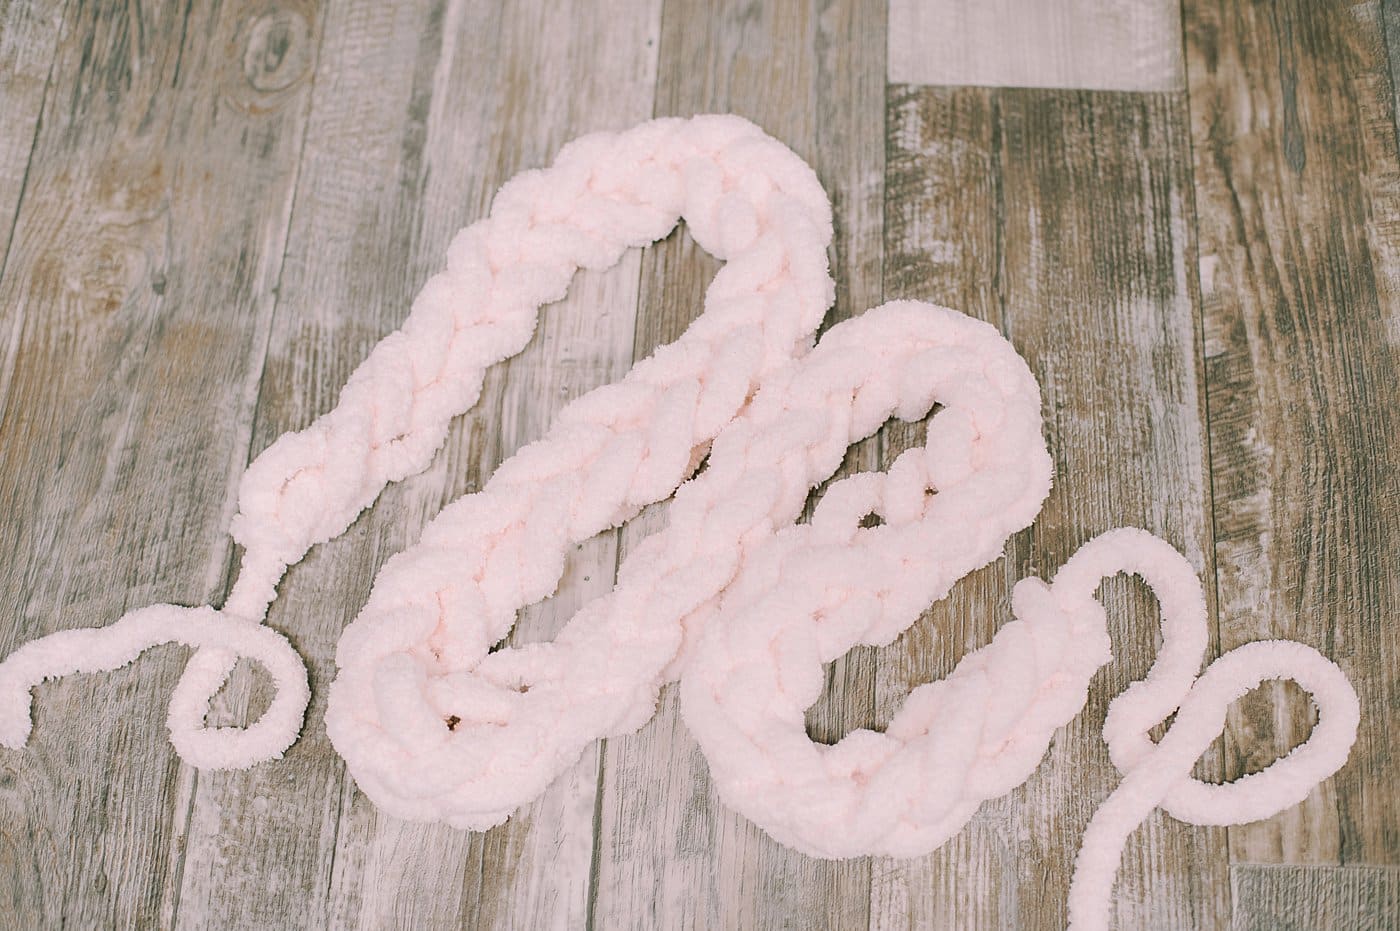
Step 12. As you pull the yarn tail tight, you can slip both loops of yarn off of your finger tips.
Pull the yarn tail tight, and the garland will tighten and finish itself off.
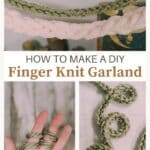
That's it! Your finger-knit yarn garland is done and ready to hang!
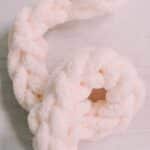
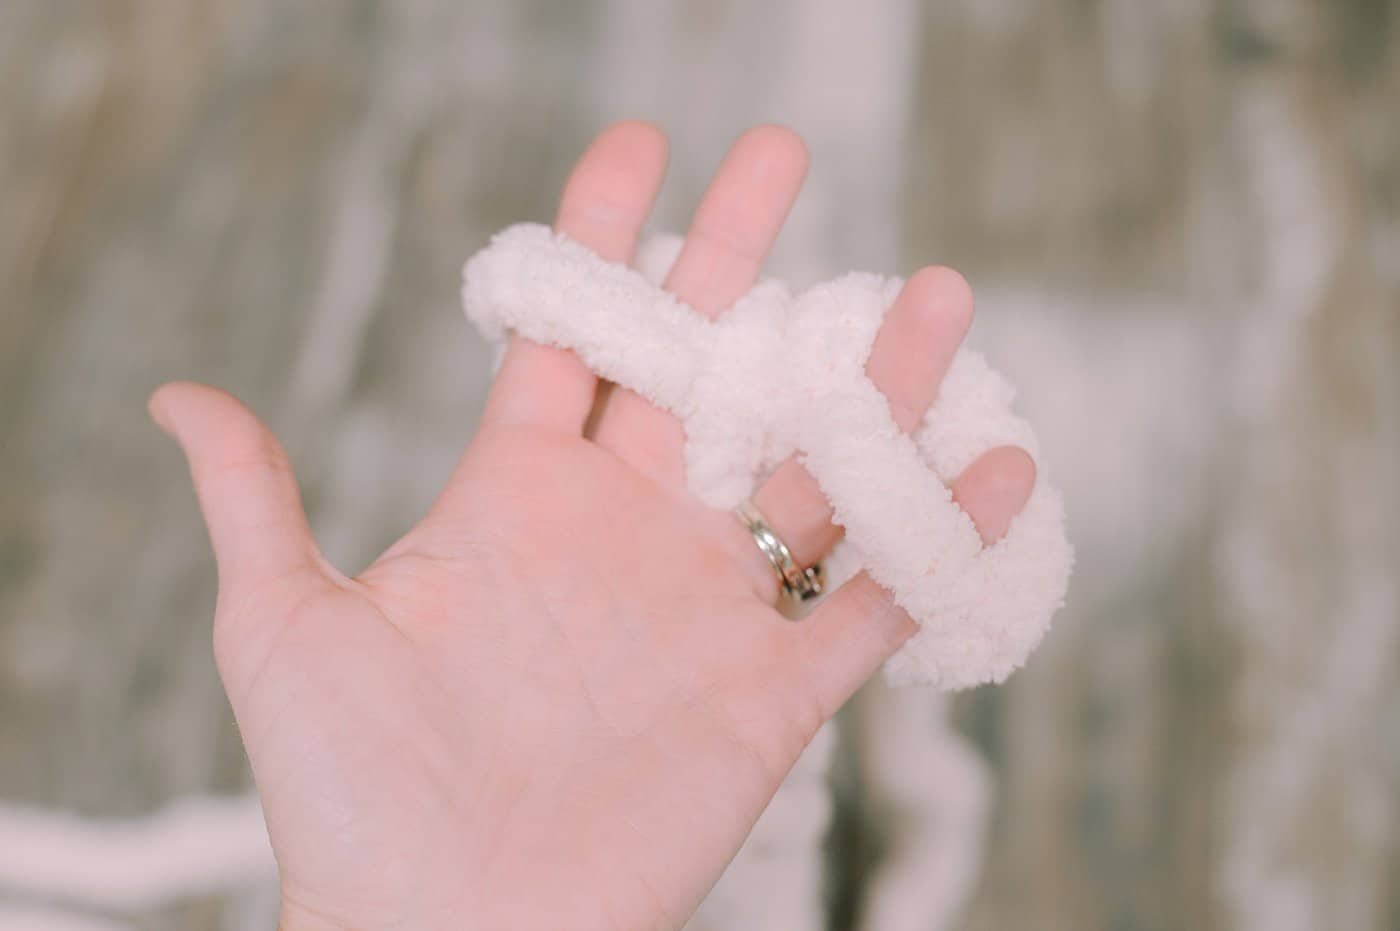
How to Make a Finger Knit Garland Using Super Chunky Yarn
You can make a garland using super chunky yarn and the same finger-knit method, but may have to adapt it slightly.
The yarn pictured below is so thick, it was impossible to keep it on one finger alone.
I used the same finger knitting method, but I used two of my fingers and pretended they were one.
The left two fingers were my 1st "finger" and the right two fingers were my 2nd "finger".

The rest of the process was exactly the same - making two sections of yarn per finger using the "figure 8," and then lifting the bottom section up and over, and off the hand, to make each stitch.
You finish the garland off the exact same way, cutting the yarn tail and slipping it under the sections left on your hand.
Pull tight, and the garland seals itself up.
Common Questions
That's the beauty of yarn; you can buy it anywhere! You can find it at big box stores like Walmart or at craft stores like Michaels or Hobby Lobby. You'll find a wide variety of yarn in specialty yarn shops frequented by knitters and crocheters, and of course, you can buy yarn online.
If they have enough finger dexterity to manipulate the yarn, they can make this garland! I learned how to finger knit in the 90's with medium weight yarn. This thick yarn makes it even easier to "knit" with your fingers because there's more to grab.
If you don't want to finger knit a yarn garland, you can crochet a chain stitch yarn garland, or go simple and braid yarn into a garland. Or you could simply hang up tiered sections of super thick, chunky yarn without braiding or knitting it for the simplest garland yet.
I have fond memories of finger-knitting with my cousins in the 90's.
We used thin yarn and a four-finger technique back then, but we made some fun super-long garlands!
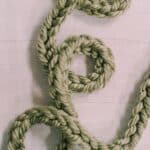
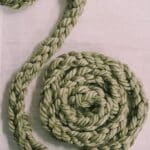
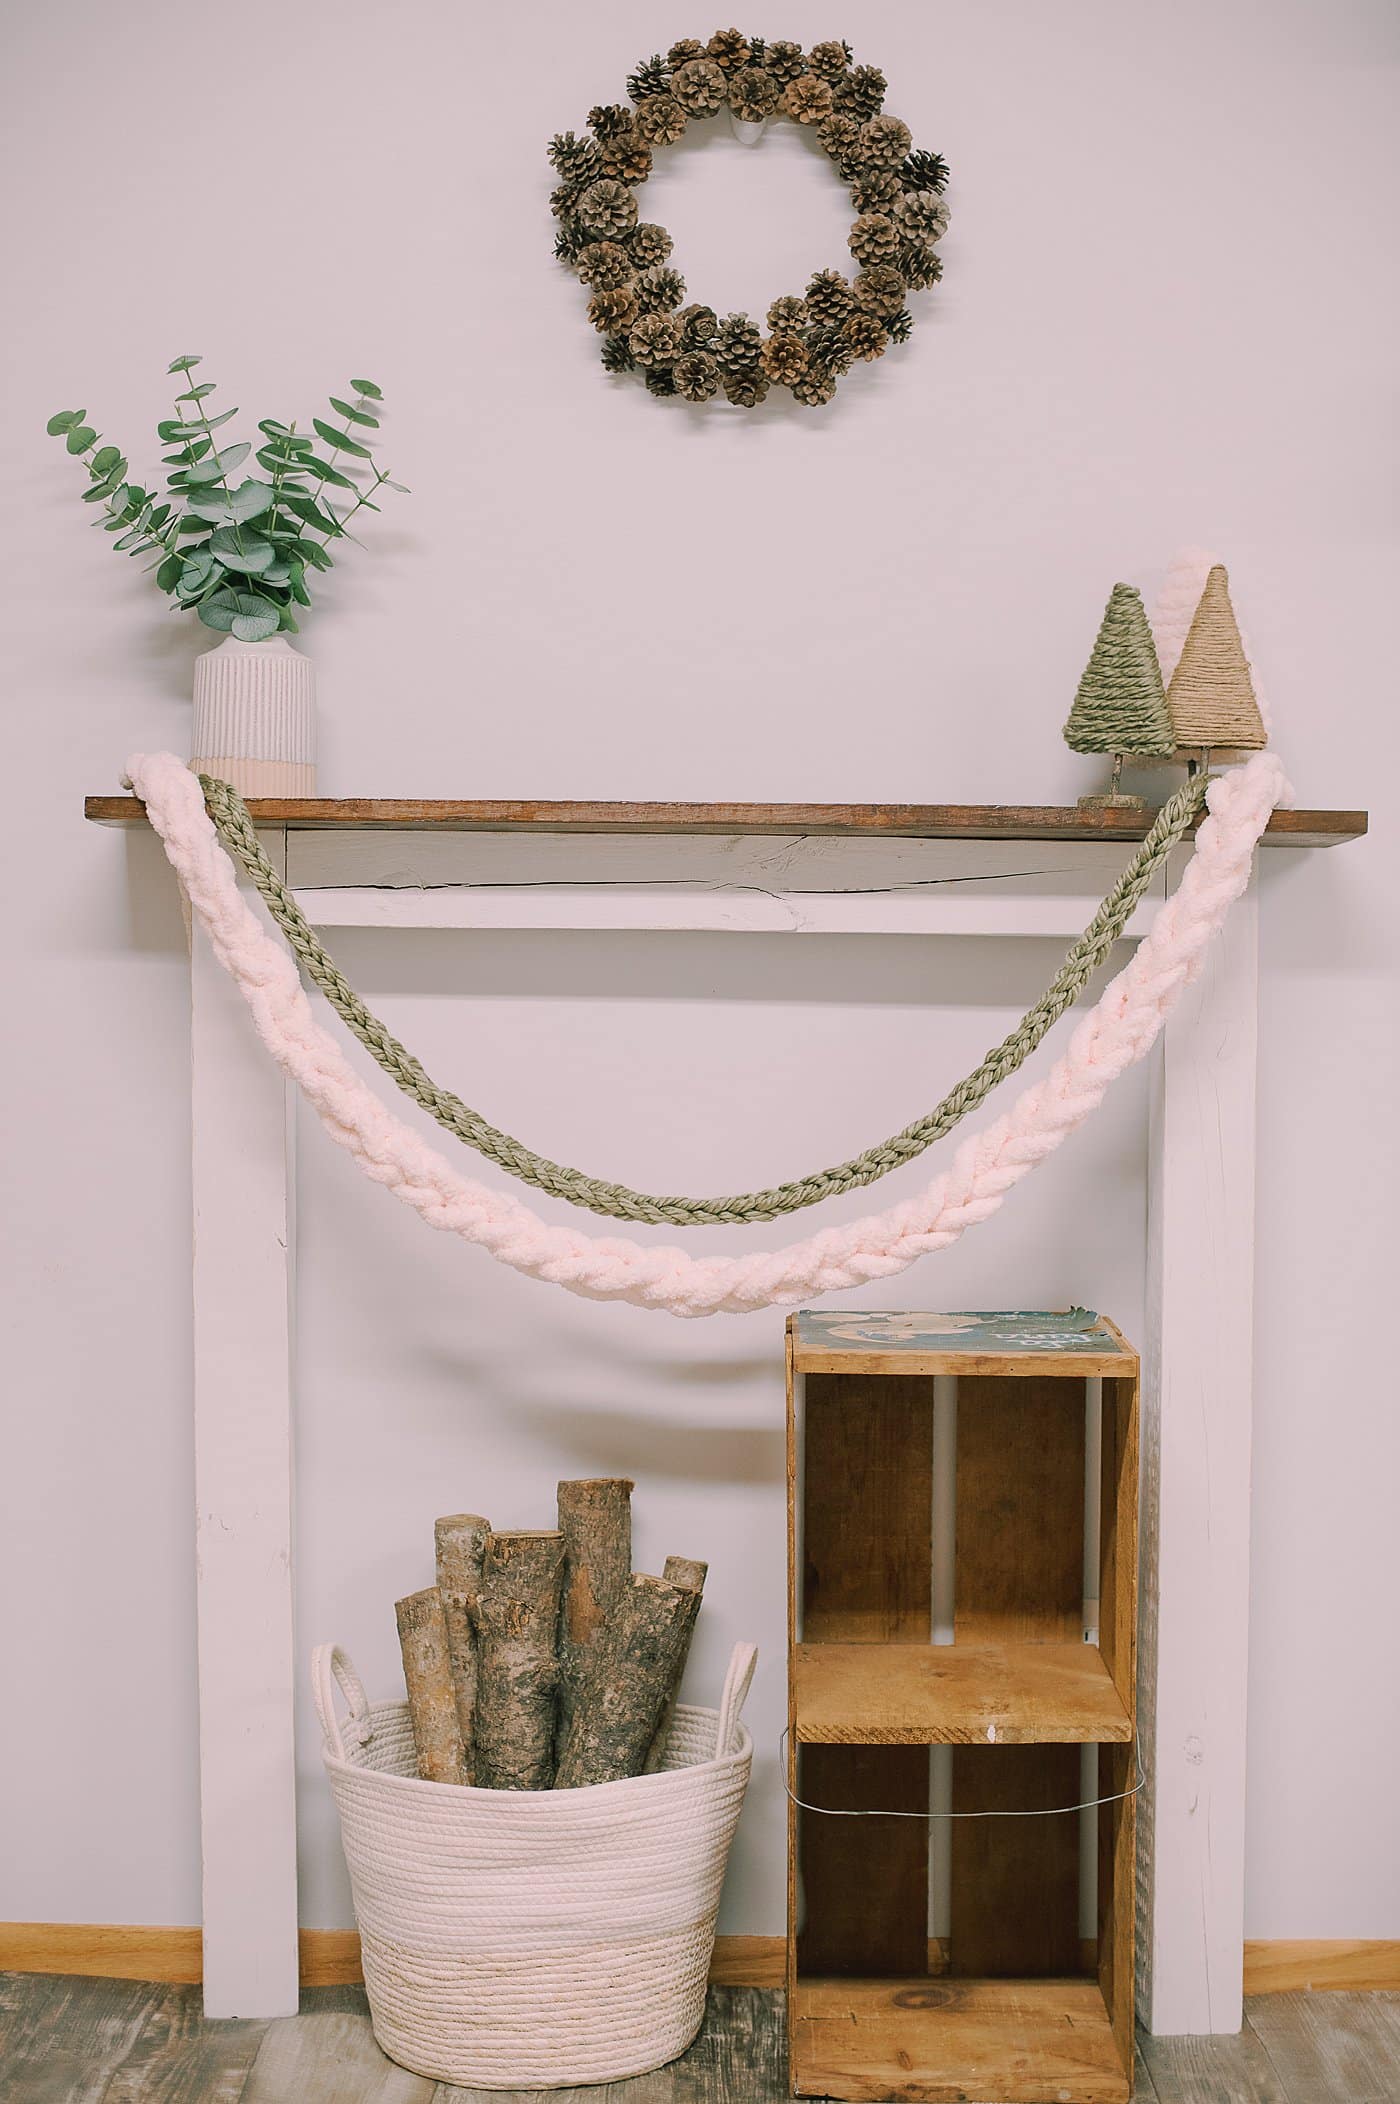
By using thicker yarn and a simplified two-finger technique, this DIY finger knit garland comes together quickly and easily, and it looks beautiful on the mantel!
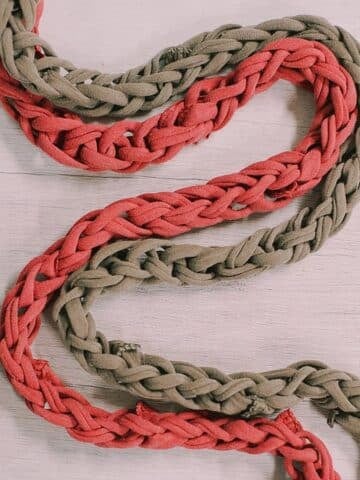
You can also use DIY t-shirt yarn to make an eco-friendly t-shirt yarn garland if you have old clothes you want to upcycle and repurpose!
More Yarn Crafts You'll Love
---
⭐️🧶 Did you enjoy this craft and want to see more like it? ✂️ Join our FREE email community and get inspiring craft ideas sent right to your inbox! 🧵 ⭐️
---
How to Make a DIY Finger Knit Garland with Chunky Yarn
Materials
- Chunky Yarn
- Scissors
- Your Hand
Instructions
- Start by pinching the tail end of a skein of yarn between your thumb and the base of your pointer finger.Wrap the yarn over the front of the base of your pointer finger, as pictured, and behind the base of your middle finger.
- Then bring the yarn around your middle finger and wrap it in front of the middle finger, and behind the pointer finger.At this point, you should have one piece of yarn visible on the front of each of your two fingers.
- Wrap the yarn around the front of the pointer finger again, and behind the middle finger again.
- Come around the outside of the middle finger and bring the yarn in front of the middle finger once again, and behind the pointer finger.Now, you will have two sections of yarn on the front of each of the two fingers, as pictured below.
- Carefully lift the bottom section of yarn up, over the top section and off of the finger, for each of the two fingers.
- Once you do this, you'll have one section of yarn on each finger.
- Repeat the wrapping procedure, bringing the yarn around to the front of the pointer finger, back behind the middle finger, around the outside to the front of the middle finger, and back behind the pointer again.(The motion is like a figure 8 around the fingers.)
- Once you have two sections of yarn on each finger again, take the bottom section closest to the base of each finger and lift it up and over the top section, and off of your fingertip.Repeat for both fingers.You'll be left with one section on each finger again.You can push the yarn down to the base of your fingers as you go. It has a tendency to ride up as you continue to finger-knit.
- Repeat this process - wrap a figure 8 around the fingers to add a second section of yarn to each finger. Lift the bottom section up over the one above it and off of the finger tip.Each time you do this, you are adding another "stitch" to your finger knit yarn garland.You can carefully pull the yarn tail end of the garland as you go, and the stitches will tighten up.Continue to add to the garland until it is as long as you want it to be.
- Cut the yarn, leaving an 8"+ tail.It should be in between your two fingers, laying behind your hand.Carefully move the yarn tail to the front side, in between your two fingers.
- Slip the end of the yarn tail under the section of yarn on one of your fingers and pull through.Then slip the yarn underneath the section on your second finger and pull tight.
- As you pull the yarn tail tight, you can slip both loops of yarn off of your finger tips.Pull the yarn tail tight, and the garland will tighten and finish itself off.
Notes
- You can buy yarn at big box stores, craft stores, specialty yarn shops, or online.
- This method of finger knitting works well for chunky yarn because it only uses two fingers (or can accommodate the chunkiest of yarn by using four fingers and pretending they are "two"). You can also finger knit using four fingers which works better for medium weight yarn. (This is the type of finger-knitting I learned in the 90's from my grandma!)
- Chunky yarn garlands work great for the mantel or hanging on the wall. Medium weight yarn makes finger-knit garlands that would work for wrapping around a Christmas tree.

Leave a Reply