
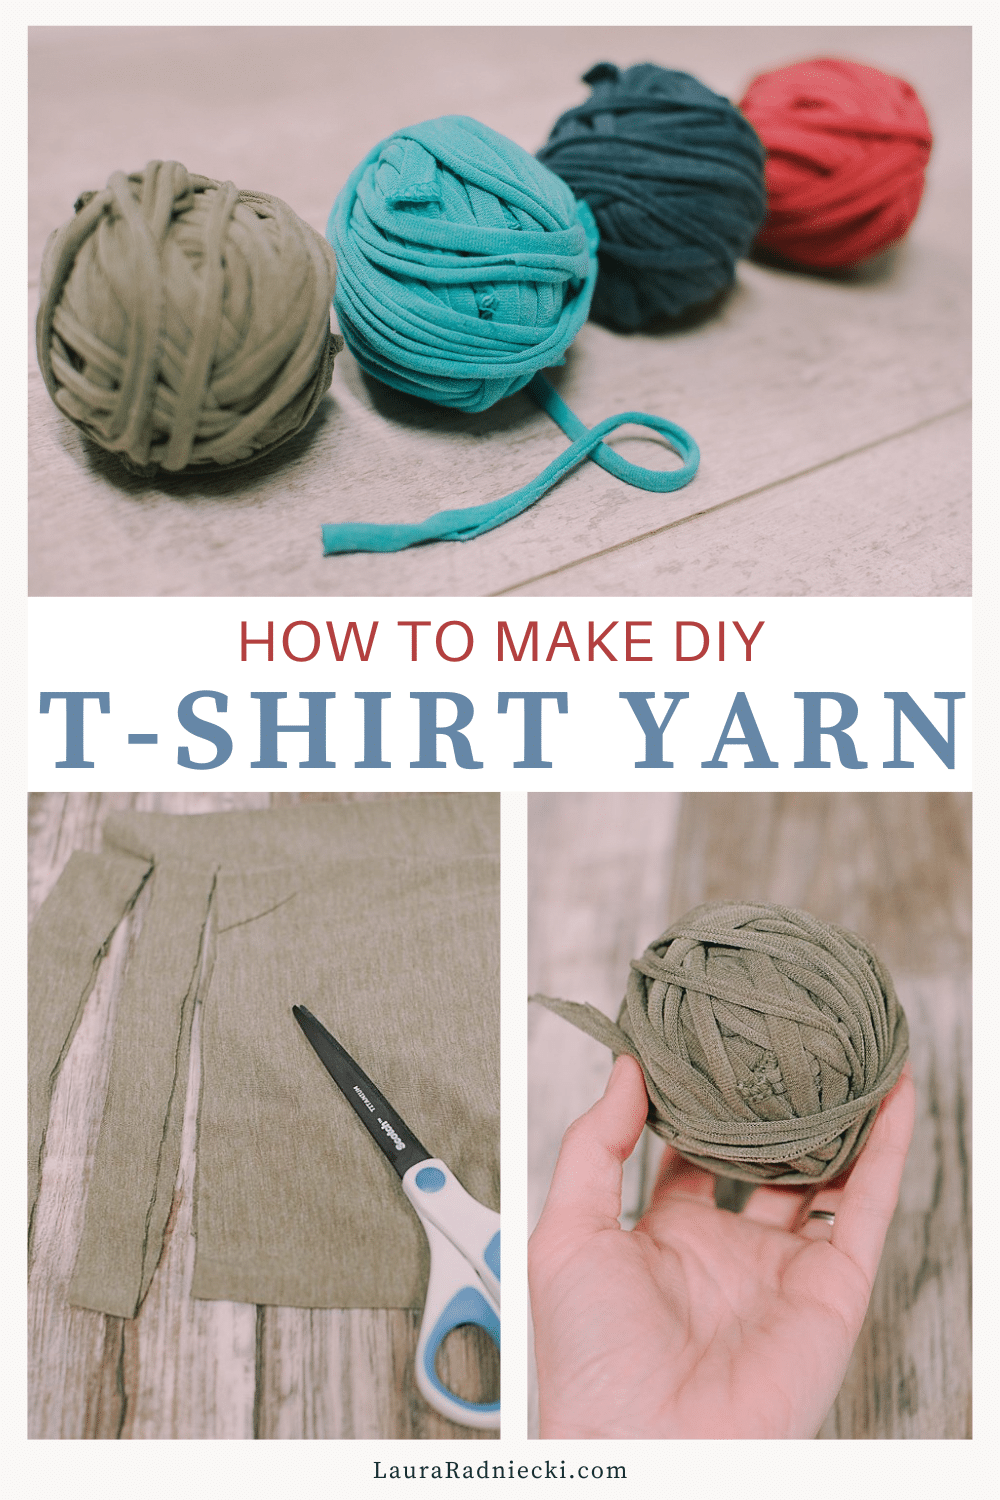
Learn how to make t-shirt yarn in this tutorial that shows how to make yarn out of your old t-shirts in the ultimate upcycle craft!
Upcycling something old and giving it new life is a great feeling. It physically pains me sometimes to throw things like worn-out or stained clothes in the garbage, because it just seems so wasteful. (But no thrift store will want them when they're like that!)
Recycling old t-shirts into t-shirt yarn is a wonderful way to decrease waste and a great way to get some new craft supplies to make a new project! You could even make DIY scrunchies with fabric from the t-shirts first, and then turn the remainder into t-shirt yarn. Now that's a win-win!
Today, we are going to use old t-shirts and turn them into yarn! (These have permanent armpit stains so were destined for the garbage before they were turned into yarn!)
Here's how to do it!
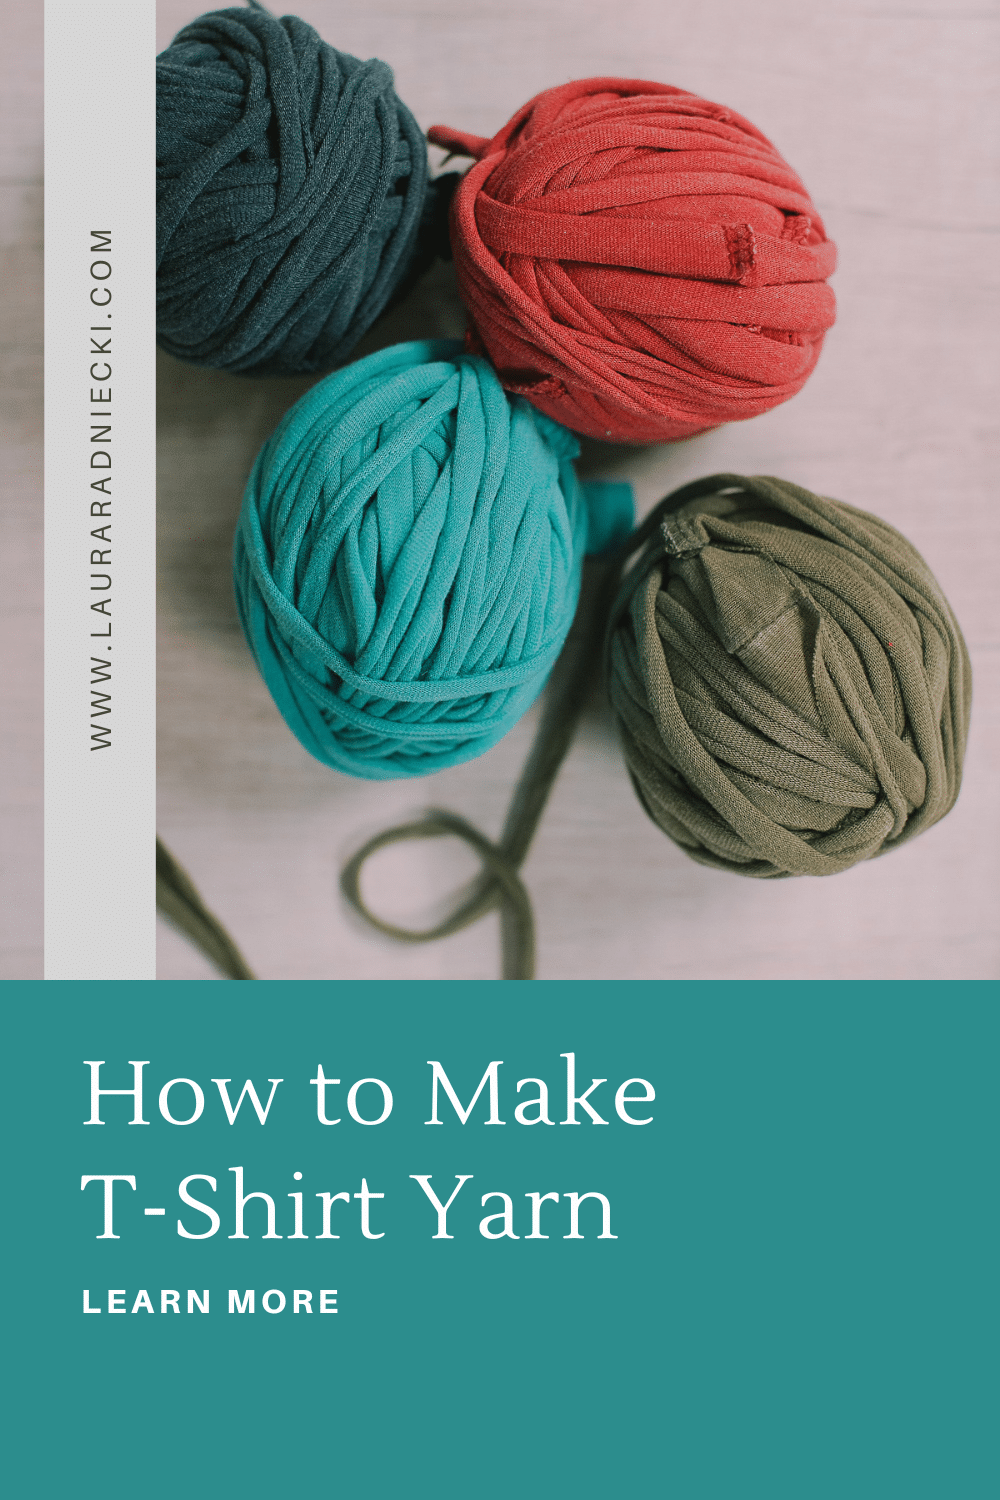
How to Make T-Shirt Yarn
Step 1. Gather Supplies
Supplies Needed:
- Old T-Shirts
- Scissors
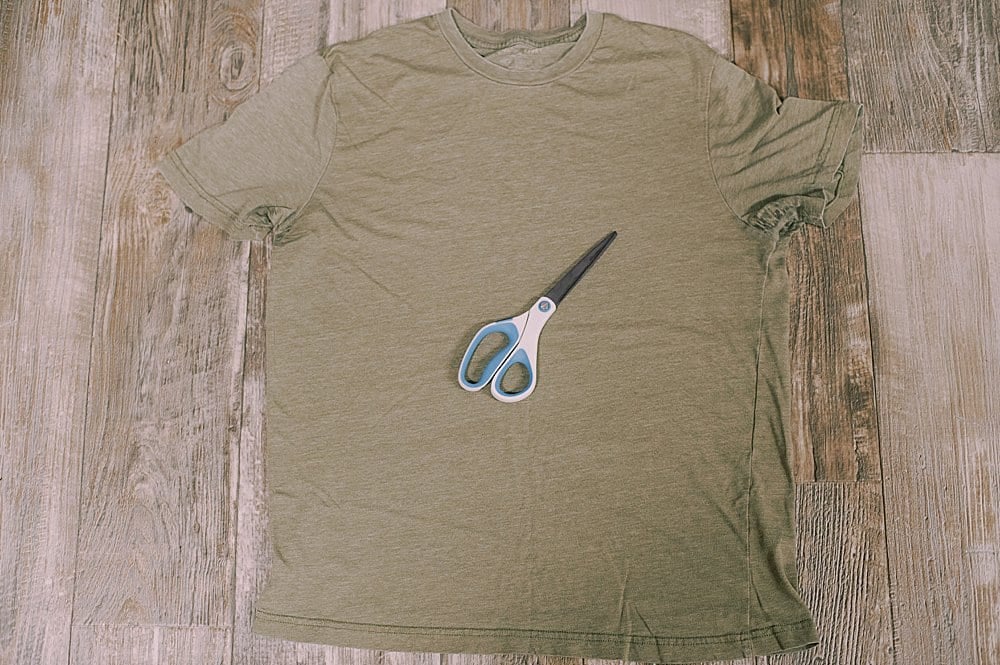
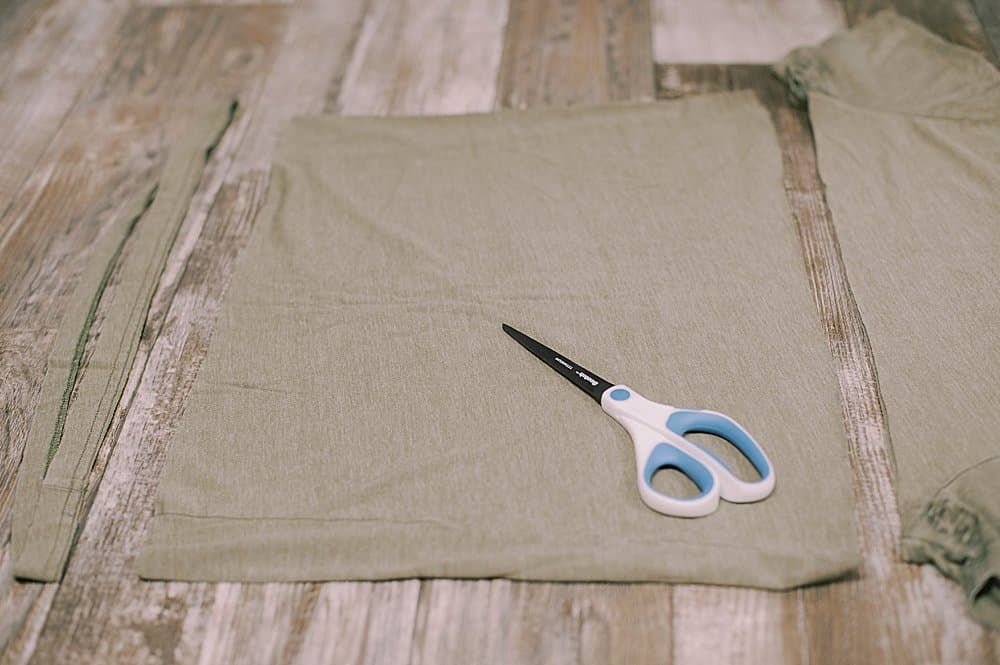
Step 2. Lay the t-shirt flat and remove the bottom hem and top section with the neckline and sleeves.
If your shirt has any logos on it, cut the top section off below the logos, instead of beneath the armpits like I did here. (This shirt is plain and doesn't have any logos on the front or back.)
NOTE: There are tutorials online that show how to make t-shirt yarn by using almost every scrap of fabric from the t-shirt with very little waste. If this interests you, look it up on youtube.
For my purposes, I wanted to make my t-shirt yarn quickly and easily, without having to do much trimming or splicing of pieces together.
Discard the bottom hem and top sleeve section. You won't need these for making your t-shirt yarn.
(I give my kids scrap fabric to use for crafts, and these types of scraps work perfect for that.)
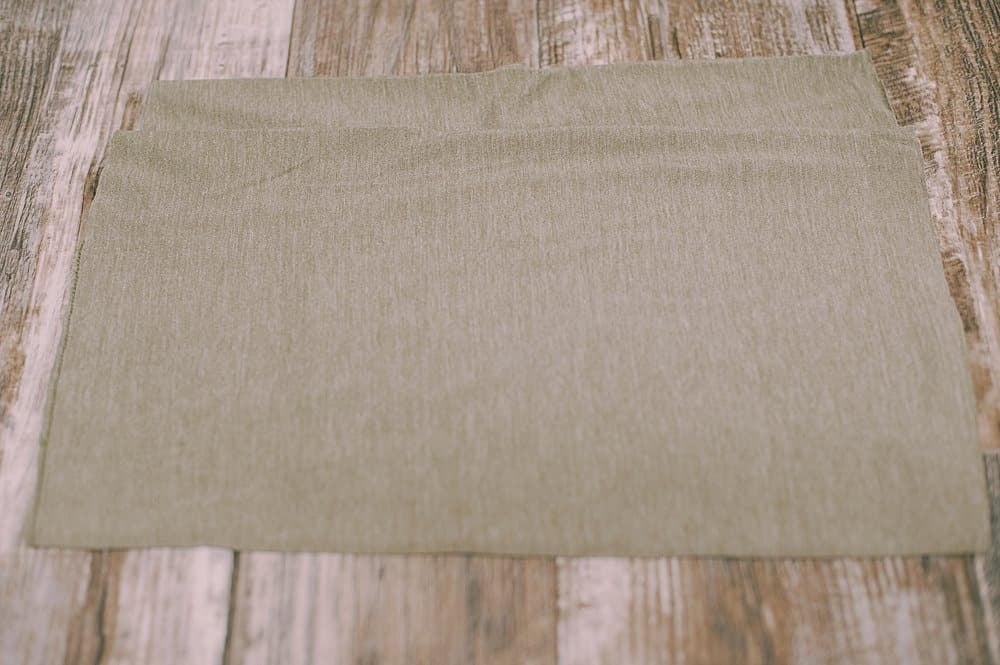
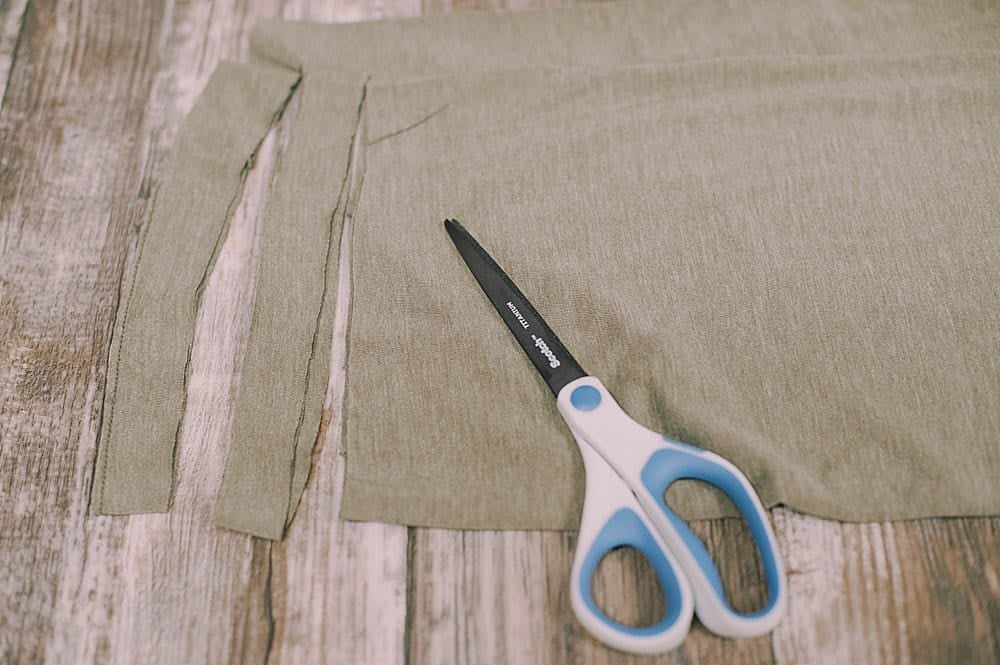
Step 3. With the middle section of the t-shirt laying flat as pictured above (with the cut bottom hem edge to the left and the cut off top to the right), take the edge of the t-shirt closest to you and bring it up to an inch below the other edge.
Smooth it all flat.
Step 4. Starting closest to you, cut approx ¾" strips that go up the folded t-shirt, just past where folded the shirt to in Step 3.
Don't cut all the way through the body of the t-shirt! This is crucial.
You need to leave a 1" (or so) section of uncut t-shirt at the top, furthest away from you.
Step 5. Continue to cut ¾" strips along the length of the fabric, cutting through the folded edge, and stopping about 1" from the top edge.
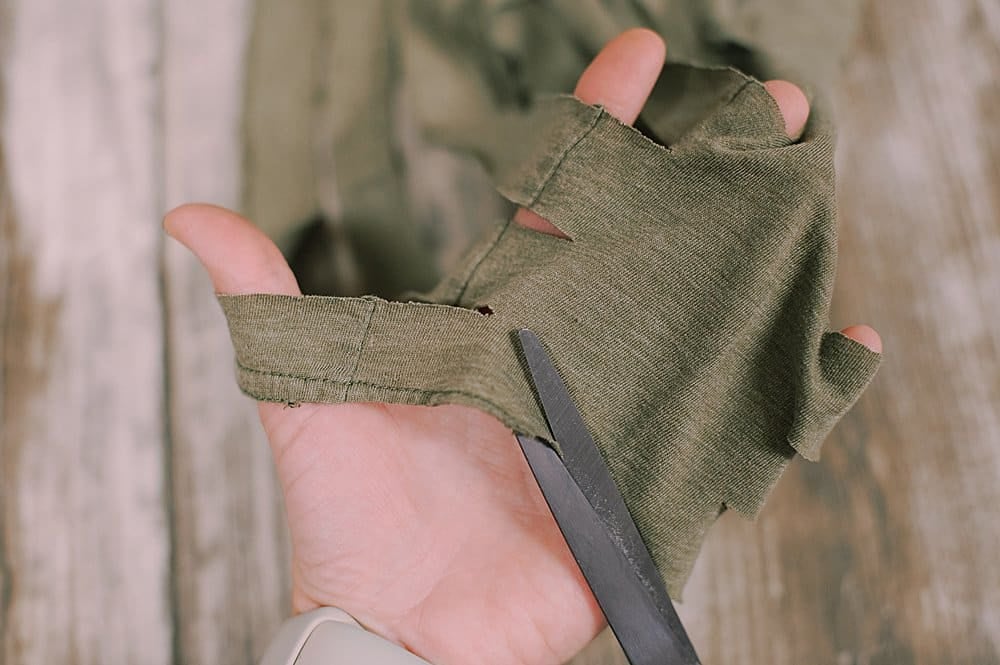
Step 6. Once all of the slits are cut, slide your hand into the fabric on the top edge, where you didn't cut all the way through to the edge.
You'll see an uncut section of fabric, with fringe on either side, as pictured below.

Step 7. Starting on the OUTSIDE EDGE of the fabric, cut diagonally in, to the first slit.
Once you cut it, that piece will be free, and slide off your hand.
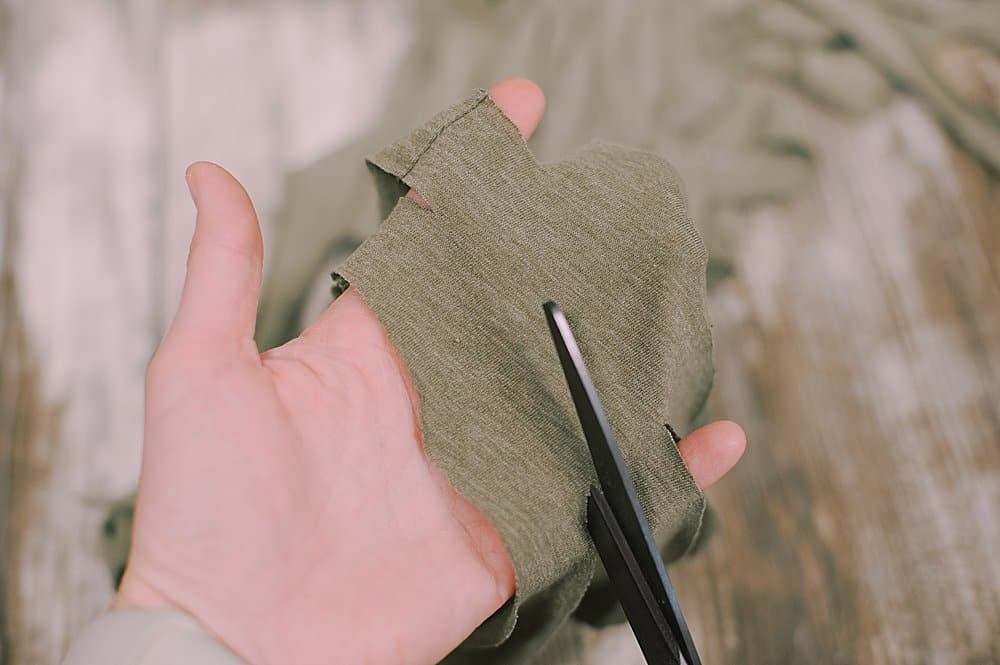
Step 8. Cut the next visible slit on the bottom right, to the next visible slit on the top left.
Because you started on the OUTSIDE of the fabric in Step 7, you cut from the outside to slit 1.
Now in this step, you are cutting from slit 1 on the right, to slit 2 on the left, diagonally through the middle section.
Step 9. Continue to cut the slits from the bottom right to the top left, one at a time.
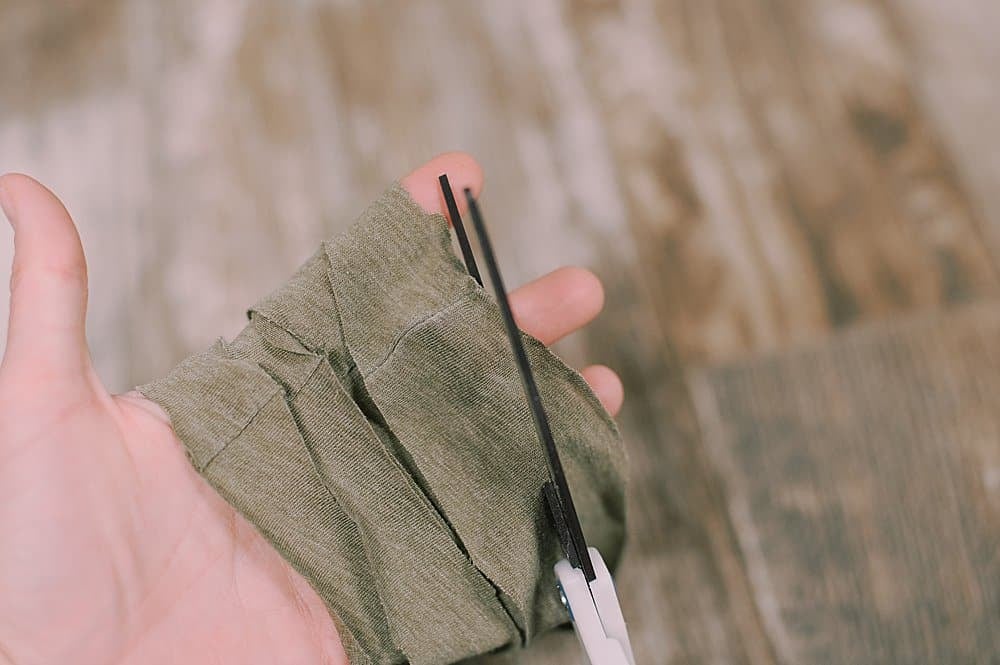
Step 10. Once you have cut slits through the whole length of fabric, you'll come to the end where you have one slit remaining on the bottom right, but none on the top left.
Cut from the slit to the outside edge of the fabric, just like we did at the beginning but in reverse.
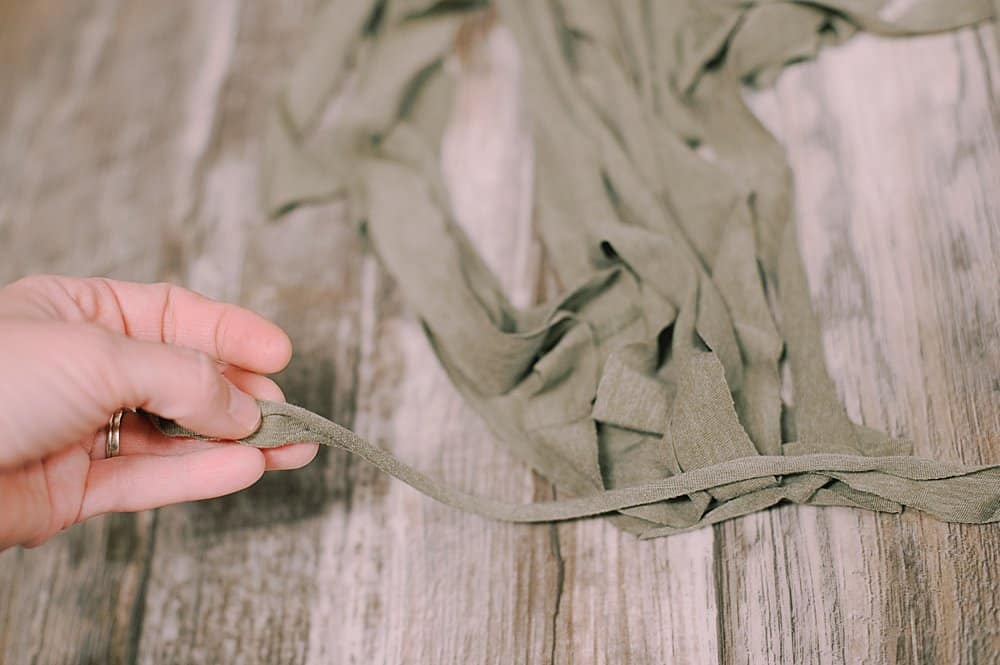
That's all the cutting - you should now have one continuous strip of fabric from the t-shirt.
It's time to pull the fabric, and make it roll up into yarn!
Step 11. Find one of the ends of the fabric strip, and gently pull on a section of fabric, with one hand at each end of the 1 foot section.
As you gently pull on the section of fabric, it will roll up to the inside.
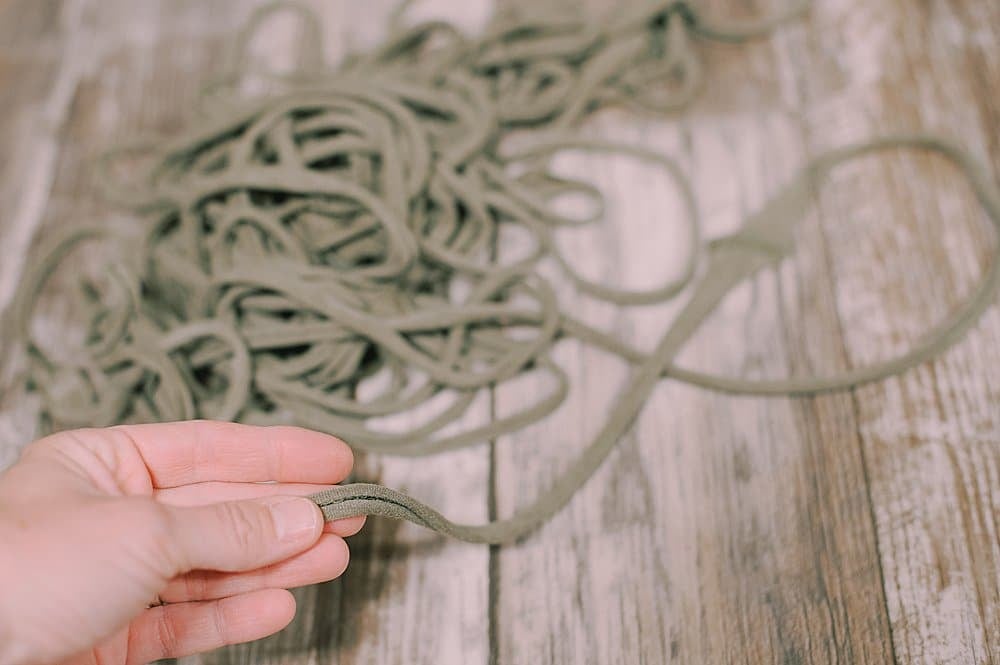
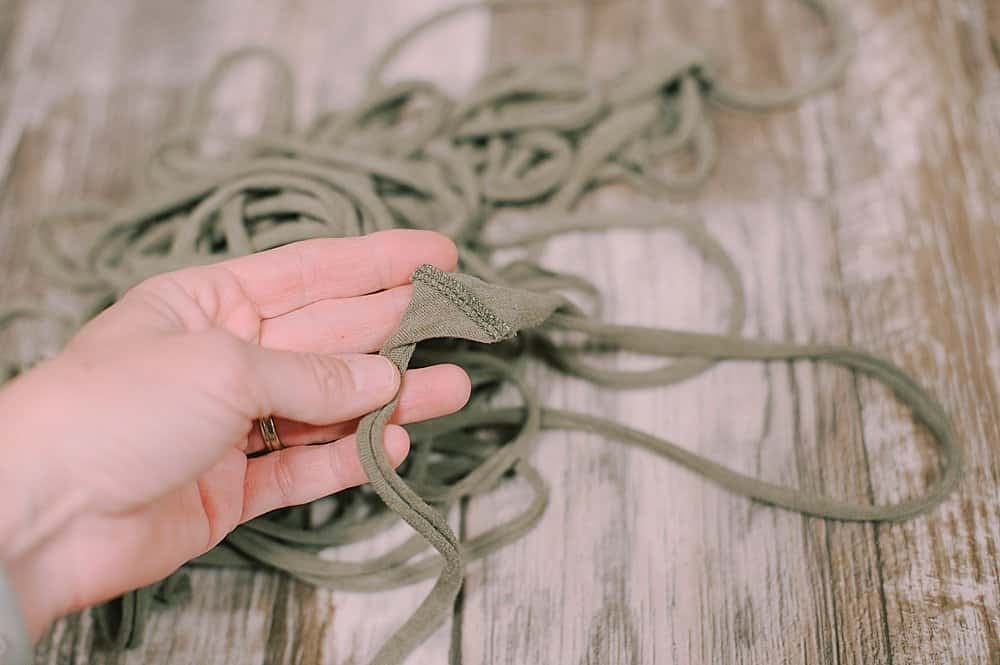
The side hem sections of the fabric are fragile. If you pull on them, they can unravel.
As you work through the fabric strip, pulling to roll it into yarn, hold each seam tightly in your fingers before you pull.
This helps secure the seam and keeps it from unraveling, yet lets the rest of the fabric roll as needed.
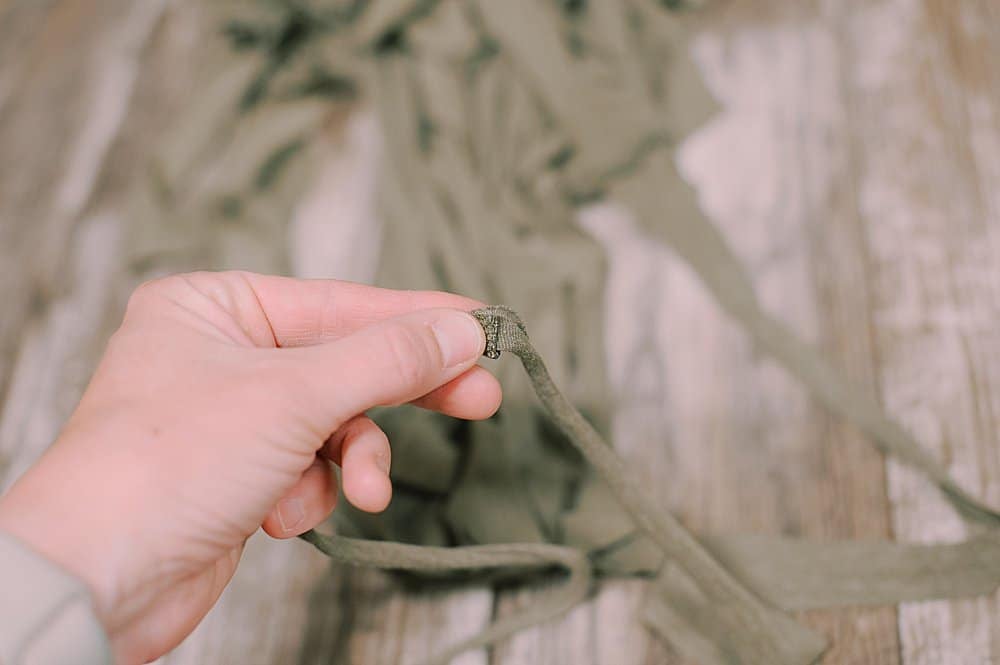
The seams of the shirt won't roll up like the rest of the fabric will.
Depending on your project, this may not be desirable, or maybe it won't make a difference at all.
Keep this in mind when deciding what to make with your t-shirt yarn.
You might be able to trim off some of the bulky extra fabric from the seams but proceed with caution. The thinner the seams are, the more fragile they are and the easier they can unravel.
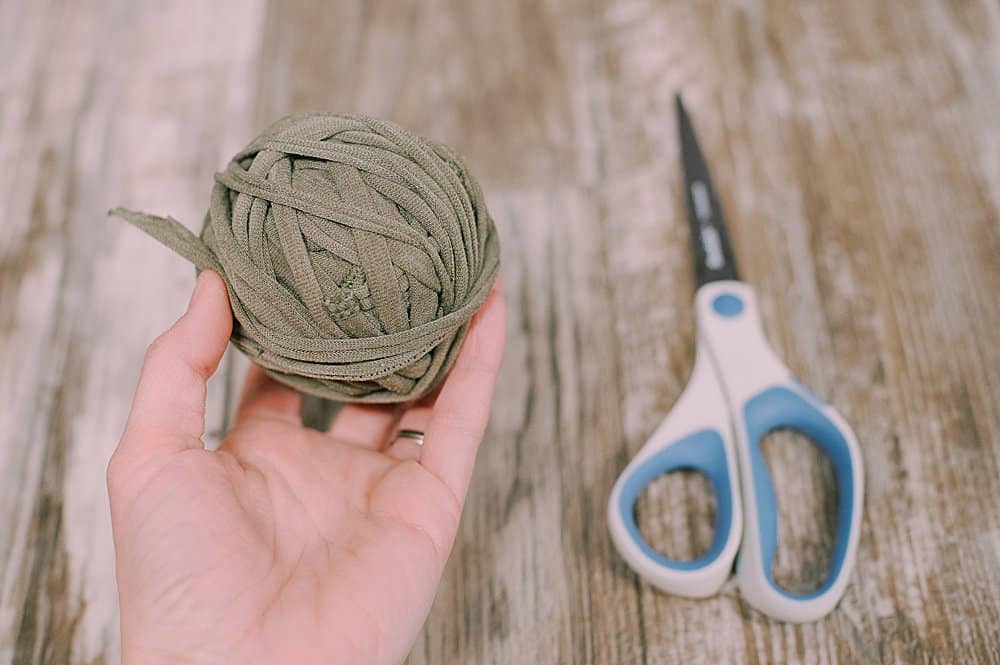
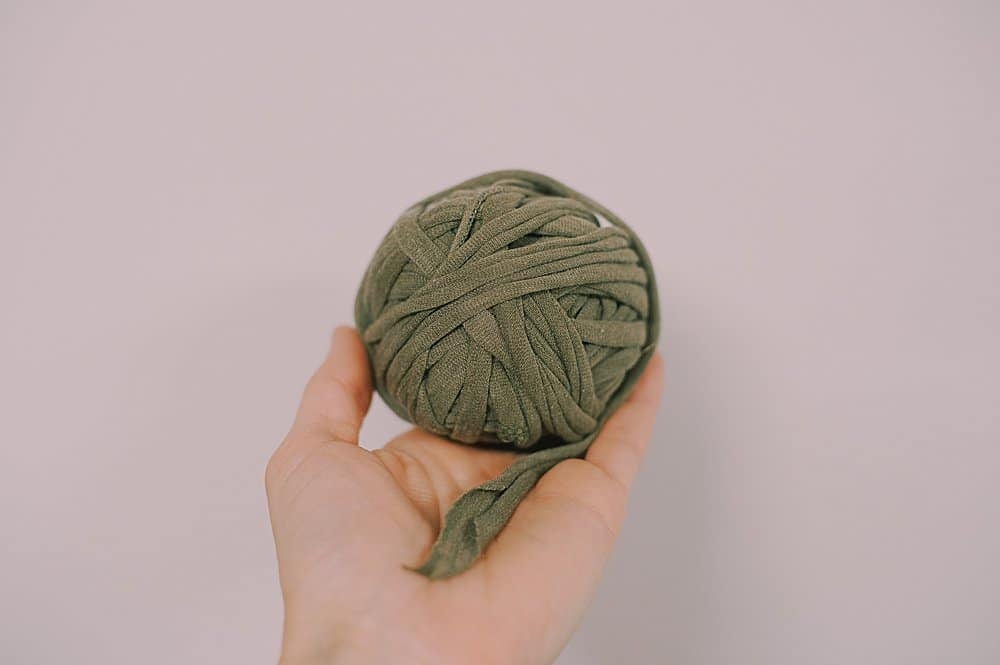
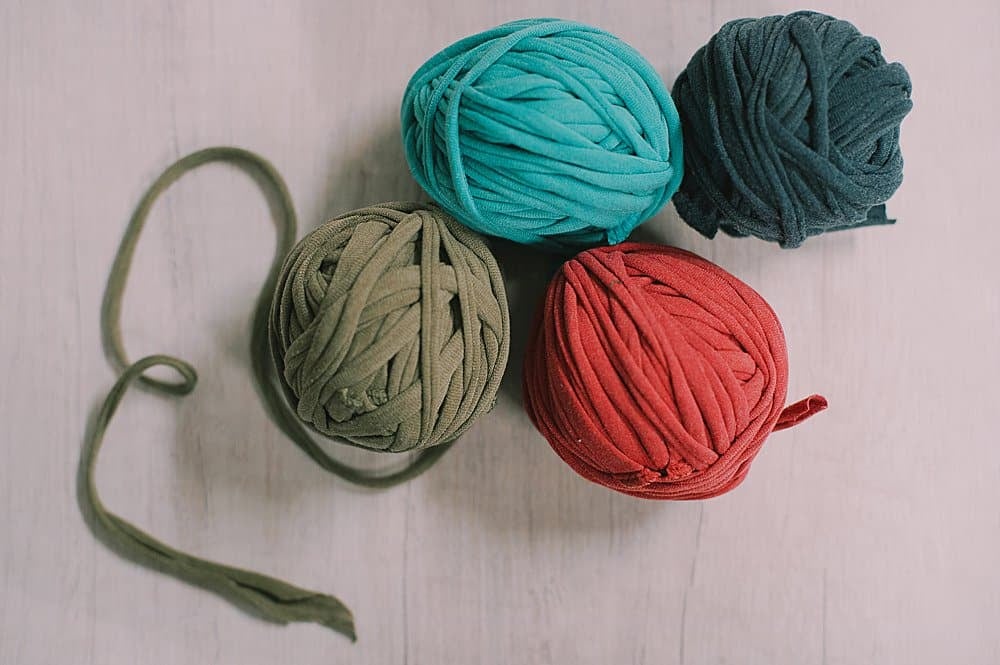
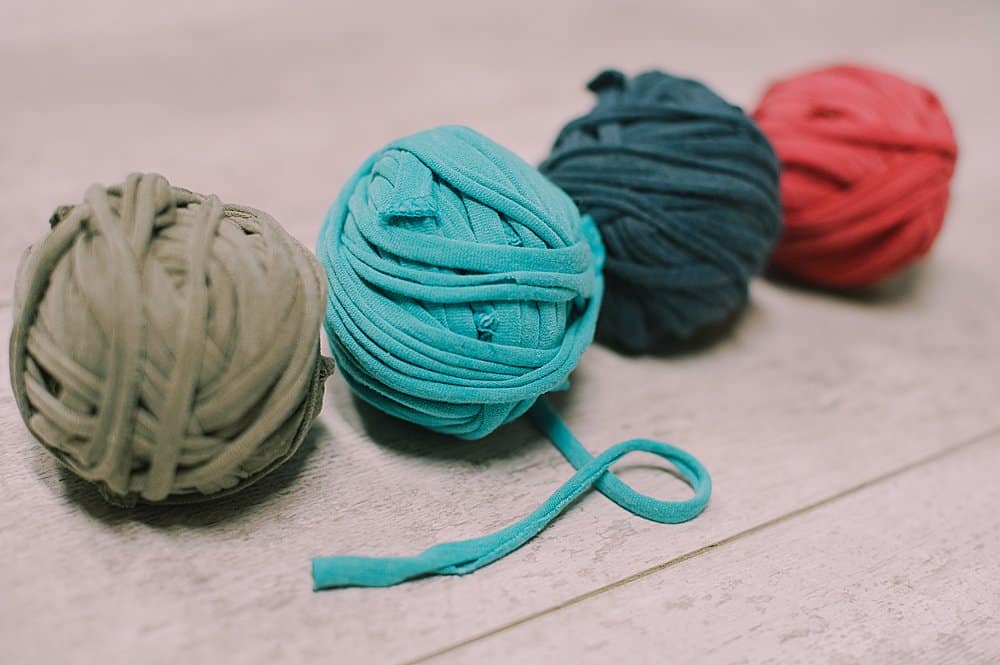
Step 12. Once you have gently pulled through the entire length of t-shirt yarn, it's time to wrap your new yarn up into a ball so it's easy to use and store.
Start by wrapping one end of the t-shirt yarn around your fingertips several times, and then remove it from your fingers and wrap the opposite way around it.
Continue to wrap in varying directions as the ball grows.
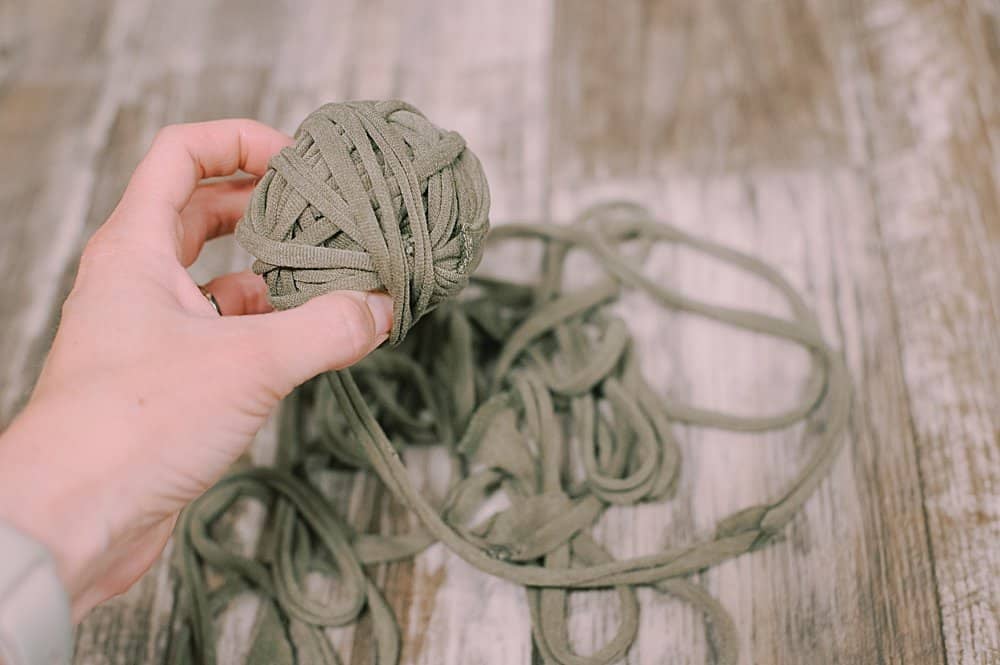
Continue to wrap and once you get to the opposite end, you can tuck the end under one of the other sections of yarn to secure the tail.
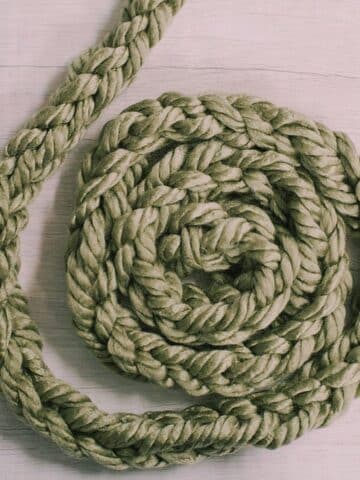
That's it! You have made t-shirt yarn from an old shirt!
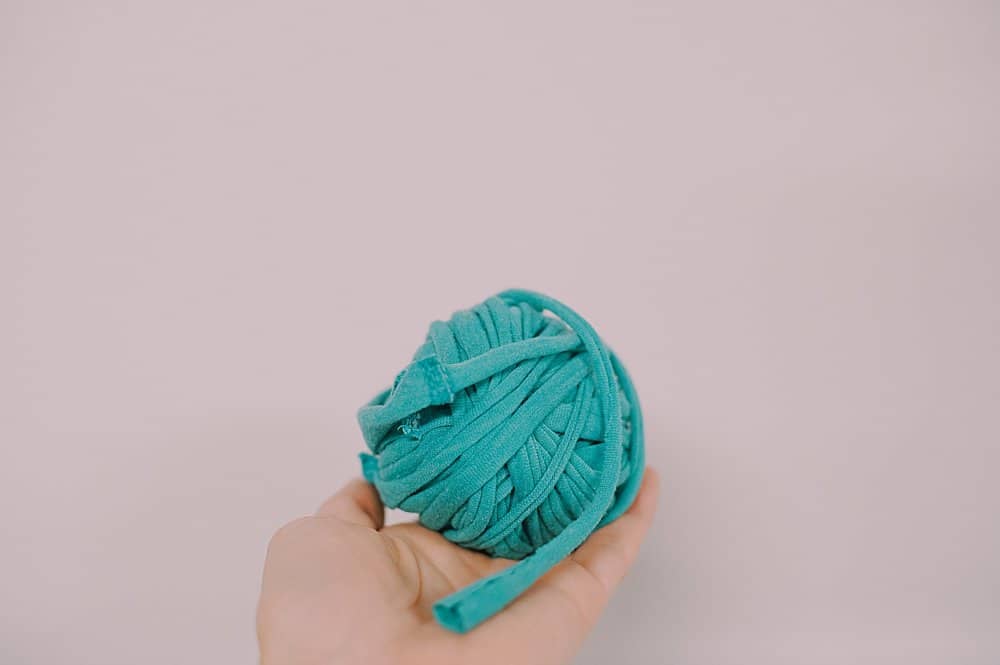
Use shirts of different colors to make different colored balls of yarn.

It's a great feeling, knowing you are recycling something that would otherwise be destined for the landfill (thrift stores don't want worn-out shirts or shirts with permanent armpit stains).
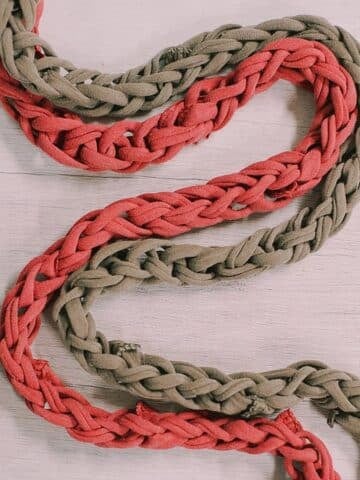
You can even make a finger-knit garland using t-shirt yarn!


Leave a Reply