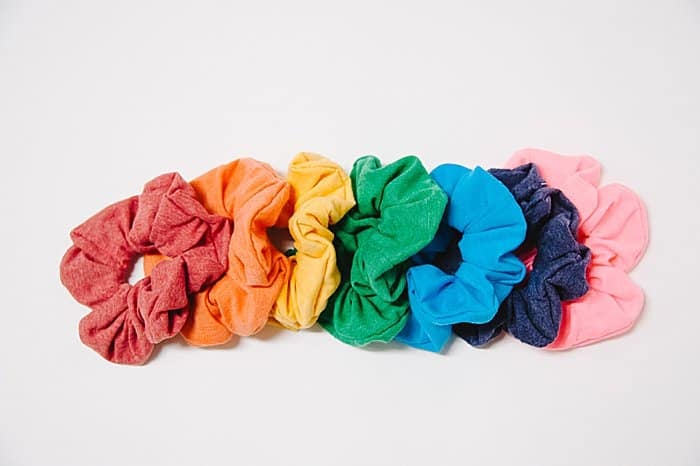
DIY Scrunchies can be made with any type of material, from simple quilting cotton to decorative fabrics or even flannel and fleece.
Or, you can keep the environment in mind and upcycle a piece of clothing into a fun, new scrunchie!
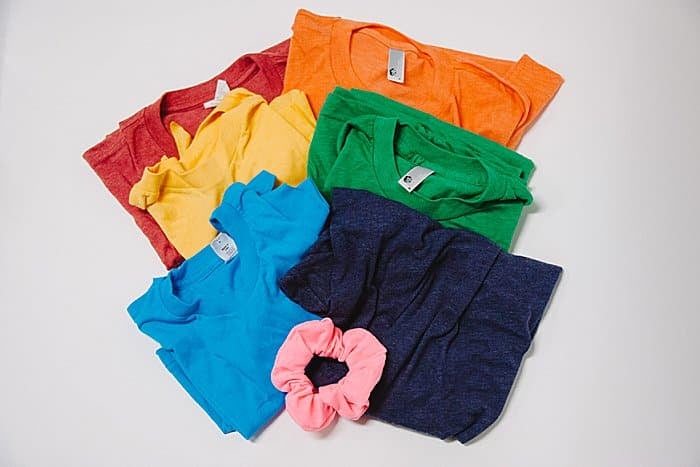
My favorite type of clothing to turn into a scrunchie is an old t-shirt. The soft jersey material makes the best scrunchies, and they are soft and comfy to wear.
Here is how to make a DIY scrunchie out of a t-shirt (or another upcycled piece of clothing) in just a few minutes!

How to Make a DIY Scrunchie out of a T-Shirt
Step 1. Gather supplies.
Supplies Needed:
- Fabric (t-shirt, baby blanket, etc)
- Elastic (¼″ flat elastic or elastic cording)
- Scissors
- Rotary Cutter and Cutting Mat
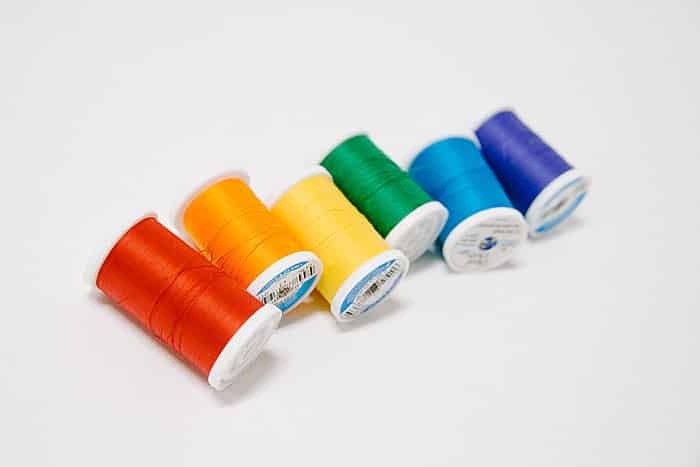
- Quilt Clips and Safety Pins
- Sewing Machine
- DIY Scrunchie Project Checklist (free in the FREE Resource Library!)
- Optional: Iron, Ironing Board, Straight Pins
We are going to follow all of the same steps from my DIY Scrunchies tutorial. I'll list them quickly here, but more detail can be found on the original DIY scrunchie tutorial.
Step 2. Cut a long, rectangular fabric strip, and a piece of elastic.
My most commonly used fabric strip measurements:
4″x20″ (up to 24″ for more scrunch), and 8″ elastic.
PRO TIP: When you're using a jersey knit fabric like an old t-shirt, the fabric tends to roll and curl into itself.
So that’s why I like to use the bottom hemmed section of an old t-shirt for my scrunchie.
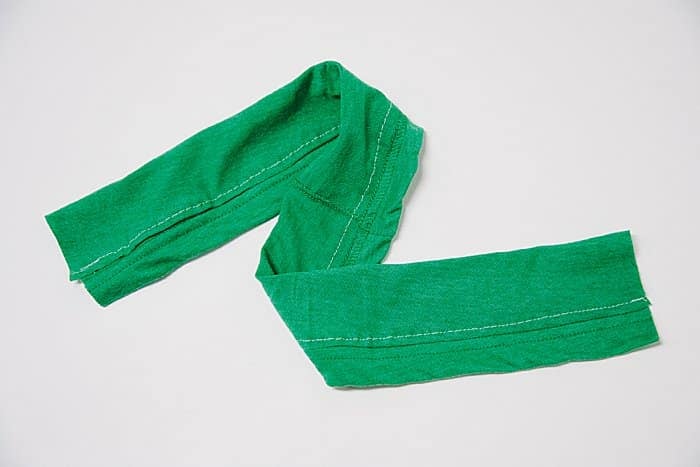
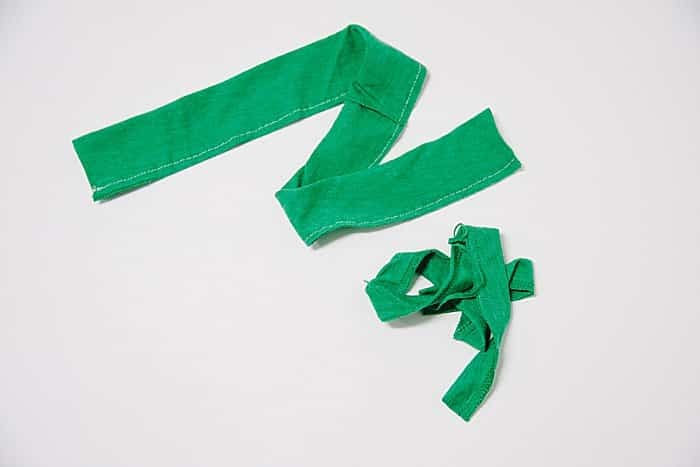
I leave the hem on at first, to help make it easier to sew into a tube. The bottom hem keeps it from rolling and curling.
Then, I cut off that bottom hem once my tube was sewn, before I turn it right side out.
Step 3. Fold rectangle in half (the “hotdog” way), with RIGHT SIDES together on the inside; sew a seam down the long side. Cut off hem, if you left it on.
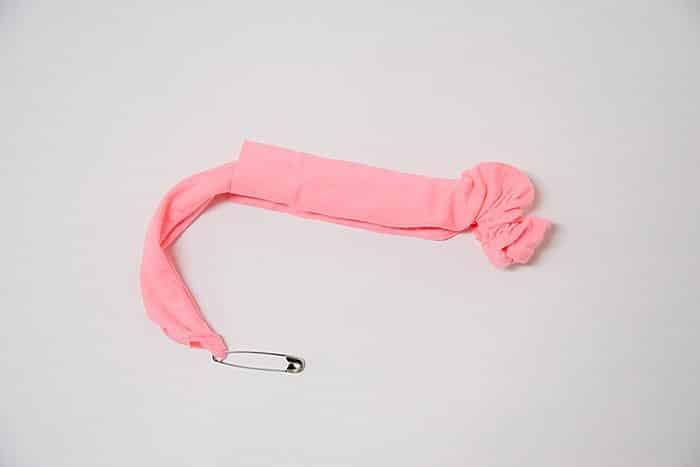
Step 4. Attach a safety pin to one end of the tube, and use it to turn the tube right side out.
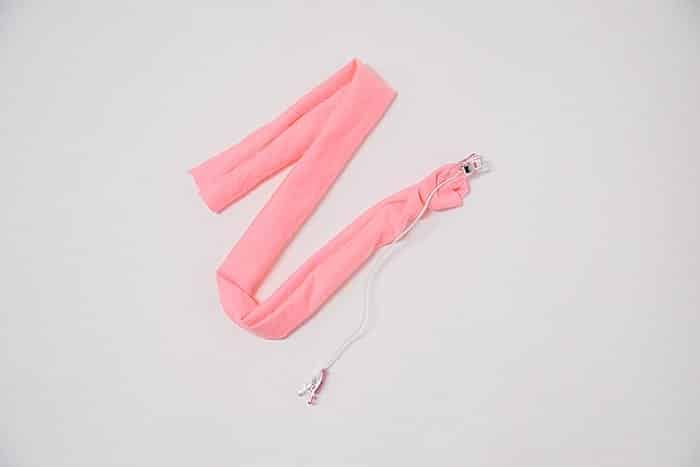
Step 5. Feed 8" piece of elastic through the fabric tube.
Step 6. Secure the two ends of the elastic together.
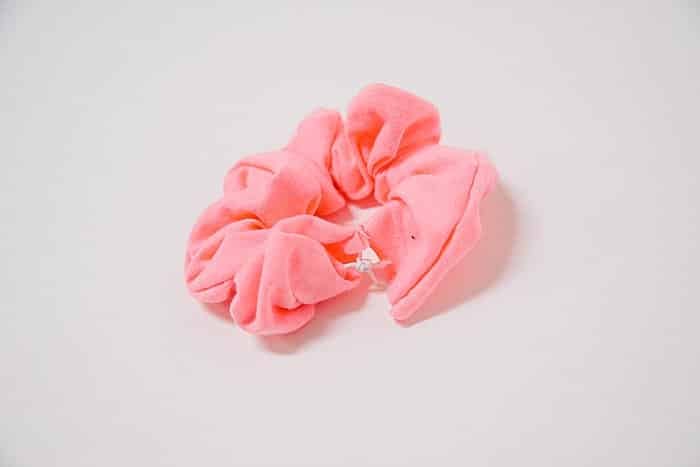
Step 7. Fold one end of fabric tube under, insert other end inside, and sew to finish off scrunchie.
And that's it; you are done!
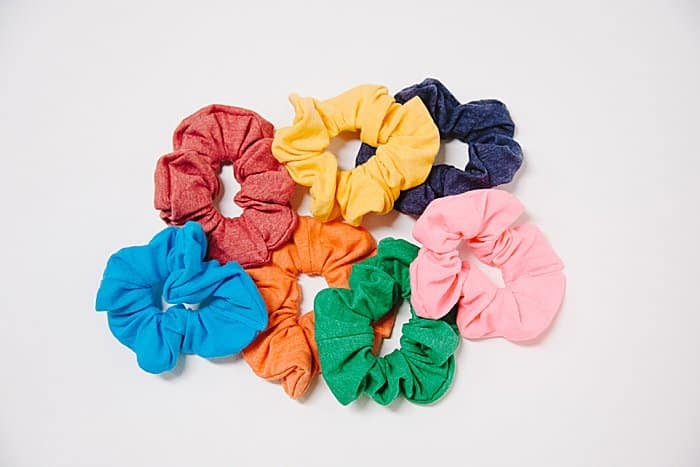
You can make a scrunchie out of almost any fabric imaginable.
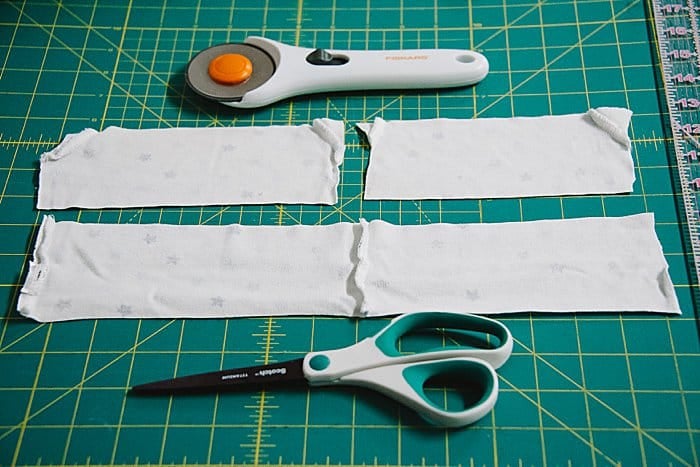
You can also splice smaller sections of fabric together if you aren’t able to cut a rectangle big enough all in one piece. I did this when I made a scrunchie out of an old baby onesie.
Using old clothes is a fantastic way to remember old favorites, or to make a keepsake that can remind you of a loved one.
Plus, it’s so fun to know you’re repurposing fabric that would otherwise just end up in the garbage!
And for more simple sewing projects, you can try a DIY envelope pillowcase or an easy zipper pouch.
–





Peggy Stear
Thank you for sharing
Laura
You are welcome, Peggy!