
Wondering how to sew a zipper pouch to use as a makeup bag or purse organizer? Here's a DIY tutorial showing you how to make a 6-minute zipper pouch.
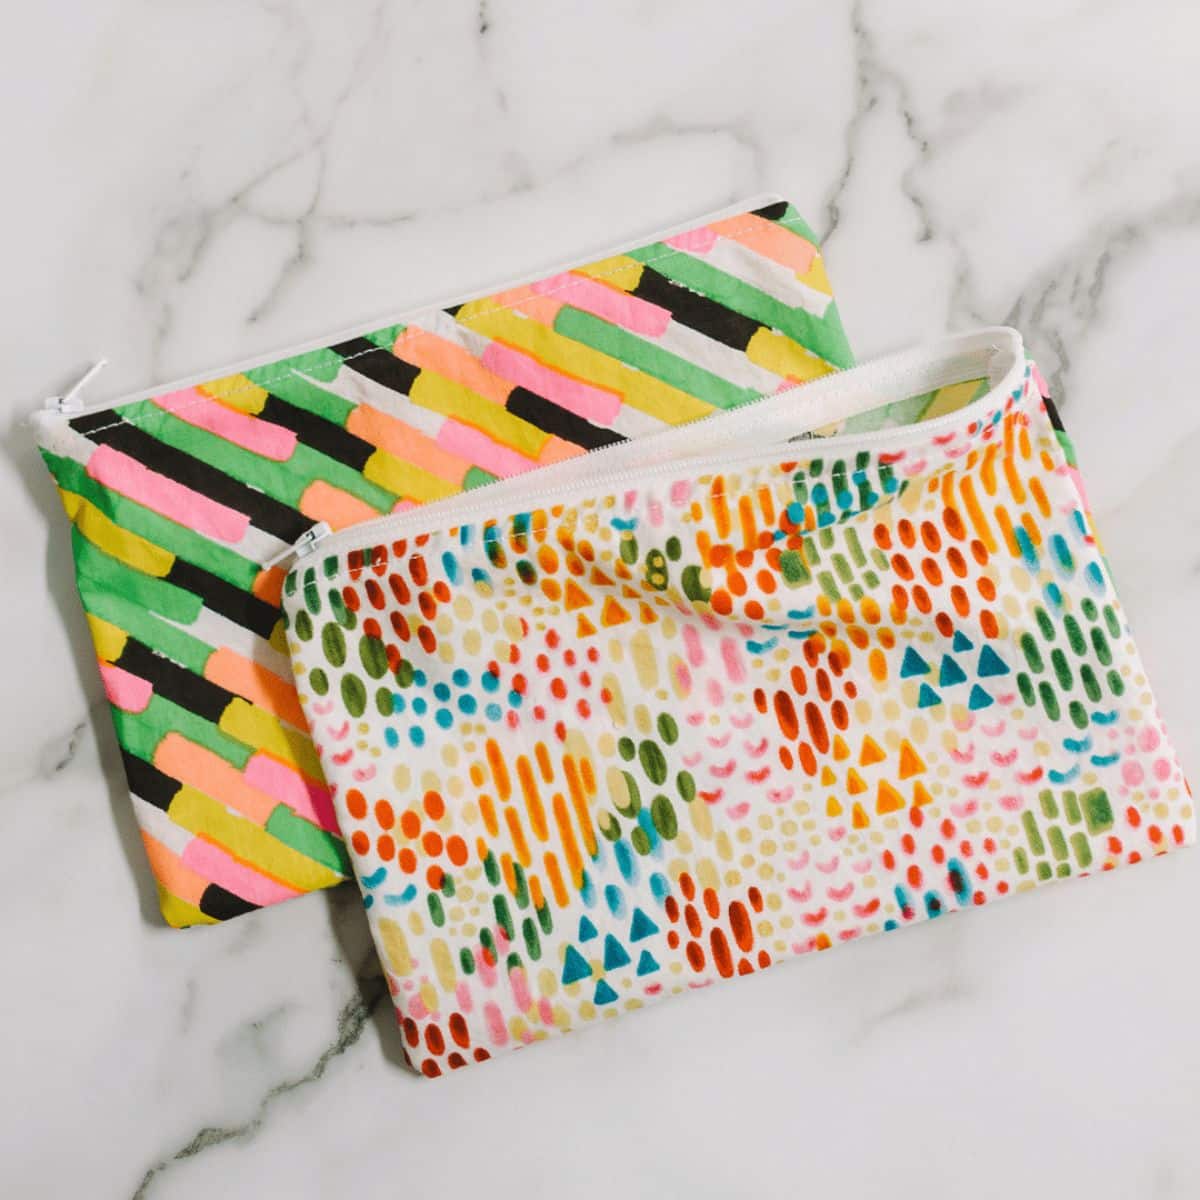
If you’re looking for a place to collect small items, nothing works quite as well as a zipper pouch.
You can use a small zipper pouch to hold makeup, purse supplies, coins, toys, or even dry snacks.
What is better than a great zipper pouch? A diy zipper pouch you make yourself!
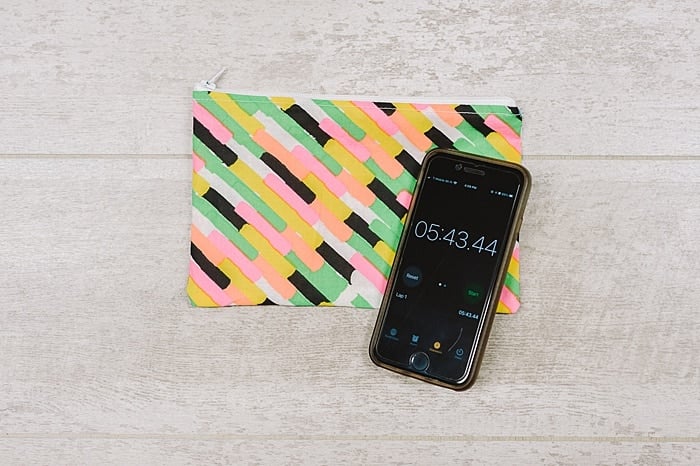
Here’s how to sew a zipper pouch in less than 6 minutes from start to finish. (I timed it!)
Jump to:
Why You'll Love This Craft
- This project is so easy - all you need to know how to do is cut fabric, sew in a straight line, and backstitch at the beginning and send of your seams. That's it! It's the perfect beginner sewing project.
- There are so many things you can organize and store using zipper pouches. That's why I'm of the opinion that you can never have too many zipper pouches!
- Handmade gifts are always a hit, and when it's something as useful as a pouch to store things in?? That's a major win-win! Especially when it looks complicated (but is actually so easy!)
Craft Supplies Needed
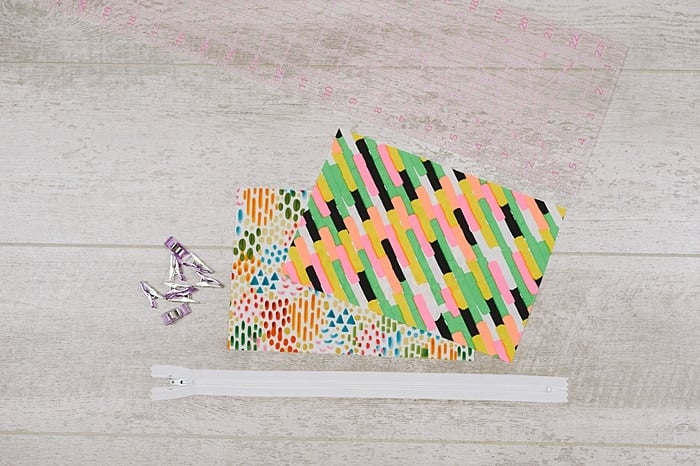
- 9” x 6” Pieces of Fabric (2 of them) - This is the size I used for these pouches. You can use different-sized fabric pieces to make varying-sized bags. Smaller fabric pieces for coin purses, and longer pieces of fabric for pencil holders, etc.
- 10" Zipper - You want the zipper to be longer than your pouch.
- Quilt Clips or Pins - Quilt clips are my first choice because they work great, and are non-destructive to the fabric (they don't poke any holes!)
- Cutting Mat, Ruler, Rotary Cutter - This makes cutting precisely sized pieces of fabric so fast and easy.
- Scissors, Sewing Machine - Sewing project staples!
How to Make a DIY Zipper Pouch in 6 Minutes
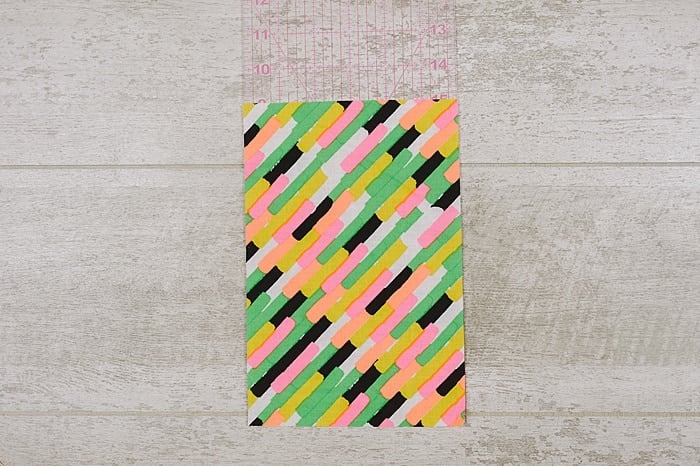
Step 1: Cut your fabric so you have two rectangle pieces of fabric that measure 9” x 6”.

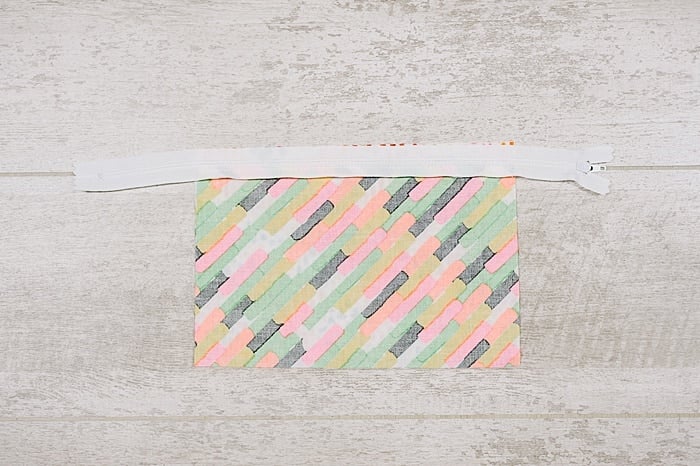
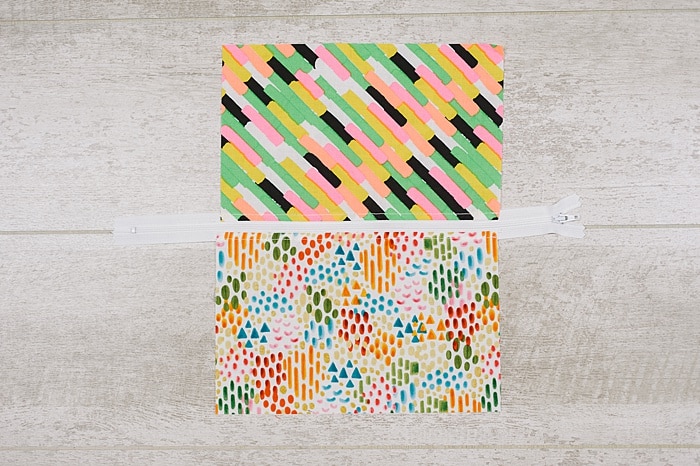
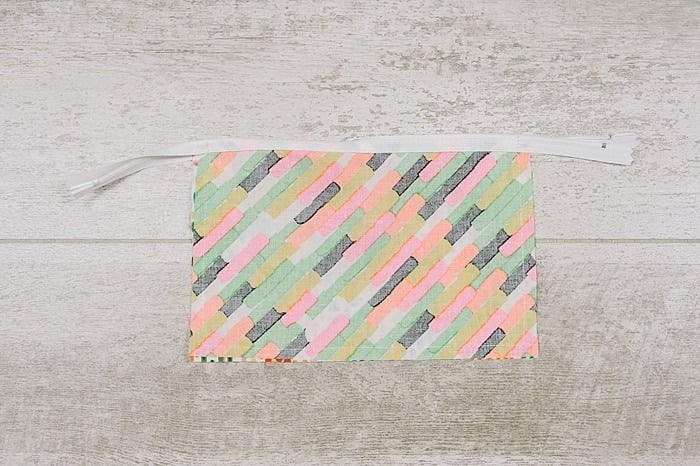
Step 2: Lay out one fabric piece so the right side is UP.
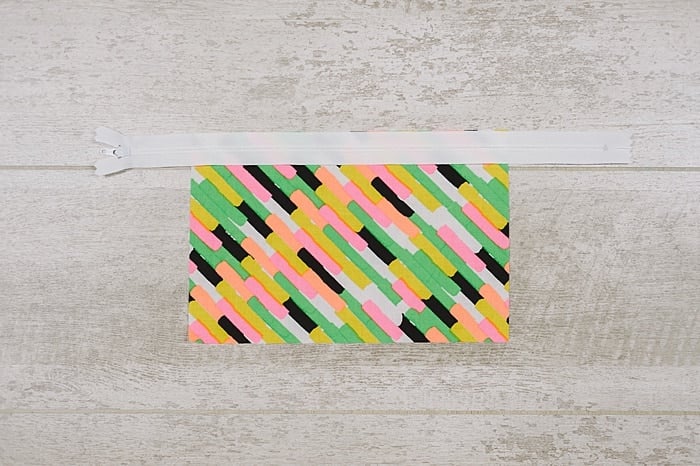
Step 3: Place the zipper on top of the fabric with the zipper's right side DOWN, so the top edges line up.
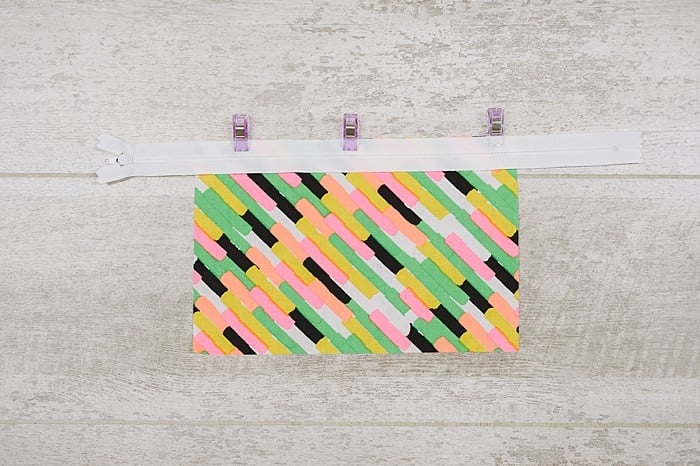
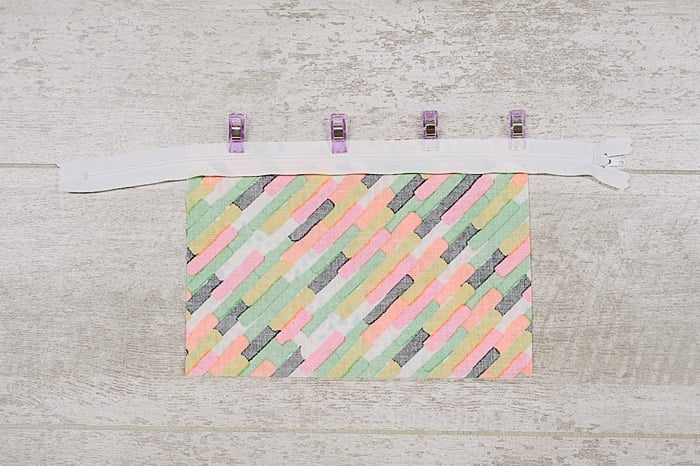
Step 4. Clip to hold in place.
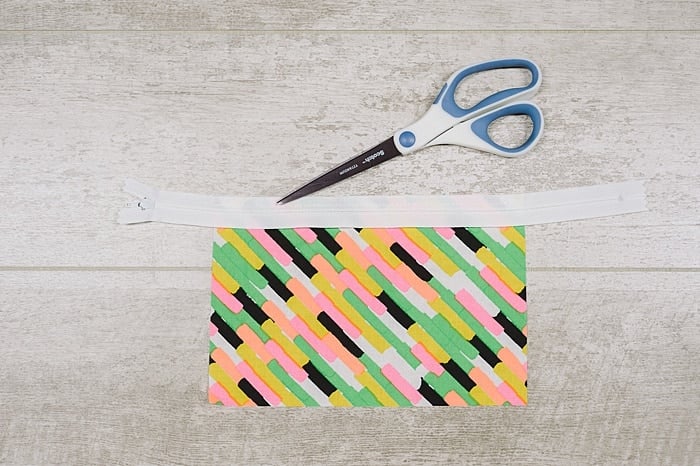
Step 5: Sew along the top edge about ¼” from the edge.
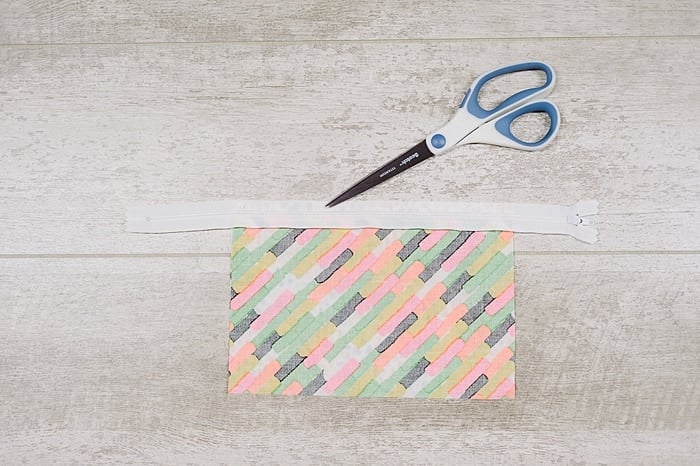
(The stitch line is hard to see because it’s white thread, but there’s a stitch line where the tip of the scissor is pointing.)
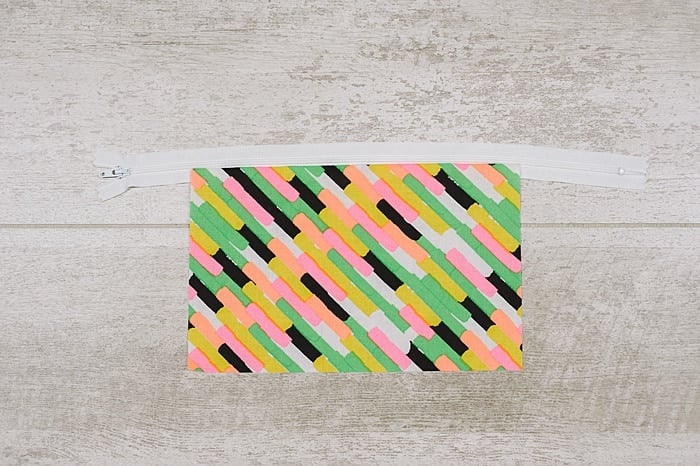
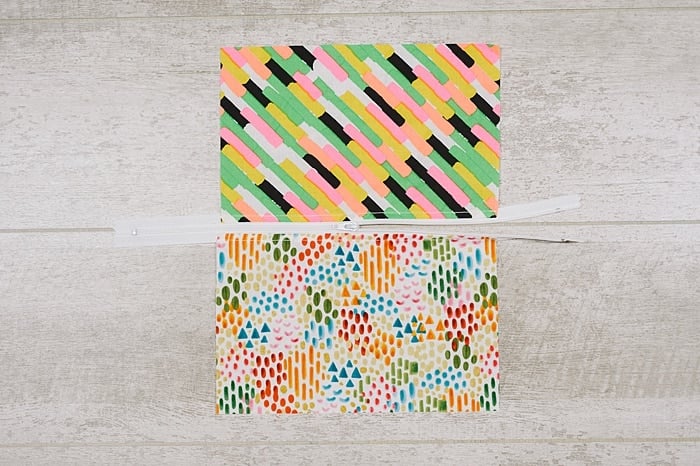
Step 6: Flip the zipper back up, and smooth out with your hands.
This is now one-half of your zipper pouch!
Set it aside.
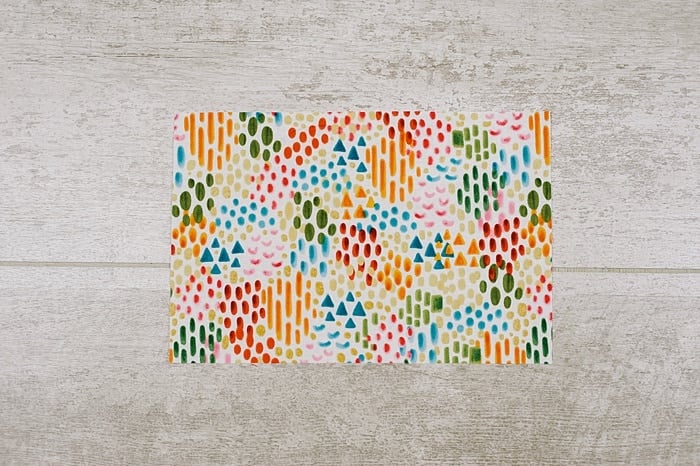
Step 7: Lay out the second piece of fabric, with the right side UP.
Step 8: Place the zipper/fabric piece you just made (from step 6) right side DOWN, on top of the fabric, so the top edges line up.
Step 9. Clip to hold in place.
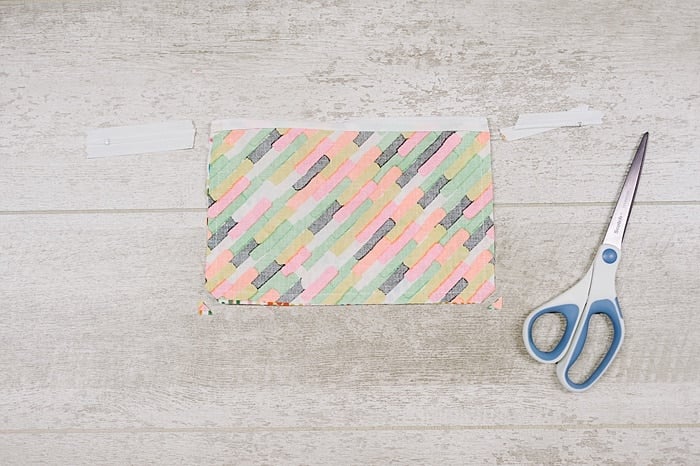
Step 10. Sew along the edge about ¼” from the edge.
(The stitch line is where the scissors are pointing.)
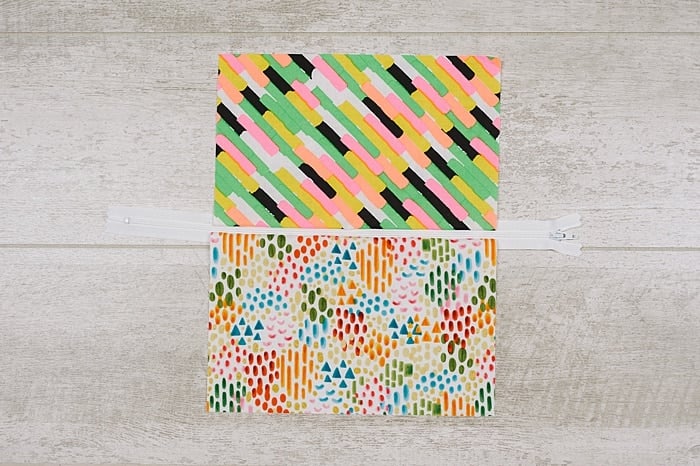
Step 11: Flip the fabric piece open, and smooth with your hands.
You now have all of the parts of your zippered pouch!
Step 12: To help the pouch look clean and sleek, and to help the zipper function properly, topstitch down both sides of the zipper.
Smooth the fabric with your hands so it lays flat as you sew.
This makes the pouch look good and keeps fabric away from the zipper's teeth, minimizing snagging.
(You can also iron it first to help press the fabric and make it lay flat. I rarely iron unless I have to.)
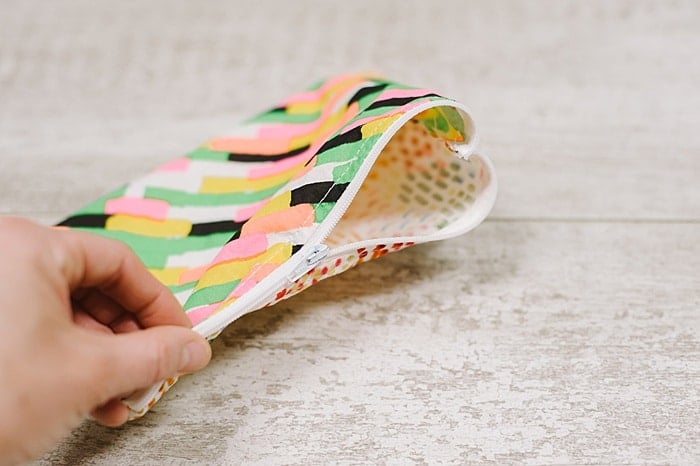
Step 13: Open your zipper halfway.
This is a very important step.
If you don't do this step, you won't be able to turn your pouch right-side-out later on.
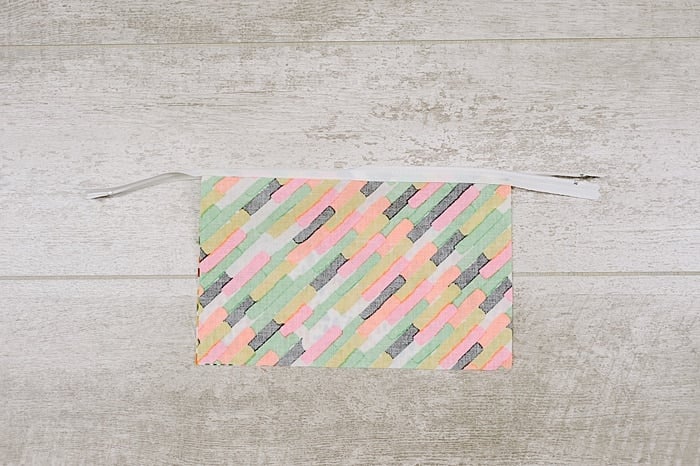
Step 14: Fold the two sides of the zipper pouch together so the right sides touch and all of the edges and zipper sections line up.
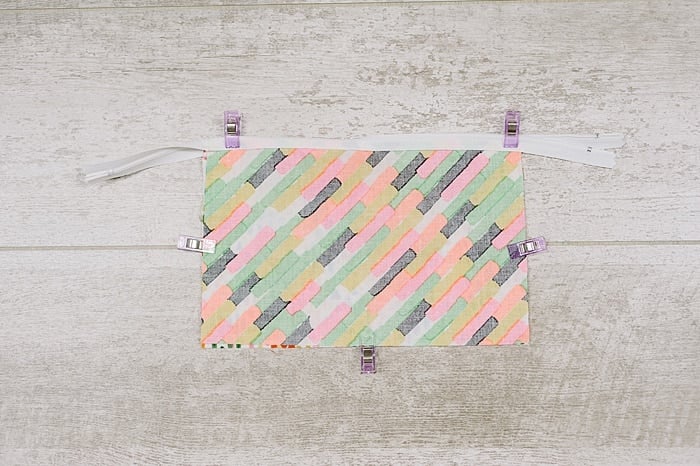
Step 15. Clip in place.
Step 16. Sew around the 3 sides of the pouch (but NOT along the top where the zipper is).
Make sure you backstitch to reinforce where you start and stop on the two zipper sections, by going forward and backward a few times to add strength.
Use a ⅜” to ½” seam allowance, and a small stitch length to add durability to the seam.
Step 17. Trim off the zipper overhang, and the corners.
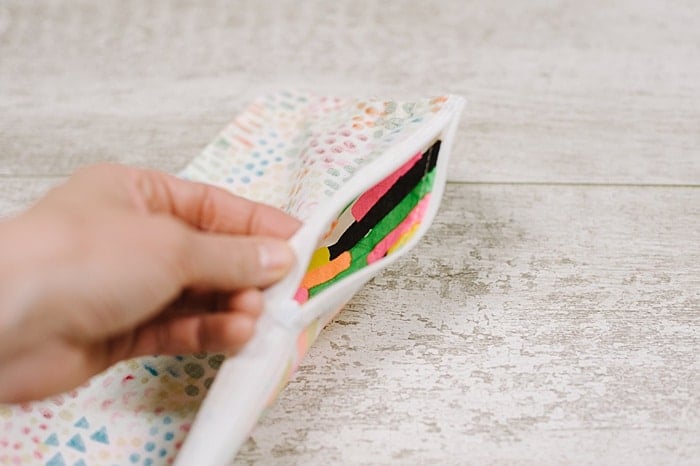
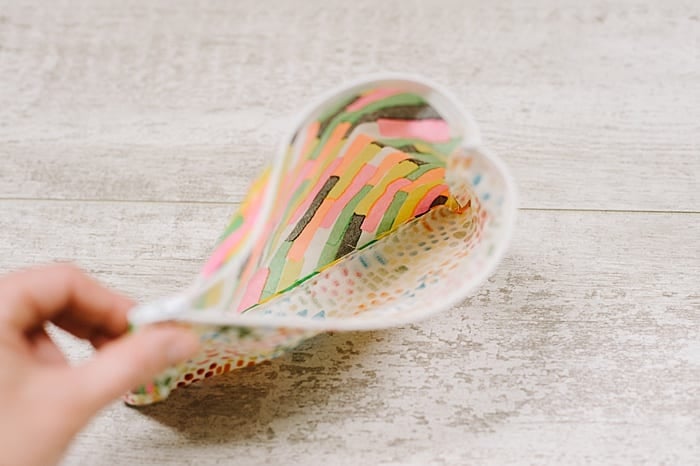
Step 18. Turn the pouch right side out, through the open zipper at the top of the pouch.
Step 19. Push out the corners with your fingers, and smooth the pouch with your hands as you go.
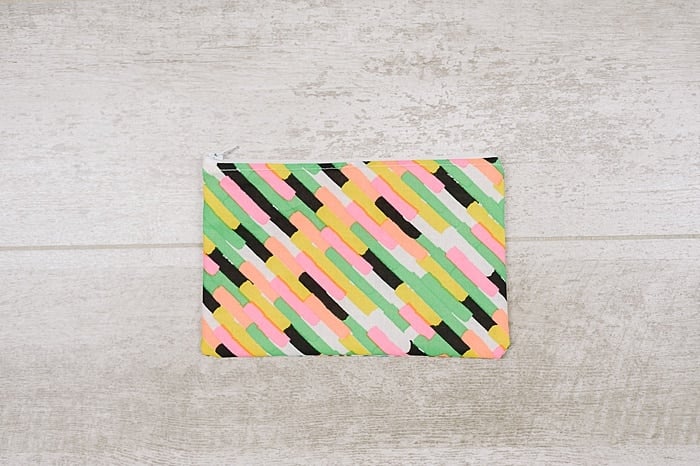
Once everything is turned rightside out and smoothed flat, your zipper pouch is done!

Common Questions
Do you know how to cut fabric, sew a straight stitch, and backstitch at the beginning and end of a seam? If you answered "Yes" to those three basic tasks, then YES, you can make this zipper pouch! It's really that easy.
Sure you can! You can make pouches of any size, as long as your zipper is longer than you want your pouch to be. We used 10" zippers for a 9"x6" fabric rectangle. If you want to make pouches that are longer than that, you will need a zipper that is even longer.
There are so many fun projects you can make with even the most basic sewing skills. You can make tote bags out of hand towels, and easy pillow covers, and if you're really looking for a fun project - check out 1 Yard, 15 Projects, Zero Waste!
This pouch does not have a second inner liner layer.
It's a single-layer pouch.
In my experience, a second layer doesn't add functionality to the pouch but it does add durability and makes it look higher-end.
But the major downside is it takes a lot longer to make.
I prefer to whip up a single-layer pouch like this in less than 6 minutes because it functions almost the same as a double-layer pouch.
Zipper pouches are multi-functional and can be used for everything from makeup bags and purse organizers, to toy bags and even snack pouches!
And they make fantastic handmade gifts!
And if you are looking for more sewing projects, check out these DIY gift card pouches, handmade envelope pillowcases, DIY scrunchies, and more.
More Fabric Crafts You'll Love


---
⭐️🧶 Did you enjoy this craft and want to see more like it? ✂️ Join our FREE email community and get inspiring craft ideas sent right to your inbox! 🧵 ⭐️
---

How to Make a 6 Minute Zipper Pouch
Materials
- 9” x 6” Pieces of Fabric (2 of them)
- 10" Zipper
- Quilt Clips or Pins
- Cutting Matt, Ruler, Rotary Cutter
- Scissors, Sewing Machine
Instructions
- Cut your fabric so you have two rectangle pieces of fabric that measure 9” x 6”.
- Lay out one fabric piece so the right side is UP.
- Place the zipper on top of the fabric with the zipper's right side DOWN, so the top edges line up.
- Clip to hold in place.
- Sew along the top edge about ¼” from the edge.
- Flip the zipper back up, and smooth out with your hands.This is now one-half of your zipper pouch!Set it aside.
- Lay out the second piece of fabric, with the right side UP.
- Place the zipper/fabric piece you just made (from step 6) right side DOWN, on top of the fabric, so the top edges line up.
- Clip to hold in place.
- Sew along the edge about ¼” from the edge.
- Flip the fabric piece open, and smooth with your hands.You now have all of the parts of your zippered pouch!
- To help the pouch look clean and sleek, and to help the zipper function properly, topstitch down both sides of the zipper.Smooth the fabric with your hands so it lays flat as you sew.This makes the pouch look good and keeps fabric away from the zipper's teeth, minimizing snagging.
- Open your zipper halfway.This is a very important step.If you don't do this step, you won't be able to turn your pouch right-side-out later on.
- Fold the two sides of the zipper pouch together so the right sides touch and all of the edges and zipper sections line up.
- Clip in place.
- Sew around the 3 sides of the pouch (but NOT along the top where the zipper is).Make sure you backstitch to reinforce where you start and stop on the two zipper sections, by going forward and backward a few times to add strength.Use a ⅜” to ½” seam allowance, and a small stitch length to add durability to the seam.
- Trim off the zipper overhang, and the corners.
- Turn the pouch right side out, through the open zipper at the top of the pouch.
- Push out the corners with your fingers, and smooth the pouch with your hands as you go.Once everything is turned rightside out and smoothed flat, your zipper pouch is done!
Notes
- You can change the size of your zipper pouch by using different dimensions of fabric rectangles. Just make sure the zipper is longer than your fabric.
- Make SURE you unzip the zipper at least halfway before you fold the pouch together with the right sides in and stitch around the 3 sides. If you don't, you will not be able to turn the pouch right side out.
- Once you learn how to make an easy zipper pouch, you can experiment with different fabrics for a whole new look! You can try upcycling old clothing like denim, or my personal favorite, vinyl or faux leather! (They look so fancy and are SO easy!)


Leave a Reply