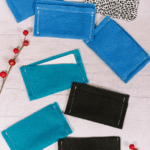
Learn how to sew gift card pouches in this step-by-step craft tutorial. Follow simple steps to make your own DIY gift card holder!
Gift cards are a great option for any special occasion because they let the person buy whatever they truly want or need.
Practical and useful, gift cards help eliminate unused gifts that wind up in the donations box or as added clutter in a home.
However, many people dislike the impersonal feeling giving a gift card can sometimes have. They don't want to simply shove it into a paper sleeve and call it a day.
So today, we are going to learn how to sew gift card pouches to take things up a notch.
By adding a handmade gift card holder, a gift card to JoAnn Fabrics, Dairy Queen, or a favorite massage spot is transformed into a personalized gift for Christmas or another special occasion!
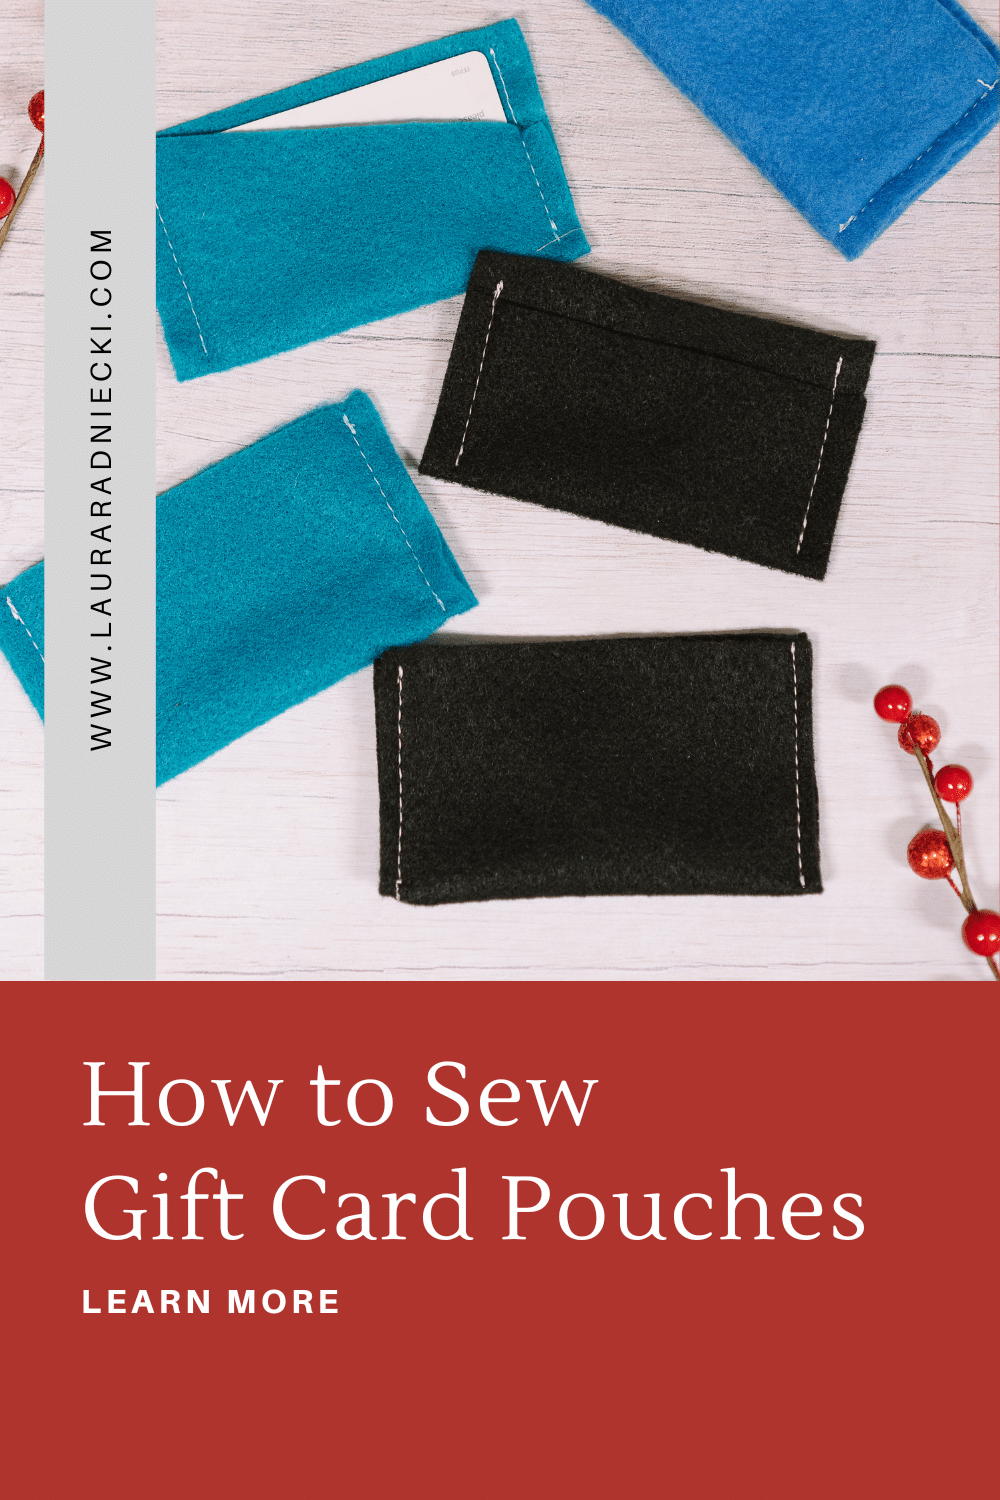
How to Sew Gift Card Pouches
Step 1: Gather Supplies
Supplies Needed:
- Fabric
- Scissors
- Rotary Cutter, Ruler, and Cutting Mat
- Sewing Machine
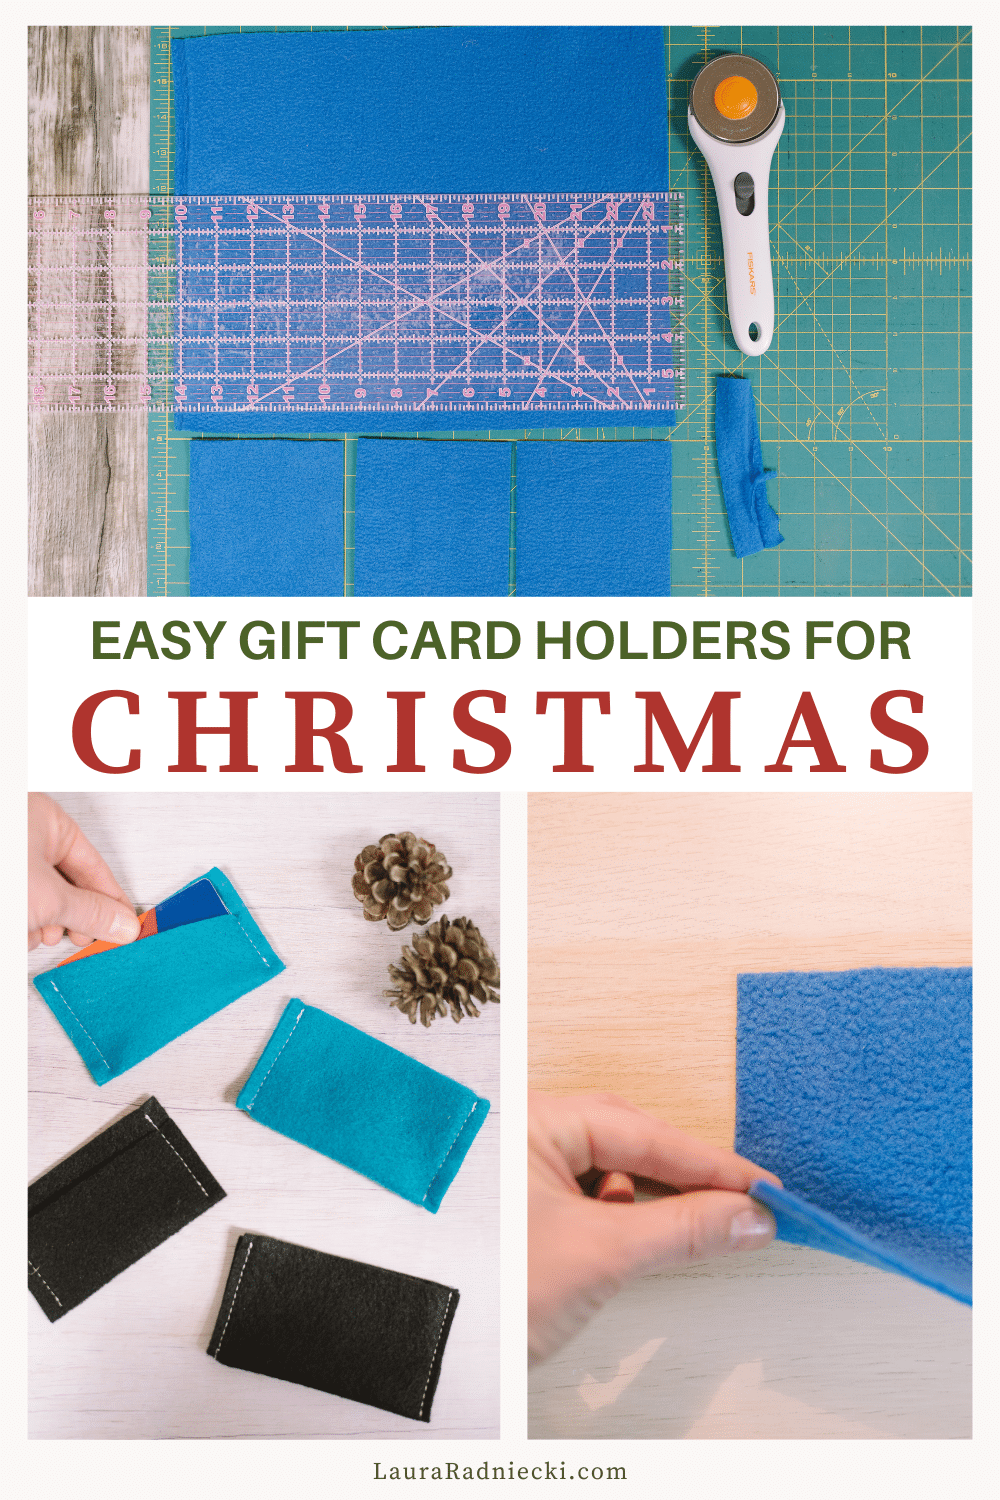
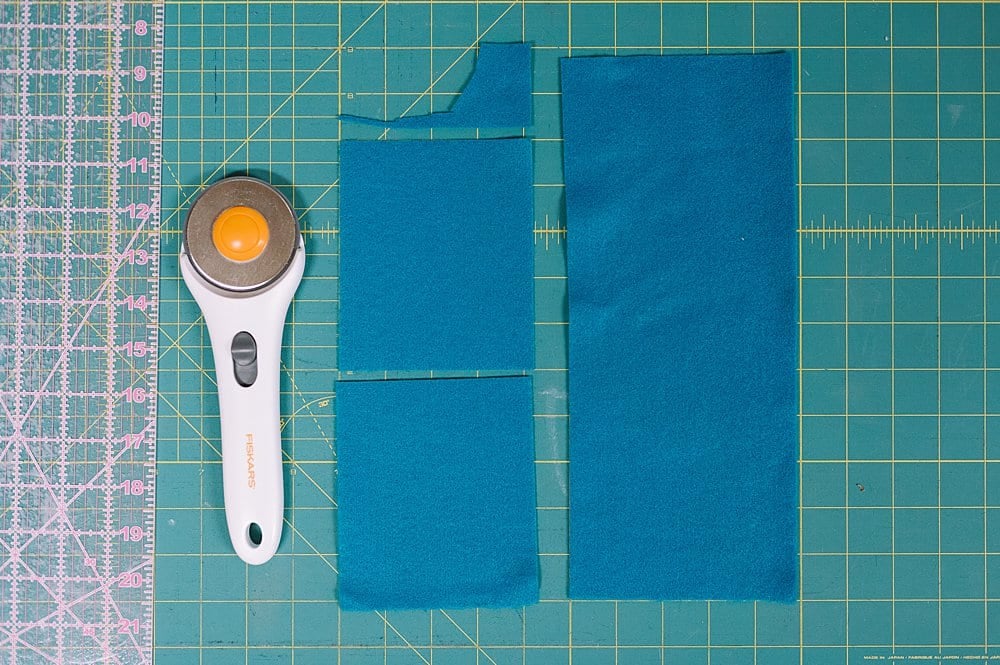
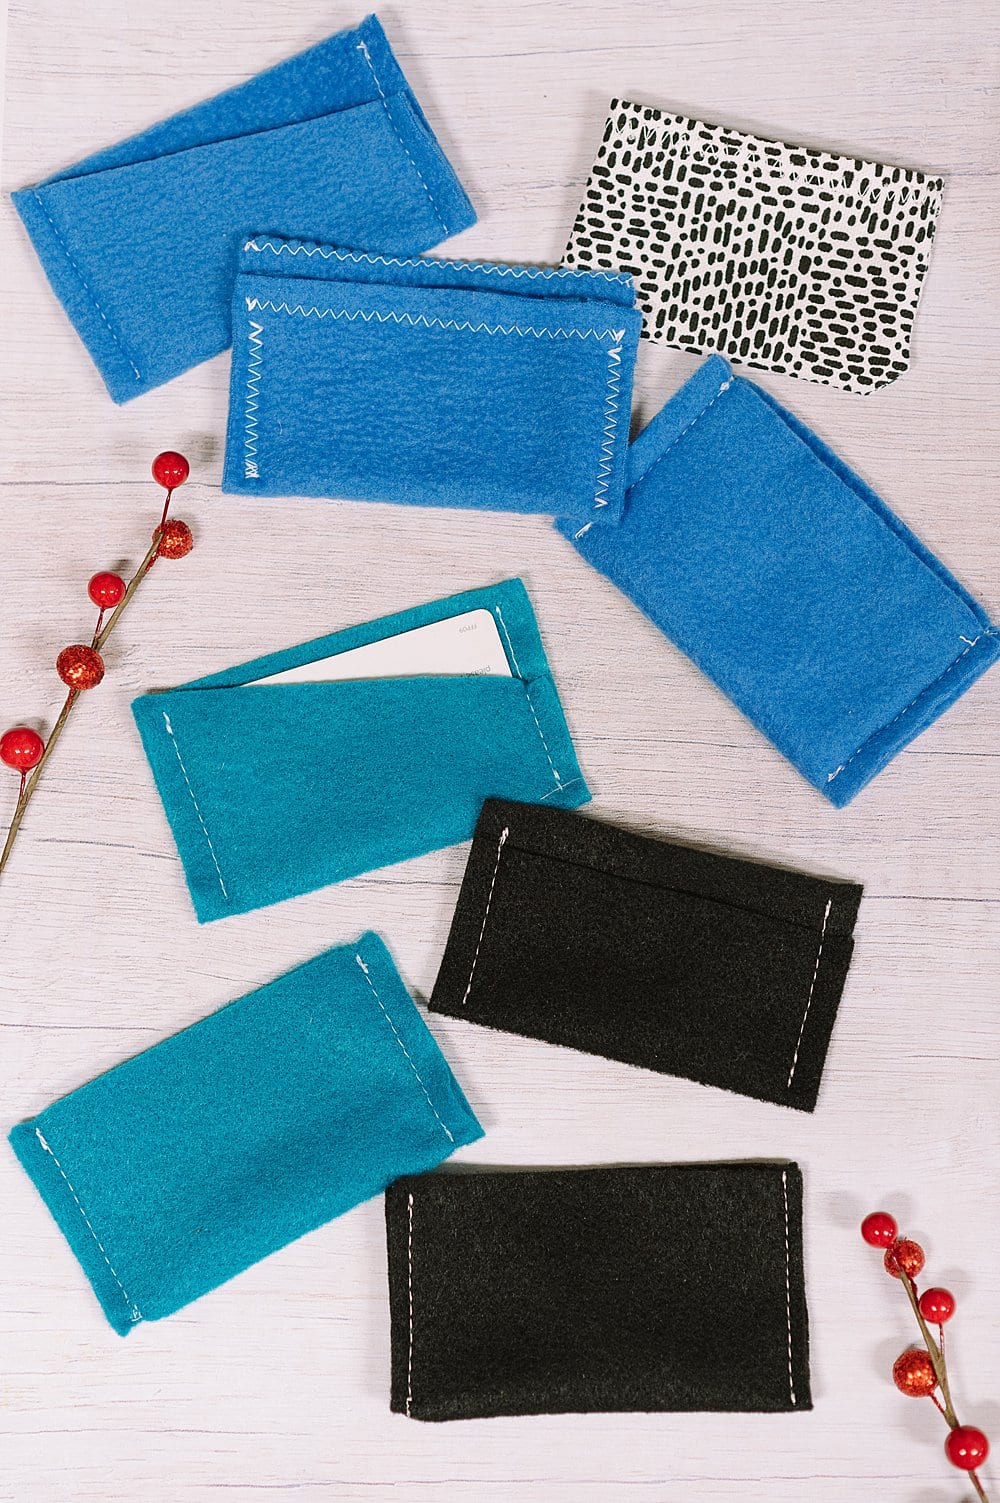
Step 2: Cut fabric into gift-card-sized rectangles.
First, we're using fleece fabric.
You want to cut rectangles that are slightly wider than your gift card, and twice as tall.
The fleece rectangles we cut are 4.25" wide and 5" tall.

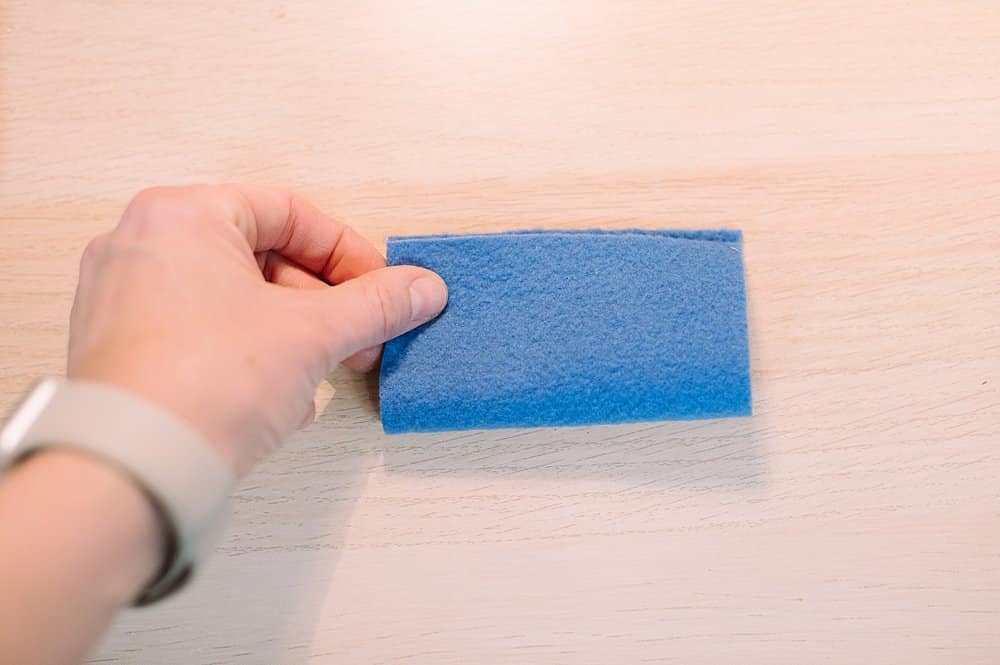
Step 3: Lay fleece right-side down on the table.
Fold in half by bringing the bottom edge up to the top, as shown.
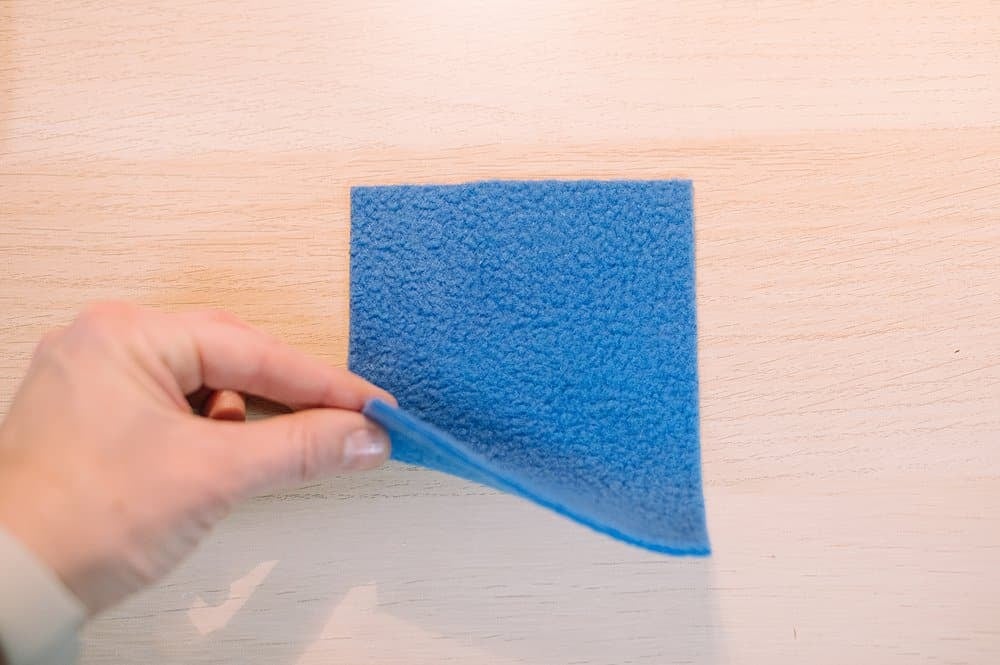
To create this simple pouch, sew along the two sides of the pouch, leaving the top open.
Your gift card will slide in through the open top, and fit snugly into the gift card holder.
Fleece doesn't fray, so the raw, exposed edges won't be a problem here!
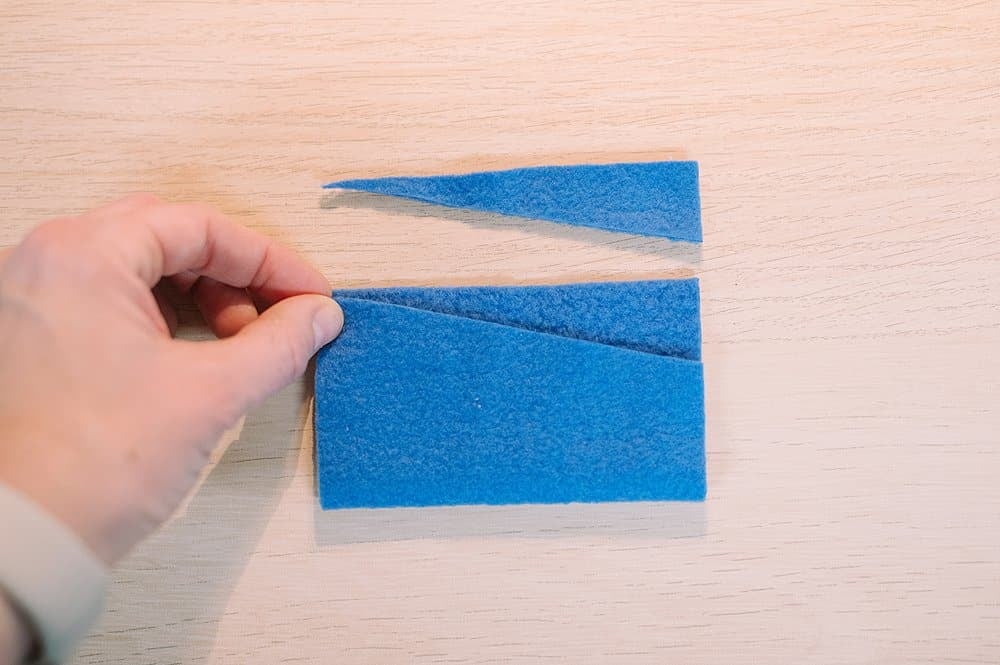
Step 4: Cut the fleece at a diagonal, before sewing the two sides of the pouch.
In this version, cut the bottom edge of the fleece before you fold it in half.
The result will be a peekaboo top that lets a little bit of your gift card show when it's tucked into the holder.
To finish, sew along the left and right sides of this holder. Leave the top open.
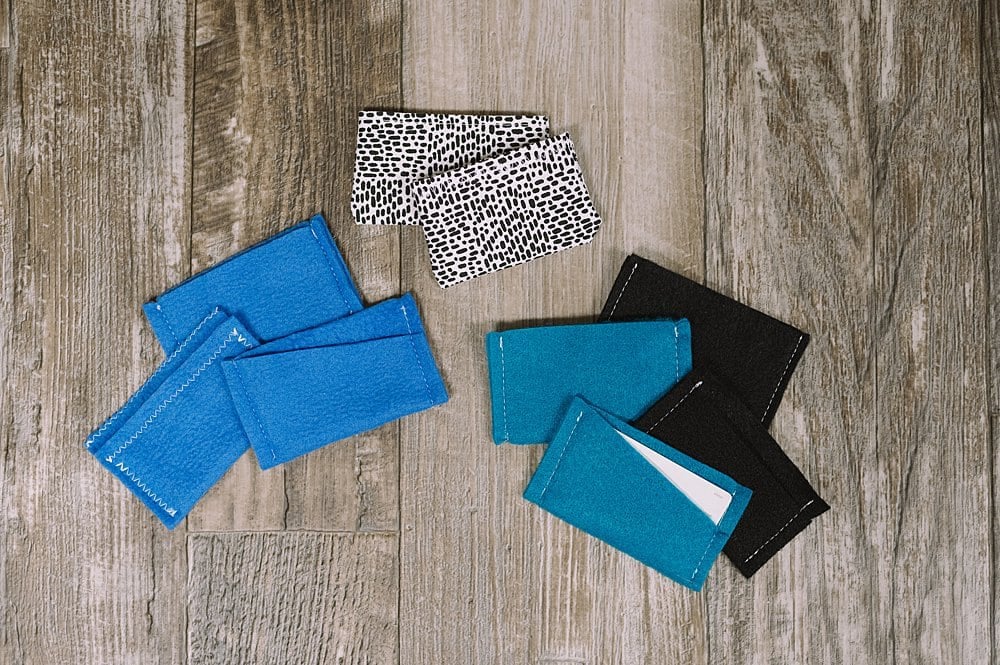
Step 5: Repeat the same process using felt.
Felt fabric is another great option for these gift card holders because the edges won't fray.
You can simply fold and sew as we did with the fleece.
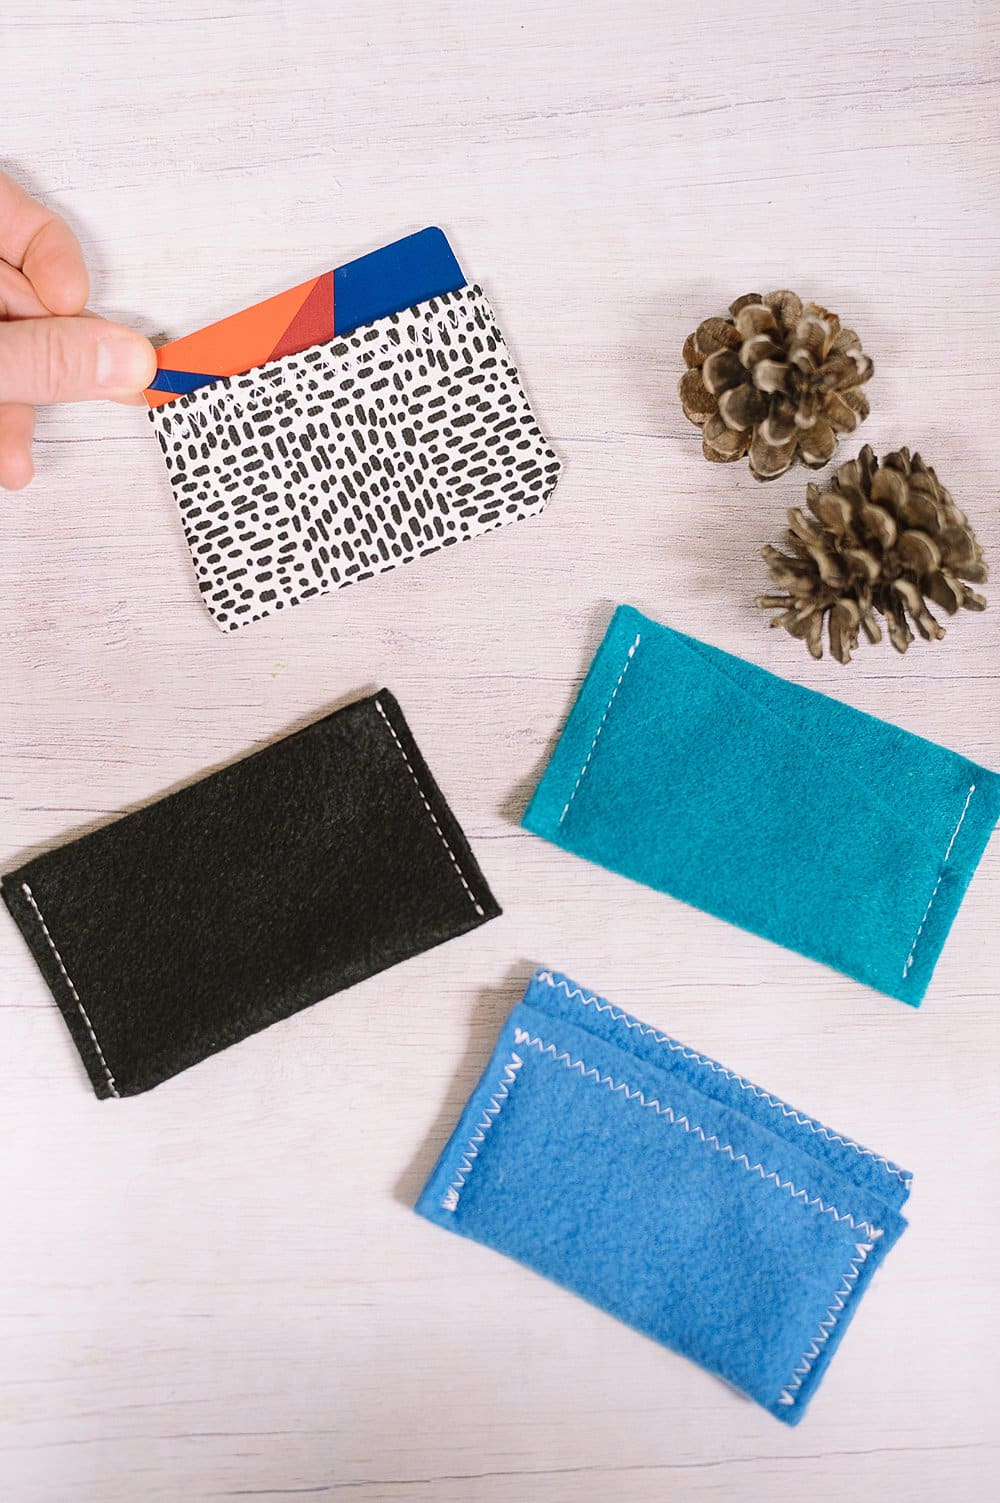
Step 6: Use other fabrics of your choice to make gift card pouches.
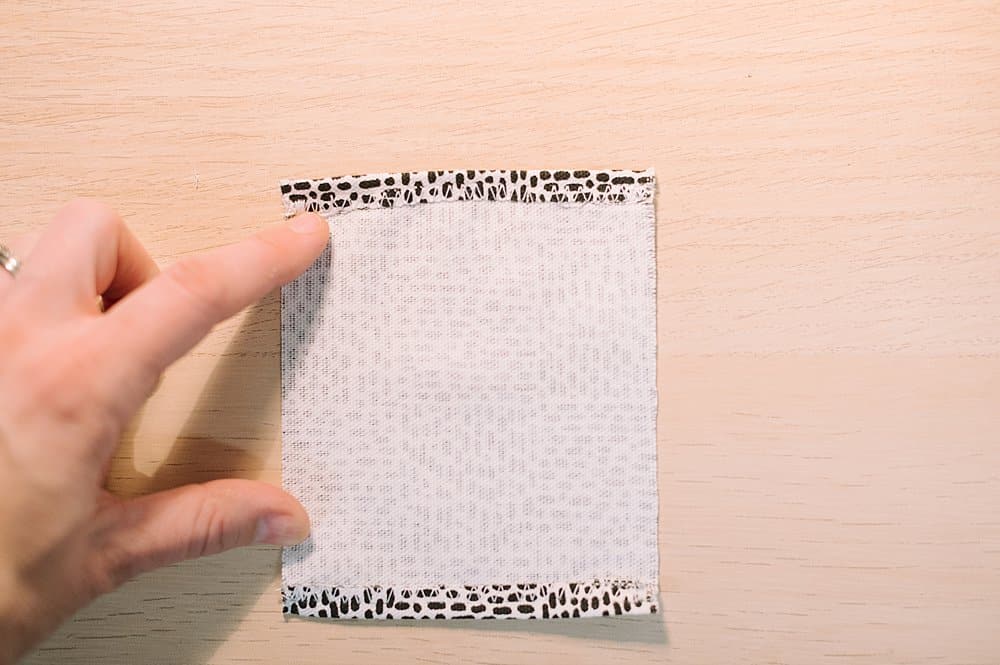
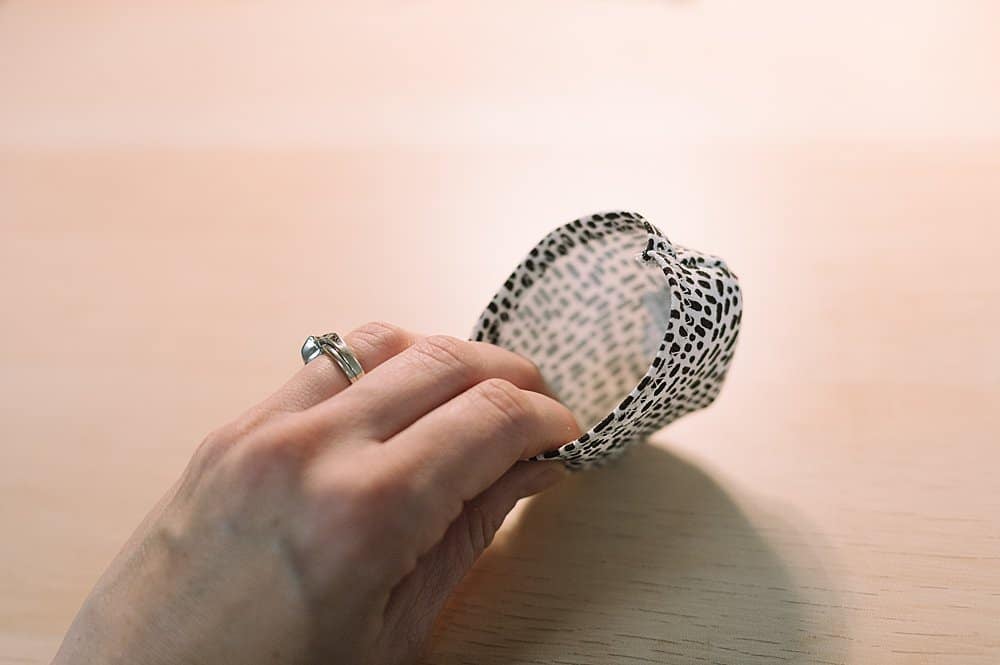
If you are going to use another type of fabric that DOES fray, you'll need to add a few more steps.
First, you need to hem the top and bottom edges of your fabric rectangle.
I used a zigzag stitch to hem the top and bottom edges, to prevent any fraying.
Flip the fabric over so the right-side is UP, and fold your fabric in half. (The wrong sides should be facing out right now.)
Sew along the left and right edges using a zigzag stitch so it binds any fraying strings.
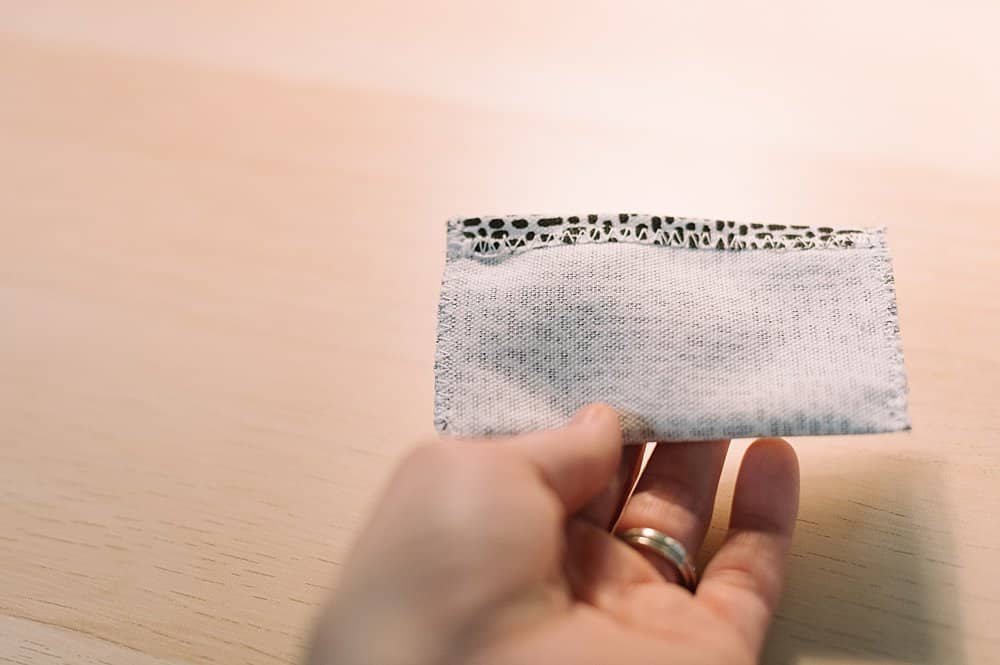
Turn the pouch right-side out, using a pencil eraser or other blunt item to poke the corners out.
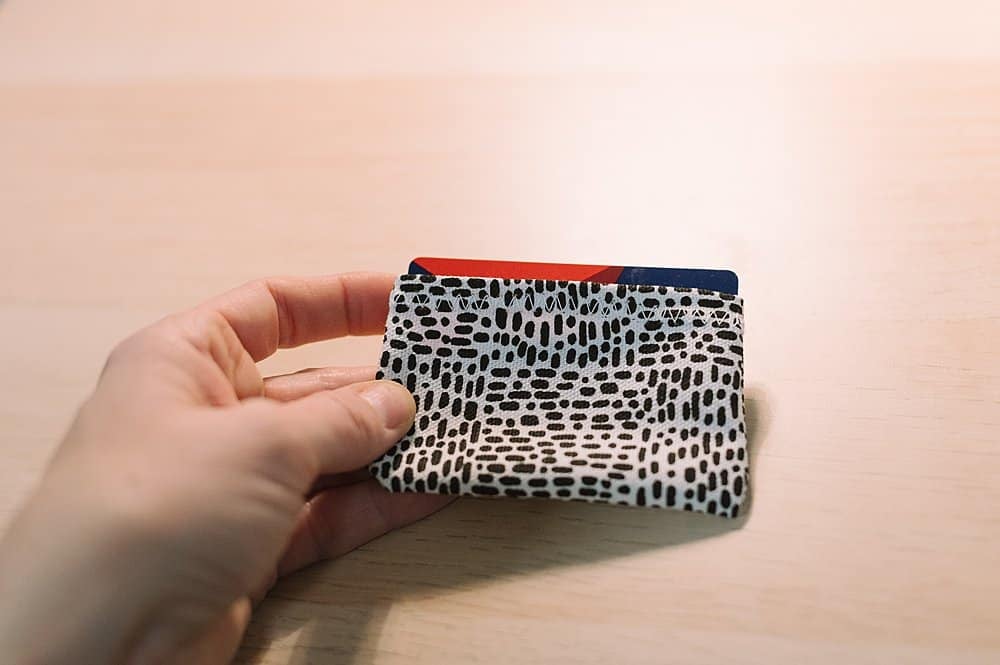
Slide your gift card into the fabric pouch and you're ready to go!
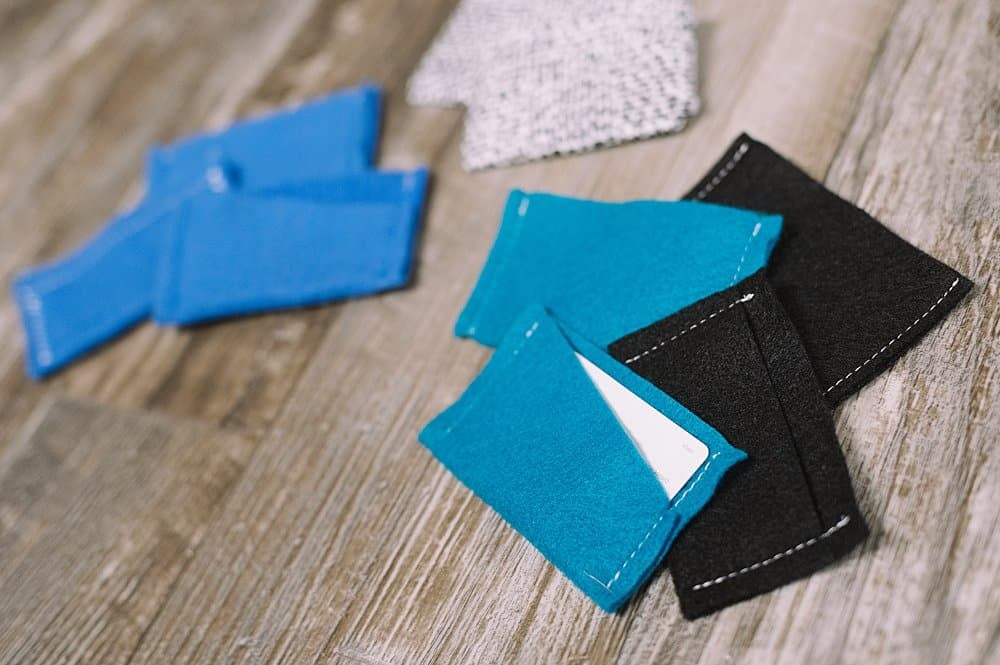
You can customize these gift card pouches in many different way:
- Add ribbon, fringe, or other trim to the fabric before sewing it into a pouch.
- Add monograms by cutting letters out of felt and sewing to the fabric before turning it into a pouch.
- Sew zigzag or diagonal lines in the fabric, before folding it in half and making the pouch.
Any of these options (and the hundreds more you might dream up!) add a fun and unique element to your gift card holders.
Simply slip in the gift card and you're ready to find a box and wrap it up!
Sewing a gift card holder from fleece fabric, felt, or other fun fabric elevates a simple gift card to a whole new level.
What some consider an impersonal gift gets a huge heartfelt boost when you make a gift card pouch by hand! (Or sewing machine, rather.)
If you are looking for more simple sewing projects, check out this 6-minute zipper pouch, or a DIY envelope pillowcase.


Leave a Reply