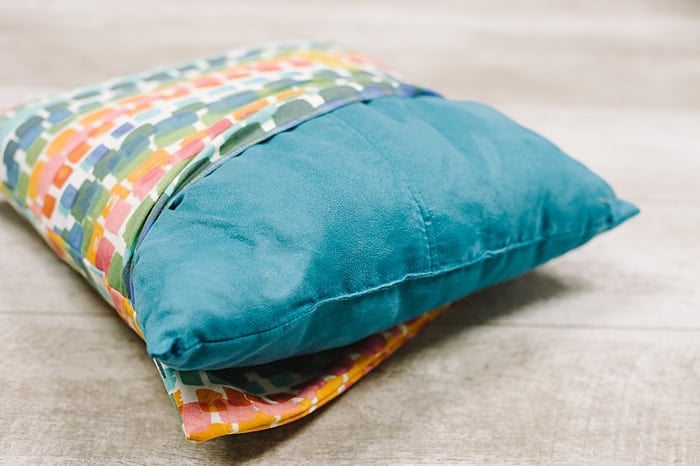
Learn how to sew a pillow cover in this easy DIY sewing tutorial, teaching you how to make an envelope pillow cover style for any pillow.
One of the easiest ways to update the decor of a room is to change out the throw pillows.
What’s the best way to do that? With a diy pillow cover!
You can make a no-sew fleece tie pillowcase, or an envelope pillow cover quickly and easily with a section of your favorite fabric, and totally transform the look of a room.
Here’s how to cover a pillow with a DIY pillow cover.

How to Sew a Pillow Cover
Step 1: Gather Supplies
Supplies Needed:
- Fabric
- Cutting Mat, Ruler, Rotary Cutter
- Sewing Machine
- Quilt Clips or Pins
- Scissors
- Pillow Form (I look for old pillows at garage sales or thrift stores, wash them and use them instead of buying brand new pillow forms.)
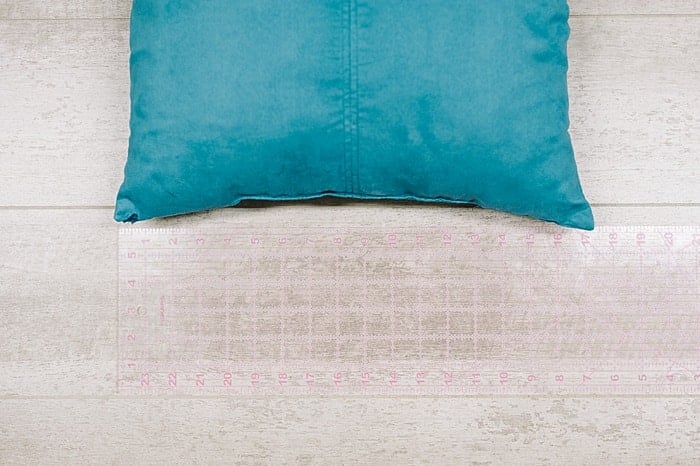
Step 2: Measure the dimensions of your pillow.
Mine is 17”x17”.
This will tell you the dimensions of the fabric you’ll need to cut.
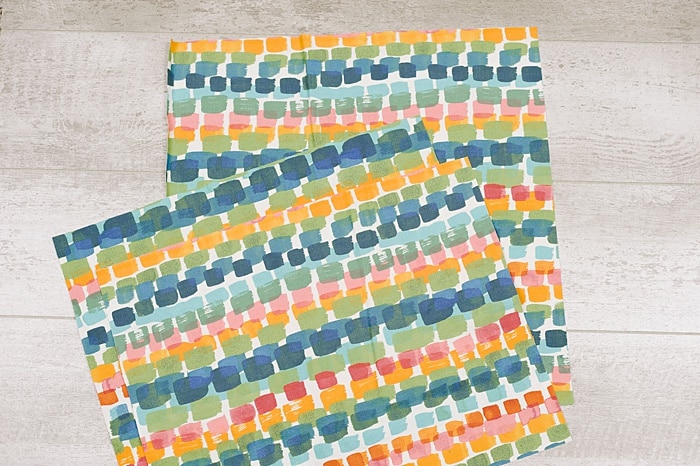
Step 3: To make an envelope-style pillow cover you will need to cut three pieces of fabric.
Piece #1 - This is the front of your pillow, and will be a square the same size as your pillow. So, 17”x17” for me.
(If you have a very plump pillow you are making a cover for, you can add an inch or maybe even two, so there’s a little more room to work with. But my pillow form was very flat and squishy, so I didn’t need any additional fabric.)
Piece #2 and #3 - These are the two pieces that are going to make up the back of the pillow cover.
TO CALCULATE THE SIZE OF THE 2 BACK PIECES:
In order to calculate the size of these rectangles, take the height of your pillow and add 10 inches.
Divide that number by two, and you’ll know how tall to make your two fabric rectangles for the back cover.
My Pillow's Example:
My pillow form is 17" tall.
Add 10" to it.
(17" + 10" = 27")
Divide it by 2, and that gives the height of each of my two back pieces.
(27" divided by 2 = 13.5")
My 2nd and 3rd pieces of back fabric will be 17” wide by 13.5” tall.
To reiterate, cut these three pieces of fabric:
1 piece - 17”x17” square piece for the front of the pillow
2 pieces - 17”x13.5” rectangle pieces to make up the back of the pillow
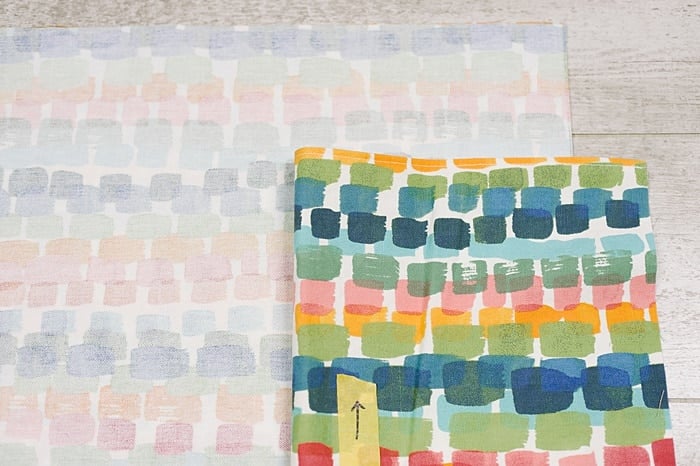
Step 4: Figure out if your pillow’s fabric has an up and down direction or not.
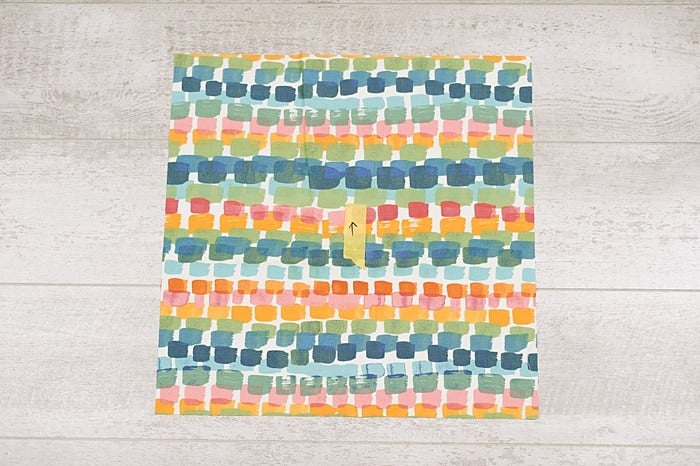
If it does, or if you have a preference of how it should be oriented, make it easy for yourself and label them each with a piece of tape and an arrow.
This easily tells you THIS is UP.
Step 5. Lay the 17”x17” square piece of fabric with the right side UP, making sure the pattern is pointing to the top too.
This is the front of your pillow.
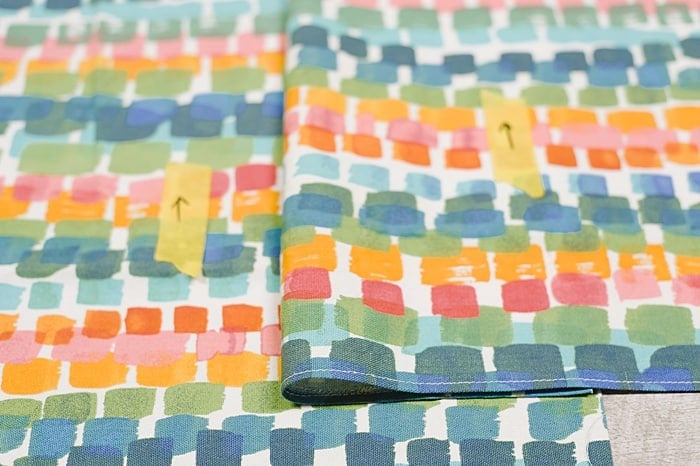
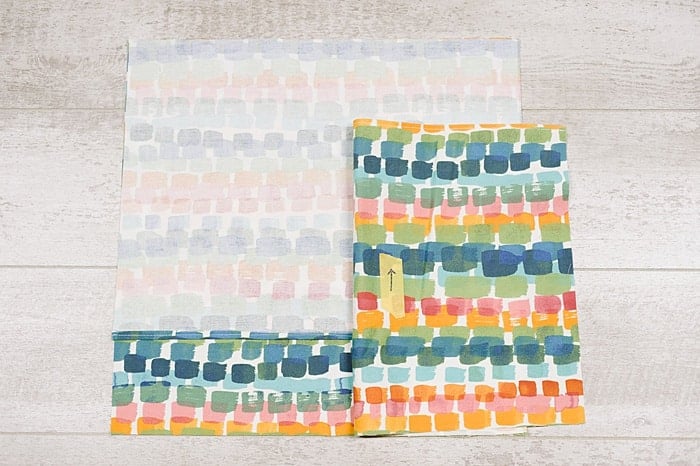
Step 6: Before you can lay the first back piece down, you need to hem the visible edge with a ¼” seam allowance.
In the case of the picture below, you want to hem the bottom of the first back piece like shown.
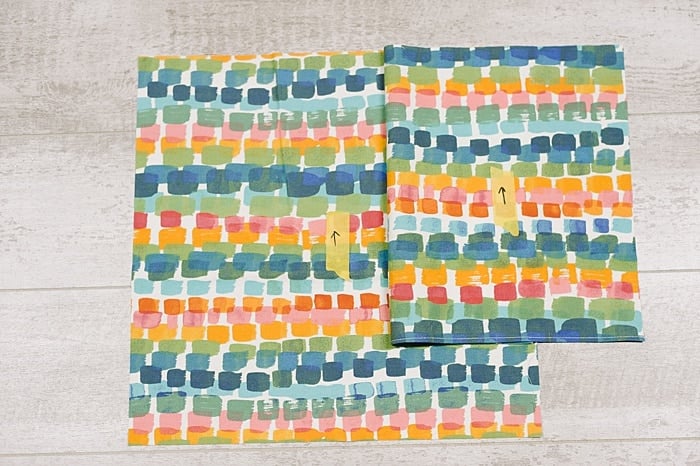
When you’re done, lay that first back piece down onto the top of the square front piece of fabric (right sides together), aligning the tops and sides of the fabric.
Step 7: Repeat with the bottom rectangle.
Hem the top edge with a ¼” seam allowance.
Then, lay it right side down onto the fabric stack, and align the sides and bottom edge.
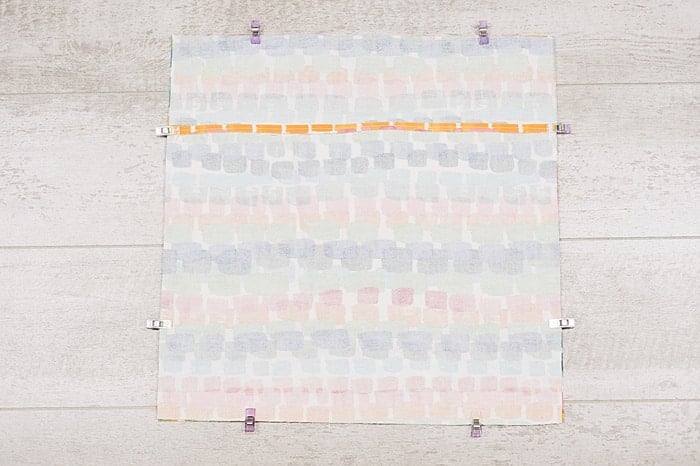
BEFORE YOU CONTINUE TO SEW A PILLOW COVER:
You want to double-check these important things before you continue:
- The square fabric is right-side up, with the arrow pointing up as well.
- The top back-rectangle is hemmed on the bottom edge, laying face down, and aligned with the top and sides of the front square. Also, the arrow should be pointing up.
- The bottom back-rectangle is hemmed on the top edge, laying face down, and aligned with the bottom and sides of the front square. Also, the arrow should be pointing up.
Step 8: Use quilt clips and clip the stack into place.
Step 9: Sew around the entire perimeter using a ¼” seam allowance, making sure you backstitch at the beginning and end.
I also like to back stitch several times (forward and backward) over the spots where the two back pieces meet on the sides so they don’t pop loose when you’re trying to push a big, plump pillow into it.
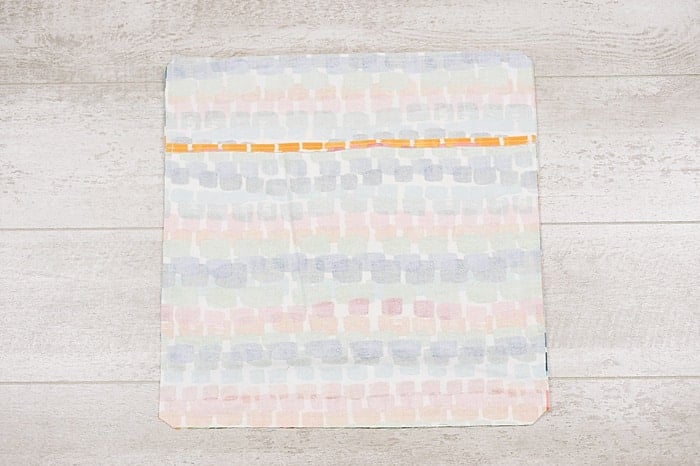
Clip the corners if you desire, to make turning easier.
Step 10: Carefully turn the pillow right side out, pushing the corners out with your fingertips.
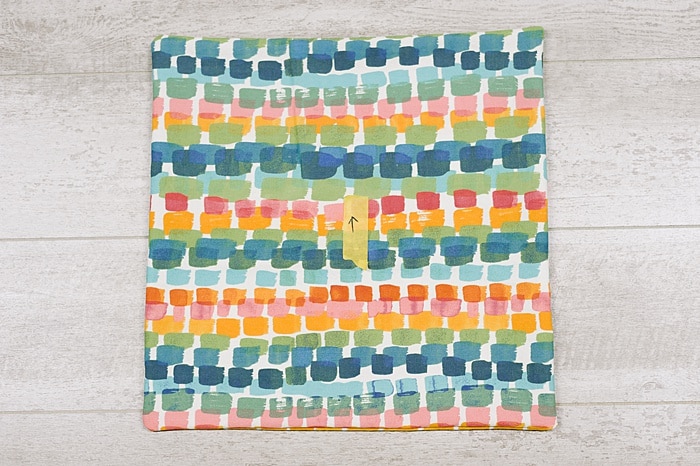
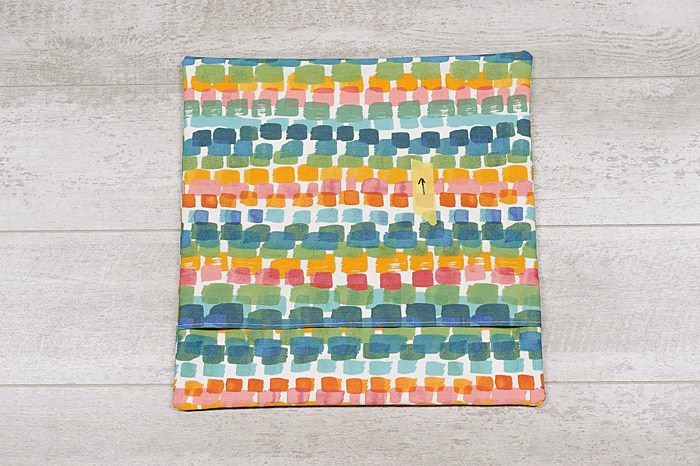
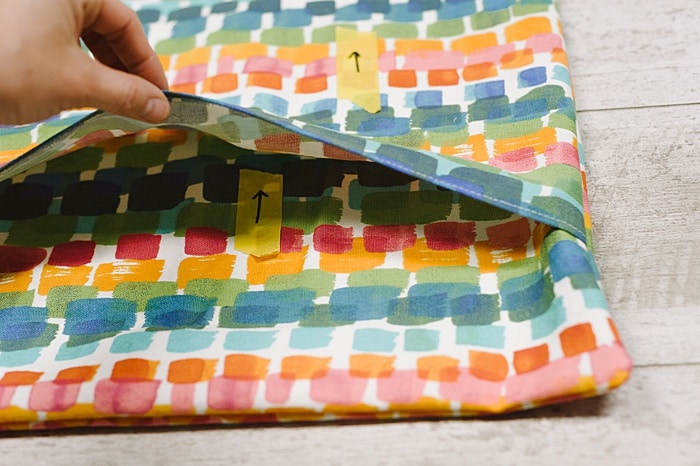
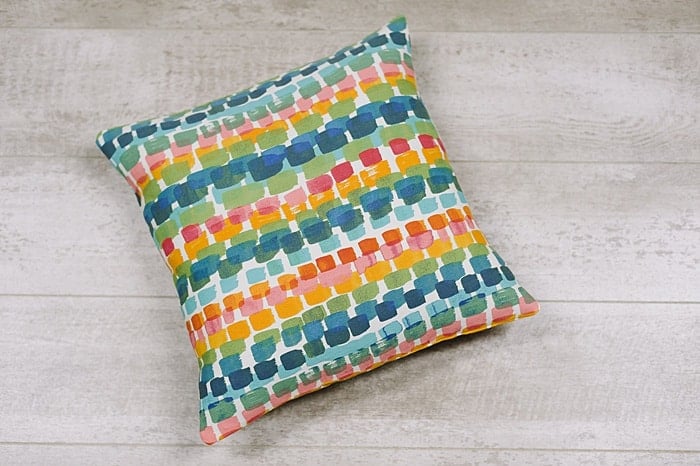
Step 11: Add in your pillow, smooth everything out, and you’re done! It’s ready for the couch!
Now you can make diy pillow covers for every season, and change them out as needed.
Choose a vibrant, lively colored fabric for spring and summer, muted jewel tones for fall, and a cozy festive fleece or flannel for winter.
Your couch, and your family, will thank you!
And if you're looking for more simple sewing projects, try out a 6-minute zipper pouch or a DIY gift card pouch.






Leave a Reply