Learn how to prepare acorns for crafts and home decorating, by using vinegar and baking in the oven! You will be able to dry and preserve acorns from your yard so you can use them for all of your acorn craft projects.
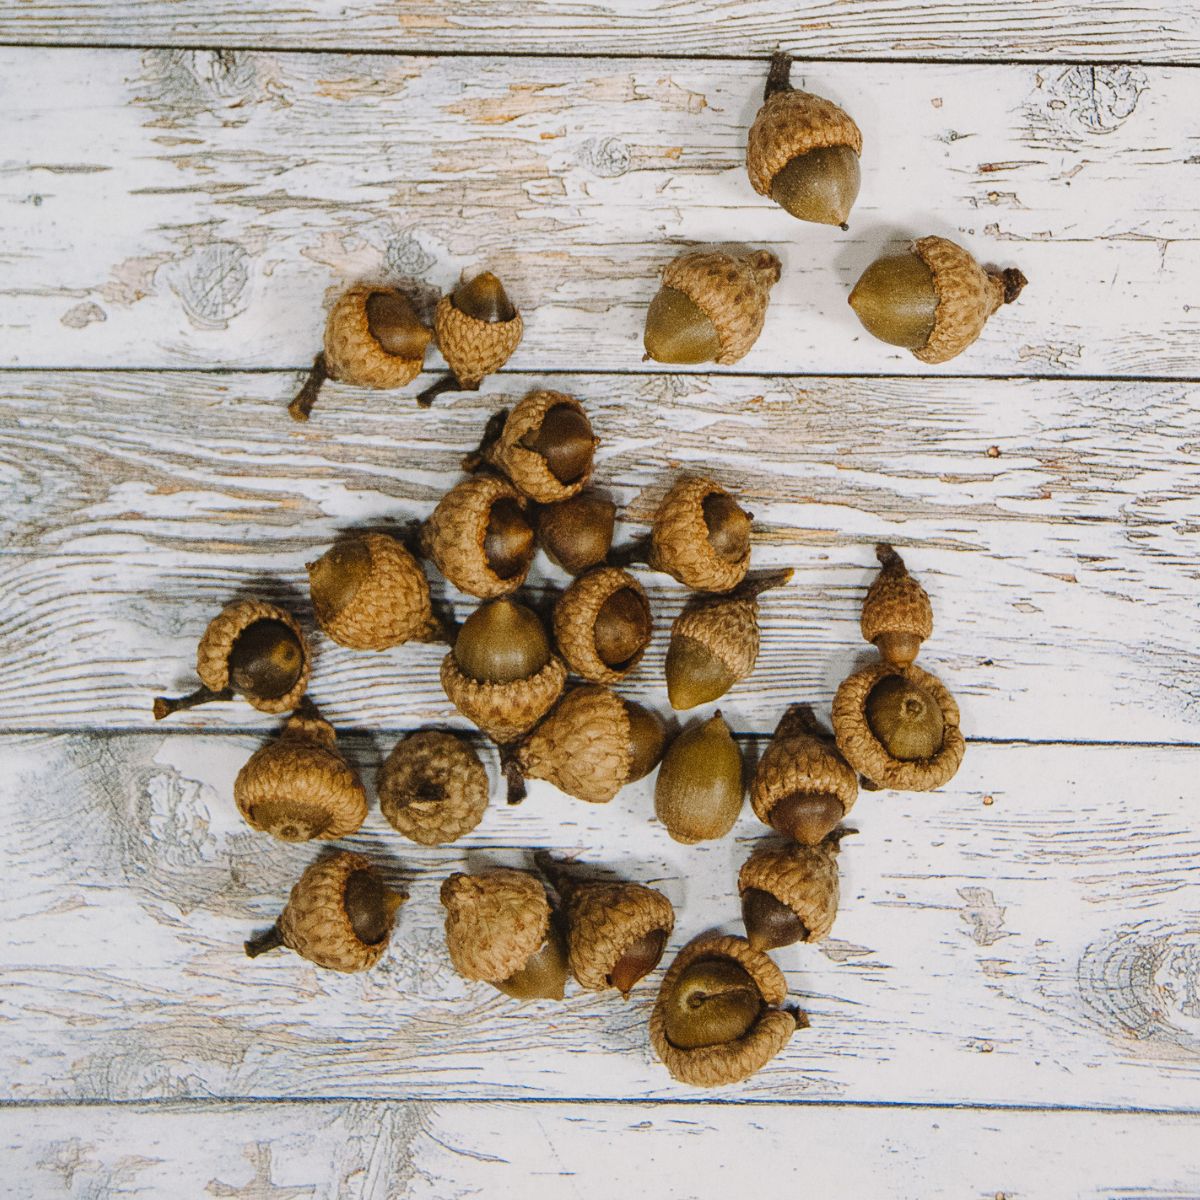
Much like pine cones for DIY projects, I'm convinced acorns are one of those things often overlooked by everyone except curious kids and crafters. Yet, if you are a DIY, decor, or craft enthusiast, you likely know the potential that acorns have for amping up fall decor, or becoming something amazing in a fun craft project.
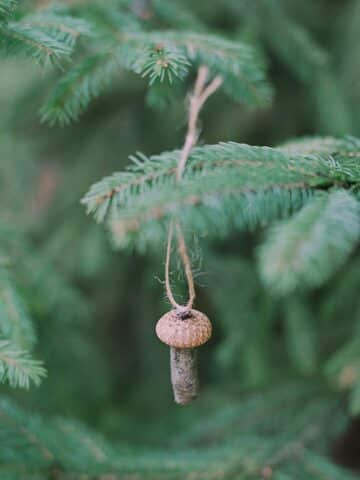
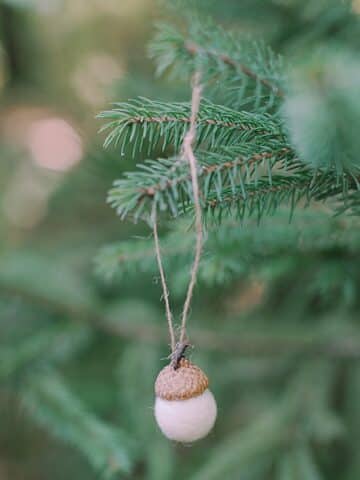
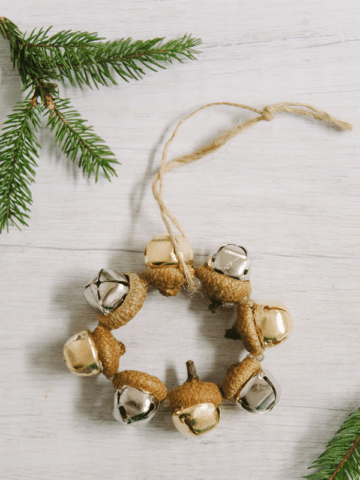
We have used acorn caps to make cute felt acorns, and tiny acorn mushroom ornaments for Christmas, as well as painted acorns to be part of our home decor.
Before you can make anything with acorns you pick up from the yard, you need to clean them. Bugs (and dirt) love acorns, so you want to clean the acorns before you make or do anything with them.
Here's how to clean and preserve acorns for crafts after you pick them up off the ground outside.
Jump to:
Why You'll Love This Project
- Acorns are so cute and can be used in tons of different craft projects. We have a whole section on our blog dedicated to acorns!
- No one wants to be in the middle of a project, only to find worms and beetles crawling around on their crafts. This will kill all the bugs that might be on or INSIDE the acorns you collected from the ground.
- You don't need to use any harsh chemicals to clean acorns. All you need is vinegar and the heat from an oven.
Supplies You Will Need
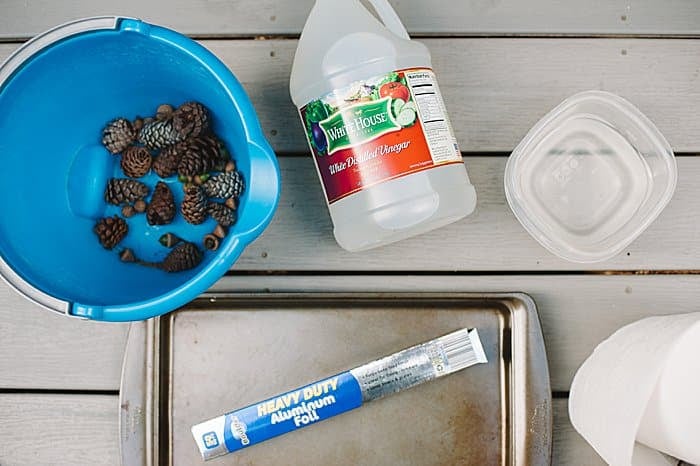
- Acorns - I have beautiful oak trees (and pine trees which give me beautiful pinecones!) in my yard, so I collected my acorns from the ground beneath them.
- A Bowl or Bucket - It should be big enough to fit all the acorns and allow you to swish them around in the liquid.
- Vinegar - I used simple, cheap distilled white vinegar.
- Water - You want to dilute the vinegar so it isn't so harsh. I used my tap water.
- Paper Towels - To dry the acorns off after soaking, before you move to the baking step.
- Cookie Sheet lined with Aluminum Foil - Aluminum foil helps protect your pan.
- Oven - To heat the acorns so you can kill any bugs that mine be living inside the acorns.
- Hot Glue Gun and Glue - You might find many acorn caps separate from the rest of the acorn as you soak and heat them. You can use glue to attach caps back onto the acorns if desired.
- Clear Acrylic Sealer (optional) - This can help protect the acorns if desired.
- Acorn Prep Checklist - Free in our Resource Library!
How to Prepare Acorns for Crafts
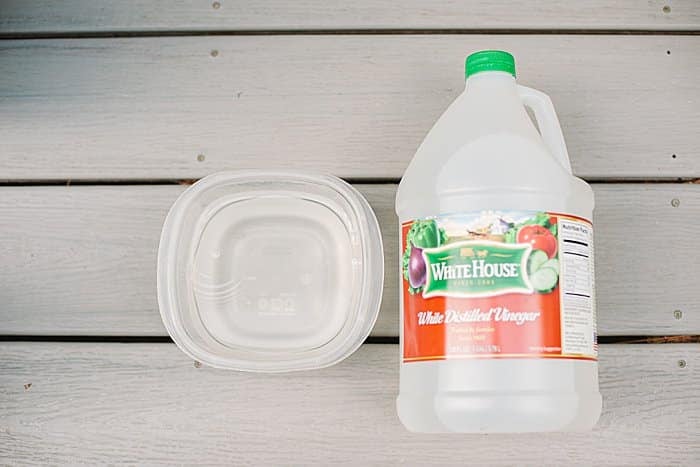
Step 1. In a bowl, mix water and vinegar together.
One-half of a cup of vinegar is a good starting point, and then add a cup or more of water to the bowl, and mix.
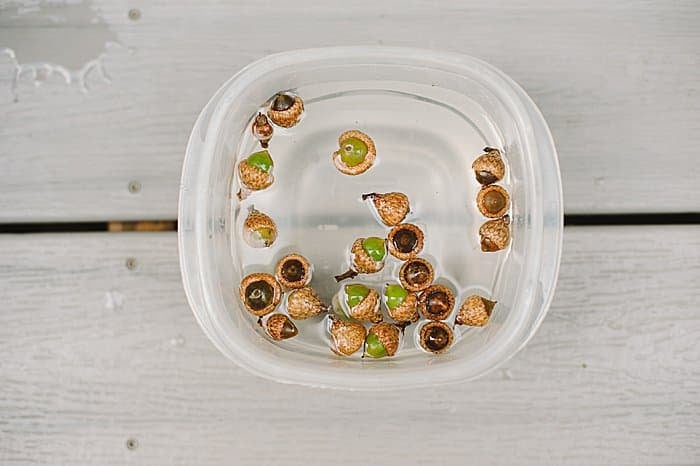
Step 2. Before you begin soaking the acorns, remove any visible dirt or debris.
Then, add the acorns to the bowl. Swish them around, and then let them soak for 20 minutes.
This will help clean dirt off of them and start to get rid of any bugs inside them too.
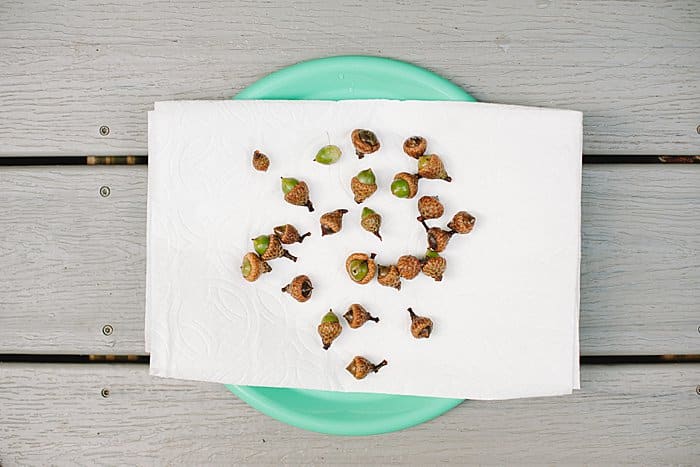
Step 3. After 20 minutes (or longer if you want!) take the acorns out of the water and use a strainer to rinse them with fresh water.
Drain off any excess water and let them dry on a paper towel.
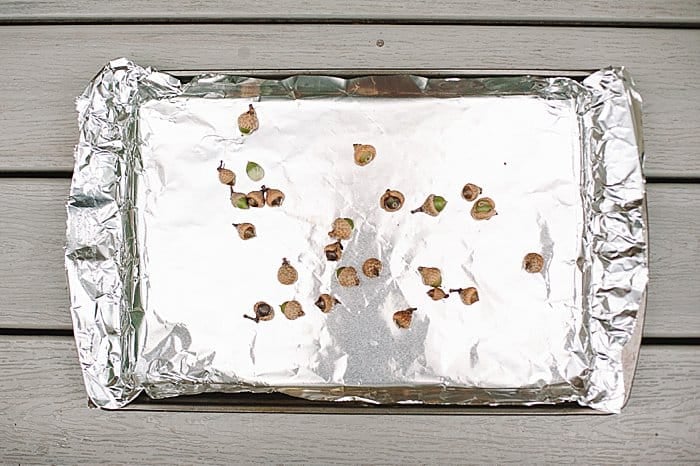
Step 4. In order to kill any bugs that might be inside the acorns, we are going to bake them.
Place the acorns on a foil-lined baking sheet and place in a 175-degree F oven for 1 to 2 hours.
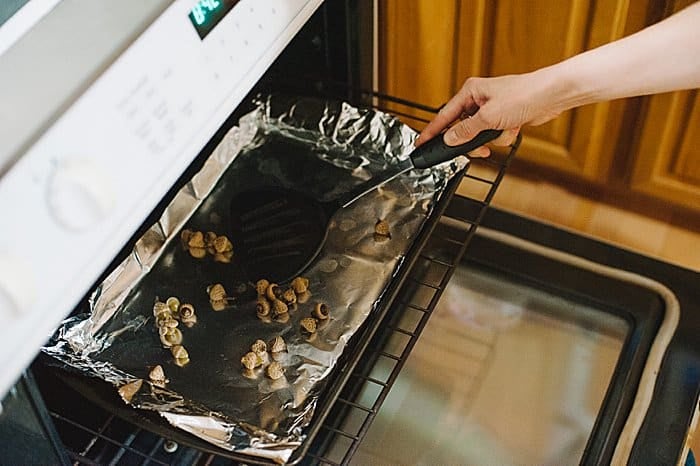
Step 5. I used the "Convection Bake" setting on my oven to help suck excess moisture out.
You could also use the regular "Bake" setting and crack the oven door to let moisture escape. (This didn't feel very safe with curious kids around, which is why I went the "convection bake" route.)
Halfway through the bake time, flip the acorns over with a spatula or spoon so the other side has a chance to bake.
Any green acorns will turn brown as they bake.
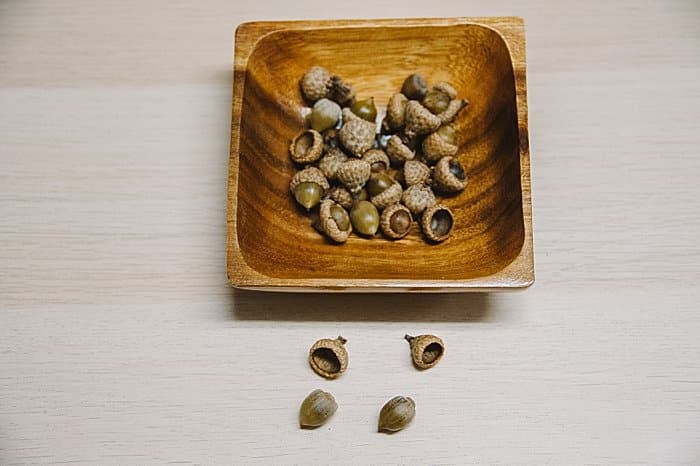
Step 6. After baking for 1-2 hours, remove the cookie sheet and acorns from the oven and let cool completely.
Some of the acorn caps may come loose in the drying process.
You can use a small dab of hot glue on the inside of the cap to reattach it to the acorn.
This is recommended to do first, before you paint acorns, or use them in projects where you want the acorns to have caps.
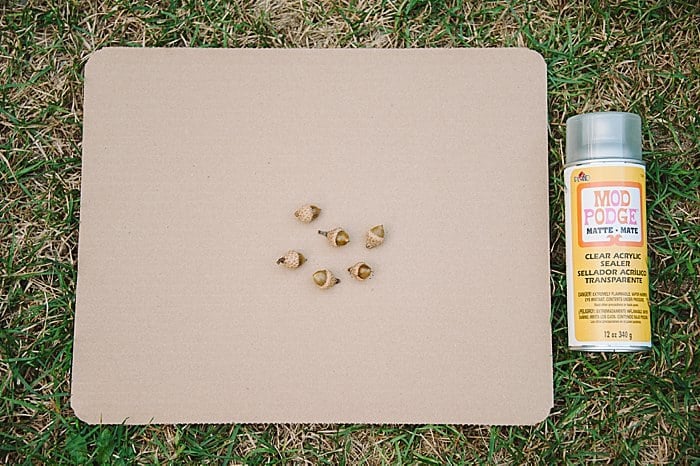
Step 7. If you plan to use or display the acorns naturally, you can seal them with Clear Acrylic Sealer to help preserve and protect them. It will also add a little bit of shine.
You can skip this step if you are going to paint the acorns.
Common Questions
The exact ratio of vinegar to water doesn't really matter. Acorns are tough so you don't have to be too careful or worried about the mixture being too strong and damaging them. As long as it's at least 1:1 or more water than vinegar, you should be good!
To heat the acorns enough to kill any bugs that might be living inside but also not damage them, you want to use a low-temperature setting for a decently long length of time. Try 175 degrees Fahrenheit for 1-2 hours. You can use the Convection Bake setting to help suck any moisture out of the oven, or use the standard Bake setting and crack the oven door open a bit to let the moisture escape.
This is normal; the caps expand as they get wet and when they heat up in the oven. You can use a dab of hot glue on the underside of an acorn cap to reattach it to the top of the acorn body. Just make sure you match acorn caps and bodies that are roughly the same size and seem like a good fit. You don't want to glue a huge acorn cap onto a tiny little acorn body; that would look silly.
Now the acorns are ready for you to use to make crafts or to use for decorating!
No matter what you plan to do with them now that you've figured out how to prepare acorns for crafts, you've got the supplies for some fun projects!
More Acorn Crafts You'll Love
---
⭐️🧶 Did you enjoy this craft and want to see more like it? ✂️ Join our FREE email community and get inspiring craft ideas sent right to your inbox! 🧵 ⭐️
---
How to Prepare Acorns for Crafts
Materials
- Acorns
- A Bowl or Bucket
- Vinegar
- Water
- Paper Towels
- Cookie Sheet Lined with Aluminum Foil
- Oven
- Hot Glue Gun and Glue
- Clear Acrylic Sealer
Instructions
- Step 1. In a bowl, mix water and vinegar together.One-half of a cup of vinegar is a good starting point, and then add a cup or more of water to the bowl, and mix.
- Step 2. Before you begin soaking the acorns, remove any visible dirt or debris.Then, add the acorns to the bowl. Swish them around, and then let them soak for 20 minutes.This will help clean dirt off of them and start to get rid of any bugs inside them too.
- Step 3. After 20 minutes (or longer if you want!) take the acorns out of the water and use a strainer to rinse them with fresh water.Drain off any excess water and let them dry on a paper towel.
- Step 4. In order to kill any bugs that might be inside the acorns, we are going to bake them.Place the acorns on a foil-lined baking sheet and place in a 175-degree F oven for 1 to 2 hours.
- Step 5. I used the "Convection Bake" setting on my oven to help suck excess moisture out.You could also use the regular "Bake" setting and crack the oven door to let moisture escape. (This didn't feel very safe with curious kids around, which is why I went the "convection bake" route.)Halfway through the bake time, flip the acorns over with a spatula or spoon so the other side has a chance to bake.Any green acorns will turn brown as they bake.
- Step 6. After baking for 1-2 hours, remove the cookie sheet and acorns from the oven and let cool completely.Some of the acorn caps may come loose in the drying process.You can use a small dab of hot glue on the inside of the cap to reattach it to the acorn.This is recommended to do first, before you paint acorns, or use them in projects where you want the acorns to have caps.
- Step 7. If you plan to use or display the acorns naturally, you can seal them with Clear Acrylic Sealer to help preserve and protect them. It will also add a little bit of shine.You can skip this step if you are going to paint the acorns.
Notes
- It doesn't matter too much what ratio of vinegar to water you use, as long as it's 1:1 or more water to vinegar. Acorns are tough and are unlikely to be damaged by too much vinegar.
- Use Convection Bake or Standard Bake with the oven door cracked open slightly while baking. This will allow excess moisture to escape. Bake for 1-2 hours at 175 degrees F.
- If acorn caps fall off in the washing and baking process (which is totally normal!), you can hot glue them back on at the end.




Wilelda
Have a bunch of acorns so will give this a try.
Too bad this page is almost unusable due to ads, pop ups, random videos trying to play....
Laura
I hope your acorns turn out great!
I understand your concern; I have felt the same while on other creator's websites. However, ads are the main source of income for many content creators (including me) which allows them to do more projects and share more. Without them, there would be no craft blogs. I hope that helps to shed some light on the purpose of ads.
Mary Bare
I hope I can make my crafts look as good as yours .I thought I was crazy cause I will be out and see objects and think wow this would make something neat. Glad someone else feels the same way . Think you very much for excepting me in your club . Oh by the way fairy gardens are my very favorite ,I have a big imagination. Again think you have a good day!!
Laura
Hi Mary!
Thank you, you are so sweet! You absolutely CAN make your crafts look as good as mine; I'm sure of it!
Yes, it is comforting to know you aren't alone when you want to collect every item you see to use for crafts, isn't it?! Haha, I'm right there with you!
Tell me more about your fairy gardens! Do you have any photos you care to share? I would love to see!
Laura