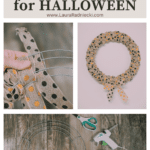
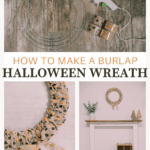
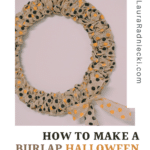
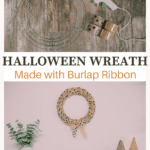


Learn how to make a burlap Halloween wreath using a wire wreath form and burlap ribbon to add a festive touch to your DIY Halloween decor!
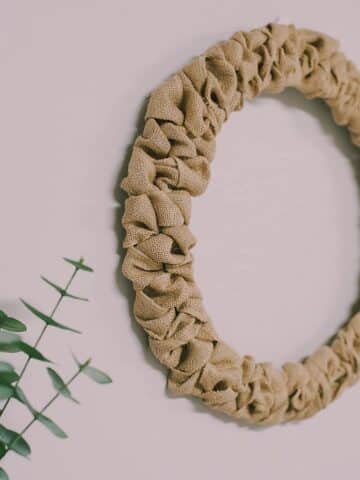
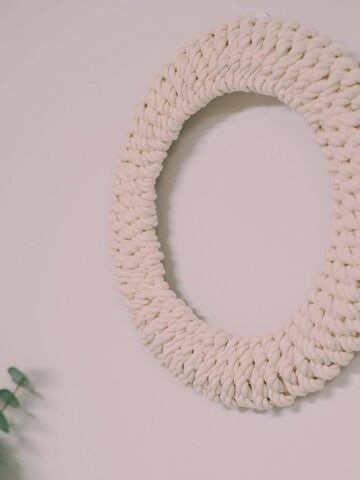
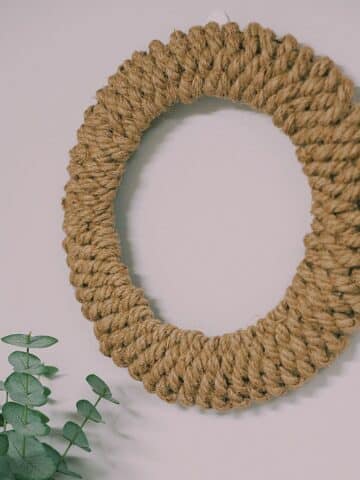
We have made all kinds of different wreaths on the blog, including a jute wreath, a rope wreath, and a burlap ribbon wreath that have all been beautiful!
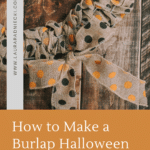
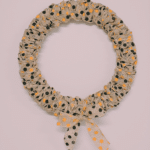
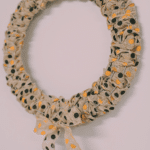
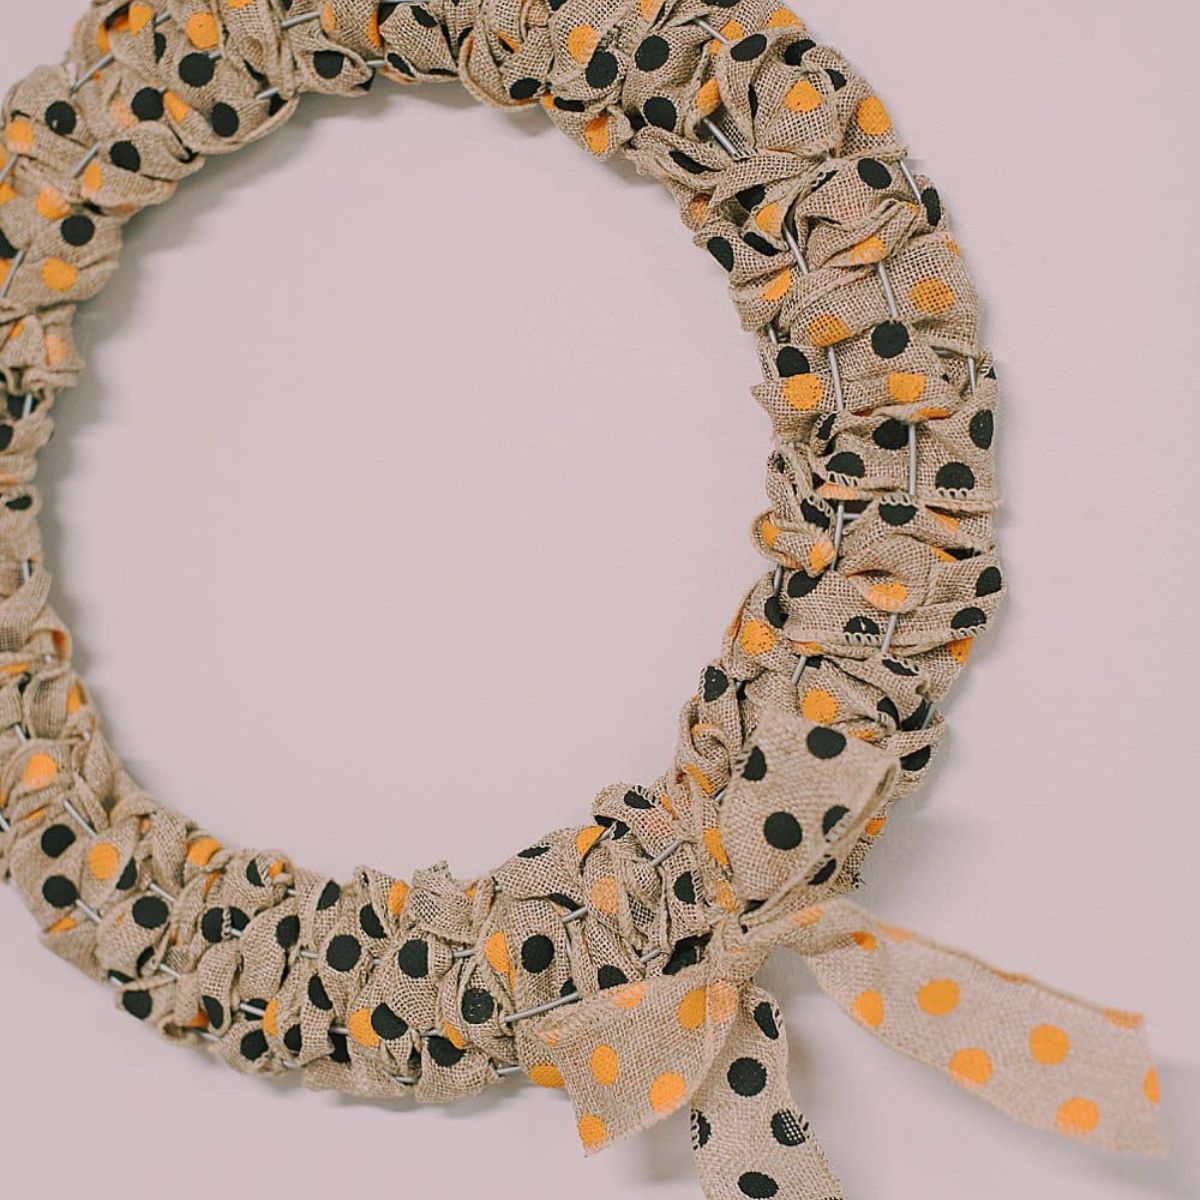
Today, we are going to put a Halloween spin on a traditional burlap ribbon wreath, and use black and orange polka dot ribbon!
We're going to make a festive fall wreath that is perfect to add to your Halloween decor.
Jump to:
Why You'll Love This Craft
- This DIY wreath uses the same simple weaving technique we used on this jute star wreath and this lovely burlap wreath. It's simple and methodical, and once you master it, you can make other wreaths like a DIY nautical rope wreath!
- All you need to make this wreath is a wire wreath form and burlap ribbon (ours has orange and black polka dots on it.) All of our supplies came from the Dollar Tree, and you can easily find them at any big box store or craft supply store as well.
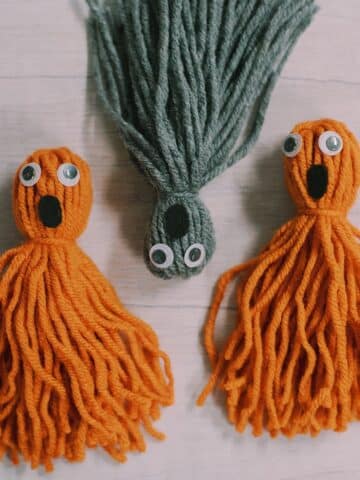
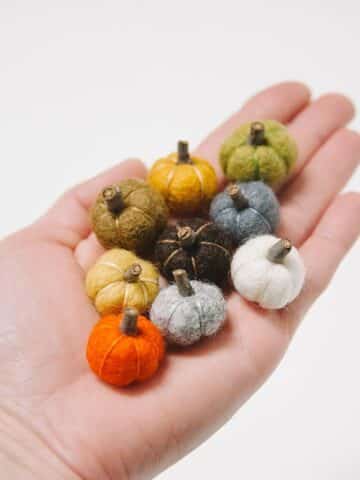
- This wreath is fun and festive - the type of Halloween decor that I prefer. (I don't love spooky and scary.) You can add other fun Halloween decorations to your house alongside this wreath, like painted plastic jack-o-lantern pumpkins, or yarn tassel ghosts to keep things fun and carefree.
Craft Supplies You'll Need
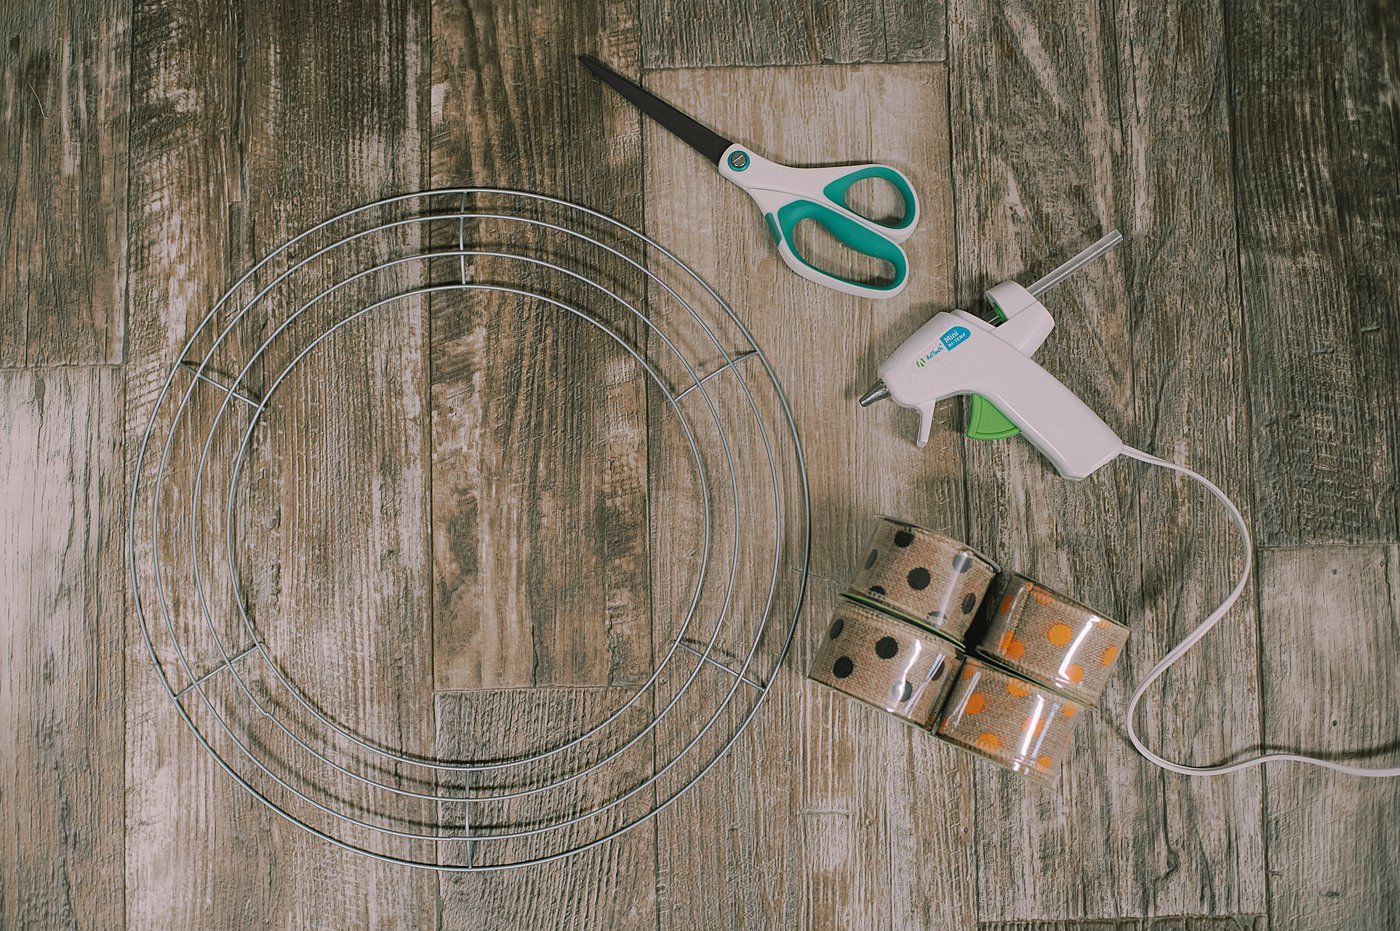
- Wire Wreath Frame - We used a wire wreath frame with four wire sections. You can use any wire wreath in any shape you want as long as it has wire sections for you to wrap the ribbon through!
- Burlap Ribbon - We used polka dot ribbon in black and orange from the Dollar Tree that was about 1.5 to 2" wide.
- Scissors, Hot Glue Gun and Glue - Found in your craft room already, I'm sure!
How to Make a Burlap Halloween Wreath
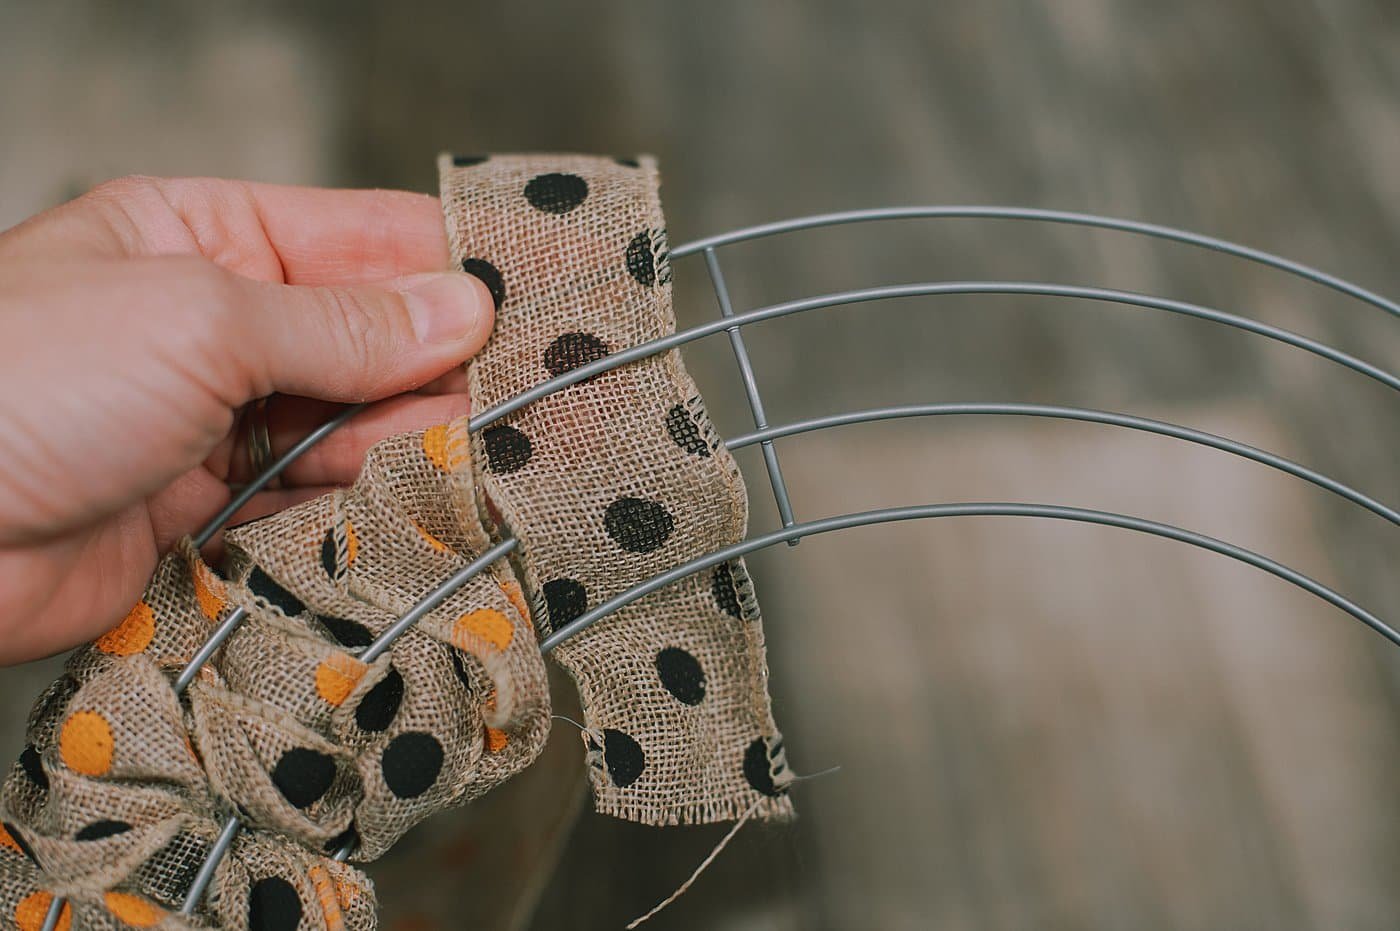
Step 1. Using the general technique used in this burlap ribbon wreath tutorial, weave the ribbon over, under, over, and under the wires in the wreath frame.
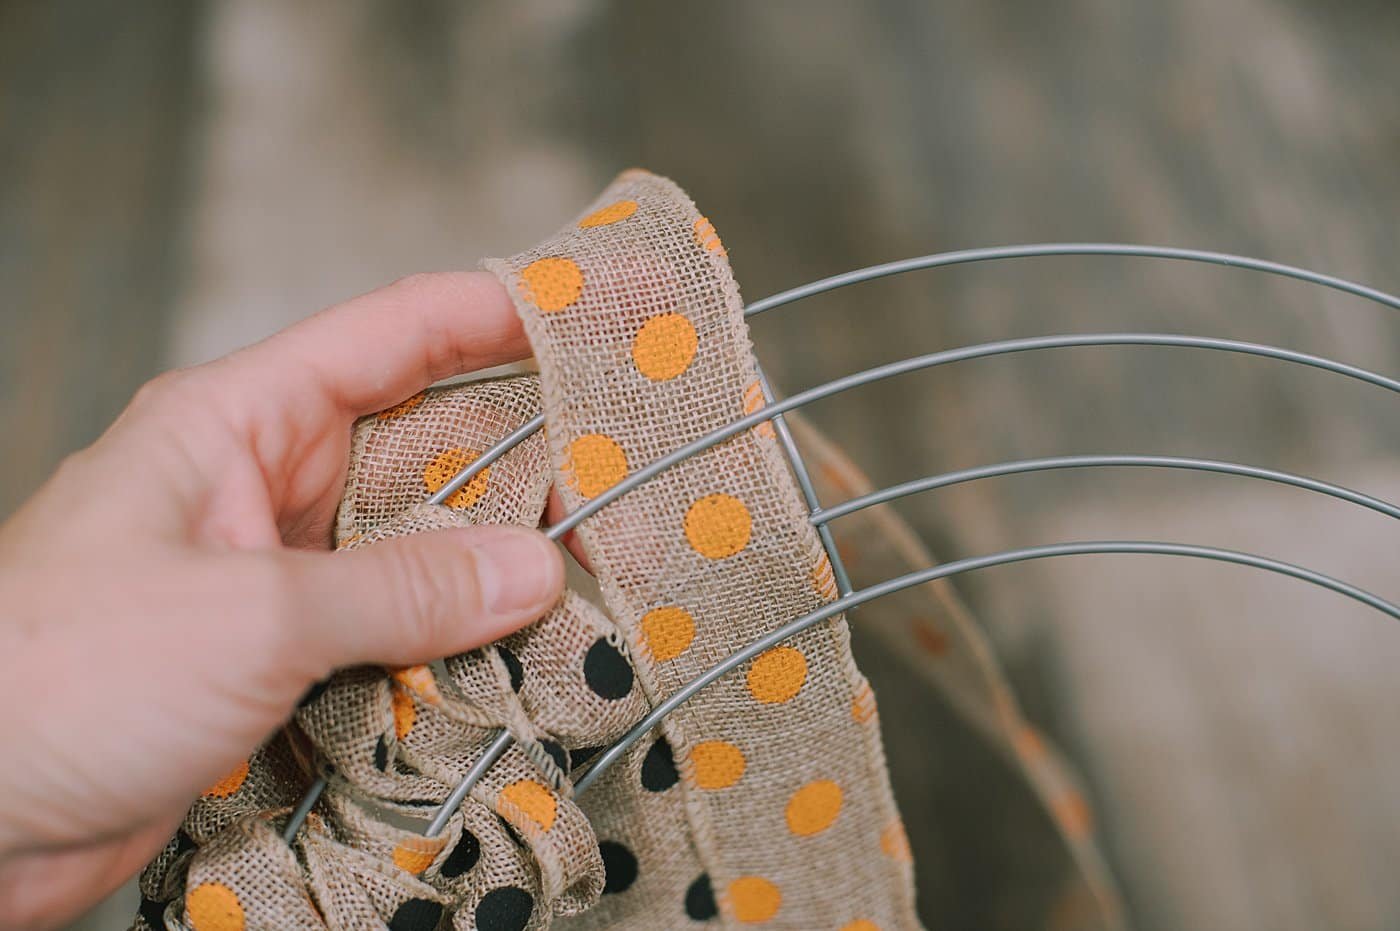
Step 2. I worked with two colors of ribbon, first threading the black one through the frame and then the orange.
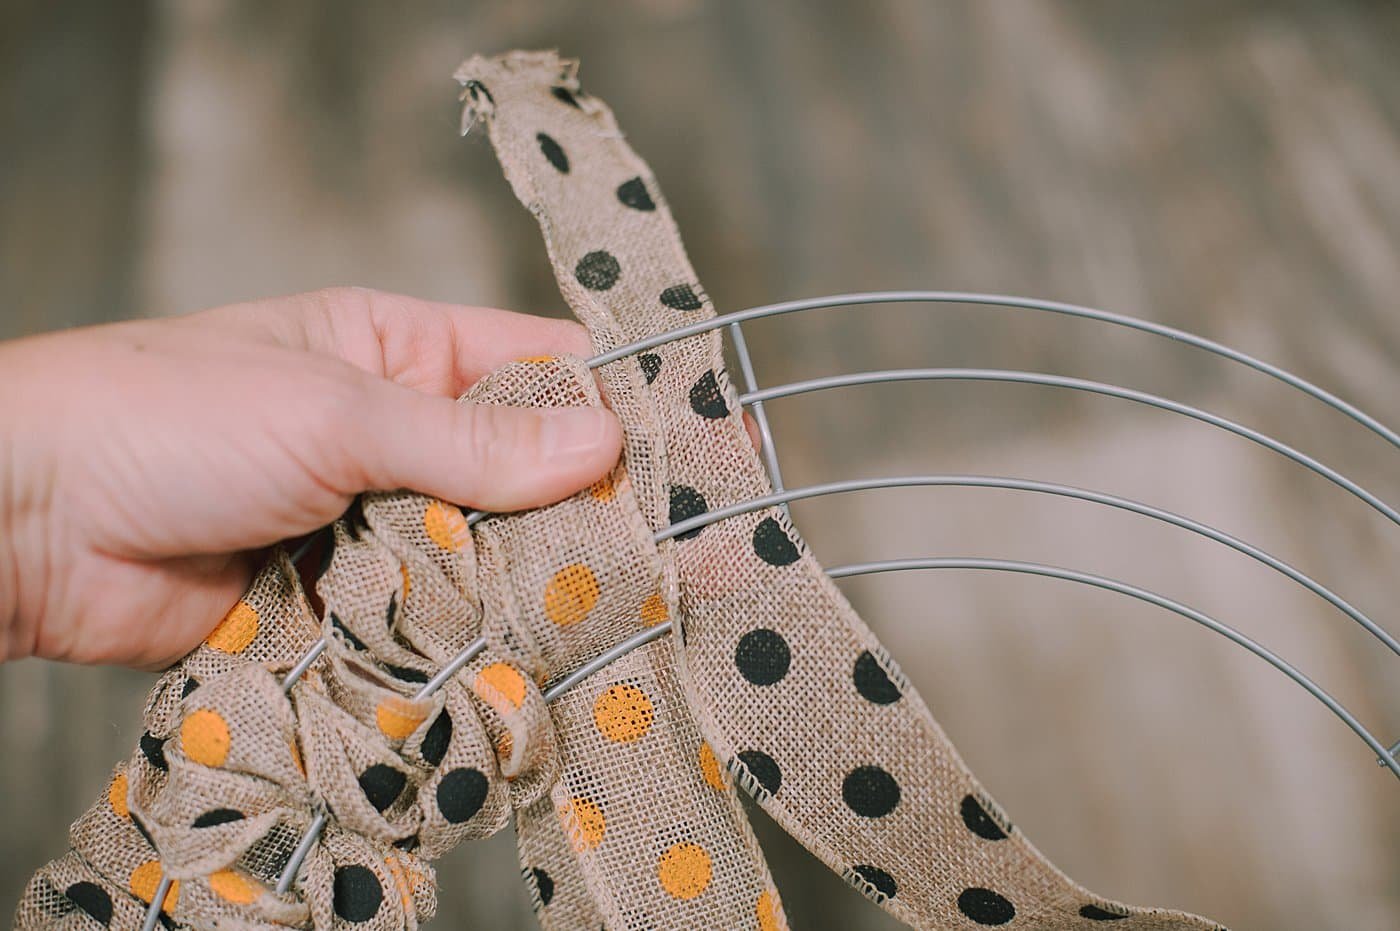
Step 3. Come back again the other way with the black and followed with the orange.
Over, under, over, under. Snugging up the burlap to prevent any gaps.
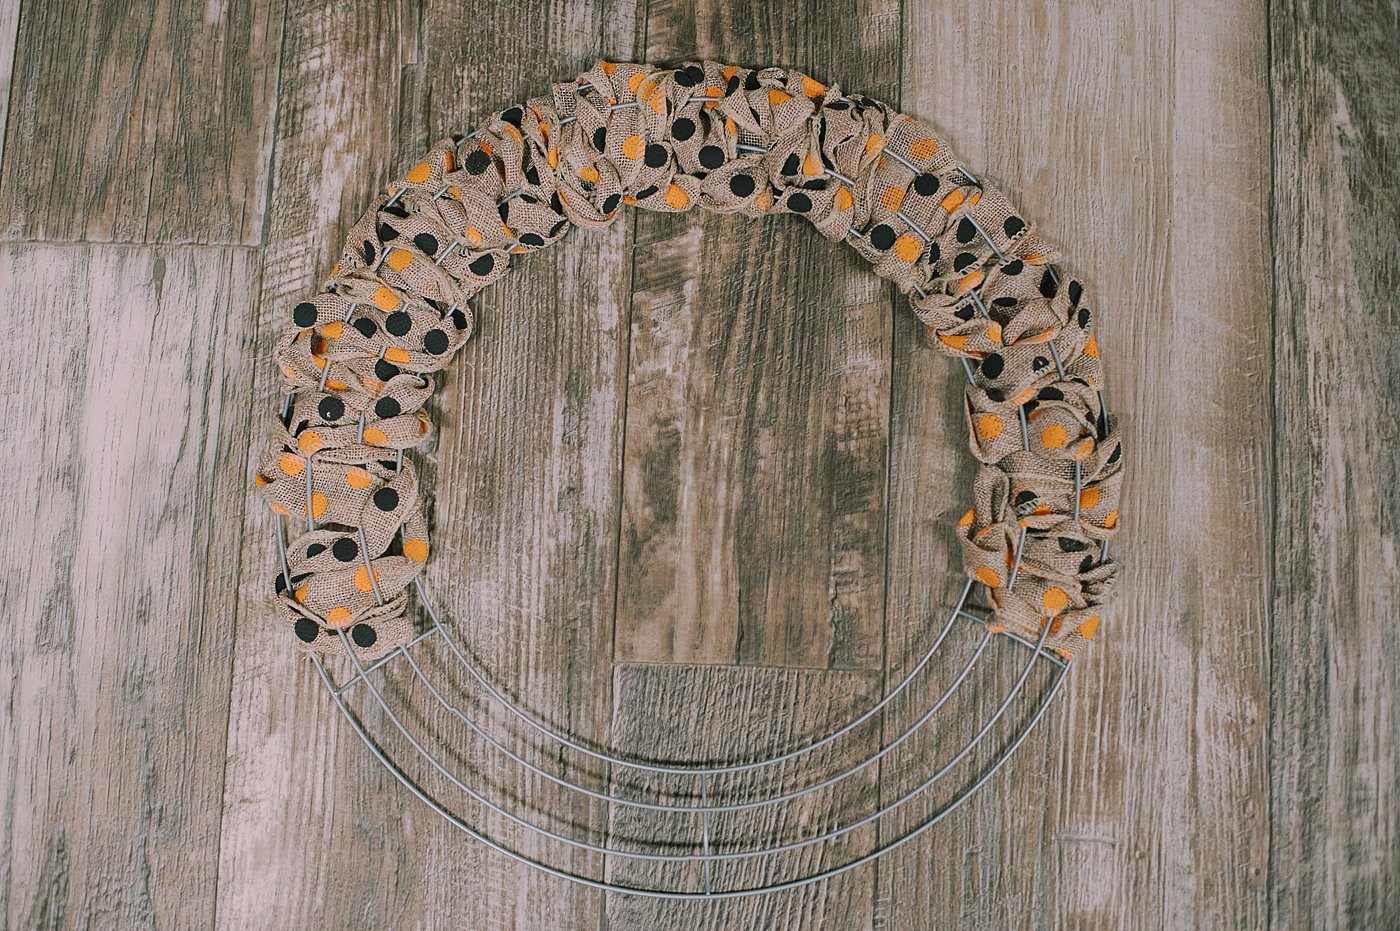
Step 4. Keep threading the ribbon onto the wreath frame as you go around the circle.
(Revisit this burlap ribbon wreath tutorial to see a more detailed description of how to thread the burlap ribbon.)
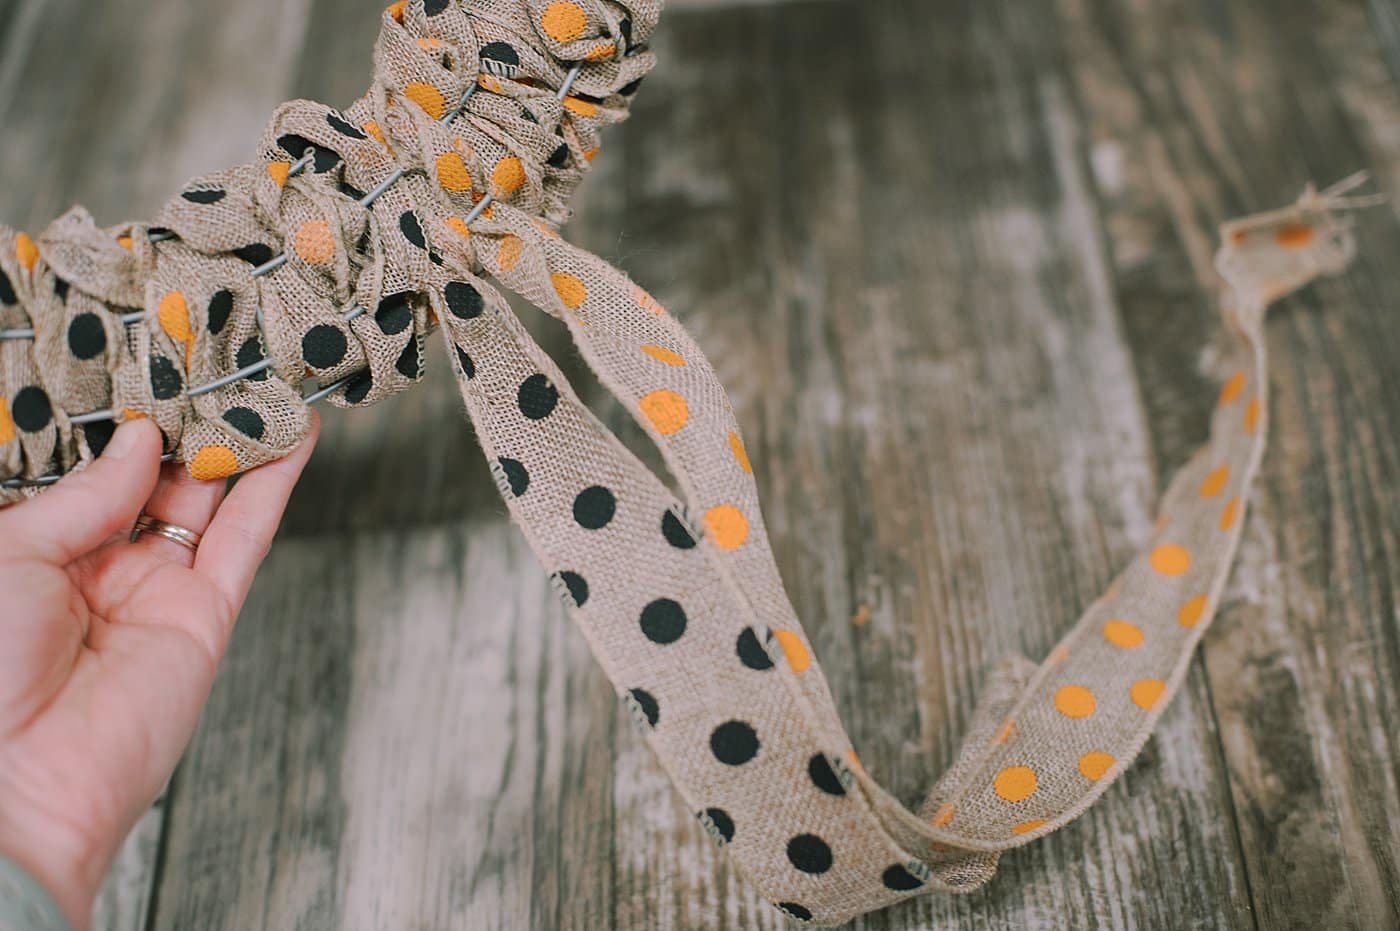
Step 5. When the whole wreath is covered with woven burlap, there should be two remaining tails of ribbon - one of each color.
Tie a bow with those two remaining burlap ribbon tails to finish off the wreath.
PRO TIP: If you don't have any extra ribbon to tie off into a bow, you can finish the wreath by hot gluing the ribbon ends to the back like we did in the original DIY burlap ribbon wreath, and then tie a ribbon bow onto the wreath separately.
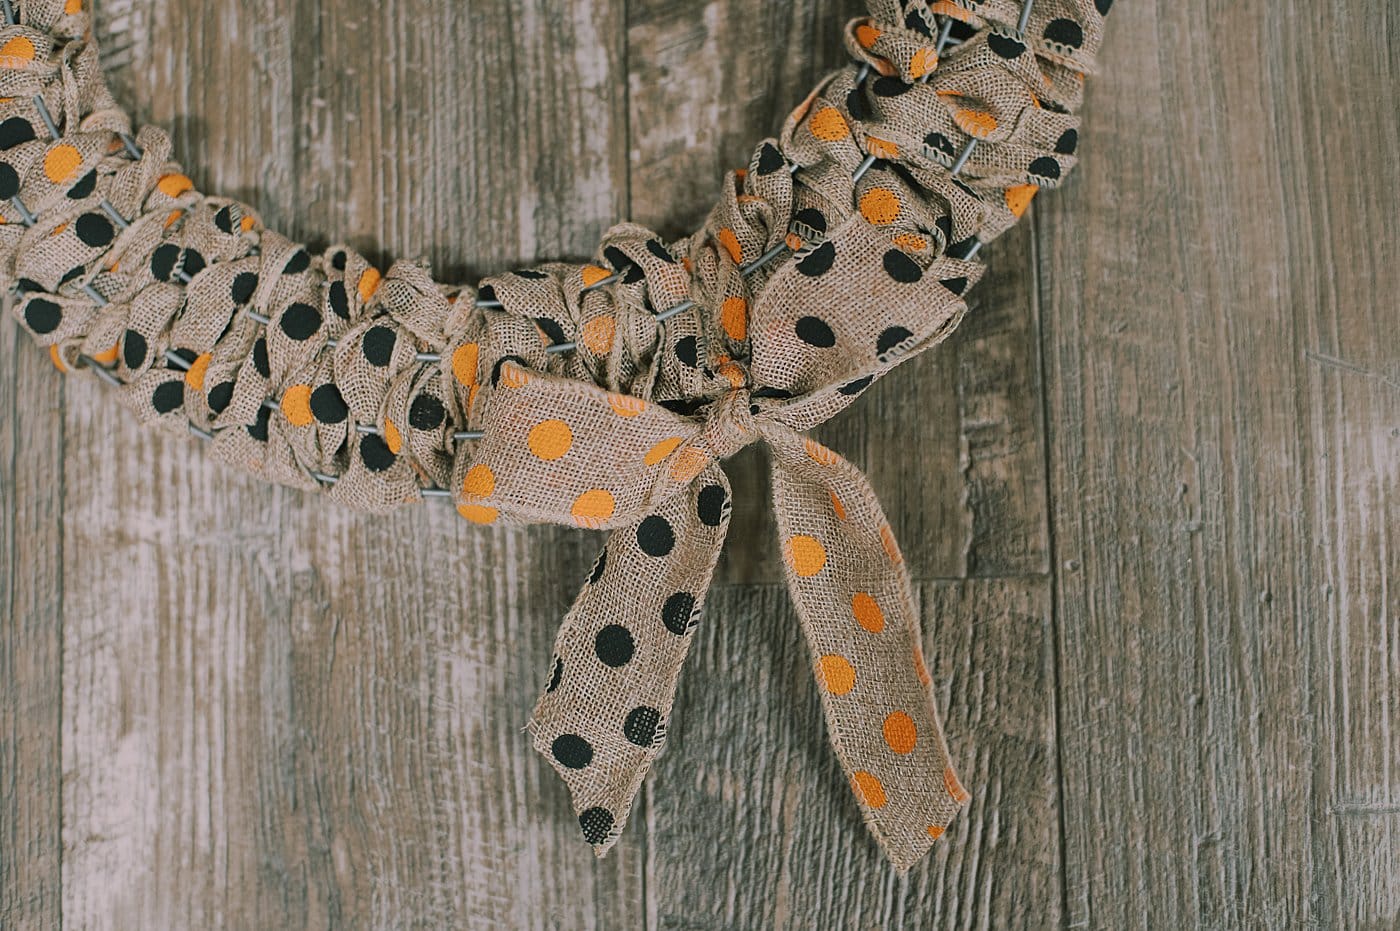
Step 6. Trim the two tails of the burlap ribbon below the bow, so the edges are neat and clean.
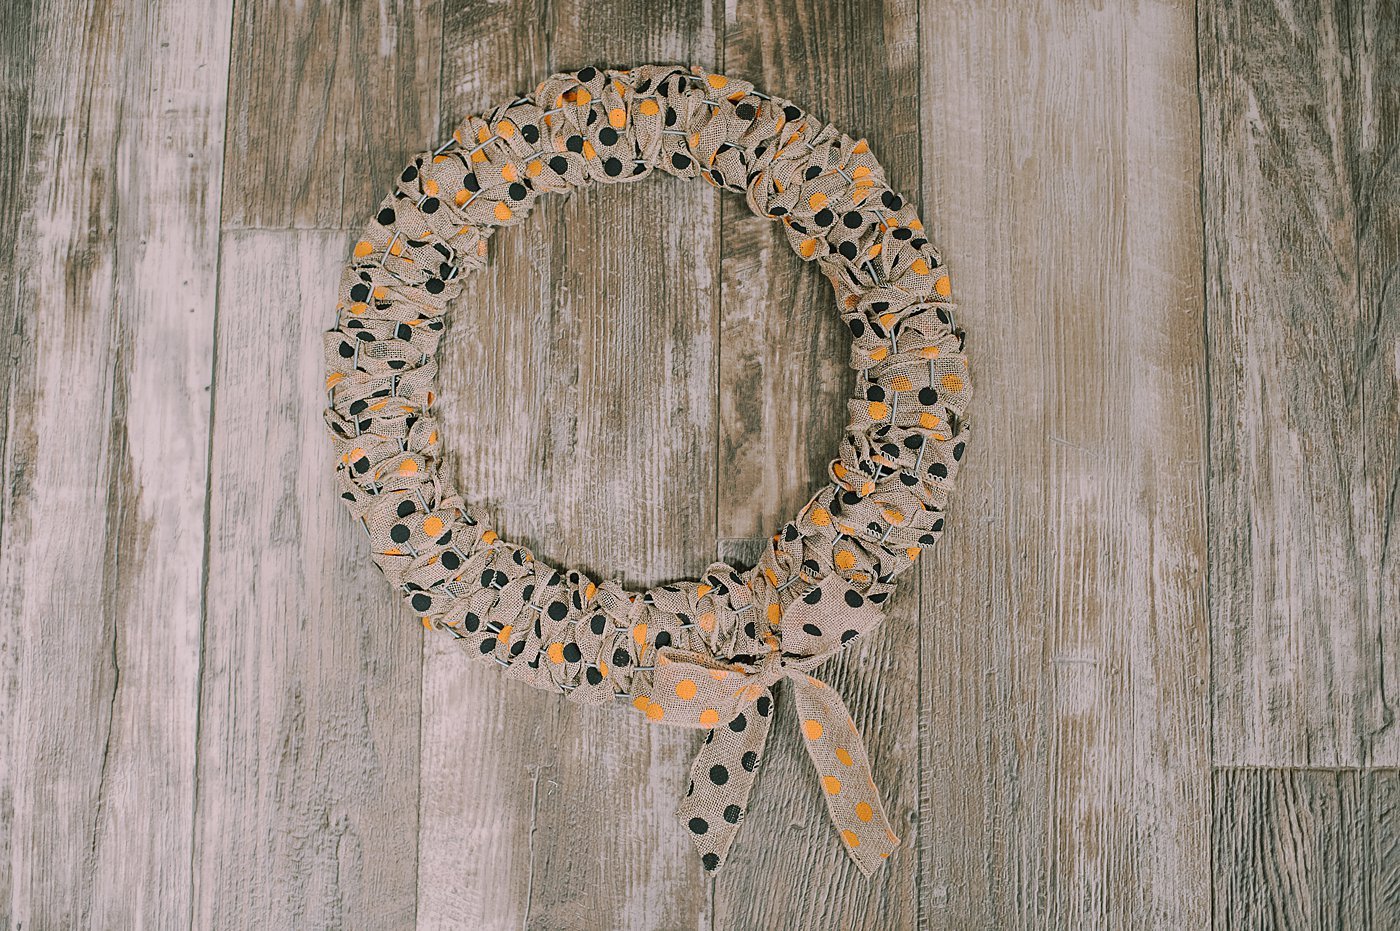
Your Halloween wreath is finished!
Common Questions
A wire wreath form is needed for this project; you need to be able to weave ribbon through the wire sections of the wreath form. You can use a wire wreath form that has 3 or 4+ wire sections and is in any shape you like. Circular wreath forms are classic, but you can find them in other shapes like stars and hearts, or I've even seen them in the shape of the infamous cancer support ribbon!
You can use any type of burlap ribbon, wired or non-wired, in any width as long as it's at least 1.5" wide. You want the ribbon to be wide enough to create fun texture in the wreath as you weave.
This Halloween wreath is made with burlap ribbon that is much narrower than we used in the original burlap ribbon wreath. The finished wreath is not as voluminous but it still worked great, and the polka dots added their own dimension to the project.
This is the same technique we used to make a rustic burlap ribbon wreath, a jute wreath, and a rope wreath.Step 5. When the whole wreath is covered with woven burlap, there should be two remaining tails of ribbon - one of each color.
Tie a bow with those two remaining burlap ribbon tails to finish off the wreath.
PRO TIP: If you don't have any extra ribbon to tie off into a bow, you can finish the wreath by hot gluing the ribbon ends to the back like we did in the original DIY burlap ribbon wreath, and then tie a ribbon bow onto the wreath separately. You can use any shape wreath form and any type of ribbon, rope, or fabric strip to make a wreath - you'd use the same technique for all of them!

I'm not a spooky lover - I typically don't like or do much for Halloween decorations. Fall decor - YES! But not Halloween.
This DIY Halloween wreath is a festive version that I can get on board with. Nothing spooky in sight!
More Wreath Crafts You'll Love
---
⭐️🧶 Did you enjoy this craft and want to see more like it? ✂️ Join our FREE email community and get inspiring craft ideas sent right to your inbox! 🧵 ⭐️
---

How to Make a Burlap Halloween Wreath
Materials
- Wire Wreath Form
- Burlap Ribbon
- Scissors, Hot Glue Gun
Instructions
- Using the general technique used in this burlap ribbon wreath tutorial, weave the ribbon over, under, over, and under the wires in the wreath frame.
- I worked with two colors of ribbon, first threading the black one through the frame and then the orange.
- Come back again the other way with the black and followed with the orange.Over, under, over, under. Snugging up the burlap to prevent any gaps.
- Keep threading the ribbon onto the wreath frame as you go around the circle.
- When the whole wreath is covered with woven burlap, there should be two remaining tails of ribbon - one of each color. Tie a bow with those two remaining burlap ribbon tails to finish off the wreath.
- Trim the two tails of the burlap ribbon below the bow, so the edges are neat and clean. Your Halloween wreath is finished!
Notes
- You can use any type, shape, or size wire wreath form to make this wreath. You just need to use a wire wreath form so you can weave the ribbon through it.
- You can use burlap ribbon that is wired or non-wired, in any shape and color you want. Just make sure your ribbon is at least 1.5" wide so there is sufficient material to create the fun texture as you weave.
- PRO TIP: If you finish weaving the wreath and don't have any extra ribbon to tie off into a bow, you can finish the wreath by hot gluing the ribbon ends to the back like we did in the original DIY burlap ribbon wreath, and then tie a ribbon bow onto the wreath separately.
Julie
That’s great,. It’s simple to do and it looks wonderful. Thank you.
Laura
You're welcome Julie, I'm glad you like it!