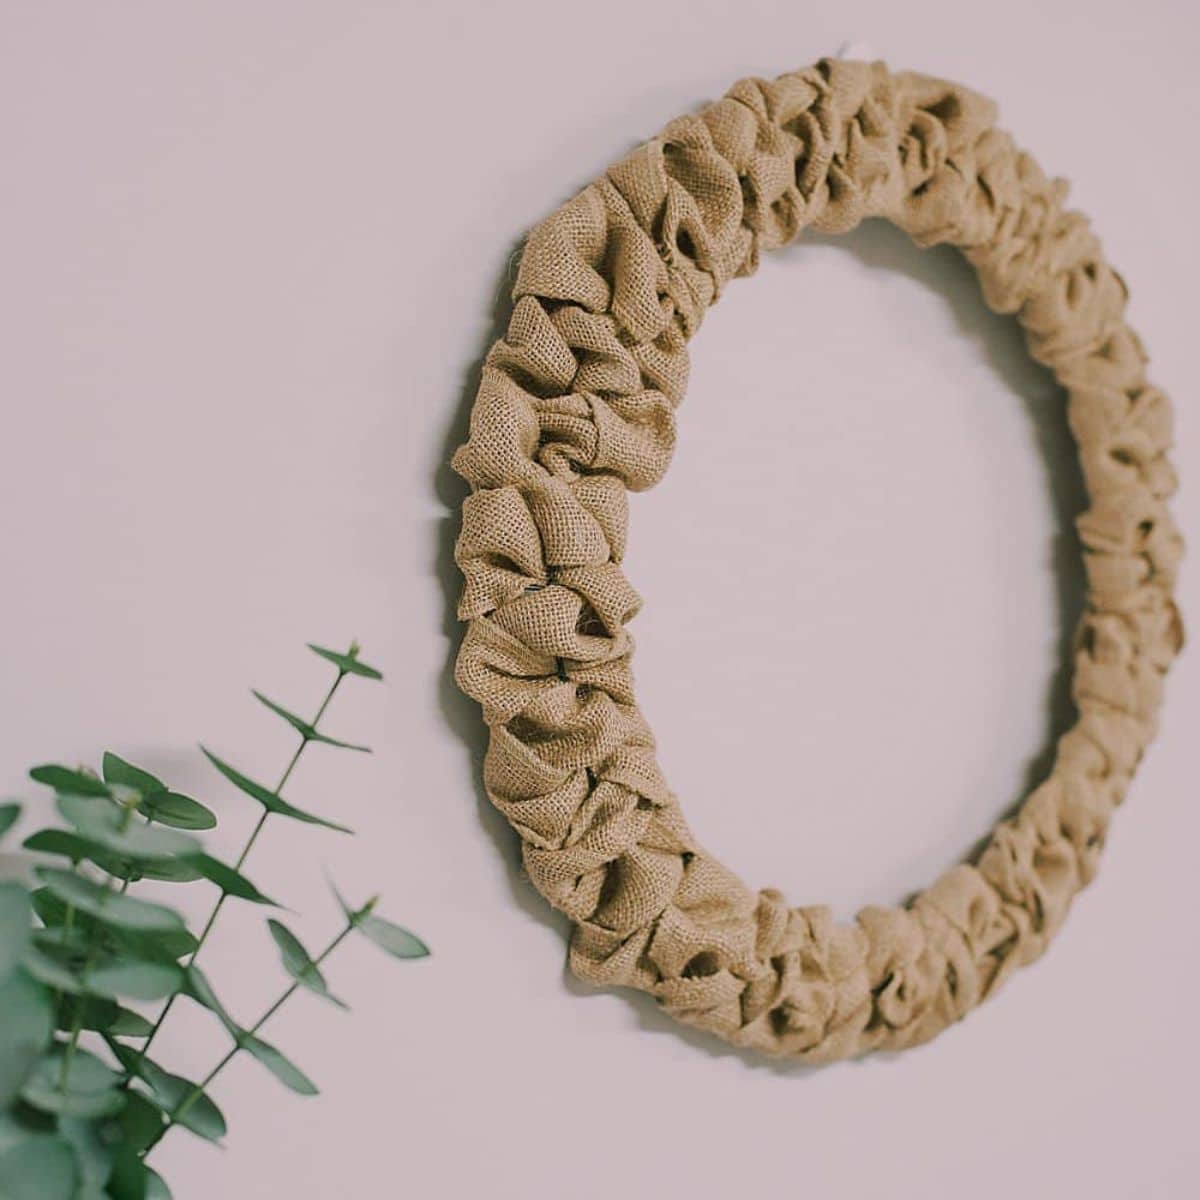
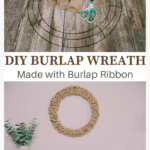
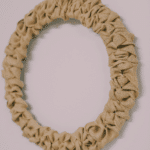
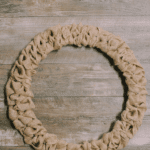
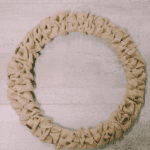
Learn how to make a quick and easy burlap ribbon wreath using burlap ribbon and a wire wreath form! It is the perfect rustic chic wall decoration for a front door or above a fireplace.
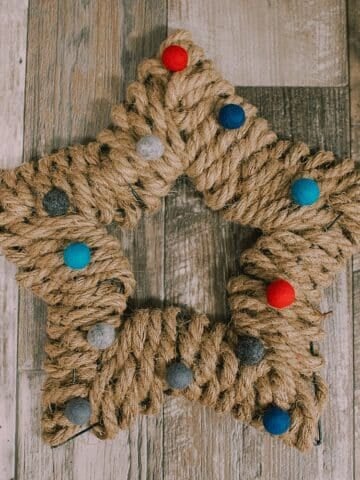
We make all kinds of wreaths around here - everything from book page wreaths, pompom wreaths, and pinecone wreaths to star wreaths made with jute rope.
Today, we are going to use one of our favorite fabrics (burlap! - find everything you want to know about burlap here) in ribbon form, and we'll weave a burlap ribbon wreath that is a stunner.
Jump to:
Why You'll Love This Craft
- Burlap is such a fun craft material. It's readily available, humble and beautiful, and can fit with a wide range of decor styles.
- All you need for this wreath project is burlap ribbon and a wire wreath form. (Plus scissors and a glue gun.) Those supplies are available everywhere from craft supply stores and big box stores to dollar stores like the Dollar Tree!
- The process of making this wreath is simple and repetitive. The wreath itself looks complex, but it's not!
Craft Supplies You'll Need
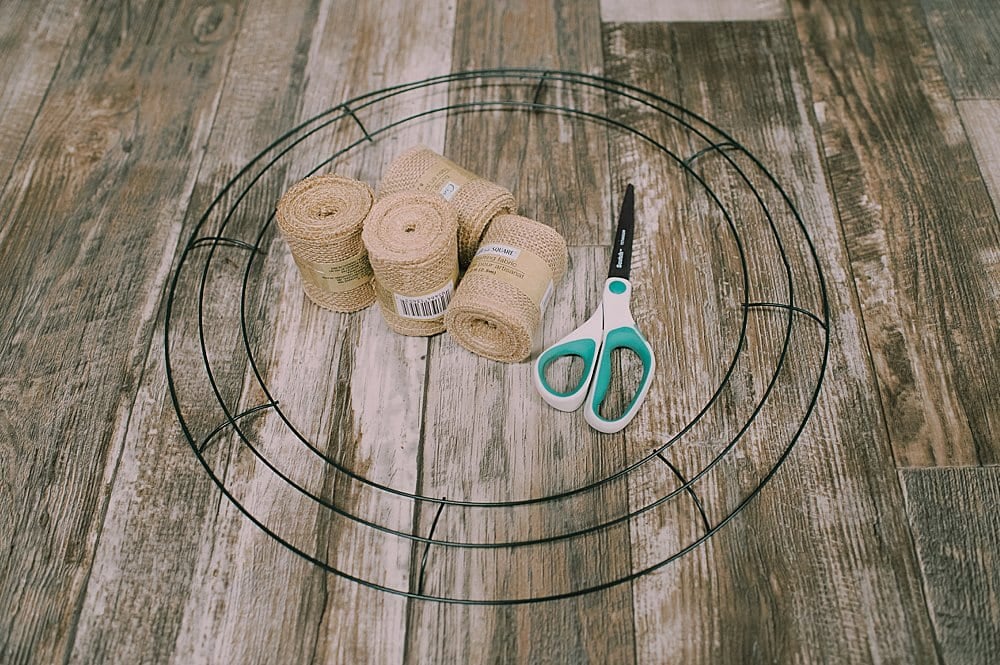
- Wire Wreath Frame - We used a circular wire wreath from for this project but you can use any shape you want.
- Burlap Ribbon - We used non-wired ribbon but you can use whatever type of burlap ribbon you have!
- Scissors, Hot Glue Gun and Glue - These are staples in every crafter's home, so I'm sure you already have them on hand!
How to Make a Burlap Ribbon Wreath
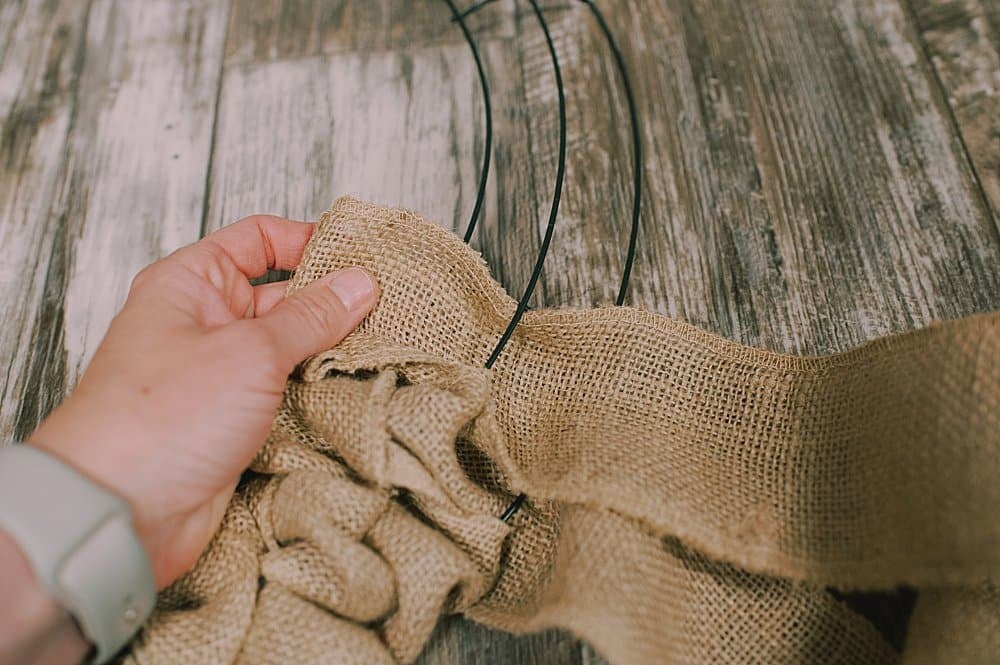
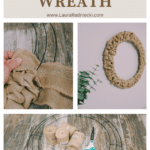
Step 1. Using the same general technique we used in the star wreath tutorial, begin weaving the burlap ribbon through the wire sections of the wreath frame.
Start by going over one, under the next, and over the third.
Then, wrap the burlap ribbon around, and come back the other way, going the opposite way - under, then over, then under again.
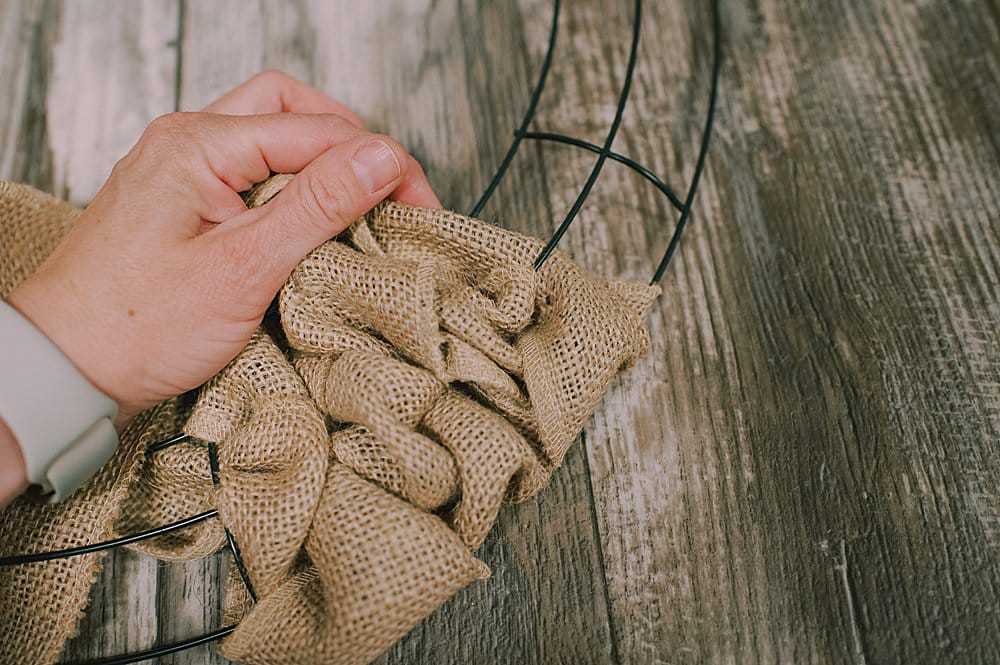
Step 2. Snug the ribbon up often so the wreath doesn't have any gaps.
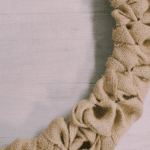
You want the ribbon to be voluminous, and the wreath to have texture as you weave.
This will happen naturally as long as you don't pull the ribbon too tight with each pass, and you keep snugging it up as you go.
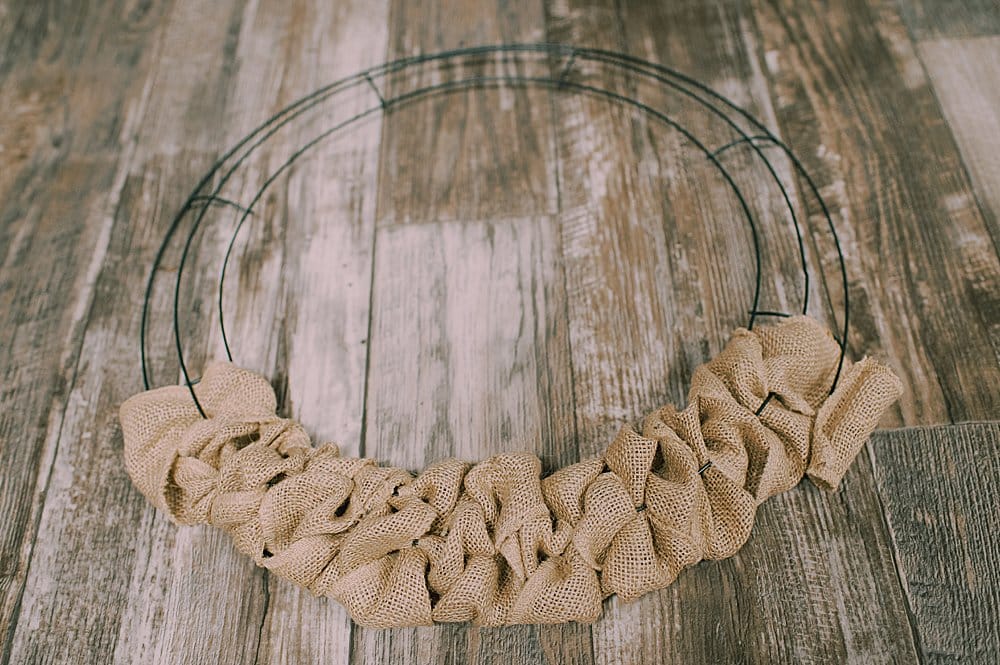
Step 3. Continue the simple over/under/over and under/over/under weaving process as you go around the wreath form.
It looks so intricate, but the process is very simple!
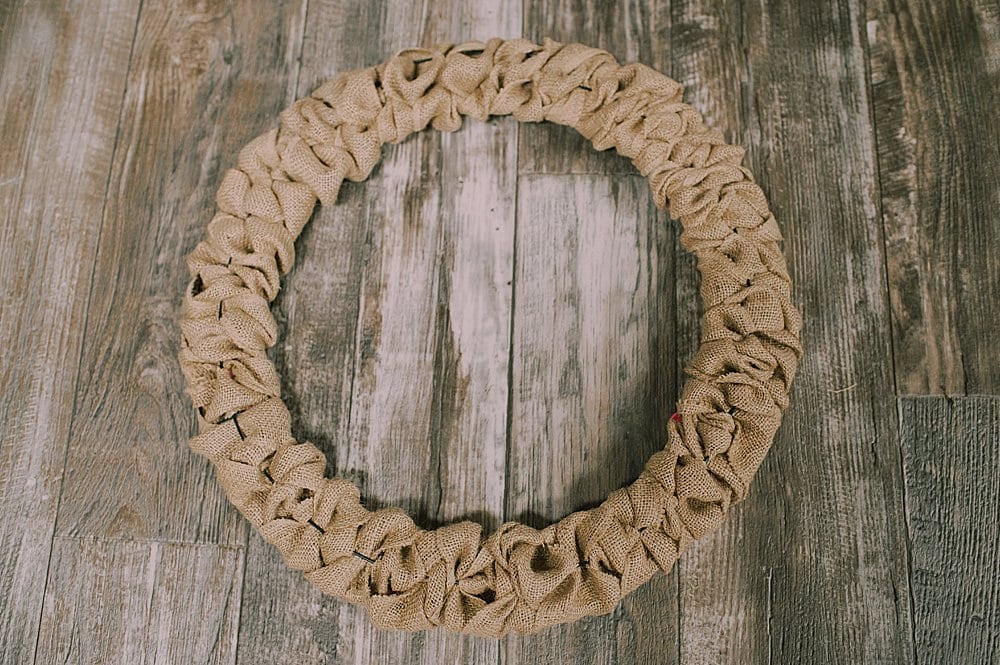
Step 4. If you run out of ribbon, leave the ribbon's tail on the backside of the wreath. You can secure it with hot glue at the end.
Begin using a new ribbon at the same place you just left off, and continue weaving it around the wreath.
Once you have covered the whole wreath, hot glue any ribbon ends to the back of the wreath, and you are done!
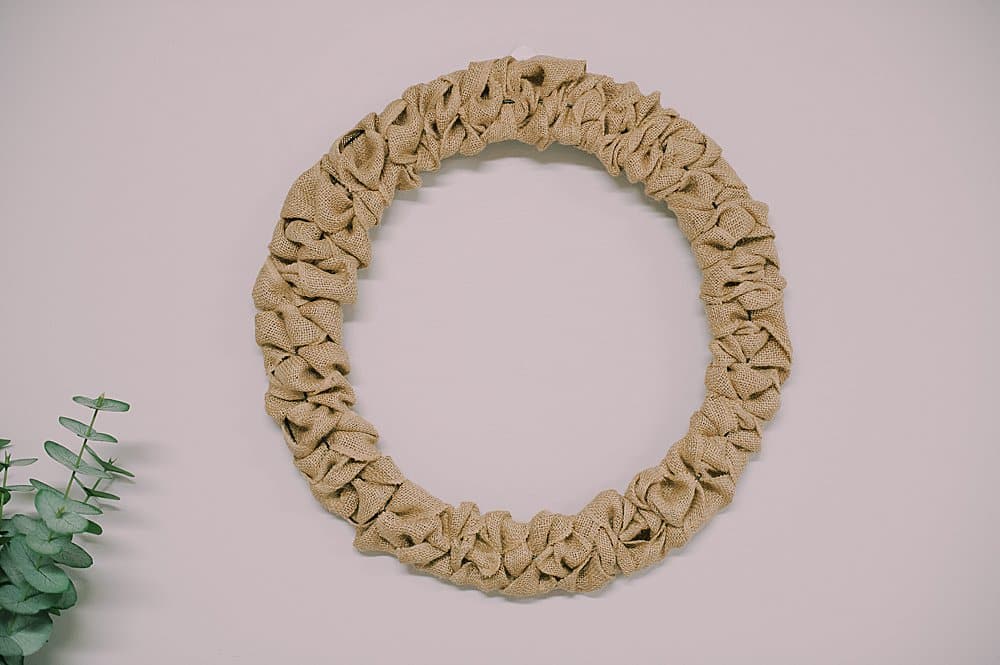
Common Questions
We used burlap ribbon that was at least 2" wide (maybe closer to 2.5-3"), and non-wired. We bought it at the Dollar Tree and it was very cheap. You can use wired ribbon too, if that's what you have.
Just make sure the ribbon you use is wide enough to naturally roll and create texture as you weave it through the wire wreath. If the ribbon is too thin, it won't have the same lovely 3D texture.
We used a wire wreath in a circular shape for this project. It was made with three wired sections and we bought it at Dollar Tree.
You can use any type and shape of wreath form for this project as long as it's wire, and has different sections that allow you to weave the ribbon in and out. Your wreath might have 3 or 4 wire sections in it; it doesn't matter. You'll use the same weaving technique no matter what.
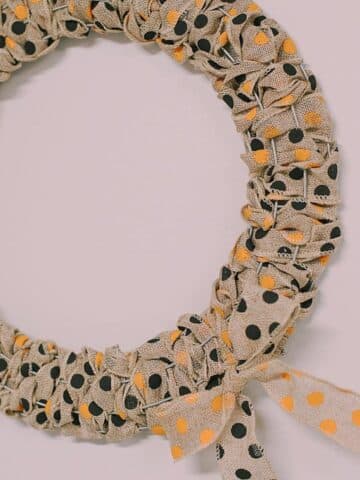
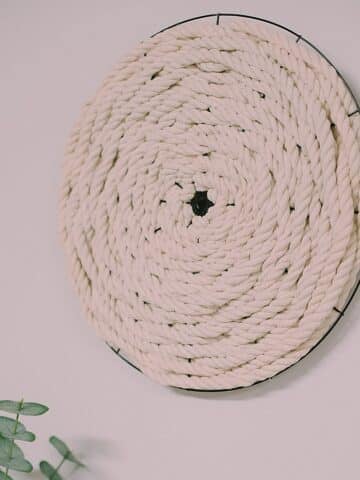
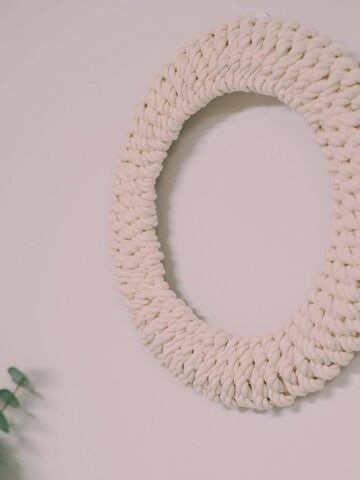
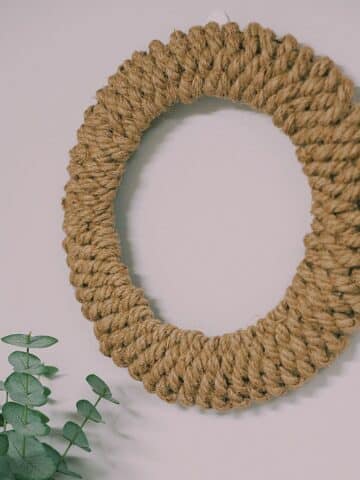
Isn't it fun?! It's methodical and so easy. Satisfying, even. You can use the same technique with any type of ribbon - we made a burlap Halloween wreath using burlap ribbon that had orange and black spots on it! You can also use the same weaving technique with other materials like jute (like this jute wreath) or rope like we did in this rope wreath.
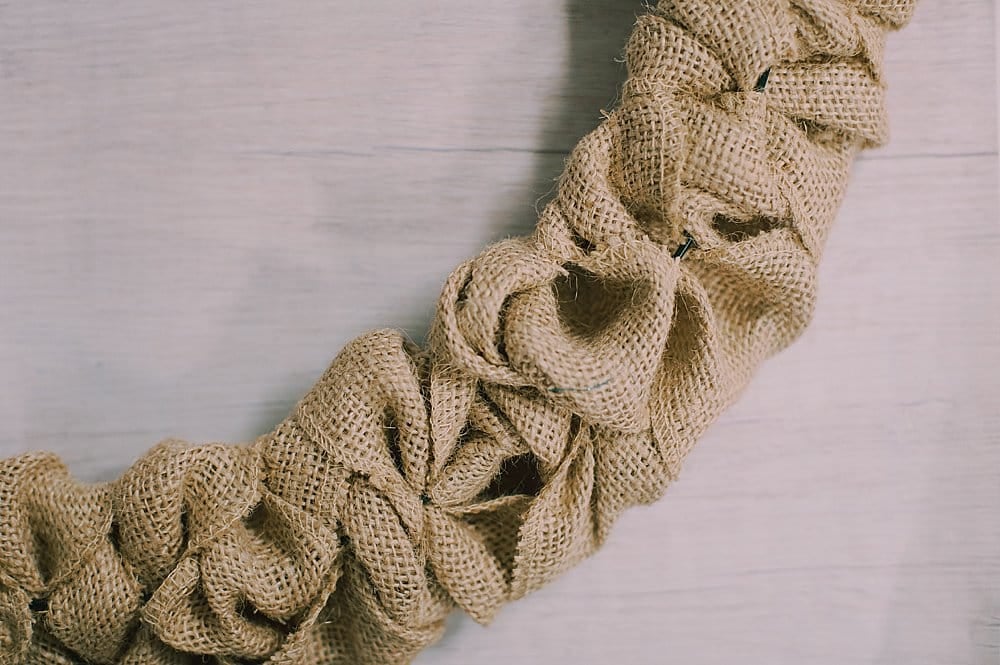
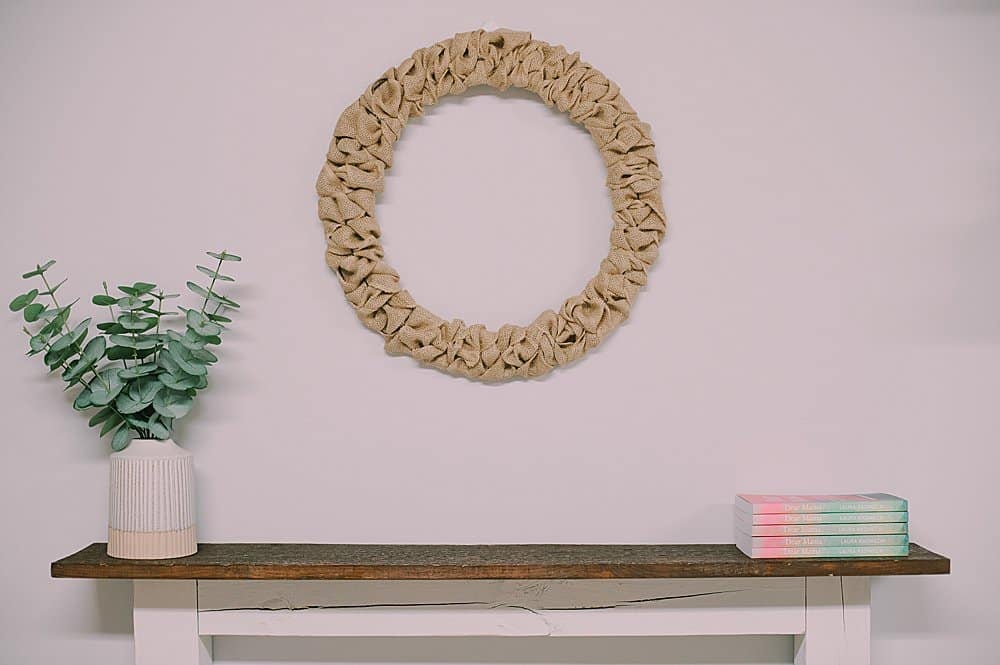
This burlap ribbon wreath is extremely forgiving.
You can't mess it up as long as you weave the ribbon over and under the wires, and snug it up as you go.
It's beautiful on its own as a rustic chic element of your home decor, or you can add ribbon, bows, or other embellishments to dress it up a bit more.
More Fall Crafts You'll Love
---
⭐️🧶 Did you enjoy this craft and want to see more like it? ✂️ Join our FREE email community and get inspiring craft ideas sent right to your inbox! 🧵 ⭐️
---
How to Make a Burlap Ribbon Wreath
Materials
- Wire Wreath Form
- Burlap Ribbon
- Scissors & Hot Glue Gun
Instructions
- Using the same general technique we used in the star wreath tutorial, begin weaving the burlap ribbon through the wire sections of the wreath frame.Start by going over one, under the next, and over the third. Then, wrap the burlap ribbon around, and come back the other way, going the opposite way - under, then over, then under again.
- Snug the ribbon up often so the wreath doesn't have any gaps. You want the ribbon to be voluminous, and the wreath to have texture as you weave.This will happen naturally as long as you don't pull the ribbon too tight with each pass, and you keep snugging it up as you go.
- Continue the simple over/under/over and under/over/under weaving process as you go around the wreath form.It looks so intricate, but the process is very simple!
- If you run out of ribbon, leave the ribbon's tail on the backside of the wreath. You can secure it with hot glue at the end.Begin using a new ribbon at the same place you just left off, and continue weaving it around the wreath.
- Once you have covered the whole wreath, hot glue any ribbon ends to the back of the wreath, and you are done!
Notes
- You can use any type of wire wreath form (3 or 4 wire sections, or more!), in any shape. The Dollar Tree often has wire wreath forms in fun shapes like hearts, stars, or even unique shapes like the cancer ribbon!
- Any type of burlap ribbon will work for this project as long as it's wide enough to create natural texture as you weave. Use something that is at least 1" wide, preferably 1.5-2" wide.
- This wreath is almost foolproof. It is very forgiving and hides nearly any mistake as long as the ribbon is woven through the wire sections and snugged up as you go. It looks so intricate and complex but you'll be surprised with how easy (and fun!) it is to make!






Leave a Reply