I first came across book page wreaths on Pinterest a few years ago.
I'm an avid reader and a lover of rustic chic DIY so there's something about old book pages that just tugs at my heart. I love the look of them and I love the story behind them.
I scooped up some old books in the FREE box at my local library, and straw wreath forms at a local garage sale. Then I made a plan to create a Book Page Wreath for my home.
Then, a year passed and my wreath didn't get made.
Finally in December, in the middle of watching a Christmas movie marathon on Hallmark channel, I made an intentional point to sit down and make a book page wreath.
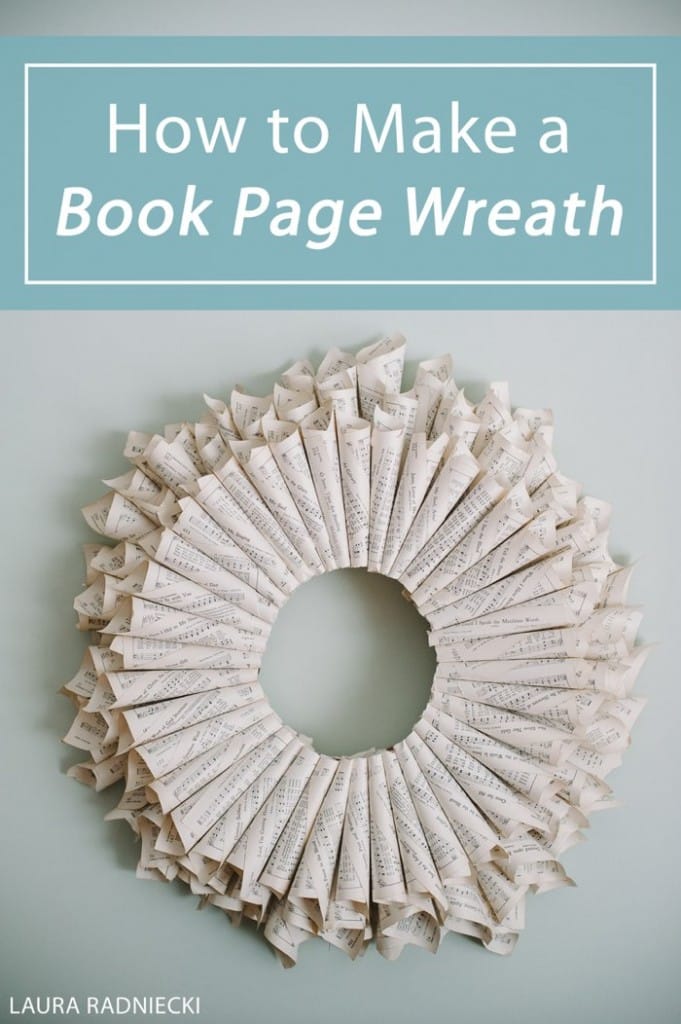
How to Make a Homemade Book Page Wreath
Step 1: Gather supplies.
- Straw wreath form
- Old Books - (some people feel like it's almost sacrilegious to destroy a book. I view it as rescuing a book that would otherwise end up in the recycling bin. I got my books from a free box at my library, but thrift stores or garage sales are great places to look for old books too.)
- Hot glue gun and extra glue sticks
- Twine to hang it with
- Scissors
Step 2: Make cones out of book pages.
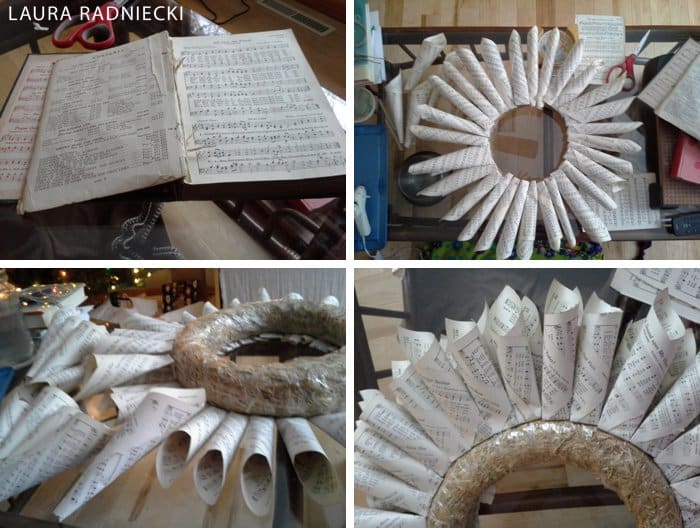
I ripped out the pages from my book first. Then, I rolled the pages into cones and used hot glue to hold them each into a cone shape.
Step 3: Glue cones onto the back of the wreath form.
I began on the section that would be the back of my wreath.
I started to glue the paper cones to the back of the wreath form. This formed the back layer of the wreath. [Top right photo in the phone-photo series below. This is what my wreath will look like from the back.]
Then, I flipped the wreath over so I was now looking at the front of it, and could see the straw wreath exposed, with the back layer of book page cones around the back.
Step 4: Glue on the second layer of book page cones.
Next, I glued the second layer around the outer edge of the straw wreath.
I took a cone, folded the small end over about 1 inch and glued that folded flat part to the outer edge of the wreath. I continue this around the whole wreath.
[If you look carefully, you can see the folded, glued tip of one of the cones in the bottom left photo, above. The finished second layer looked like the bottom right photo, above.]
Step 5: Glue on the third, final layer of book page cones.
I began on the front-most layer next; the layer you see when you look at the finished book page wreath.
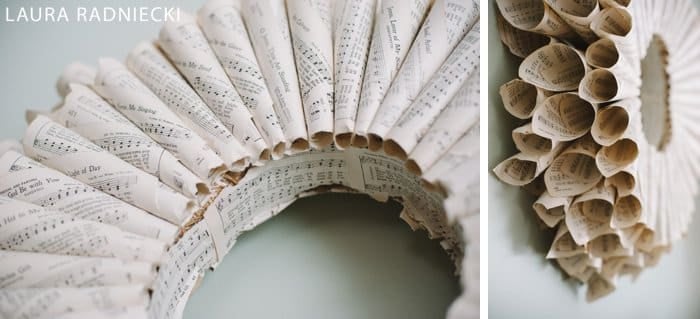
I glued cones onto the front of the wreath so that they laid flat. [See photos below.]
*This is where my book page wreath is different from a lot of others. Many others have the cones coming out at you for the front layer, so you're looking into the big ends of the cones. It's more 3D that way, and a little less perfect/symmetrical. I like the look of doing it my way; I thought it formed a nice clean surface on the front of wreath. Either one is fine; it depends on the look you are going for.*
Step 6: Fill in gaps with extra cones to add thickness to wreath.
Once I finished the front layer, I now had 3 separate layers of book page cones on my wreath.
However, when I turned it and looked at the wreath from the side, the middle layer was a little sparse. So, I took some individual cones and glued them in to thicken up the middle layer. The back layer and front layer are very sturdy, so it was easy to see where I needed to add extra cones.
I did this until I looked at it from all directions and didn't see any more sparse areas.
Step 7: Cover the inner wreath with book page paper.
I ripped 2" strips of book pages and glued them to the inside of my wreath to hide the straw wreath. [See above left photo.]
Step 8: Add a twine hanging loop and hang up your wreath!
In order to hang my wreath, I took 10" of twine, folded it half and knotted the ends together.
Then, I hot glued one end of it to the back of the wreath form, in between two of the cones.
It was ready to hang!
A nail or a strong Command Hook, and you're done!
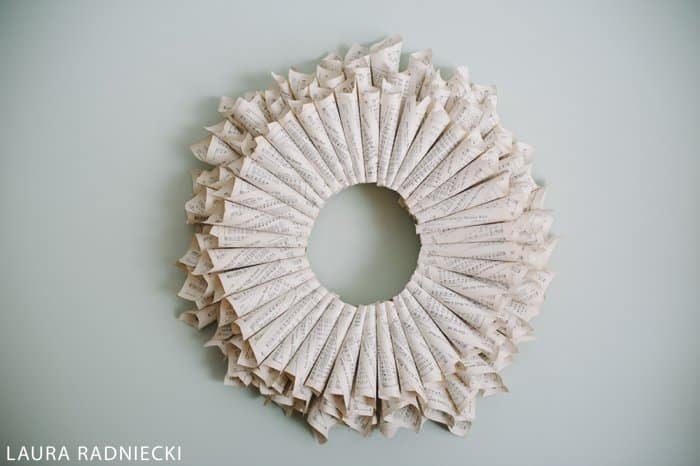
I LOVE the look of this book page wreath.
The book I used was an old music book from a church. So all of the pages in my wreath are full of music notes.
It's big - it's definitely a statement piece.
Mine measures about 2 feet from end to end. This will depend on the size of the wreath form you use, and also how big of a book you decide to rip pages from.
With a wreath form, hot glue fun, an old book and a little bit of time and patience, you too can make a book page wreath for your home!
It is a statement piece and conversation starter that is truly one of a kind!



Leave a Reply