


Learn how to preserve fall leaves with beeswax so you can keep the colorful fall leaves vibrant for months or even years to come! You can use the wax-dipped leaves for so many fun projects, and the process is just plain fun too!

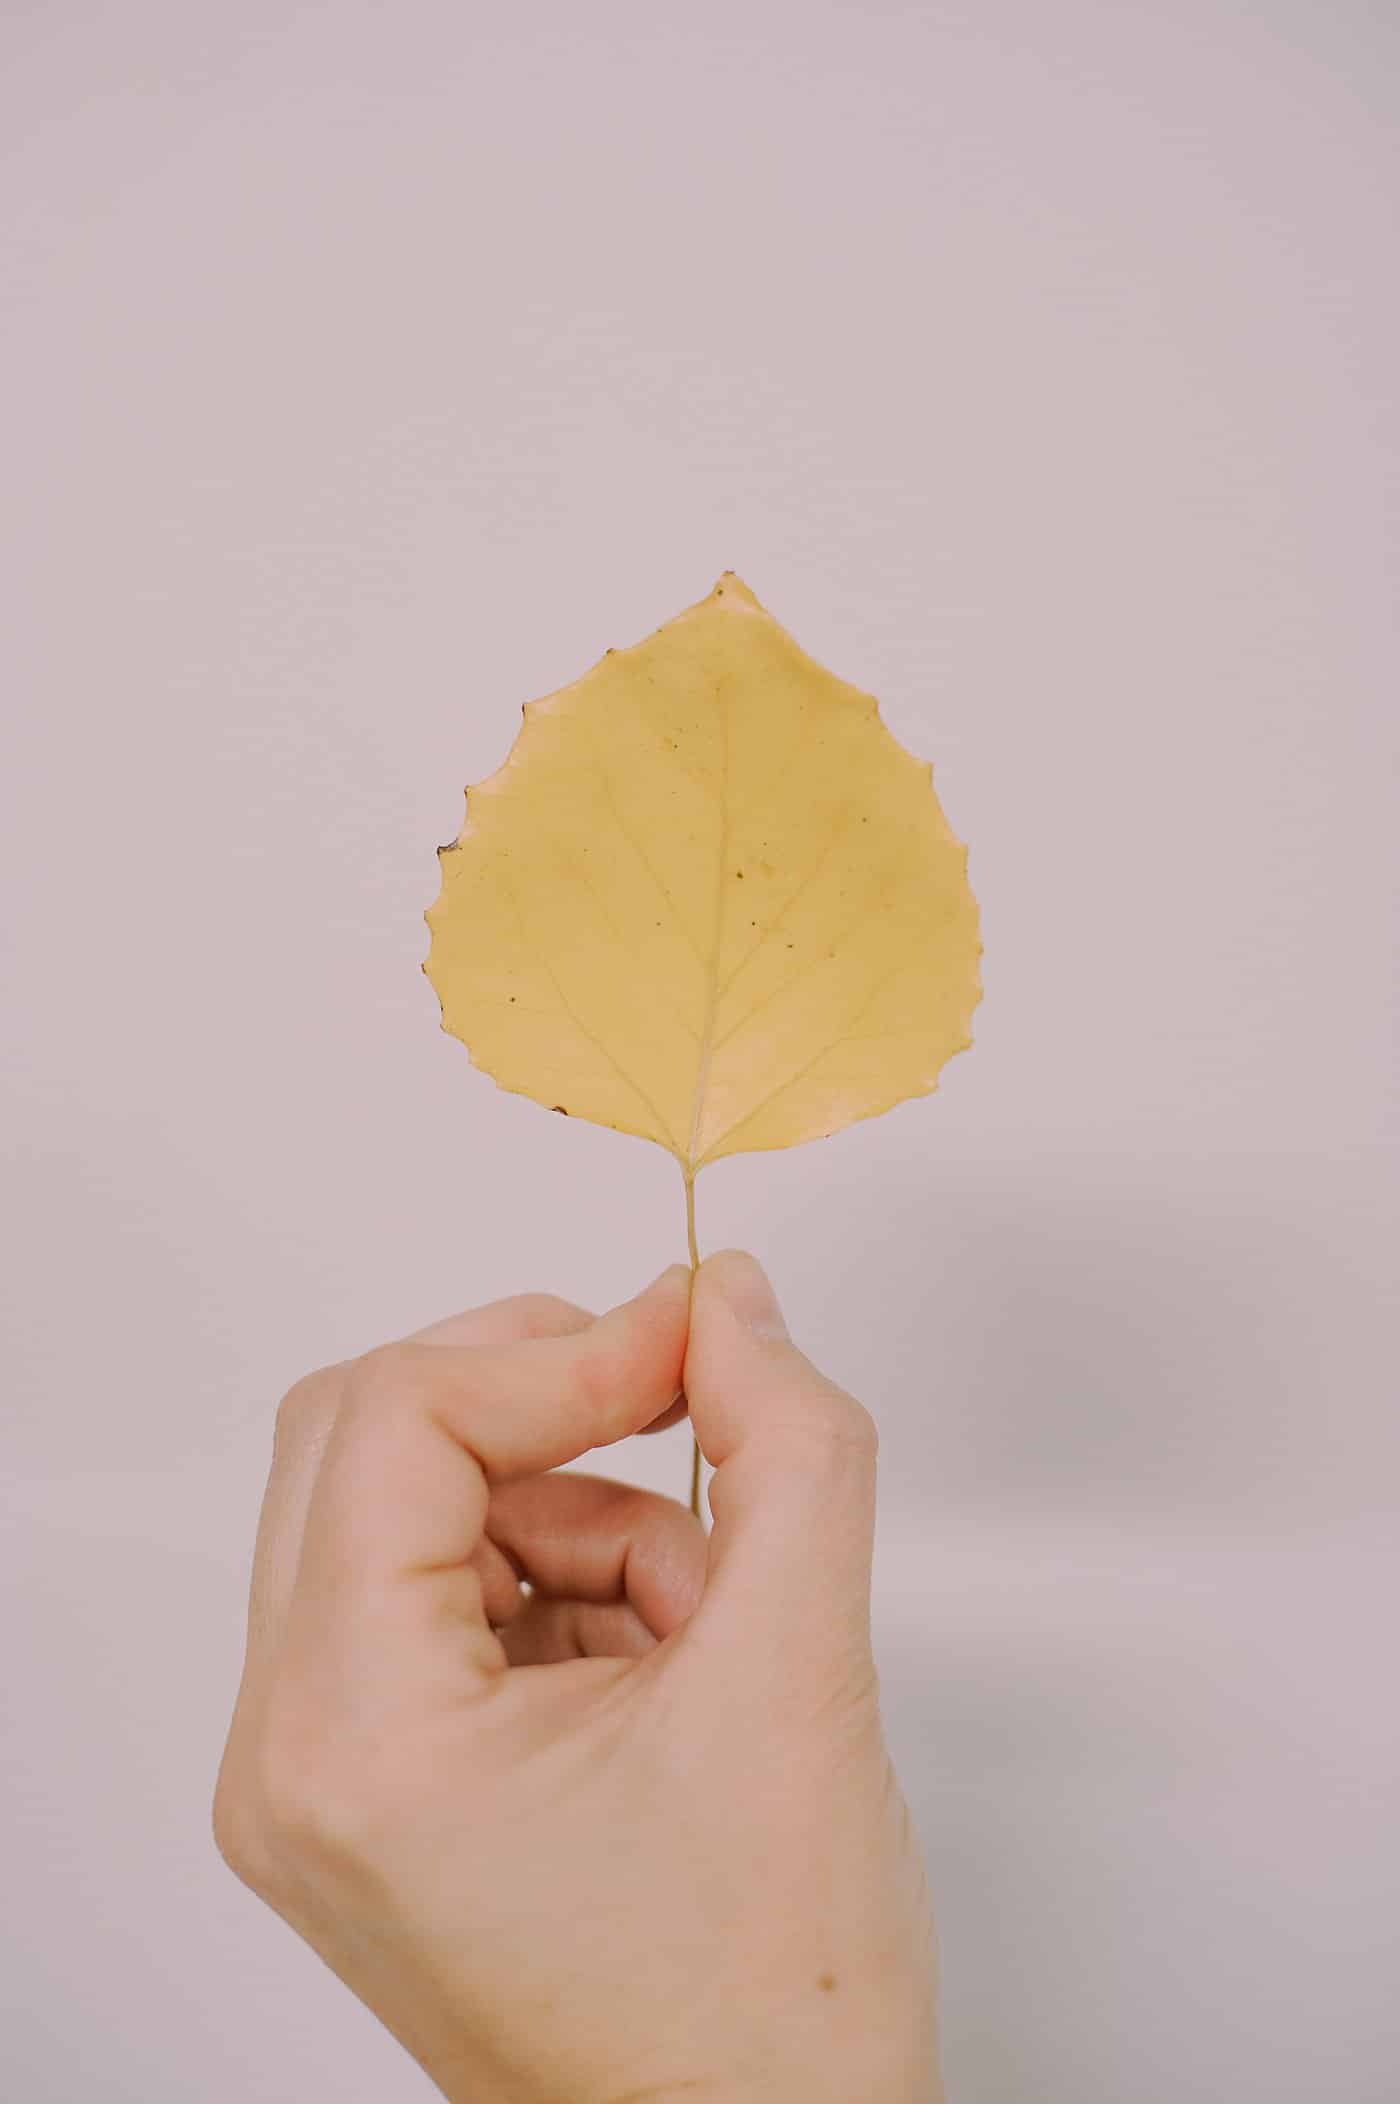
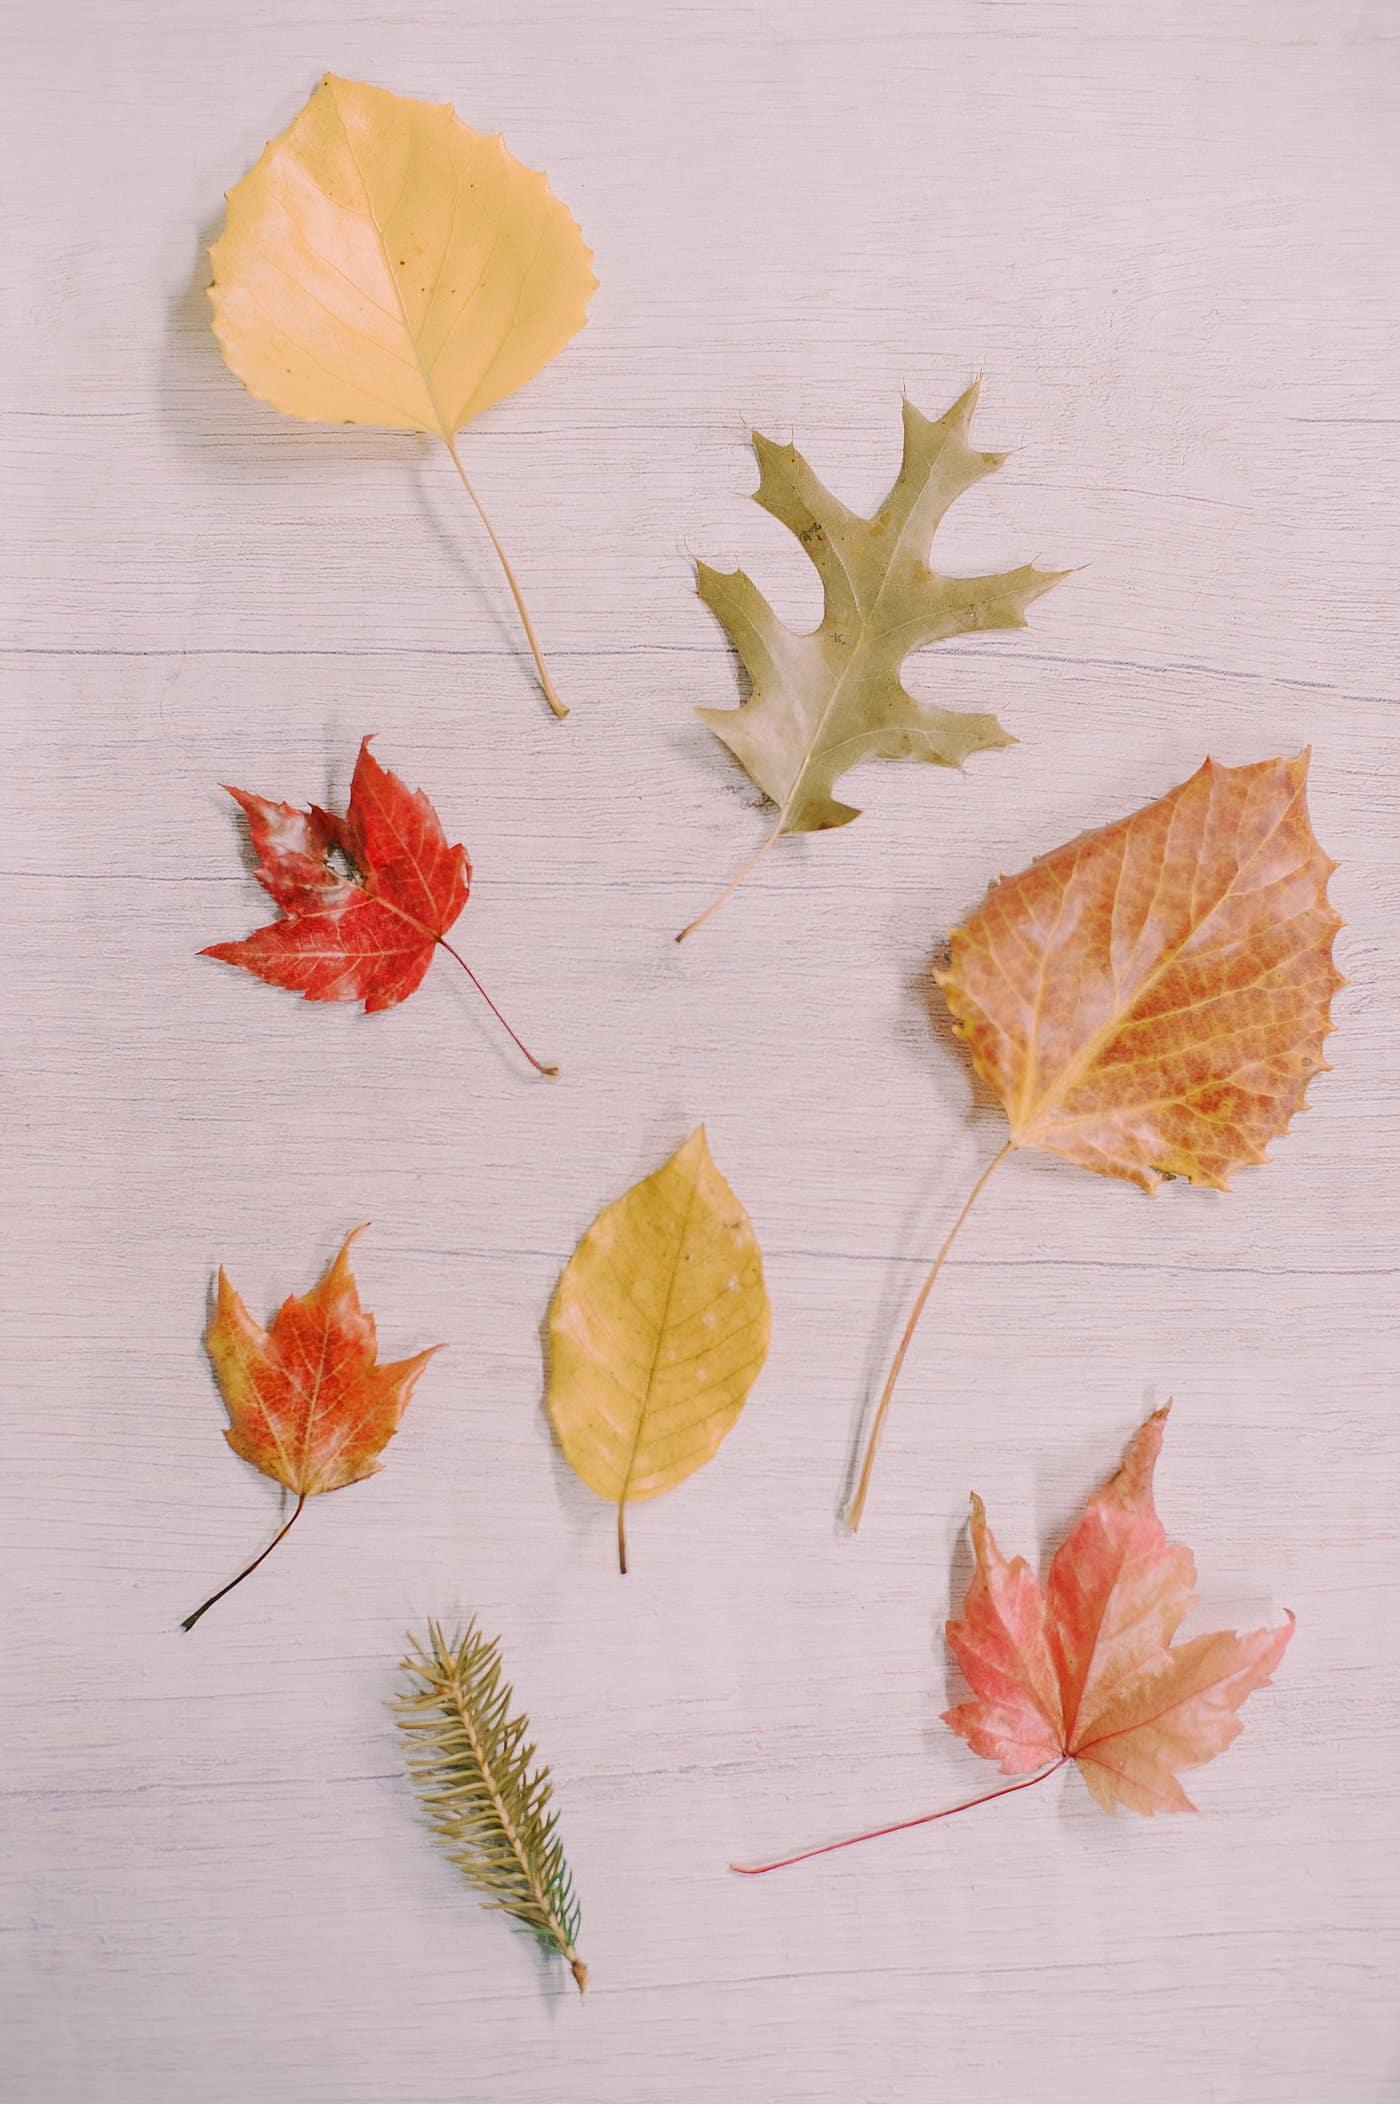
Fall leaves are so colorful and beautiful, but their color fades very quickly.
You can use Mod Podge to preserve fall leaves and keep them colorful for months or even years.
Today, we're going to look at another way to preserve fall leaves - with beeswax!
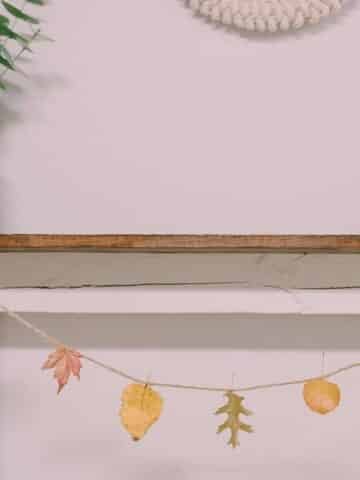
We will melt beeswax and dip colorful leaves into the wax. The wax will coat the leaves and help keep them colorful! (And if you love this process, you can make a beautiful beeswax leaf garland!)
Jump to:
Why You'll Love This Craft
- Fall leaves are so vibrant and beautiful, but they fade so quickly if they are left bare. This is one of two great ways to keep their colors.
- Beeswax-covered leaves can be used in beautiful wax leaf garlands, or just scattered around on a fall tablescape.
- If you enjoy melting beeswax, you might be inspired to make beeswax candles, or something simple like DIY wax yarn sticks!
Craft Supplies Needed
- Beeswax - You don't need too much wax to coat a handful of fall leaves. I used a few small blocks. The good thing is you can save any wax for a future project; nothing has to go to waste.
- Double Boiler, Crockpot, or Pan - This will become a beeswax-only pan or crockpot, so check your local thrift store or garage sale for something cheap. Don't use your good household pans because you'll never get the beeswax out of them.
- Colorful Fall Leaves - It's best if the leaves are as dry as possible. You can also press them in a book to flatten them out before you dip them.
- Tongs - This will become beeswax-only so I bought mine at the dollar store.
- Parchment Paper - Helps contain your mess!
How to Preserve Fall Leaves with Beeswax
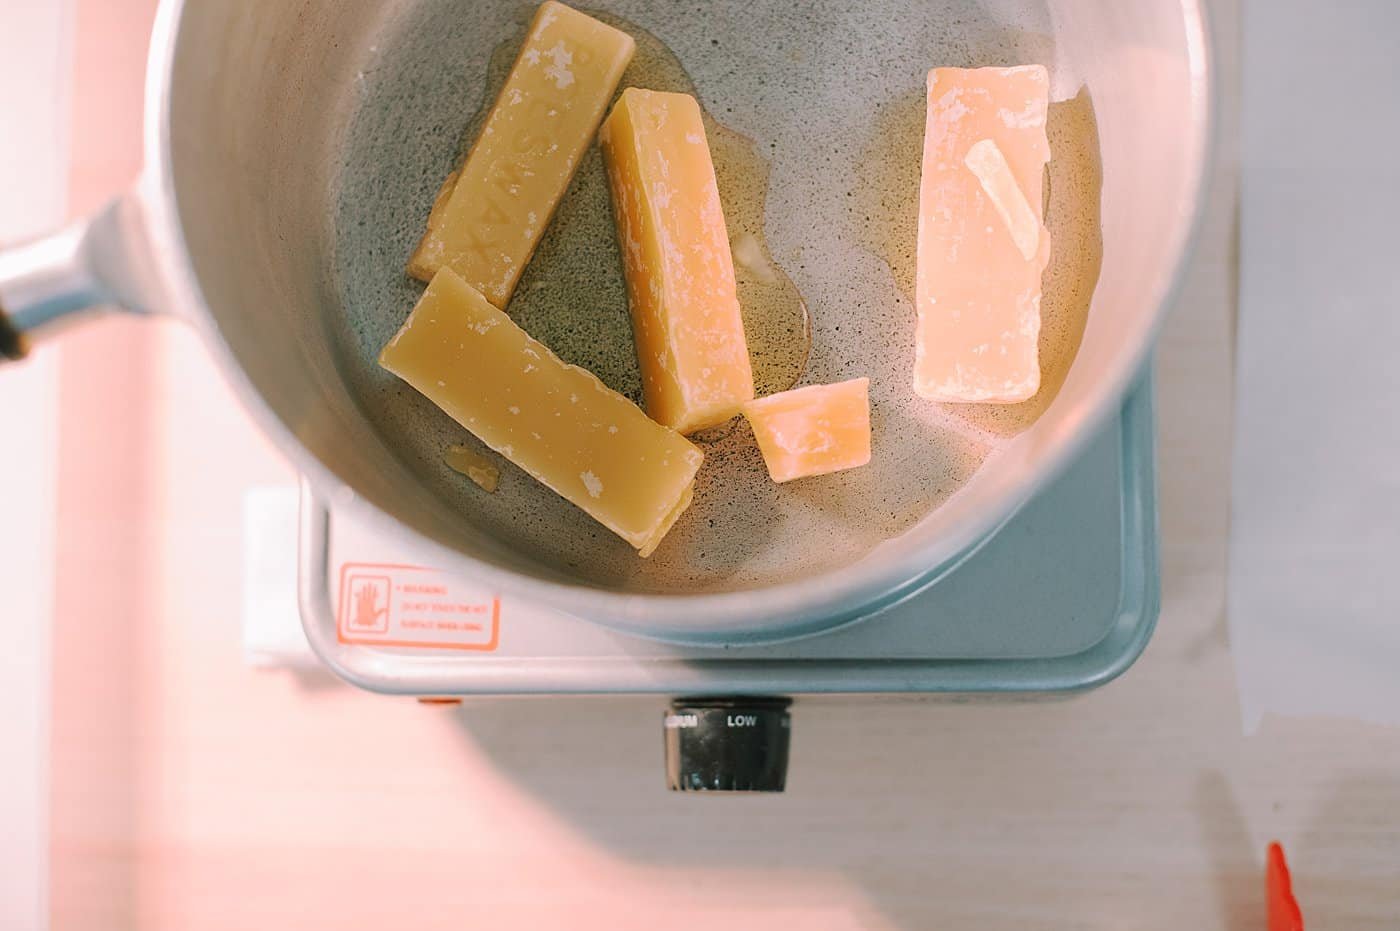
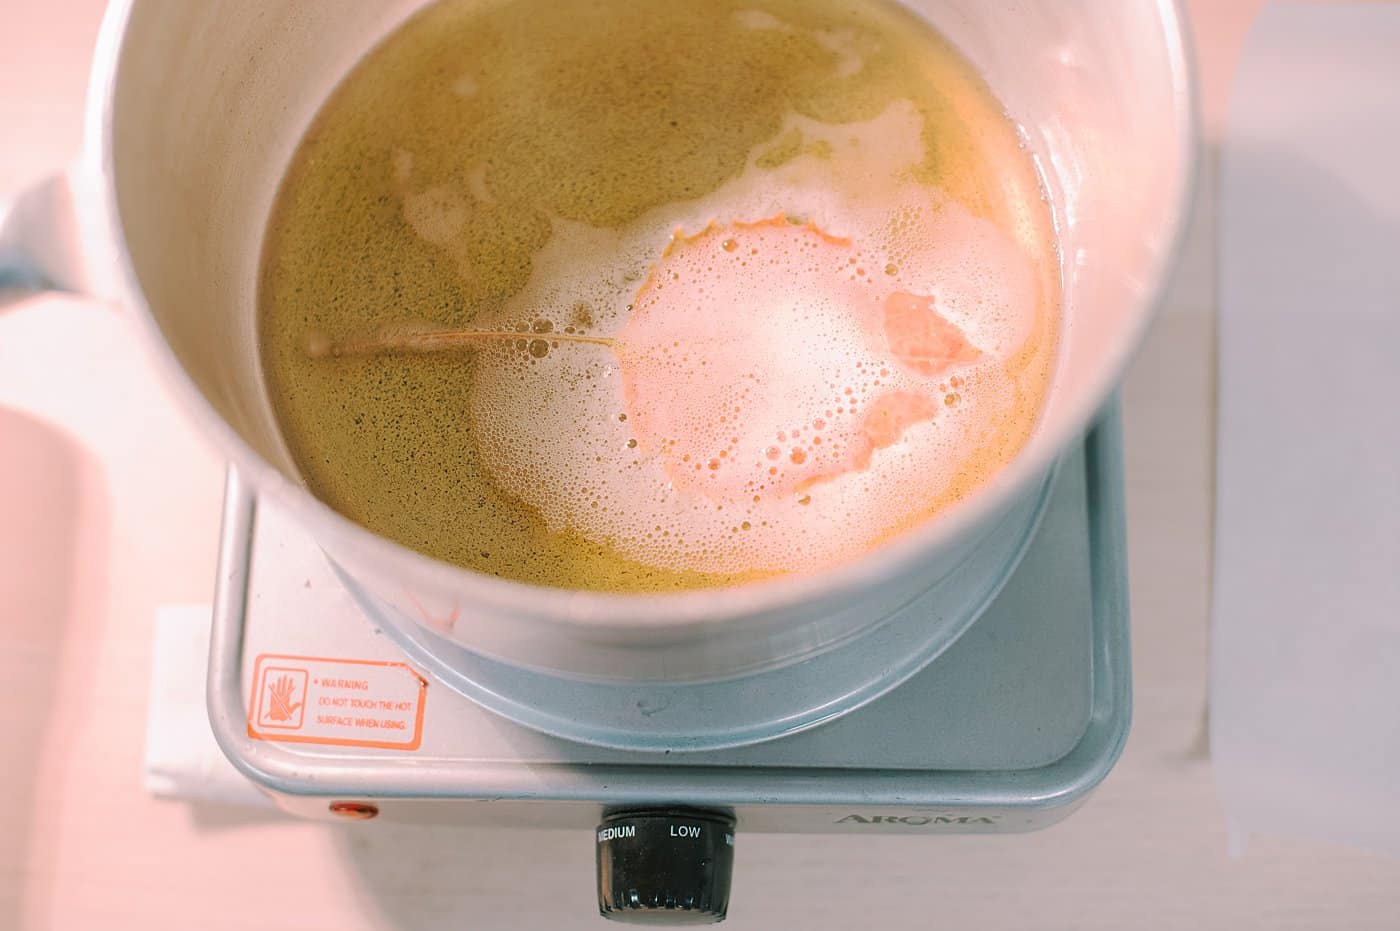
Step 1. Carefully melt beeswax over low heat.
Beeswax melts at temperatures above 140 degrees Fahrenheit and can be flammable at higher temps, so use low heat to melt it.
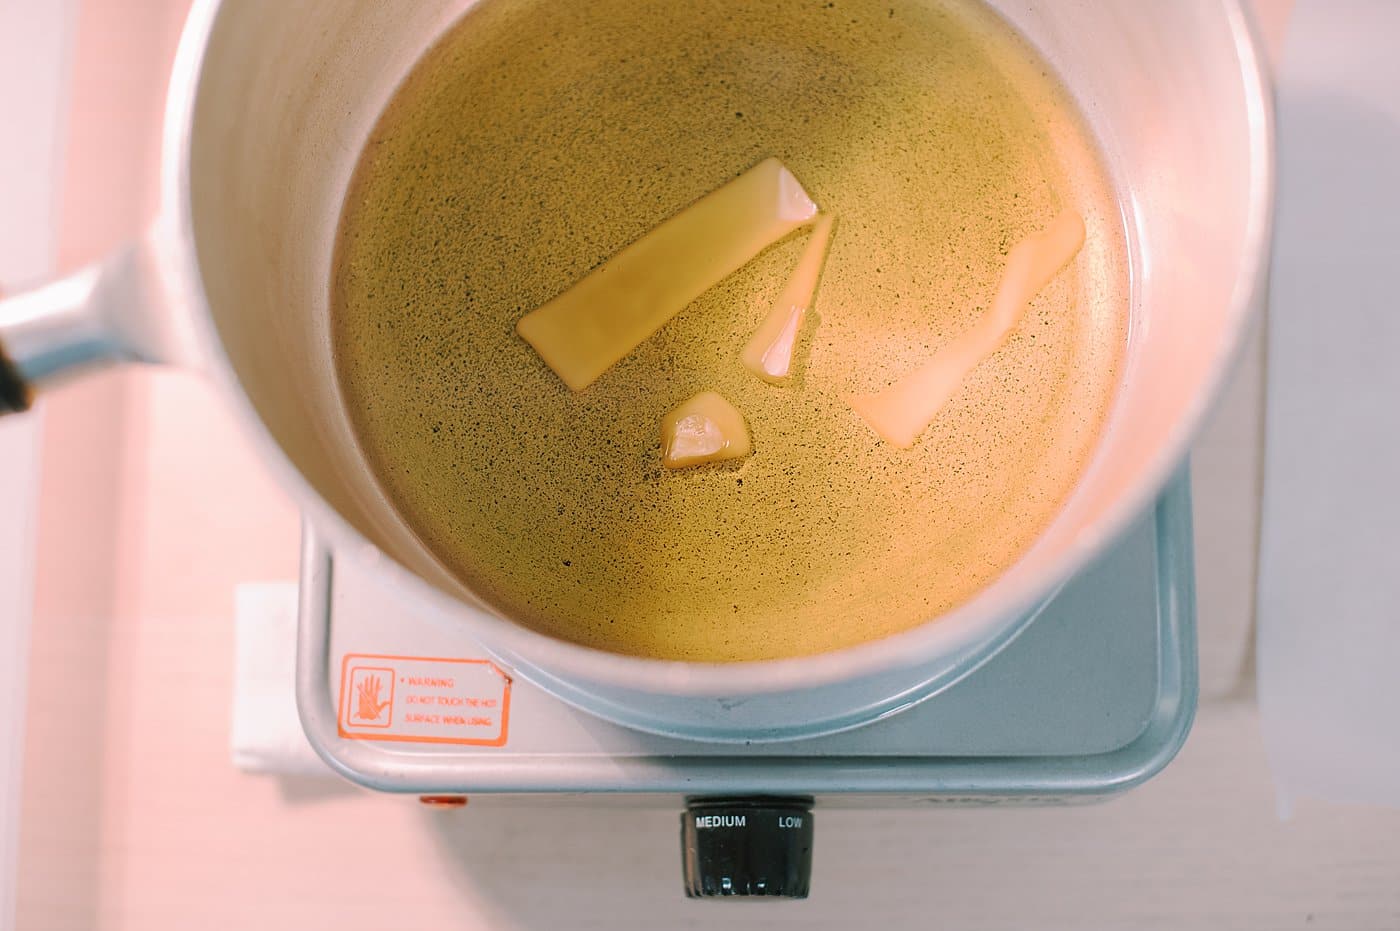
Step 2. Continue slowly melting the beeswax over low heat (stirring if you want, but not necessary) until all of the wax is liquid.
Make sure you use a pan or crockpot that you will forevermore ONLY use for beeswax because you'll never be able to get all the wax out of the pan.
(I bought my pan at a local thrift store!)
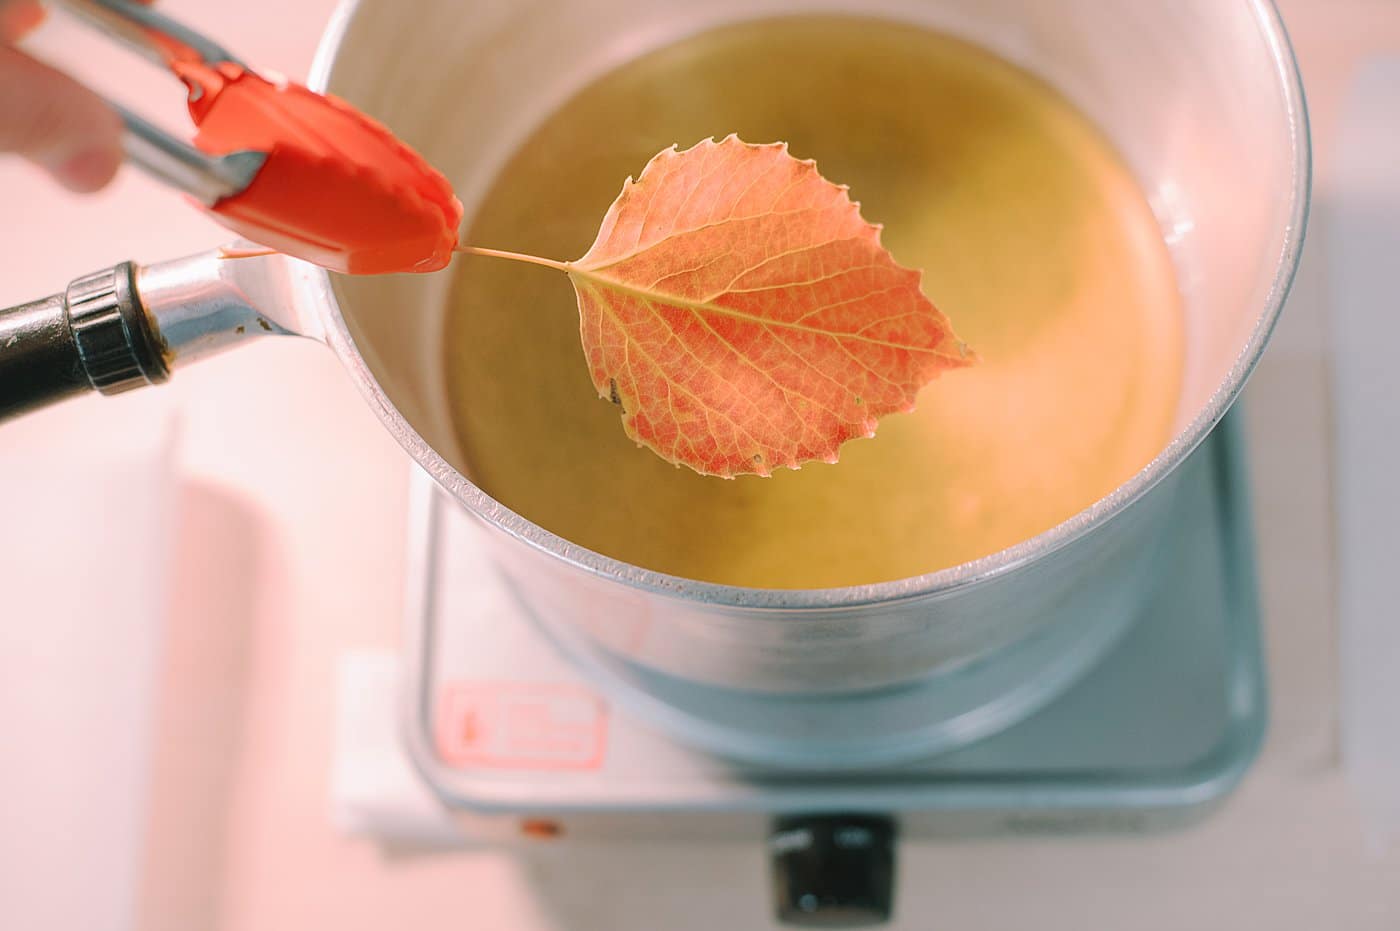
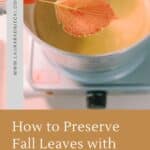
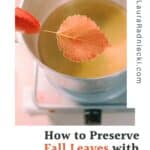
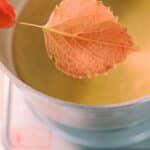
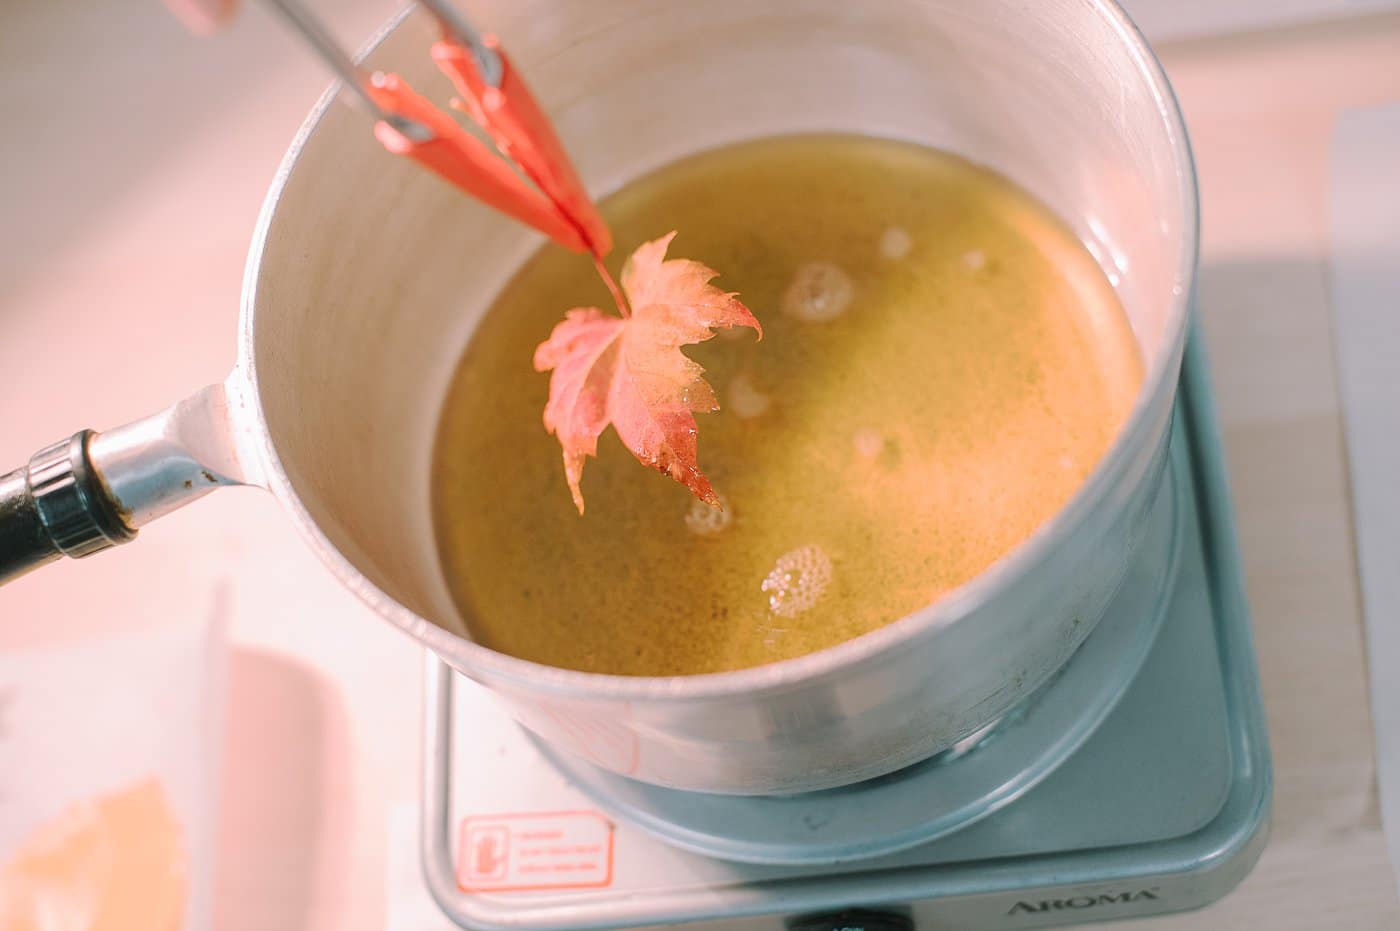
Step 3. Using tongs, carefully dip your fall leaves into the melted wax.
Step 4. Just in and out, quick enough to cover the leaf completely, on both sides, in beeswax.
Depending on how much moisture is in the leaf, it will begin bubbling, splattering, and crackling immediately.
I only left my leaves in the wax for less than one second before pulling them out because of the amount of bubbling and splattering.
If you use dry leaves or press them in a book for a day or two first, that will help get rid of moisture so they splatter less.
Step 5. After dipping and removing the leaf from the wax, hold it above the pan so any remaining wax can drip off.
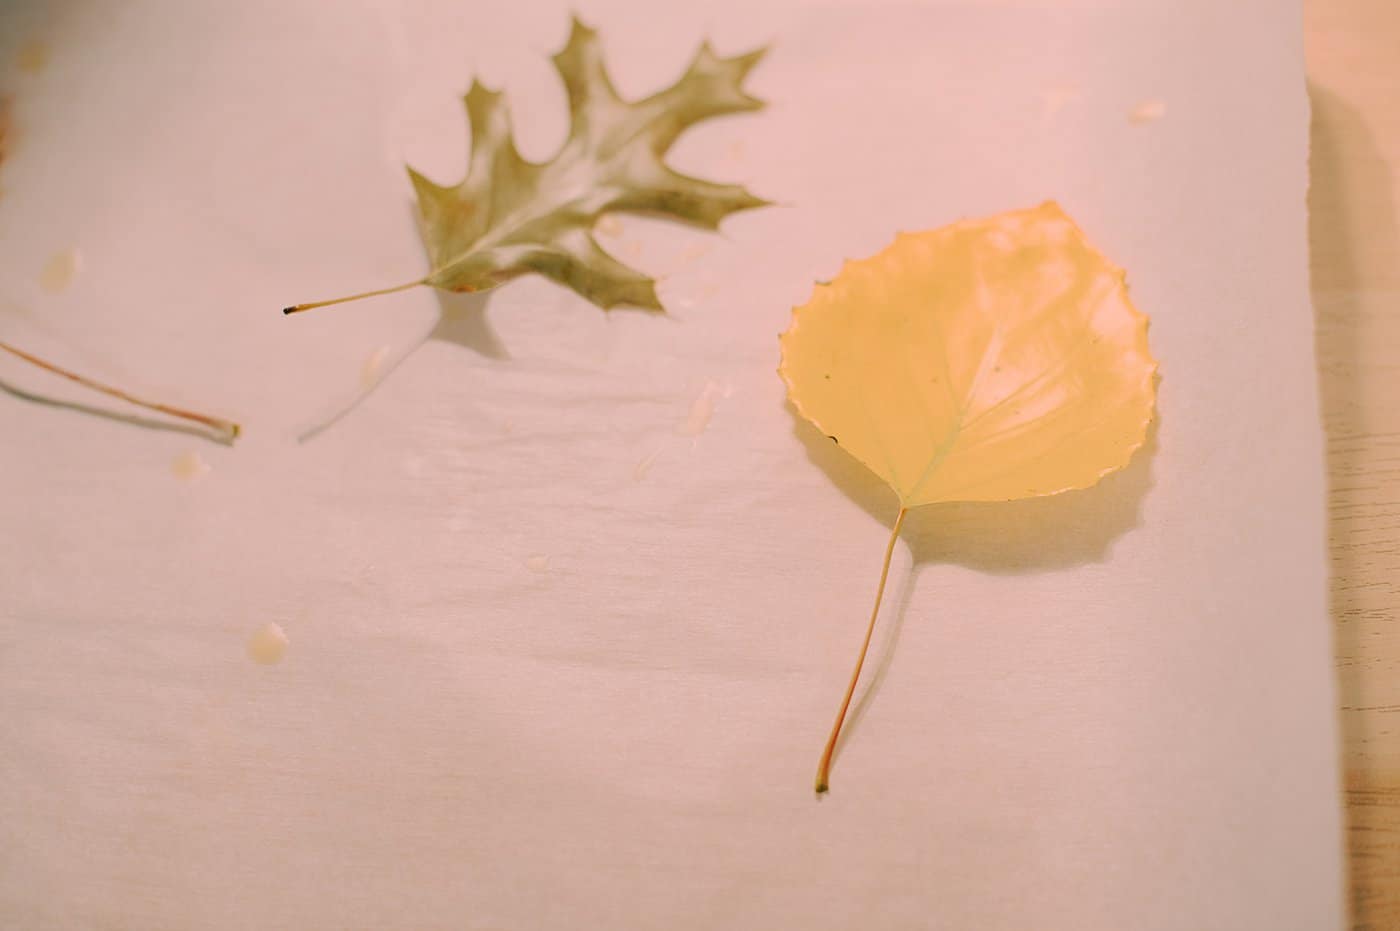
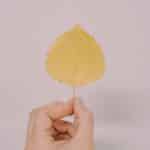
Step 6. Then lay the leaf on parchment paper to cool and harden; a few minutes maybe.
Repeat for all of the leaves!
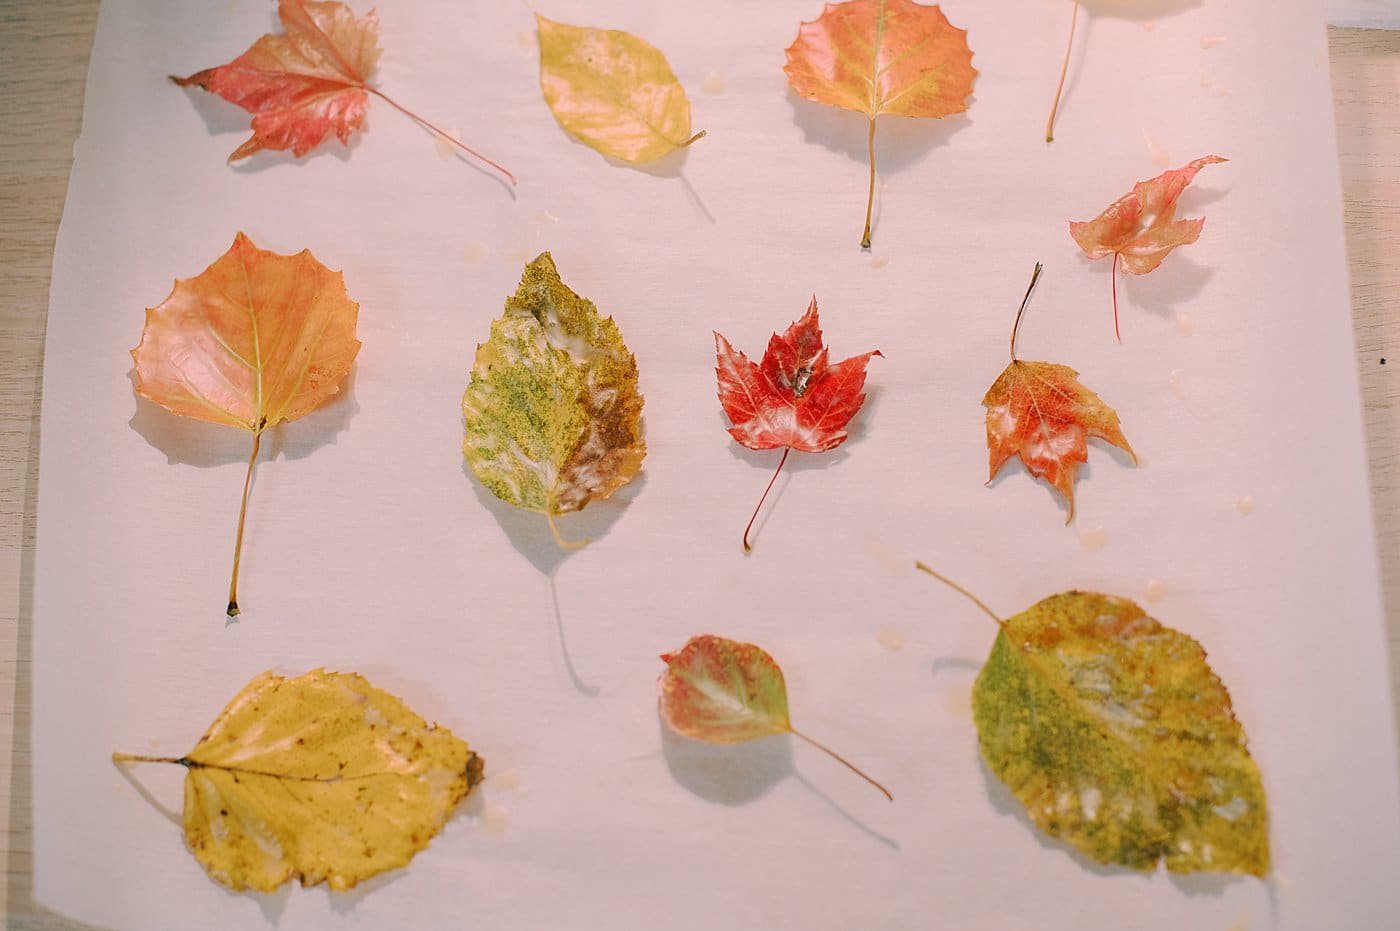
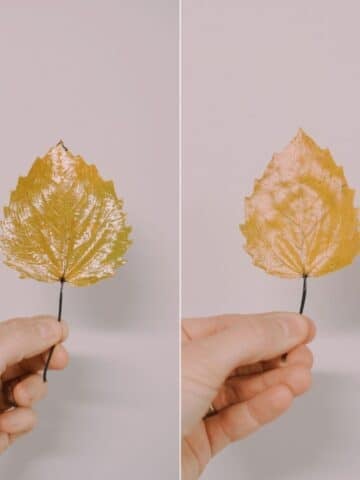
The leaves have a waxy, luxurious look to them once they're dipped.
Common Questions
Any water inside or on the leaves will start splattering and sizzling immediately in the melted wax. That's why I dipped my leaves so quickly - I didn't want to let them hang out in the wax because that would mean more splattering.
If you are worried about the potential of burning yourself with splattered wax, you can wear work gloves or rubber cleaning gloves to help protect your hands.
I used a clean plastic container (a yogurt container!) and poured the unused melted wax into it. Then I left it to cool completely.
Once it was completely cooled and hardened, the wax slid out of the round yogurt cup easily, and I could save it for a future project.
You can use Mod Podge to preserve fall leaves too! We talked about how to use Mod Podge to preserve fall leaves, and we also compared the difference between using Gloss and Matte Mod Podge when preserving fall leaves.
You can use the beeswax-dipped leaves in craft projects, as fall decor for your home or tablescape, or use them to make something fun like a fall wreath or fall wax leaf garland.
This same beeswax-dipping process can also be used to make DIY beeswax yarn sticks - an eco-friendly, non-toxic toy for kids!
More Leaf Crafts You'll Love


---
⭐️🧶 Did you enjoy this craft and want to see more like it? ✂️ Join our FREE email community and get inspiring craft ideas sent right to your inbox! 🧵 ⭐️
---

How to Preserve Fall Leaves with Beeswax
Materials
- Beeswax
- Double Boiler, Crockpot or Pan A beeswax-only pan!
- Colorful Fall Leaves
- Tongs
- Parchment Paper
Instructions
- Carefully melt beeswax over low heat.Beeswax melts at temperatures above 140 degrees Fahrenheit and can be flammable at higher temps, so use low heat to melt it.
- Continue slowly melting the beeswax over low heat (stirring if you want, but not necessary) until all of the wax is liquid.Make sure you use a pan or crockpot that you will forevermore ONLY use for beeswax because you'll never be able to get all the wax out of the pan.(I bought my pan at a local thrift store!)
- Using tongs, carefully dip your fall leaves into the melted wax.
- Just in and out, quick enough to cover the leaf completely, on both sides, in beeswax.Depending on how much moisture is in the leaf, it will begin bubbling, splattering, and crackling immediately.I only left my leaves in the wax for less than one second before pulling them out because of the amount of bubbling and splattering.If you use dry leaves or press them in a book for a day or two first, that will help get rid of moisture so they splatter less.
- After dipping and removing the leaf from the wax, hold it above the pan so any remaining wax can drip off.
- Then lay the leaf on parchment paper to cool and harden; a few minutes maybe.Repeat for all of the leaves!
Notes
- Use dry leaves, or press damp leaves in the pages of a book for a few days first to remove moisture. This will help the leaves splatter less when they're in the wax.
- If you're worried about burns, you can use work gloves or cleaning gloves to help protect your hands.
- Pour the remaining liquid wax into a clean plastic container so it can harden. This is how beeswax molds work - melted wax is poured in and then cooled. Once cooled, the wax pops right out of the mold and is ready for storage!

Leave a Reply