

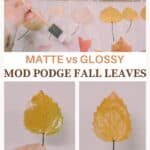
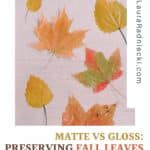


Wondering what is best for preserving fall leaves - Matte vs. Gloss Mod Podge? In this tutorial, we take a look at the difference between the two types of Mod Podge, and which one you should pick!
Fall is such an amazing time of year, but it passes so quickly! The colorful leaves drop from the trees and turn brown in a matter of weeks.
If you want to preserve fall leaves so they stay colorful, look no further than Mod Podge - one of the quintessential craft supplies! We did a tutorial in the past, showing how to make DIY Mod Podge Leaves, and it is a crowd favorite.
Today, we are going to use the same method of preserving fall leaves with Mod Podge, but we are going to check out the difference between using Matte Mod Podge and Gloss Mod Podge to preserve the fall leaves.
Which one will work better? How do the matte leaves look versus the gloss leaves, and vice versa?
Jump to:
A Look at Matte vs Gloss Mod Podge Fall Leaves
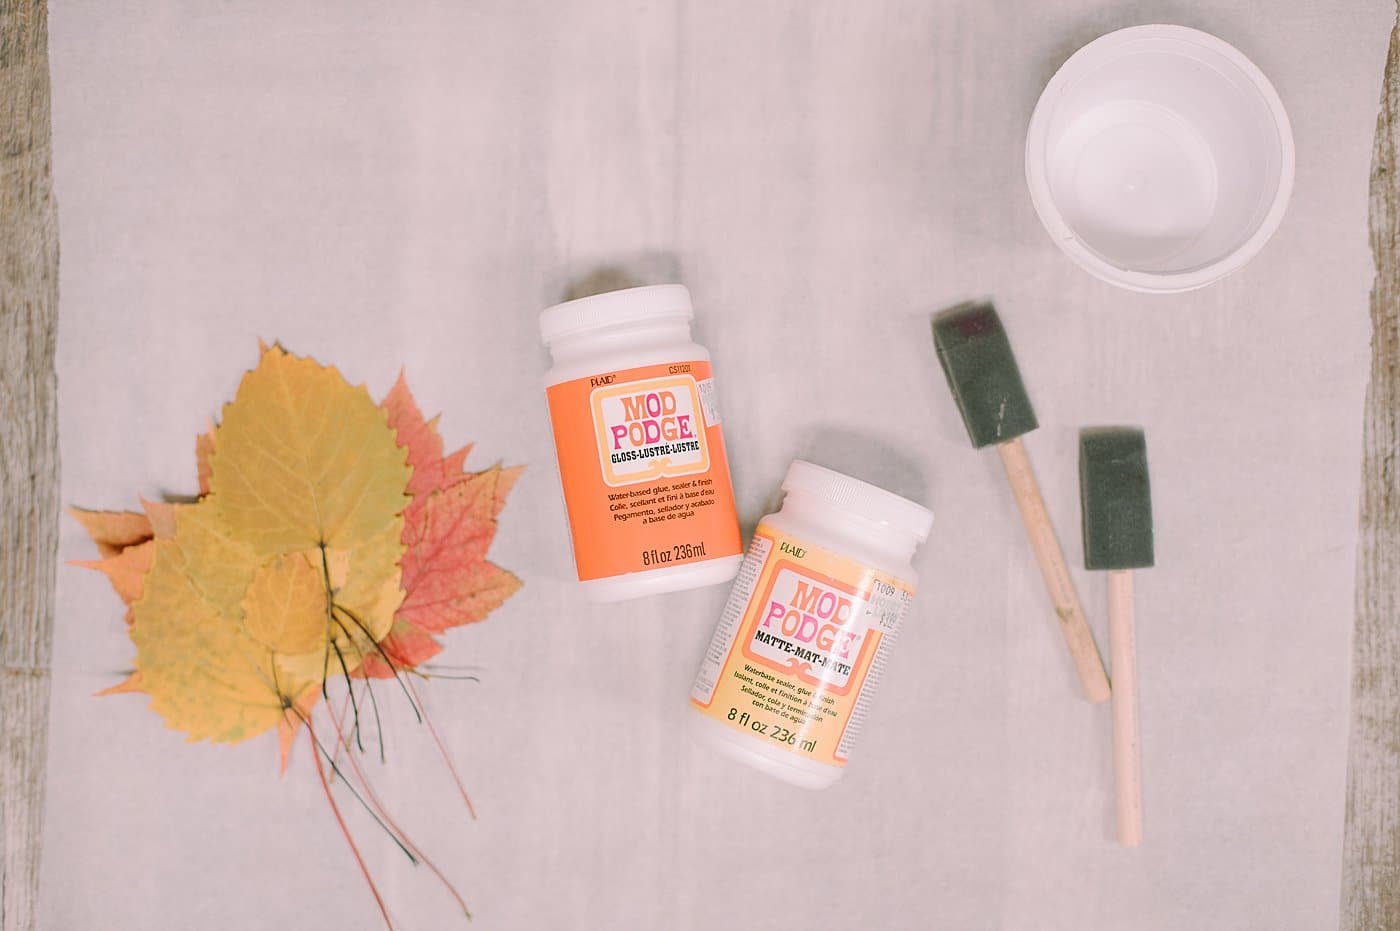
Step 1. Gather Supplies.
Supplies Needed:
- Fall Leaves
- Mod Podge - Matte and Gloss
- Foam Paint Brushes
- Containers to hold Mod Podge
- Parchment Paper or Wax Paper
Step 2. Prepare the leaves for Mod Podge.
First, we pressed our leaves between the pages of a book so they would lay flat. (This is an optional step.)
Then we laid out the leaves onto parchment paper.
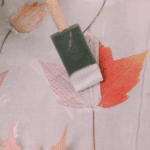
Step 3. Spread a layer of Mod Podge onto the leaves using a foam brush.
Half of the leaves got a layer of Matte Mod Podge.
For the other half of the leaves, we used Gloss Mod Podge to compare the two.


Step 4. Let the Mod Podge dry fully before flipping the leaves over.
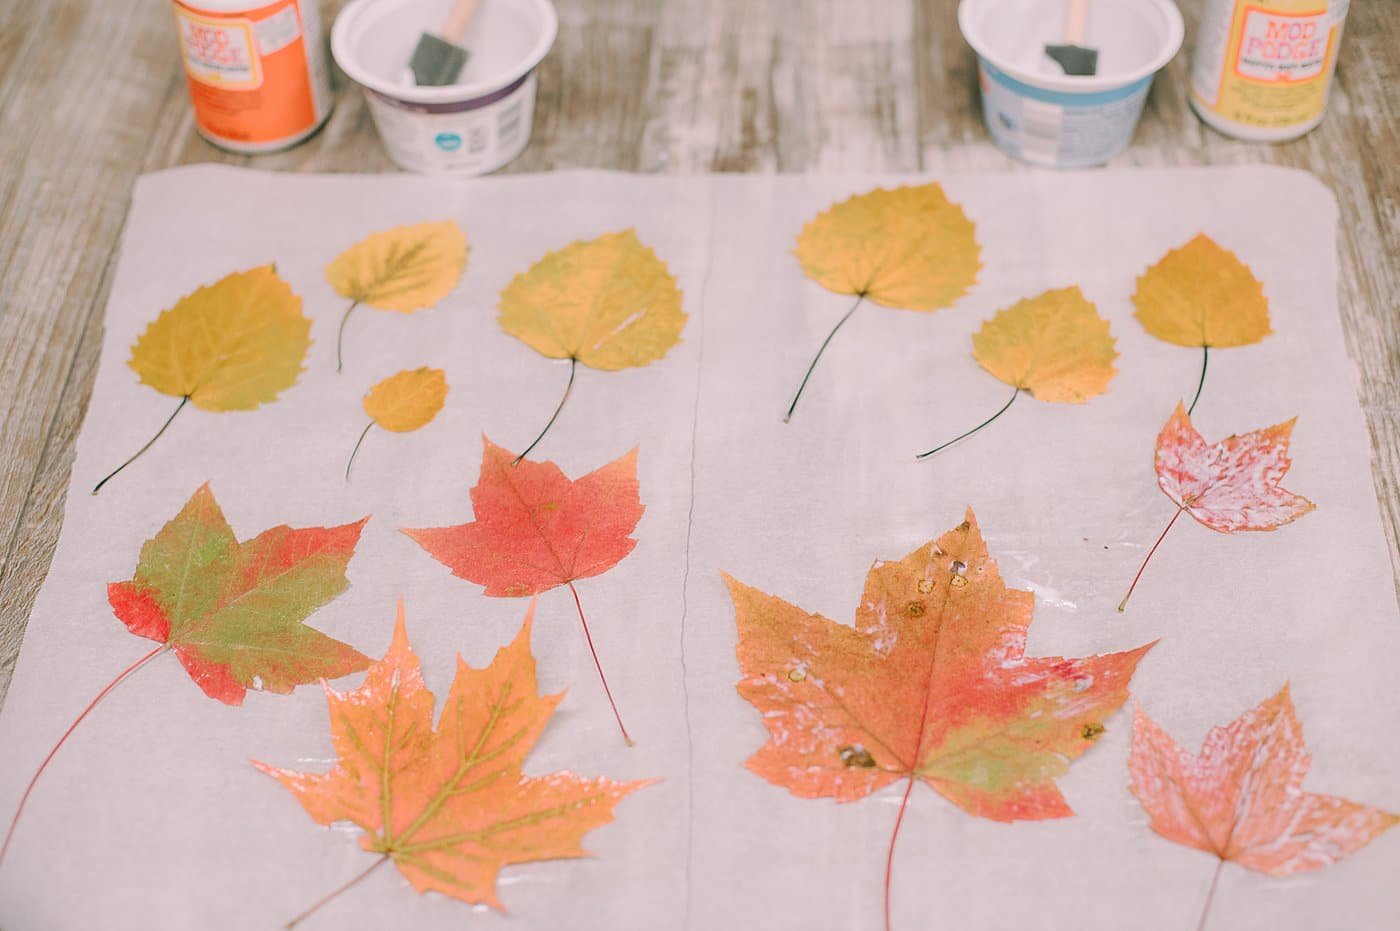

Step 5. Flip the leaves over, and brush on a layer of Mod Podge to the other side.

Step 6. Brush an optional second layer of Mod Podge onto the front of the leaves for added protection.
Let dry.

Once the leaves are dry, they are done!
The Best Way to Use Mod Podge:
IMPORTANT NOTE: I forgot to do it this way in the photos above. But it is best practice to brush Mod Podge onto the BACK of the leaves (or whatever you are coating in Mod Podge) first.
If you do it this way, the process is this...
Starting with the Back using Mod Podge:
- Brush Mod Podge on the backside.
- Let dry.
- Flip to the front.
- Brush Mod Podge onto the front side.
- Let dry.
- Brush on one more coat to the front side, if desired.
- Let dry.
You only have to flip the item once, and the top (which is the most important surface) will stay perfect, and won't be smudged or smeared.
If you forget and start with the front side like I did, the process looks like this...
Starting with the Front using Mod Podge:
- Brush Mod Podge on the front side.
- Let dry.
- Flip to the backside.
- Brush Mod Podge onto the backside.
- Let dry.
- Flip back to the front side (and hope the front isn't smudged or smeared.)
- Brush one more layer onto the front if desired.
- Let dry.
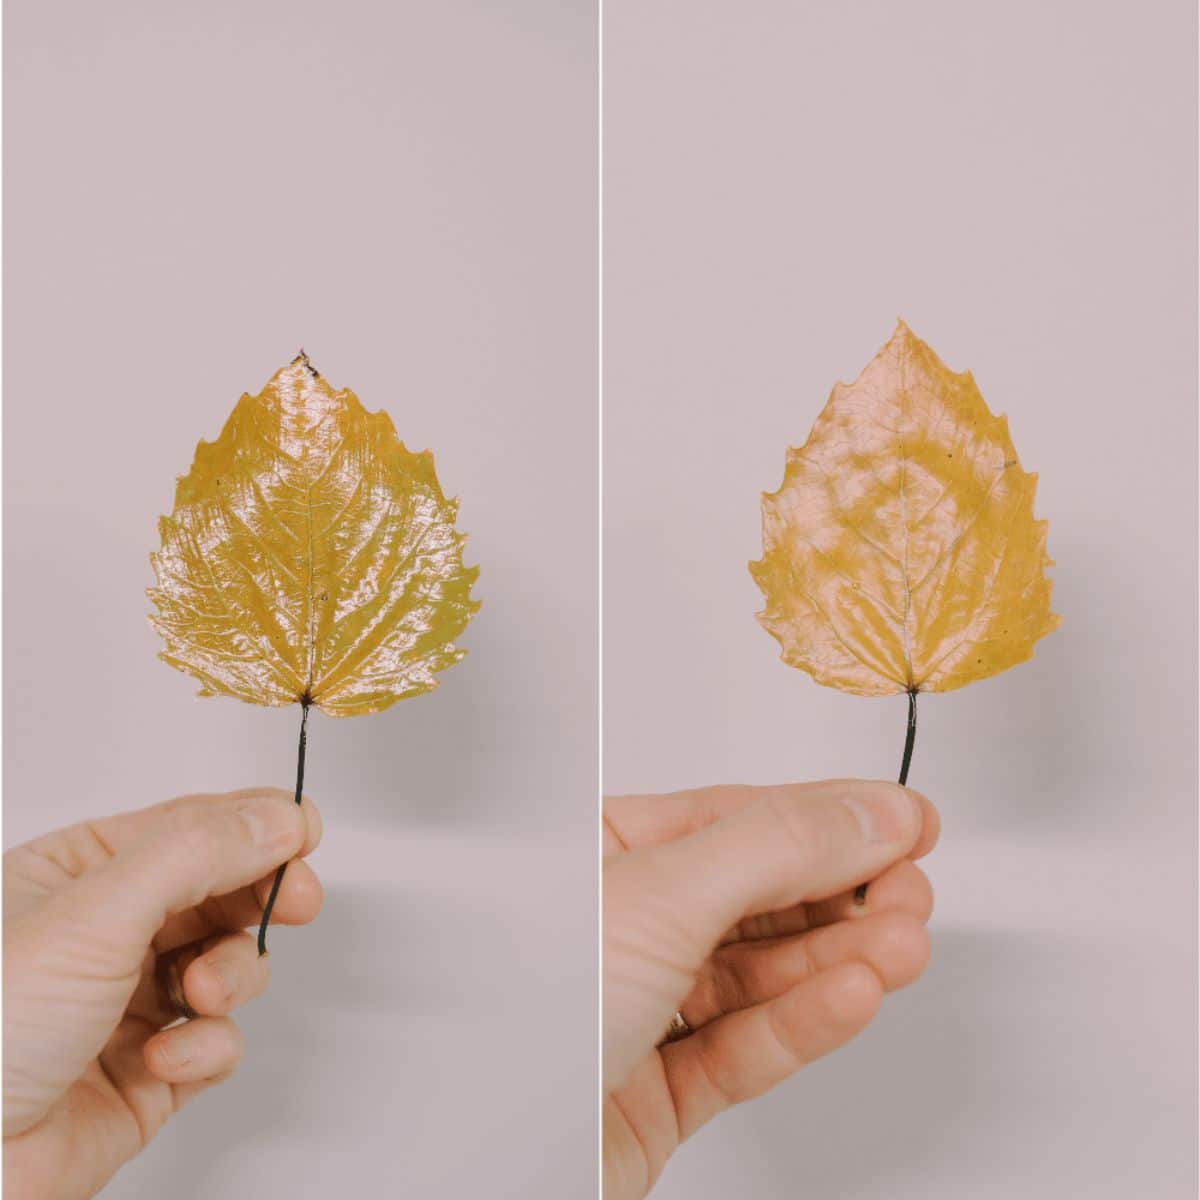
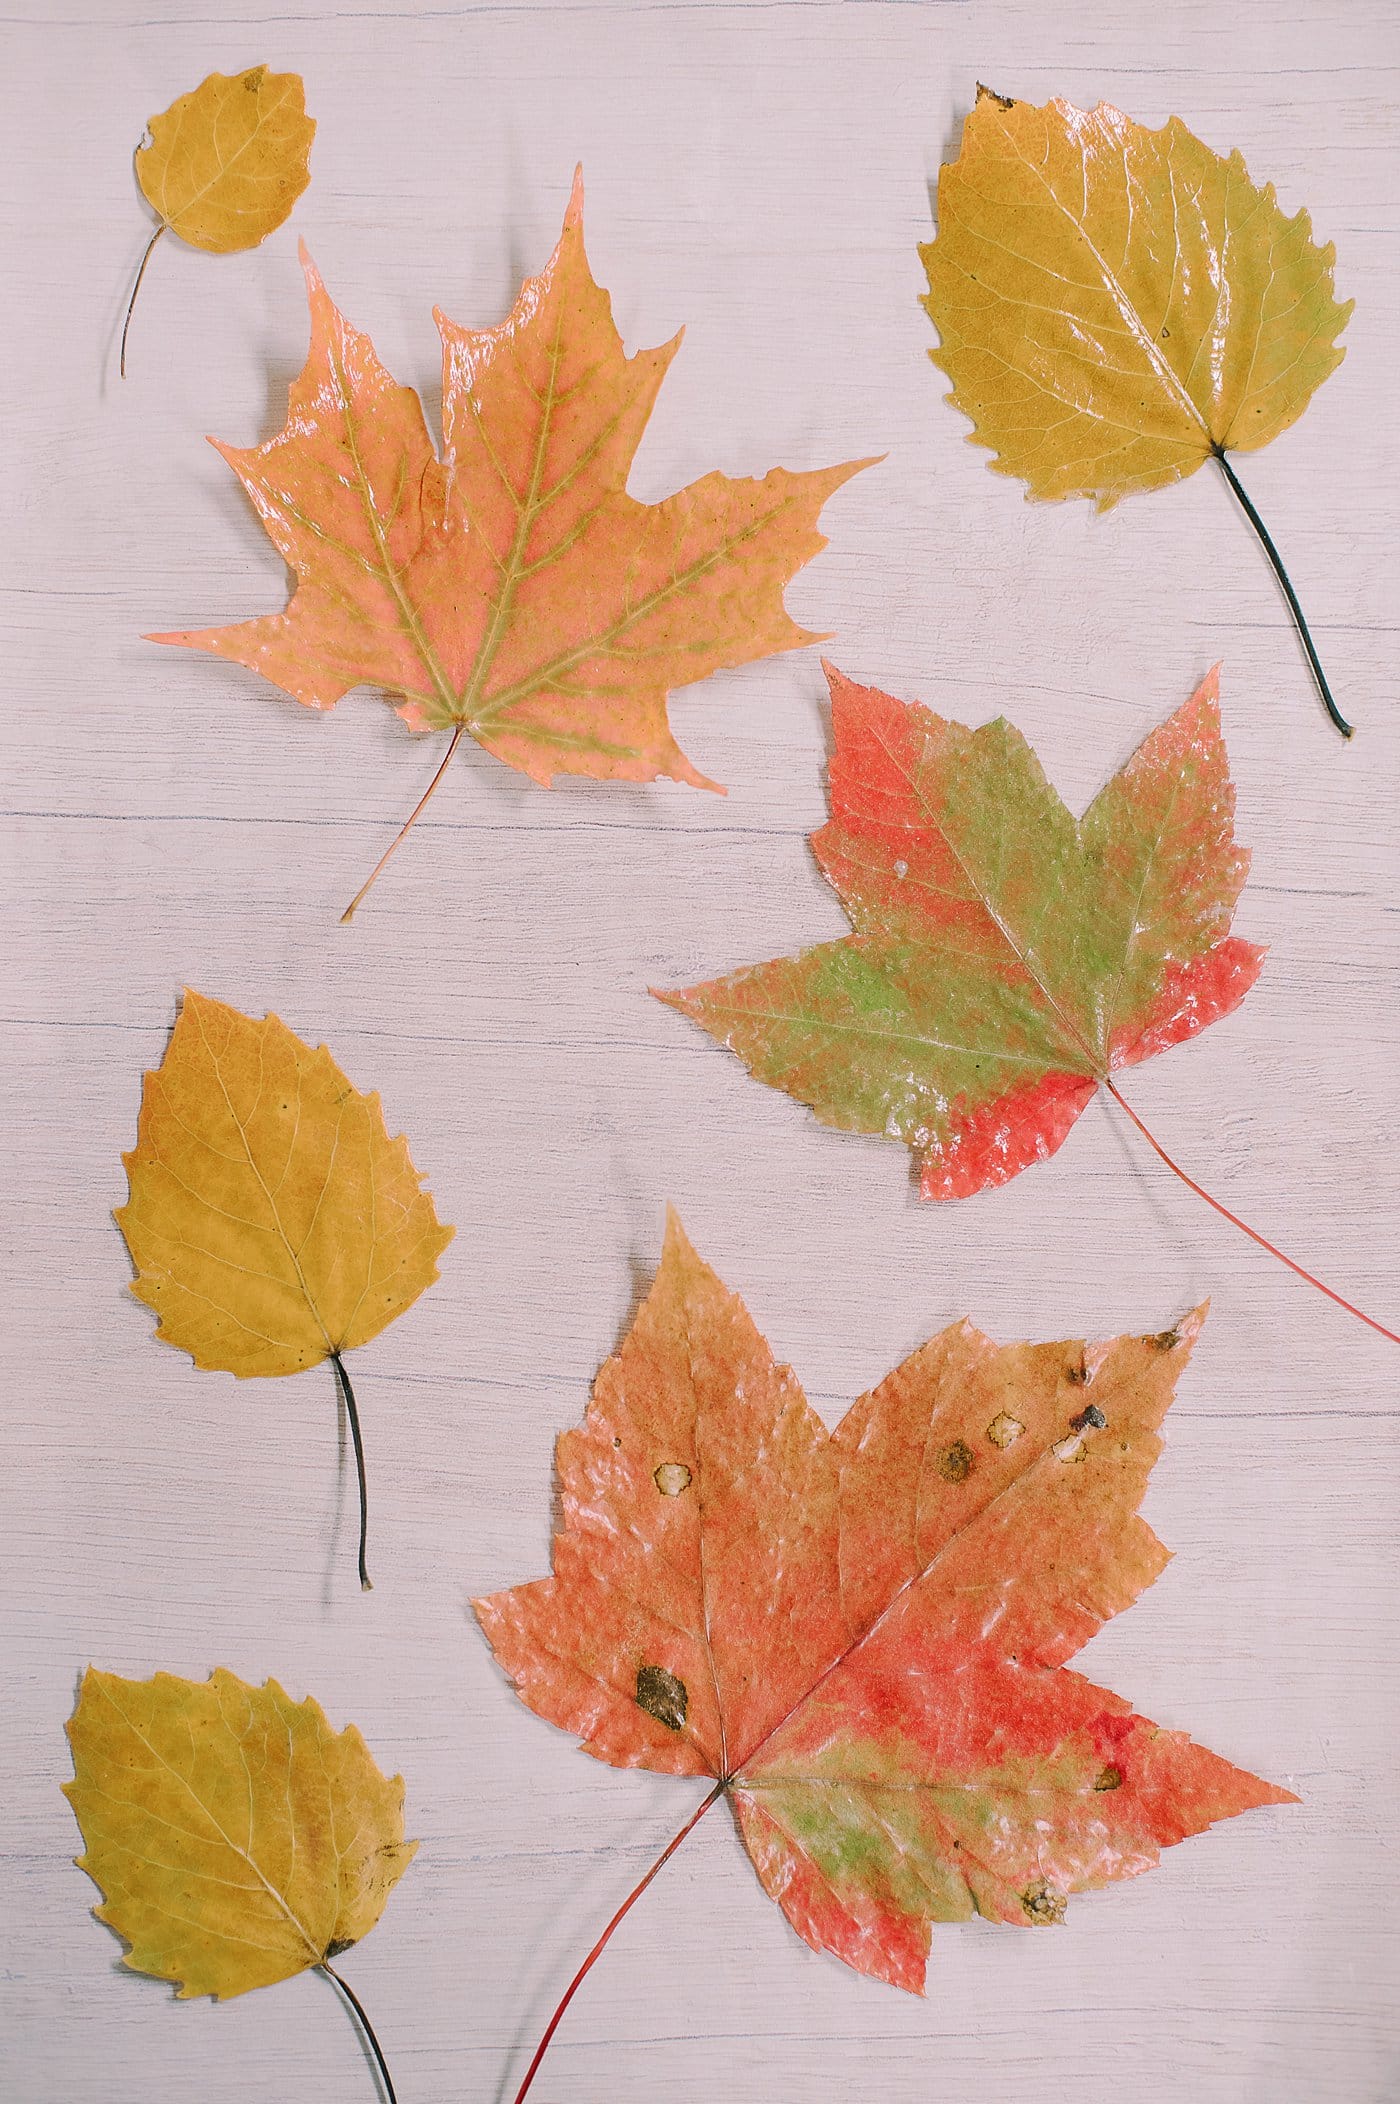
The leaf in the photo below is very shiny, from the Gloss Mod Podge.

The next photo below shows a leaf coated in Matte Mod Podge.
It is much less shiny, although it still does have a bit of a sheen and reflects some light.

Common Questions
The much-anticipated answer is... both! Whether you choose to use Matte or Gloss Mod Podge is a matter of personal preference.
Both types perform equally well in sealing the leaves and preserving the color for as long as possible.
The main deciding factor you should consider between Matte and Gloss types of Mod Podge is how shiny you want your leaves to be. Matte has a soft shine to the finish, and Gloss has a shiny finish. The choice is up to you!
It's fine to start with either side, but the BEST way is to begin with the backside. Once you've let the back dry, you can flip it over to the front and concentrate on the front without having to risk smudging it by flipping it over again.
I've also discovered this same general principle works for spray painting (start painting the bottom of your item first) and general painting. When you start with the bottom (or the backside in our case here), you can let that dry and then flip to the front, which is what matters the most.
In addition to Mod Podge, you can use melted beeswax to dip and preserve fall leaves! It's a fun process and the leaves look luxurious with a layer of beeswax on them.
Preserving leaves using Mod Podge is a great way to keep colorful fall leaves looking beautiful for years.
Depending on your preference, you can use Matte or Gloss Mod Podge. Shiny or more matte, the choice is yours!
More Mod Podge Crafts You'll Love


---
⭐️🧶 Did you enjoy this craft and want to see more like it? ✂️ Join our FREE email community and get inspiring craft ideas sent right to your inbox! 🧵 ⭐️
---

A Look at Matte vs Gloss Mod Podge Fall Leaves
Materials
- Colorful Fall Leaves
- Mod Podge - Gloss and Matte
- Foam Paint Brushes
- Clean Plastic Container
- Parchment Paper or Wax Paper
Instructions
- First, we pressed our leaves between the pages of a book so they would lay flat. (This is an optional step.)Then we laid out the leaves onto parchment paper.
- Spread a layer of Mod Podge onto the leaves using a foam brush.Half of the leaves got a layer of Matte Mod Podge.For the other half of the leaves, we used Gloss Mod Podge to compare the two.
- Let the Mod Podge dry fully before flipping the leaves over.
- Brush a layer of Mod Podge onto the front of the leaves. Let dry.
- Brush an optional second layer of Mod Podge onto the front of the leaves for added protection.Let dry.
Notes
- Both Matte and Gloss Mod Podge work well to preserve colorful fall leaves. Decide which you want to use based on the amount of shine you want your leaves to have.
- For best results, begin brushing Mod Podge onto the BACK of the leaves first so the fronts won't get smudged by flipping them when they're wet.
- If you want to try a different method of preserving leaves, try dipping them in melted beeswax!


Leave a Reply