Trying to find easy nature activities for kids? Look no further; here's how to make a DIY nature crown for kids using treasures found outside in nature!
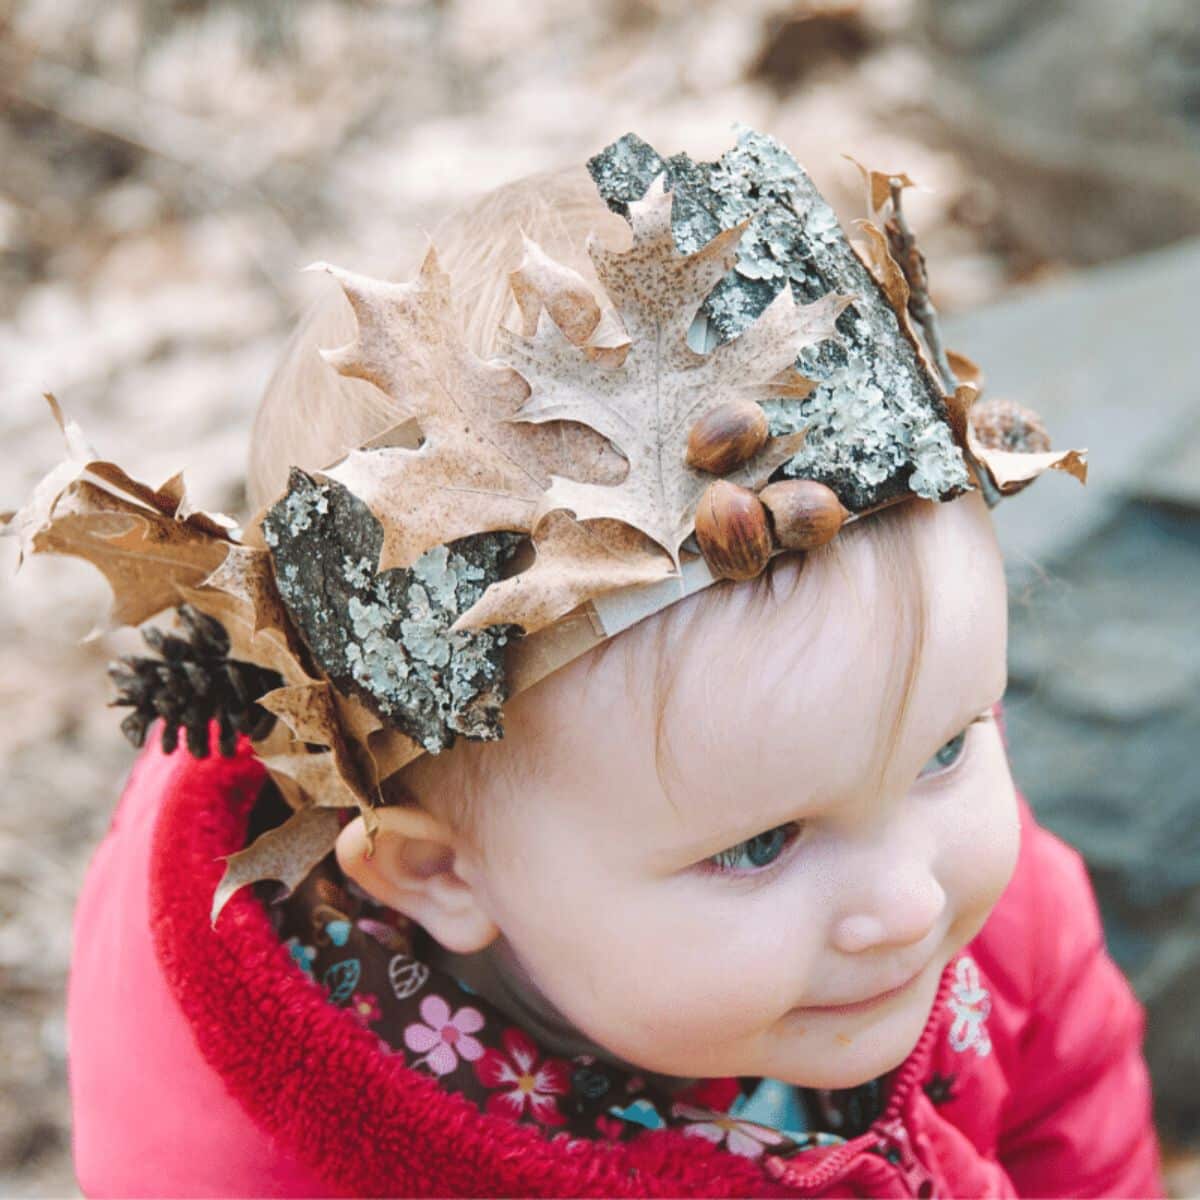
There's little better than getting kids out in nature and letting them explore.
Chances are, they'll soon have a pocket full of treasures they collected; things that caught their attention and delighted them in some way.
Acorns, pinecones, leaves, pine needles, sticks... the sky is the limit!
Today, we’re combining recycled cardboard with collected treasures from nature to make fun nature crowns for kids!
Jump to:
Why You'll Love This Craft
- Kids love collecting things outside so this is a way to put those treasures to use!
- Big kids can make the whole nature crown themselves, and little kids can help add the items to the crown with some help.
- Besides hot glue and tape, this project uses only recycled materials and items from nature - it doesn't get much simpler than that!
Craft Supplies Needed
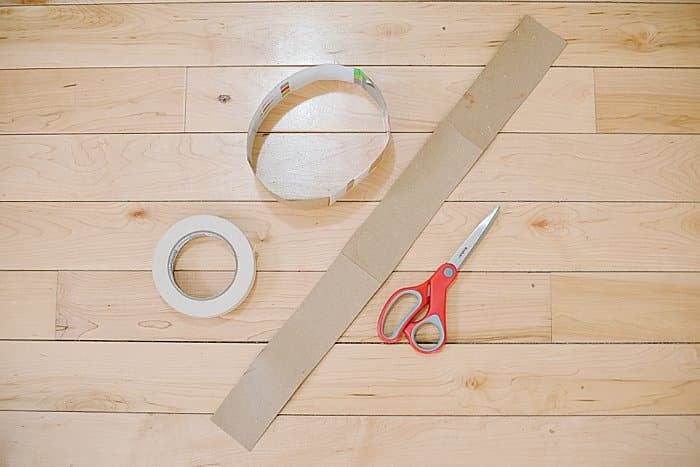
- Flexible Cardboard - I used a strip of cardboard from the box of a case of pop. It is flexible yet not floppy.
- Masking Tape - I used masking tape but you could use duct tape, packing tape, or you can use hot glue for this part too.
- Hot Glue and Glue Gun - This works best for gluing the nature items to the cardboard and making sure they stick!
- Nature Items - Some great options include pine cones, acorns, leaves, bark, twigs, and pine needles just to name a few!
How to Make a DIY Nature Crown for Kids
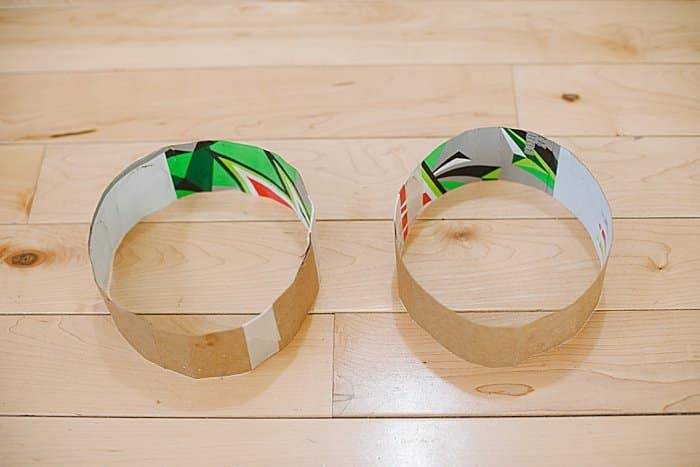
Step 1. Measure the circumference around your child's head to see how long your piece of cardboard needs to be.
Cut a strip of cardboard 2" wide and however long it needs to be to wrap around your child's head.
I used the cardboard from a case of pop for my nature crowns.
Then, tape the cardboard strip into a circular shape, securing it with masking tape, other tape, or hot glue.
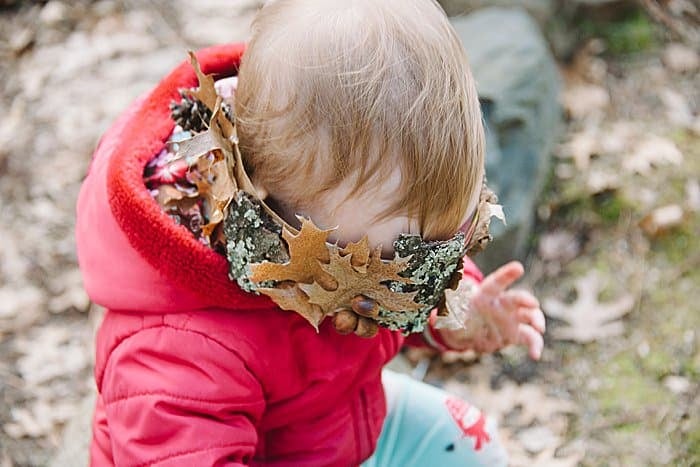
PRO TIP: My nature crowns fit great when it was just cardboard, but once the nature items were glued on and added weight to the crowns, they ended up a little bit too big.
So it's best to err slightly on a tighter fit for the crowns, so it doesn't end up sliding down over once the weight of the nature treasures is added.
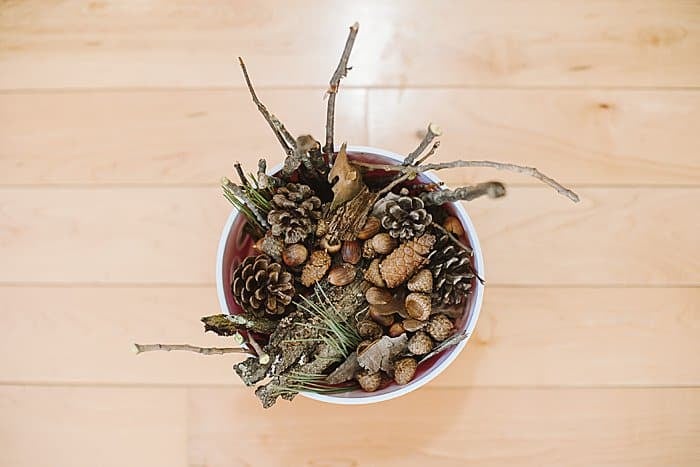
Step 2. Collect nature items!
Consider collecting leaves, bark, pine cones, acorns, twigs, pine needles, and any other nature treasures you might find!
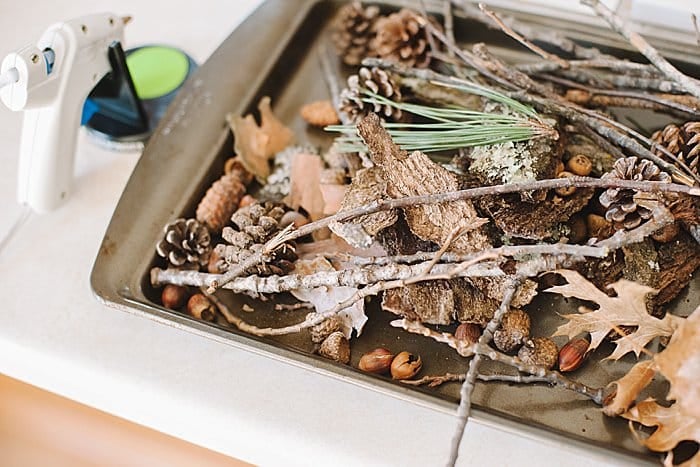
Step 3. Let the hot glue gun heat up fully.
A lot of the nature items (like pine cones and acorns) are pretty heavy, so the glue needs to be fully melted to secure them well.
Things don't stick well if the glue is only marginally hot.
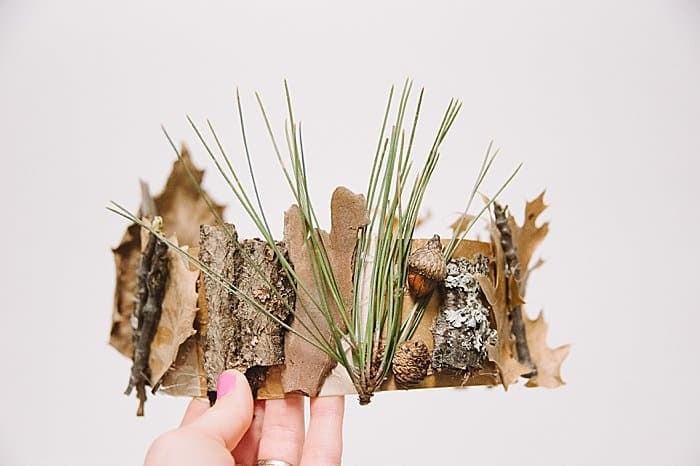
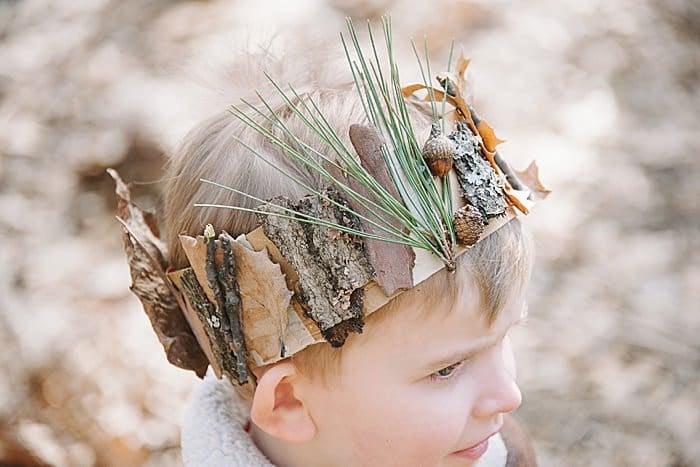
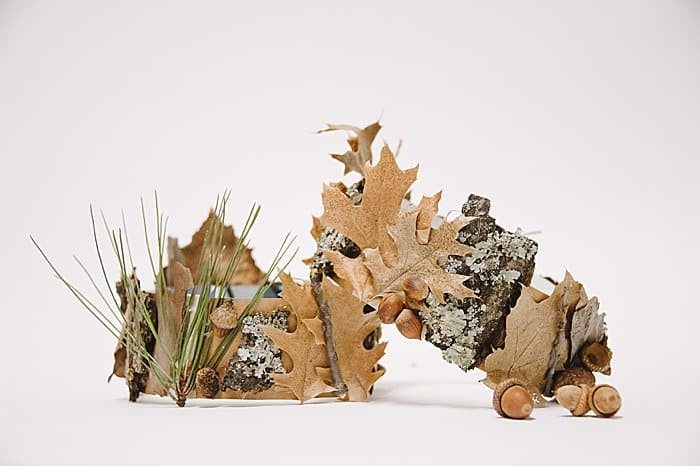
Step 4. Hot glue each nature item to the cardboard strip. You can overlap and layer items to hide the cardboard underneath and make it look interesting.
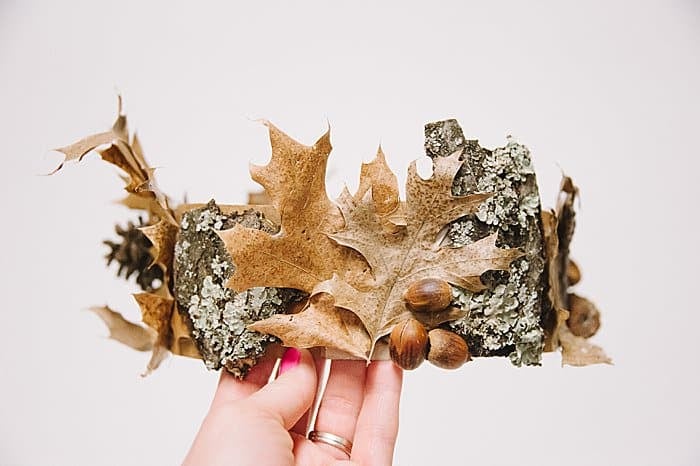
Step 5. Depending on the age of your child, they can either glue the items on themself or help you place the items in the hot glue.
Once all sides of the cardboard strip are covered with nature items, your crown is done and ready to be worn!
Common Questions
You want to use cardboard that is pliable and bendable into a circular shape. If the cardboard is too stiff, it won't bend without creasing.
I used the thin cardboard from a case of pop's box, which worked perfectly. If you don't have any cardboard, you could also try taping pieces of thick cardstock together to make a crown base.
Any treasures you can find outside are fair game for your nature crowns! Look for acorns, pine cones, tree bark, sticks, twigs, leaves, moss, and anything else you can find. You could also look for flowers, feathers, and maybe even tiny rocks as long as they aren't too big and heavy.
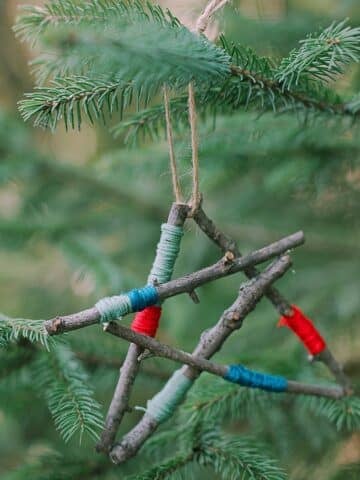
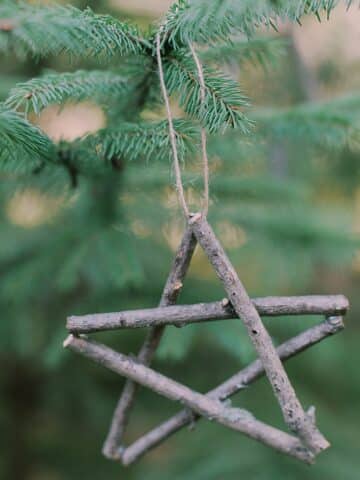
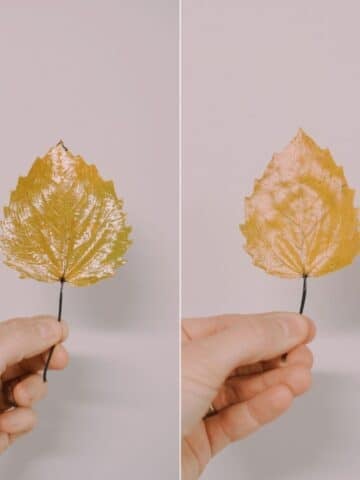
I knew they would love it! My kids loved it too. If this was a hit with your kids, they might like to make yarn-wrapped sticks, picture frames out of sticks, DIY leaf garlands, or any of our awesome pinecone projects like pinecone people ornaments, or yarn-wrapped pinecones.
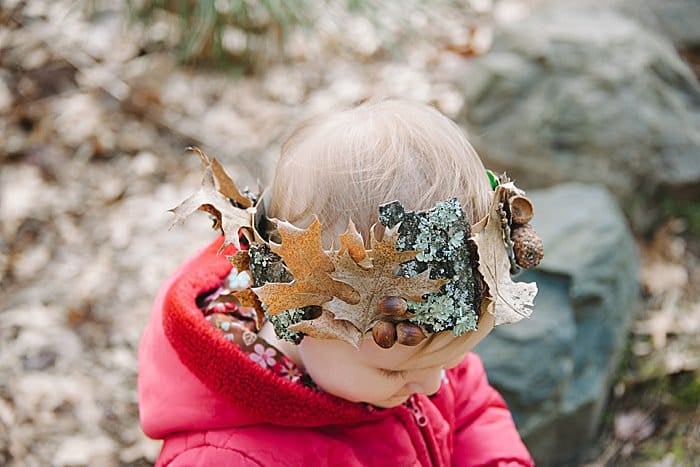
This nature craft is an all-around winner!
It lets kids explore outside and collect treasures, it uses recycled materials for the nature crown base, and it gives kids a masterpiece to play with when they're finished.
If your kids like this project, they might also like making yarn-wrapped sticks or even tiny acorn cap mushrooms!
Let those imaginations run wild!
More Nature Crafts You'll Love
---
⭐️🧶 Did you enjoy this craft and want to see more like it? ✂️ Join our FREE email community and get inspiring craft ideas sent right to your inbox! 🧵 ⭐️
---
How to Make a DIY Nature Crown for Kids
Materials
- Flexible Cardboard
- Masking Tape
- Hot Glue Gun and Glue
- Nature Items Leaves, sticks, bark, pine needles, acorns, pine cones etc.
Instructions
- Measure the circumference around your child's head to see how long your piece of cardboard needs to be.Cut a strip of cardboard 2" wide and however long it needs to be to wrap around your child's head.I used the cardboard from a case of pop for my nature crowns.Then, tape the cardboard strip into a circular shape, securing it with masking tape, other tape, or hot glue.
- PRO TIP: My nature crowns fit great when it was just cardboard, but once the nature items were glued on and added weight to the crowns, they ended up a little bit too big.So it's best to err slightly on a tighter fit for the crowns, so it doesn't end up sliding down over once the weight of the nature treasures is added.
- Collect nature items!Consider collecting leaves, bark, pine cones, acorns, twigs, pine needles, and any other nature treasures you might find!
- Let the hot glue gun heat up fully.A lot of the nature items (like pine cones and acorns) are pretty heavy, so the glue needs to be fully melted to secure them well.Things don't stick well if the glue is only marginally hot.
- Hot glue each nature item to the cardboard strip. You can overlap and layer items to hide the cardboard underneath and make it look interesting.
- Depending on the age of your child, they can either glue the items on themself or help you place the items in the hot glue.Once all sides of the cardboard strip are covered with nature items, your crown is done and ready to be worn!
Notes
- Use cardboard that is flexible, pliable, and bendable. You want to tape it into a circle shape that makes a crown base. (I used the box from a case of pop.)
- Make the circular base slightly tight because it will get heavy once you glue the nature items onto it. If the crown base is too big, it will slide down the child's face once the items are added.
- Have fun picking your nature items! Look for leaves, sticks, twigs, tree bark, moss, pine needles, pine cones, acorns, feathers, flowers, and anything else that strikes your fancy!


Leave a Reply