LEARN HOW TO MAKE AN EASY, RUSTIC DIY PICTURE FRAME MADE WITH STICKS! PERFECT FOR FRAMING YOUR KIDS ARTWORK ON THE WALL, OR TURNING INTO A DIY PHOTO HOLDER.
When you spend a lot of time outside in nature, you'll start to look around and wonder what types of crafts you can make with the treasures you find.
That's why I am forever collecting pine cones and acorns as I explore outside, and making fun projects like DIY nature crowns, acorn cap mushrooms, and tiny pinecone Christmas trees!
I love using bits and pieces of nature in crafts like twigs for the flower stems in these faux potted flowers we made out of recycled toilet paper rolls, or these potted pom pom flowers.
The idea for today's craft came after spotting great sticks outside and wanting to try to make something with them.
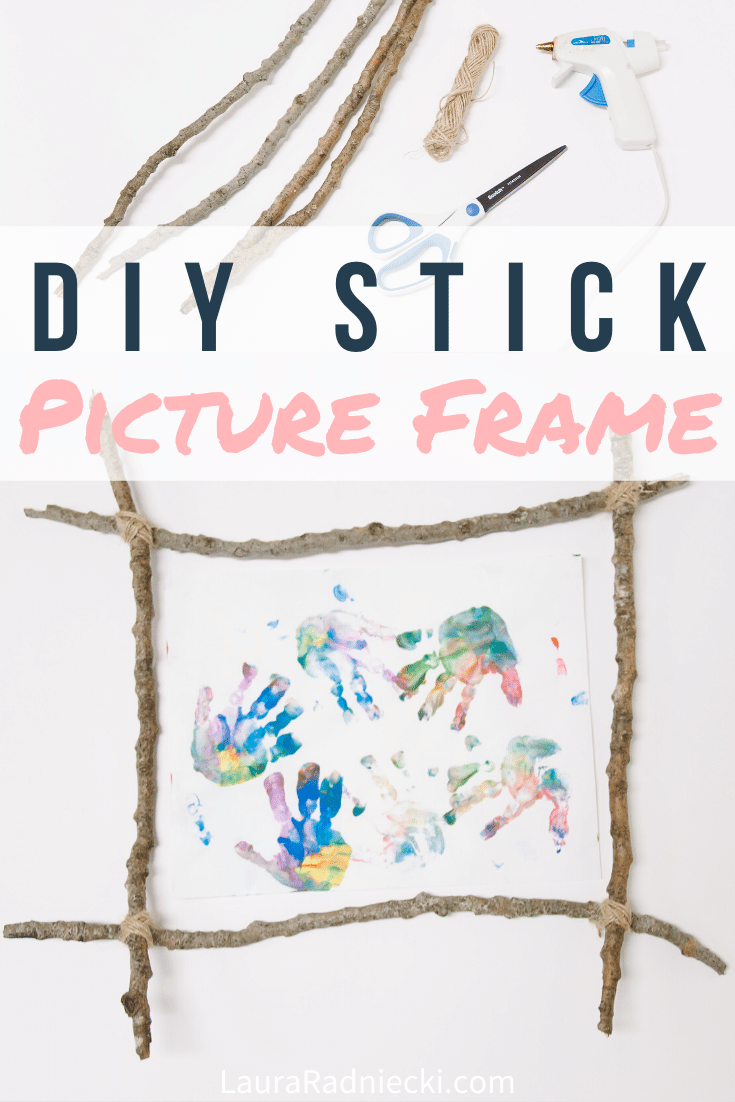
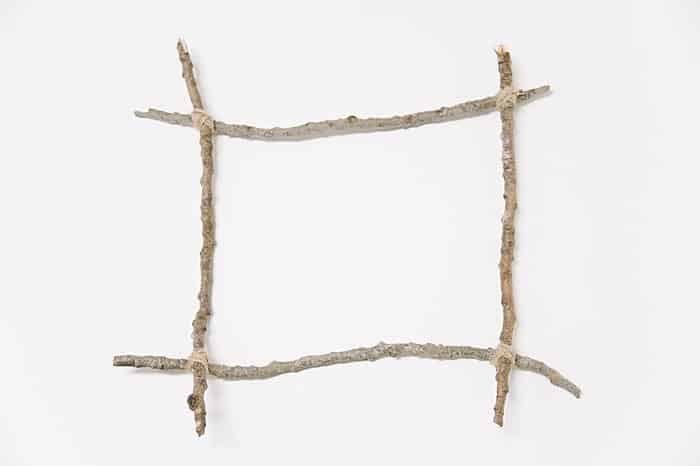
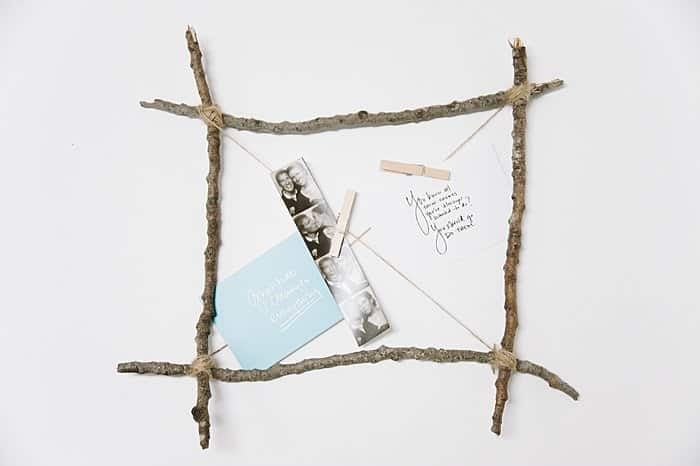
The result is a simple, rustic picture frame made with four sticks, hot glue, and a little twine.
It can be used to frame pictures, kids artwork, or used as a way to display notes and photos with a little extra work.
Here's how to make one!
DIY Picture Frame Made with Sticks | Stick Craft Ideas
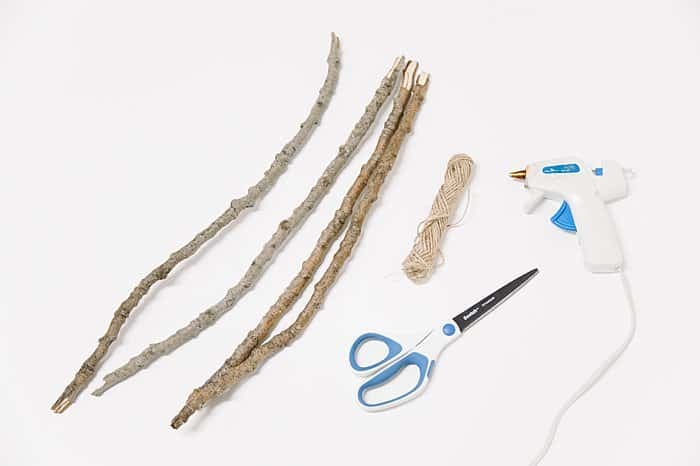
Step 1. Gather Supplies.
Supplies Needed:
Step 2. Lay out the sticks and determine how you want the frame to look.
First you want to make your four sticks roughly the same length.
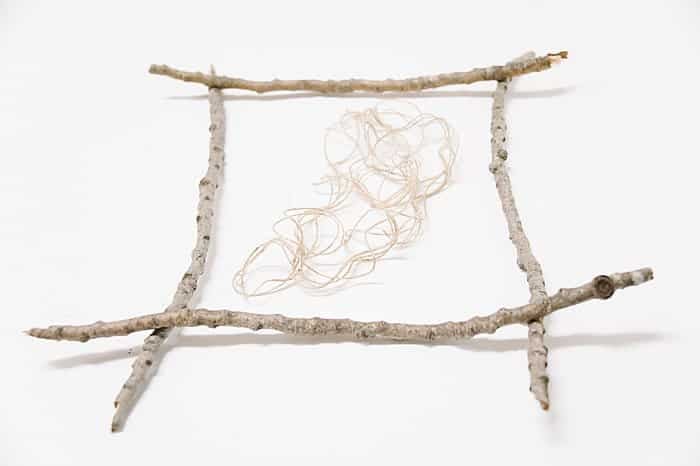
Next, lay them out in a square shape so you can figure out how you want them to be arranged.
Depending if some of the sticks are bent etc, you might need to do a little experimenting to figure out the best configuration.
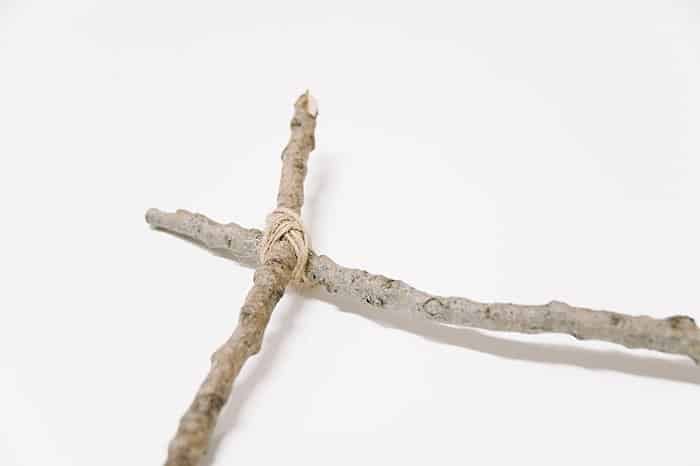
Overlap the ends of the sticks a few inches in each corner.
Step 3. Hot glue where sticks meet in each corner, and wrap twine around each corner junction to secure.
Once you've determined the layout of the picture frame, add hot glue to the four corners were the sticks touch each other and let dry.
Take a section of twine and wrap it around the corner where two sticks meet to help secure the junction.
Knot it on the backside of the frame and clip excess.
Repeat wrapping all four corners with twine and trim any excess after knotting to secure.
Step 4. Once all four corners are secure, your picture frame is done!
Once you've secured all four corners, your DIY stick picture frame is done!
You can hang it up on the wall by hanging it directly on a small nail or push pin.
Or, you can tie a piece of twine or fishing line around the top stick and use that to help hang it. If you go this route, you could use a Christmas Light Command Hook to loop the twine or fishing line on to.
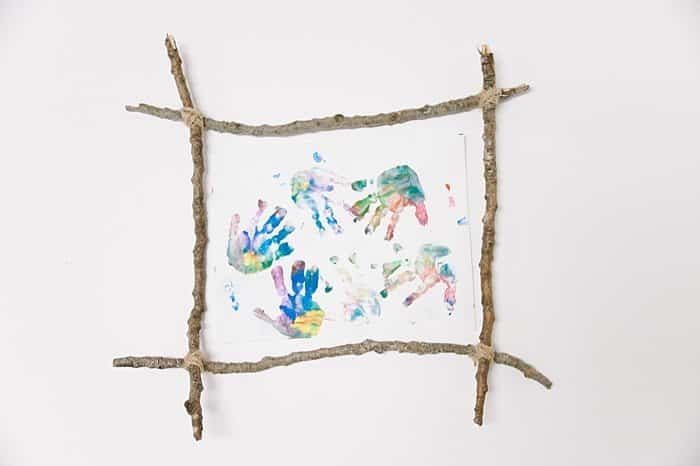
Once it's hung up on the wall, use washi tape to add some of your child's favorite artwork inside and you've got a rustic DIY picture frame made out of sticks!
Step 5. Turn it into a piece of wall art by hanging decor in the middle of it.
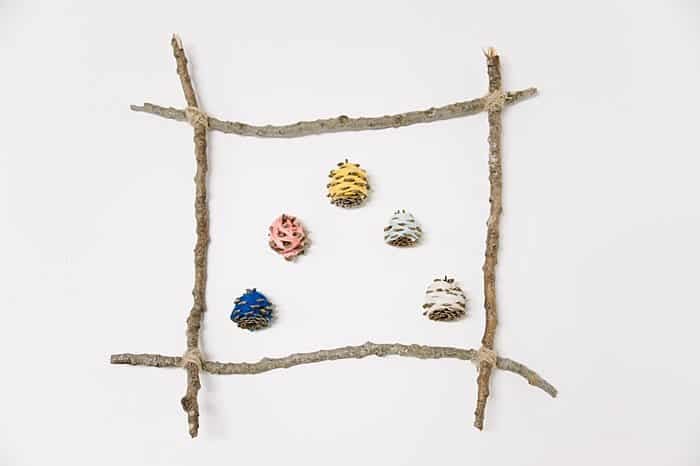
Another option is to add some decor pieces to the inside of the frame.
You could use fishing line to attach cute yarn wrapped pine cones, hanging them in an inverted V shape like the picture below shows.
That would be super cute on the wall!
Step 6. Add twine, clothes pins, and make a DIY photo board!
The last option for this DIY stick picture frame is to string twine diagonally across the frame, and use clothes pins to clip special mementos to it!
Add photos, quotes, cards, notes... whatever you want to save and display!
I strung the twine from corner to corner.
You could also add twine vertically and horizontally through the middle of the frame, adding even more places to clip memorabilia to.
With simple sticks and some twine, you can make a rustic frame that draws attention to whatever you put inside it.
Use your DIY picture frame to showcase a favorite photo on the wall, or tape some of your kid's artwork inside.
Or, better yet, add a few more pieces of twine running the length of the frame, and clip memorabilia to the string with clothes pins.
You've got a unique piece of wall art, straight out of nature!
- - -

Leave a Reply