Looking for easy pine cone crafts to make? Here's how to make DIY yarn-wrapped pine cones that look great in a centerpiece, on display, or as an ornament!
Pine cones are a marvelous craft supply; found in nature and easy to clean - they are one of the most versatile and creativity-inspiring objects around!
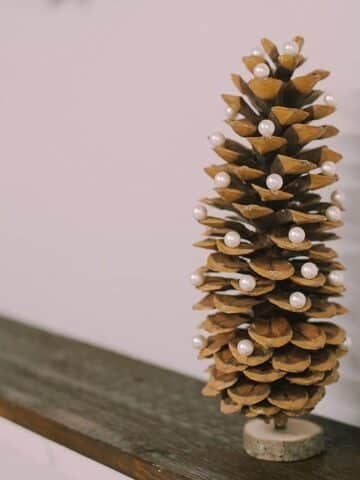
We've talked about how to clean pine cones so they're ready for crafts, and we've shared pinecone craft ideas such as how to paint pine cones, spray painted pine cone ornaments, and a variety of other pine cone ornaments like a pine cone person and a mini pinecone Christmas tree.
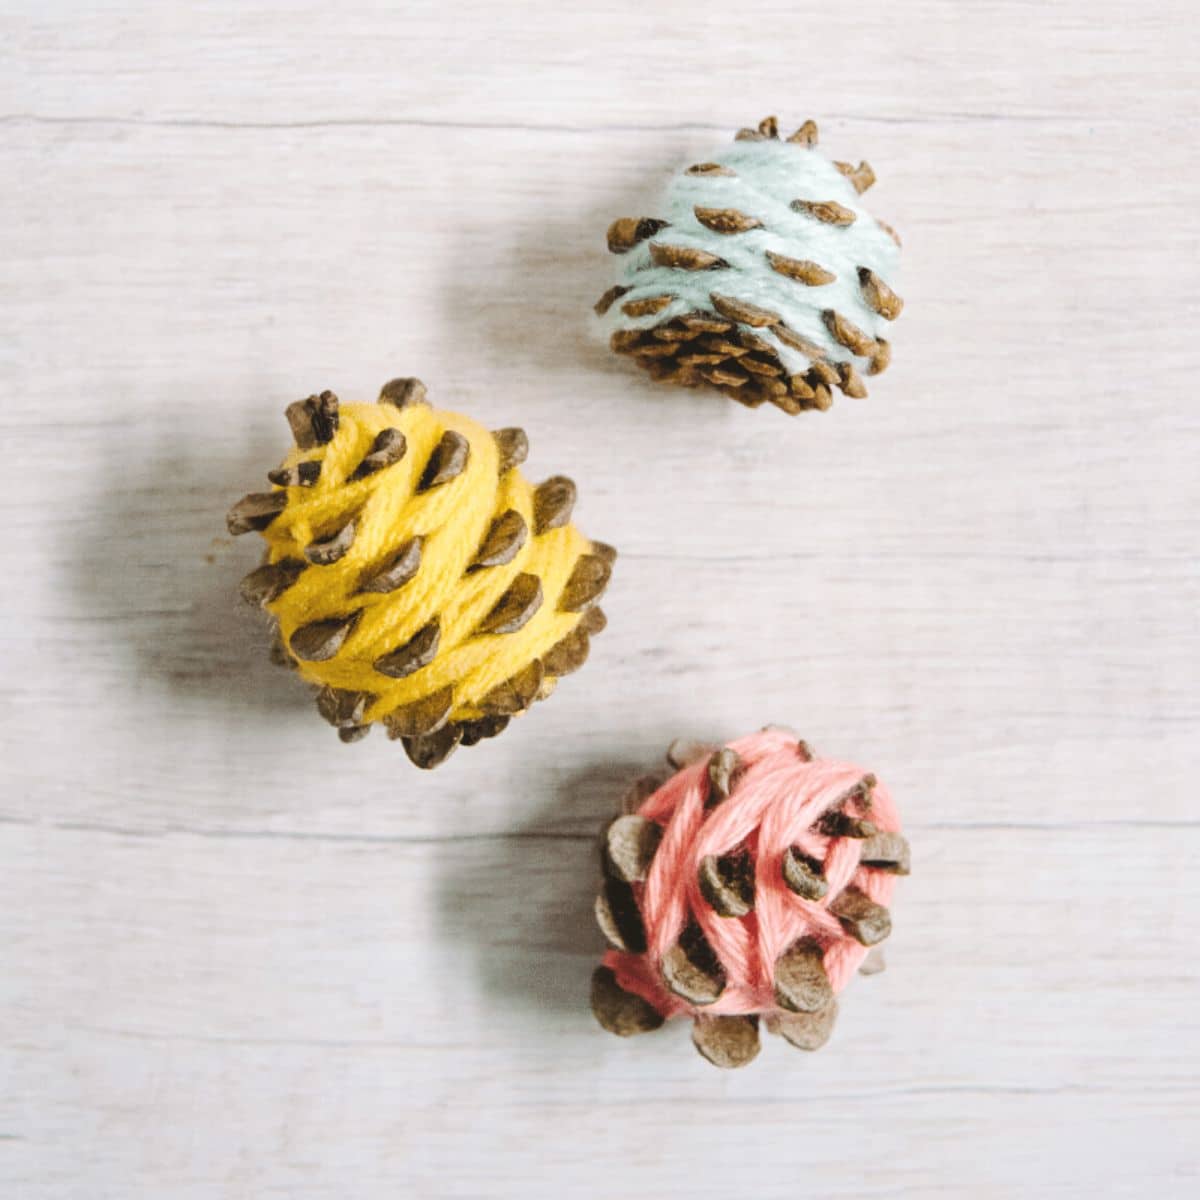
Today, we are wrapping pine cones with colored yarn to create simple yet stunning home decor that can be customized for any color, theme, or holiday!
Jump to:
Why You'll Love This Craft
- Pinecones are one of the best craft supplies to come from nature. You can collect them outdoors (clean them first!) or buy them at craft stores or on Amazon if you can't collect your own.
- You don't need any fancy supplies for this project. All you need is yarn, pinecones, and scissors!
- It's totally customizable to match your style, color preference, or the occasion or holiday you're celebrating.
Craft Supplies Needed
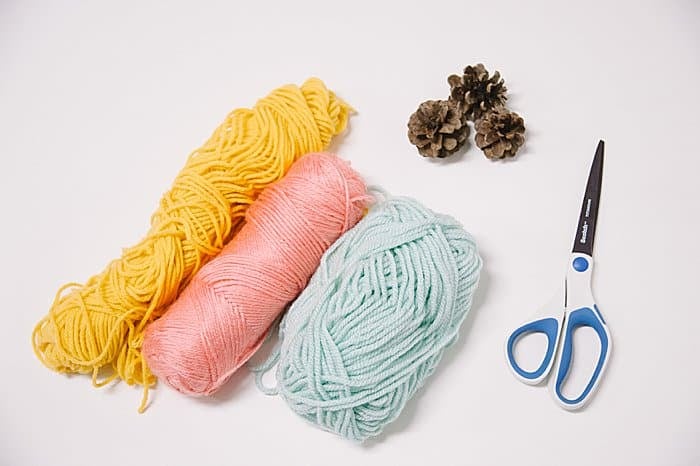
- Pine Cones - Cleaned and ready for crafts or buy them on Amazon.
- Yarn - Any type of string would work, but I like using yarn because it's cheap and comes in nearly any color!
- Scissors - For trimming the string.
How to Make DIY Yarn-Wrapped Pine Cones

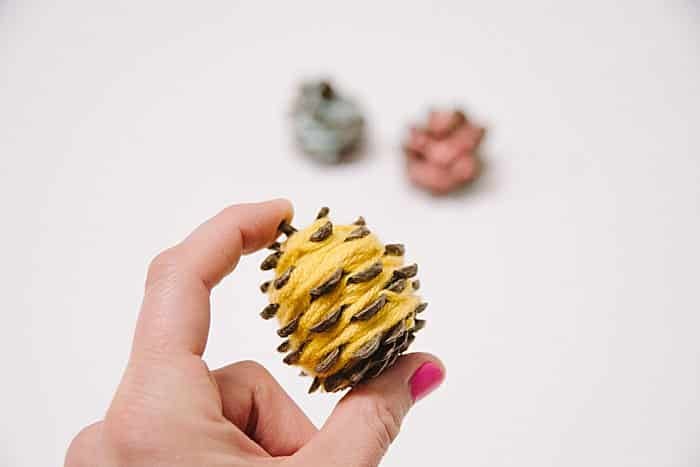
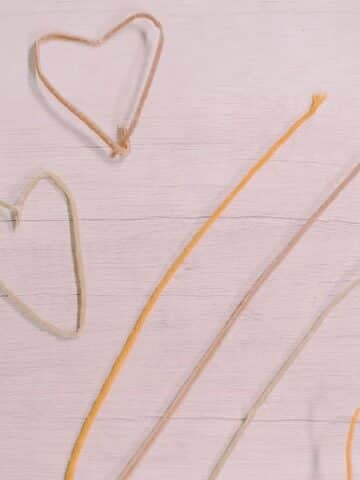
Step 1. Tuck one end of the yarn into pine cone, or wrap it carefully around a prong on the pine cone.
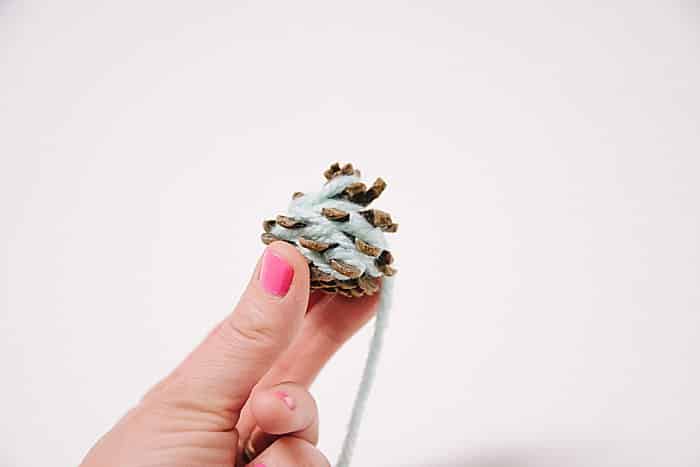
Step 2. Carefully wrap the yarn around the pine cone, between the rows of prongs, so that you are filling all of the crevices.
Move from the base to the top of the pine cone as you wrap.
Step 3. Once you get to the top, continue back down toward the base.
The more you wrap, the fuller the pine cone will get and the better it will look.
Step 4. Secure the end of the yarn at the pinecone's base.
Typically, pine cones have prongs that aren't fully open at their bases. Use these tight crevices to your advantage.
I slid the end of my yarn into one of the crevices in the base of the pine cone to secure, and trimmed off any excess.
You can always use a small dab of hot glue to anchor the second end of your yarn too, if you don't like tucking it in.
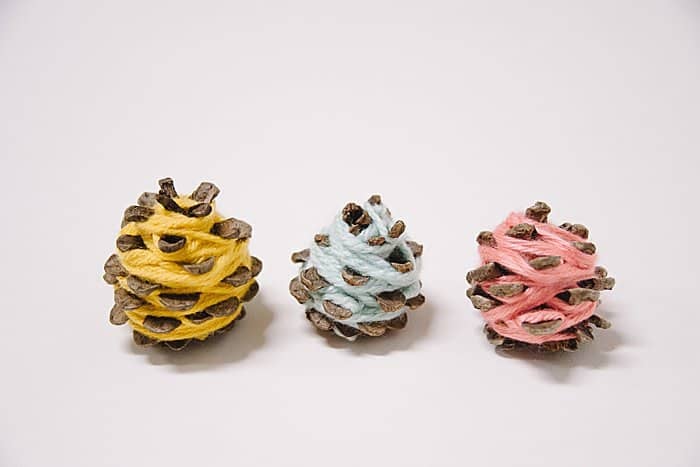
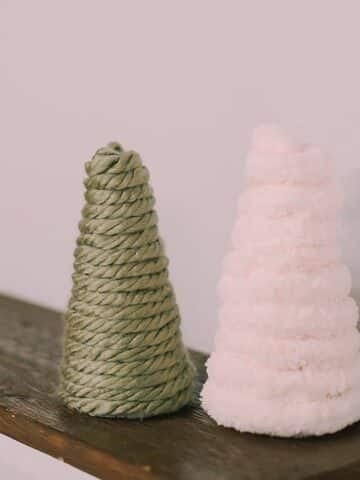
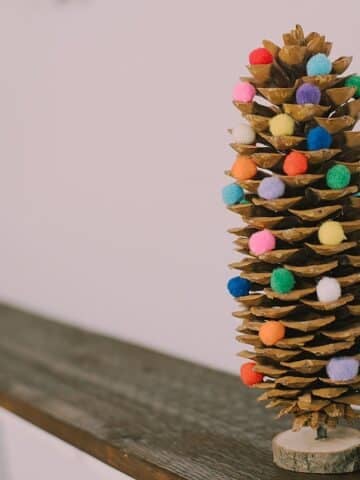
Once they're finished and trimmed up, your yarn-wrapped pine cones are ready to be put on display!
Common Questions
A medium-weight yarn works great for this project. It's easy to handle and covers well without slipping around too much. And the best part is medium-weight yarn is usually the cheapest and available in the most colors!
Yes! Give them a rinse and air dry or bake them at a low temp to remove any bugs or sap. You can find our tutorial showing how to prepare pinecones for crafts here!
Start by tucking the end of the yarn into the base or one of the prongs (or scales) of the pinecone. You can also use a dab of hot glue at the start and end if needed.
It's a great craft for kids, especially with a little help to get started. Medium-weight or even chunky yarn is easy for small fingers to handle. This is a great craft to practice fine motor skills!
You can use them as a centerpiece in a bowl, add string to the tops and hang them as ornaments or a garland, or tuck them into wreaths or other springtime displays.
Pine cones just beg to be used in craft projects.
And the options are limitless; there are so many amazing pine cone projects out there.
These yarn-wrapped pine cones are a wonderful, simple pinecone craft because they are fast, easy, and can be made with any color of yarn or string you want.
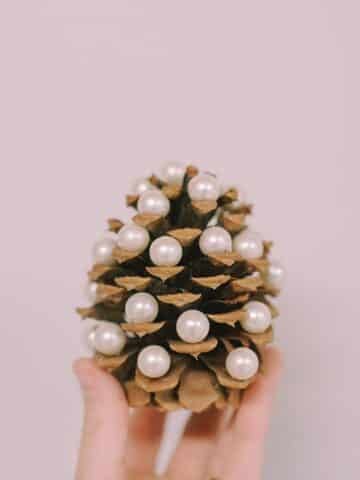
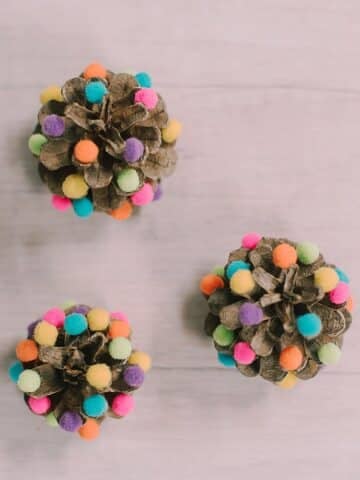
Perfect for fall pinecone decor or the holiday season, or like we did here, use bright, happy colors for great spring decor! You can even add embellishments like we did to make yarn-wrapped pinecone pumpkins!
Go get wrapping!
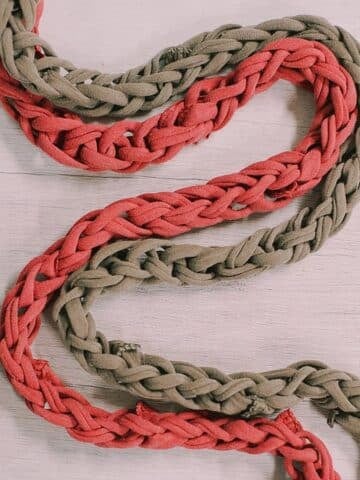
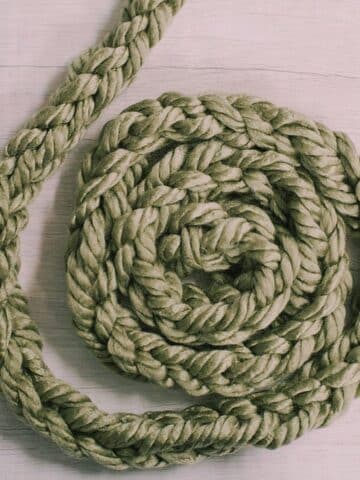
More Yarn Crafts You'll Love
---
⭐️🧶 Did you enjoy this craft and want to see more like it? ✂️ Join our FREE email community and get inspiring craft ideas sent right to your inbox! 🧵 ⭐️
---

How to Make DIY Yarn-Wrapped Pine Cones
Materials
- Pine Cones
- Yarn
- Scissors
Instructions
- Tuck one end of the yarn into pine cone, or wrap it carefully around a prong on the pine cone.
- Carefully wrap the yarn around the pine cone, between the rows of prongs, so that you are filling all of the crevices.Move from the base to the top of the pine cone as you wrap.
- Once you get to the top, continue back down toward the base.The more you wrap, the fuller the pine cone will get and the better it will look.
- Secure the end of the yarn at the pinecone's base.Typically, pine cones have prongs that aren't fully open at their bases. Use these tight crevices to your advantage.I slid the end of my yarn into one of the crevices in the base of the pine cone to secure, and trimmed off any excess.You can always use a small dab of hot glue to anchor the second end of your yarn too, if you don't like tucking it in.
Notes
- Medium-weight yarn works great because it's easy to hold and wrap. Plus, it's usually the cheapest and comes in the widest range of colors!
- The more you wrap, the fuller the pinecones will become and the better they will look.
- This is a great craft to help kids practice their fine motor skills!
Leave a Reply