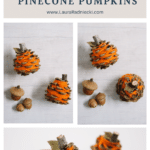
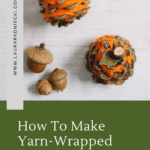

Learn how to make yarn wrapped pinecone pumpkins as part of your easy fall decor in this fast and easy step-by-step craft tutorial. All you need are clean pine cones and your favorite yarn!
We've used pinecones for many different craft projects on this website - in fact, there's a whole section of pinecone crafts!
We've made yarn-wrapped pinecones several times for different holidays and aesthetics - we've done pastel yarn-wrapped pinecones, 4th of July pinecones, and yarn-wrapped Fall pinecones!)
This time, we're going to do something just a little different with them.
We are going to take the yarn-wrapped pinecone pumpkins we made for fall, and we are going to turn them into pinecone PUMPKINS!
Jump to:
Why You'll Love This Craft
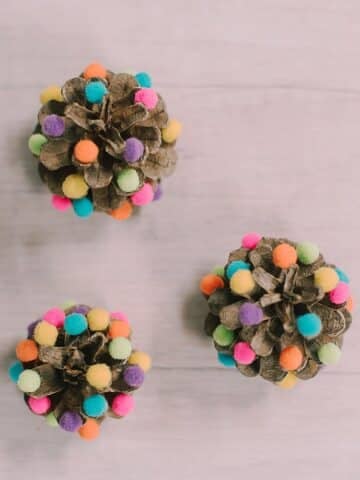
- You can use any type of pinecone for this project - big or small. Round pinecones will look more like typical pumpkins, but even oblong pine cones can work!
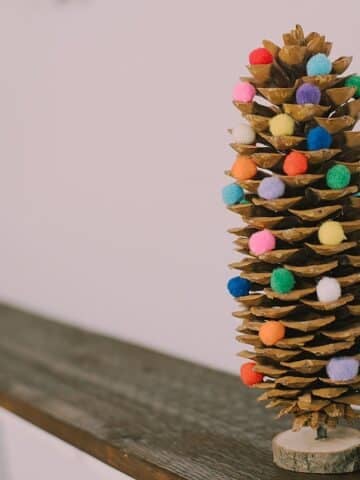
- As long as you use yarn that is thin enough to weave in between the tines of the pumpkin, you can use any type or color of yarn.
- This is a fantastic fall kids' craft because aside from gluing on the leaf and stem, it's very safe. An older child can do the whole project themself from start to finish. A younger child could do the yarn wrapping themself, and then have help with the leaf and stem.
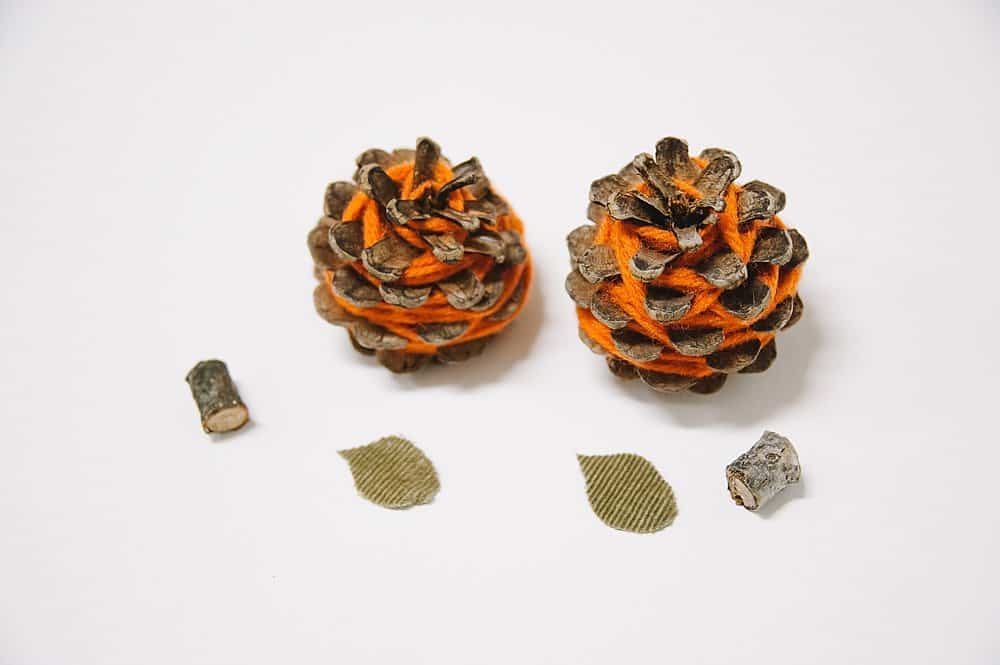
Craft Supplies Needed
- Pinecones - wrapped in yarn using this tutorial.
- Green Fabric - this will be used to cut out small leaves. You can use any type of green fabric, felt, or fleece, or you could upcycle an old shirt like I did with this green corduroy shirt.
- Wooden Branch - this will be used to cut into small pieces for making pumpkin stems.
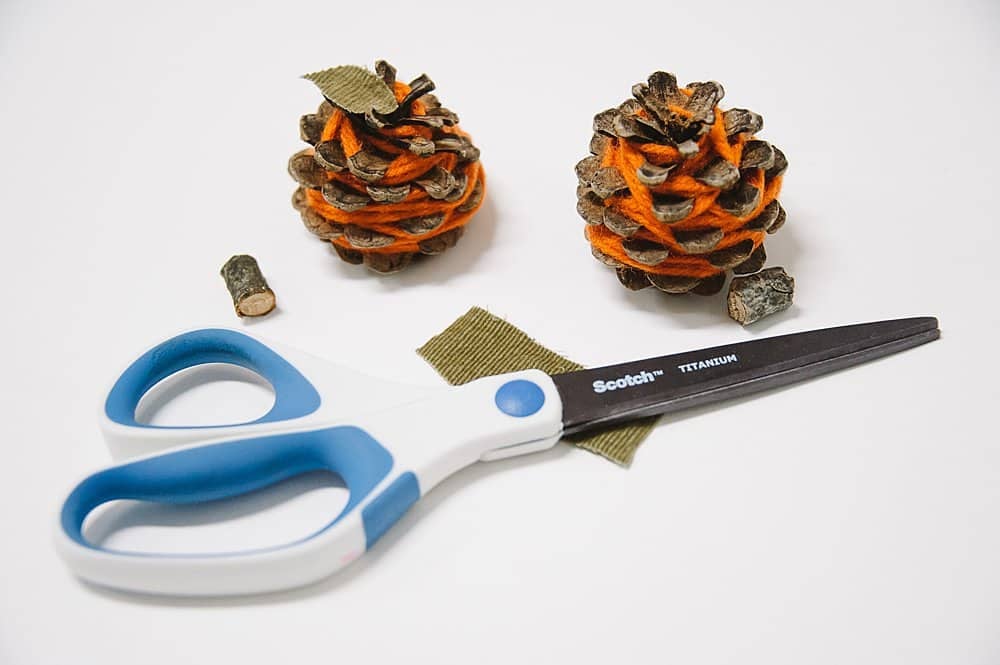
- Scissors and Garden Clippers - The scissors are for cutting leaves out of the fabric, and the stick can be cut with garden clippers if it's too thick for scissors.
- Hot Glue Gun and Glue Sticks - For gluing the fabric leaf and the wood stem to the top of the pinecone pumpkins.
How to Make Yarn-Wrapped Pinecone Pumpkins
Step 1. Follow this yarn-wrapped pinecone tutorial to wrap the pinecones in the yarn of your choice.
Also, cut small leaf shapes out of green fabric, and small sections from a tree branch.
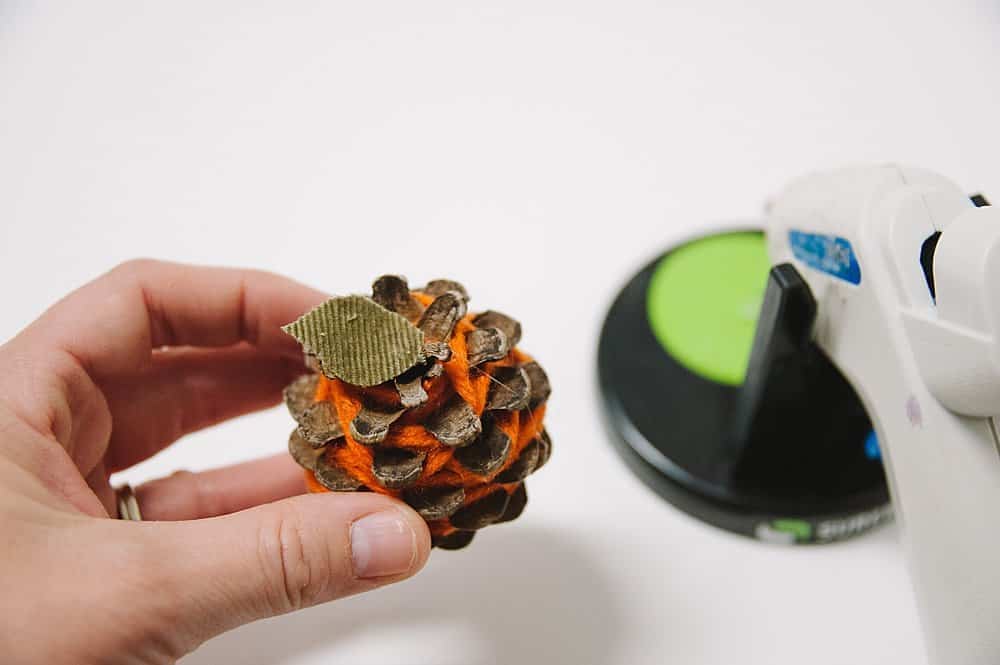
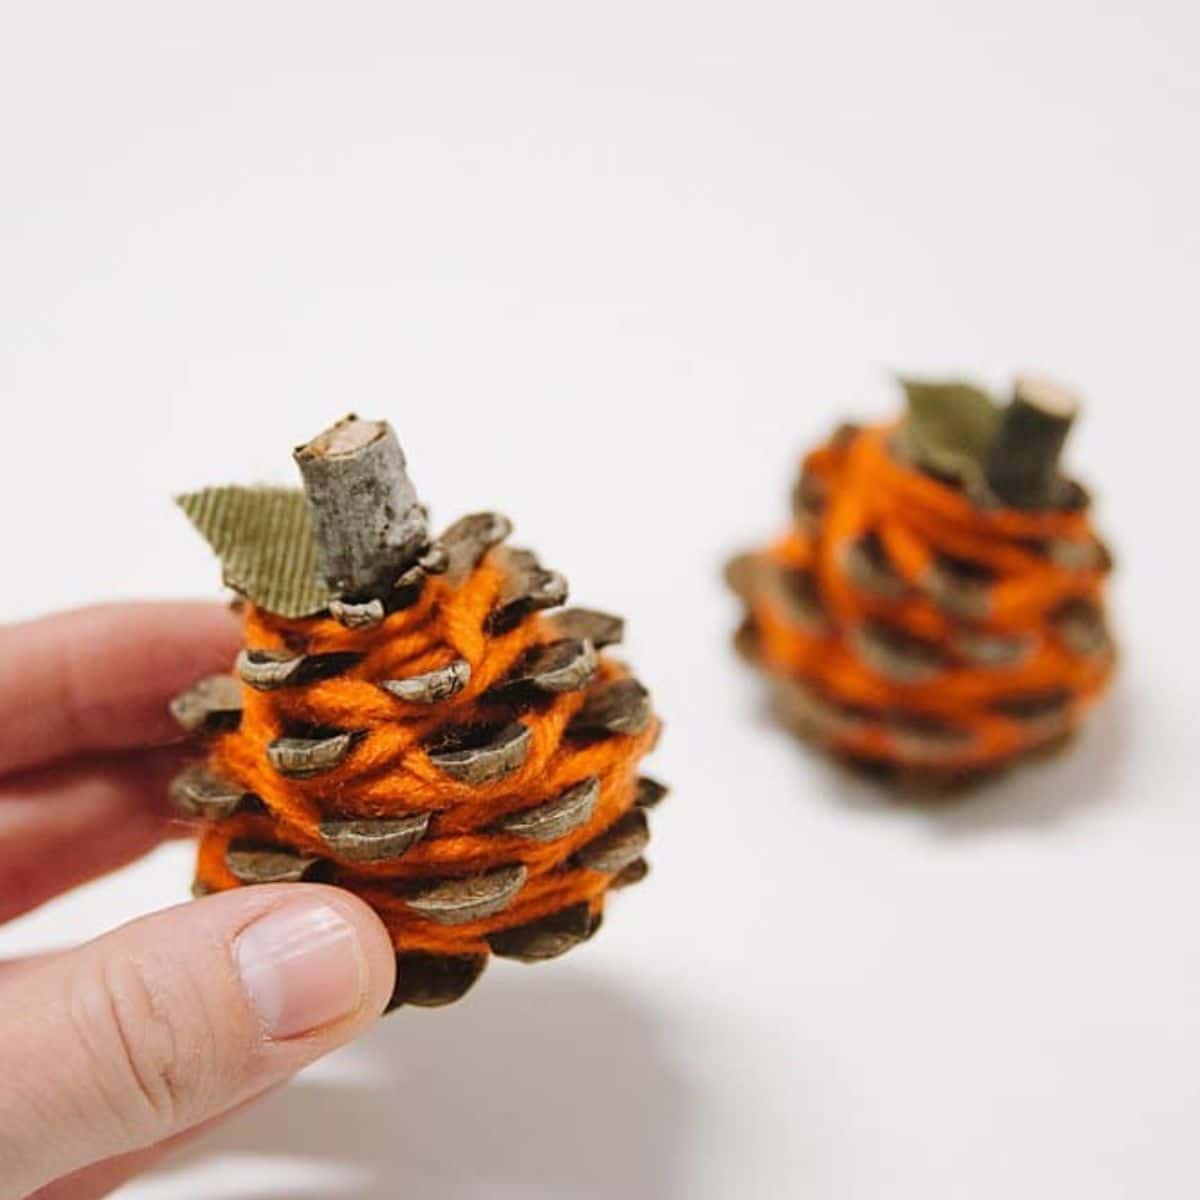
Step 2. Hot glue the green leaf to the top of the yarn-wrapped pinecone pumpkin.
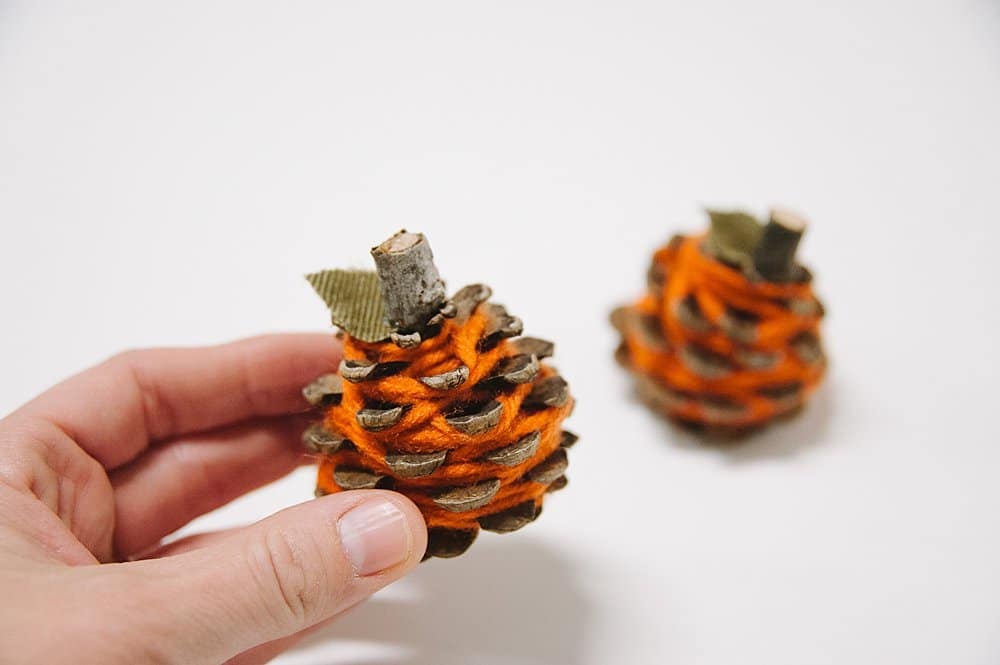
Step 3. Hot glue the piece of wooden branch (the stem) on top of the green leaf, and hold it until it's dry.
Repeat for all your pinecones!
Common Questions
Round pinecones are going to look the most like real pumpkins (because pumpkins are typically round!) but you can use any size and shape of pinecone that you want! You just want to make sure the pinecones are clean and sanitized before you use them.
You can buy pinecones at any craft supply store or on Amazon. You can also find private sellers on eBay that sell different shapes and sizes of pinecones that are perfect for crafting uses!
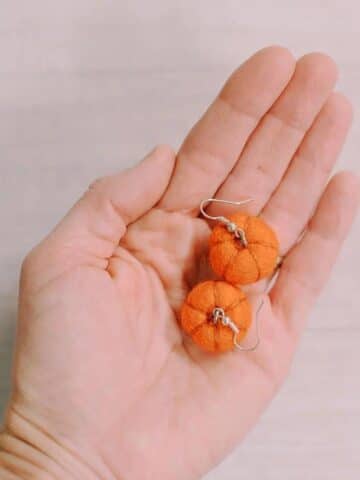
Easy, fun crafts are what we do around here! You can also try to make DIY fabric pumpkins, wooden pumpkins, and easy yarn ball pumpkins. If you like miniature crafts, try out this darling felt ball pumpkin tutorial!
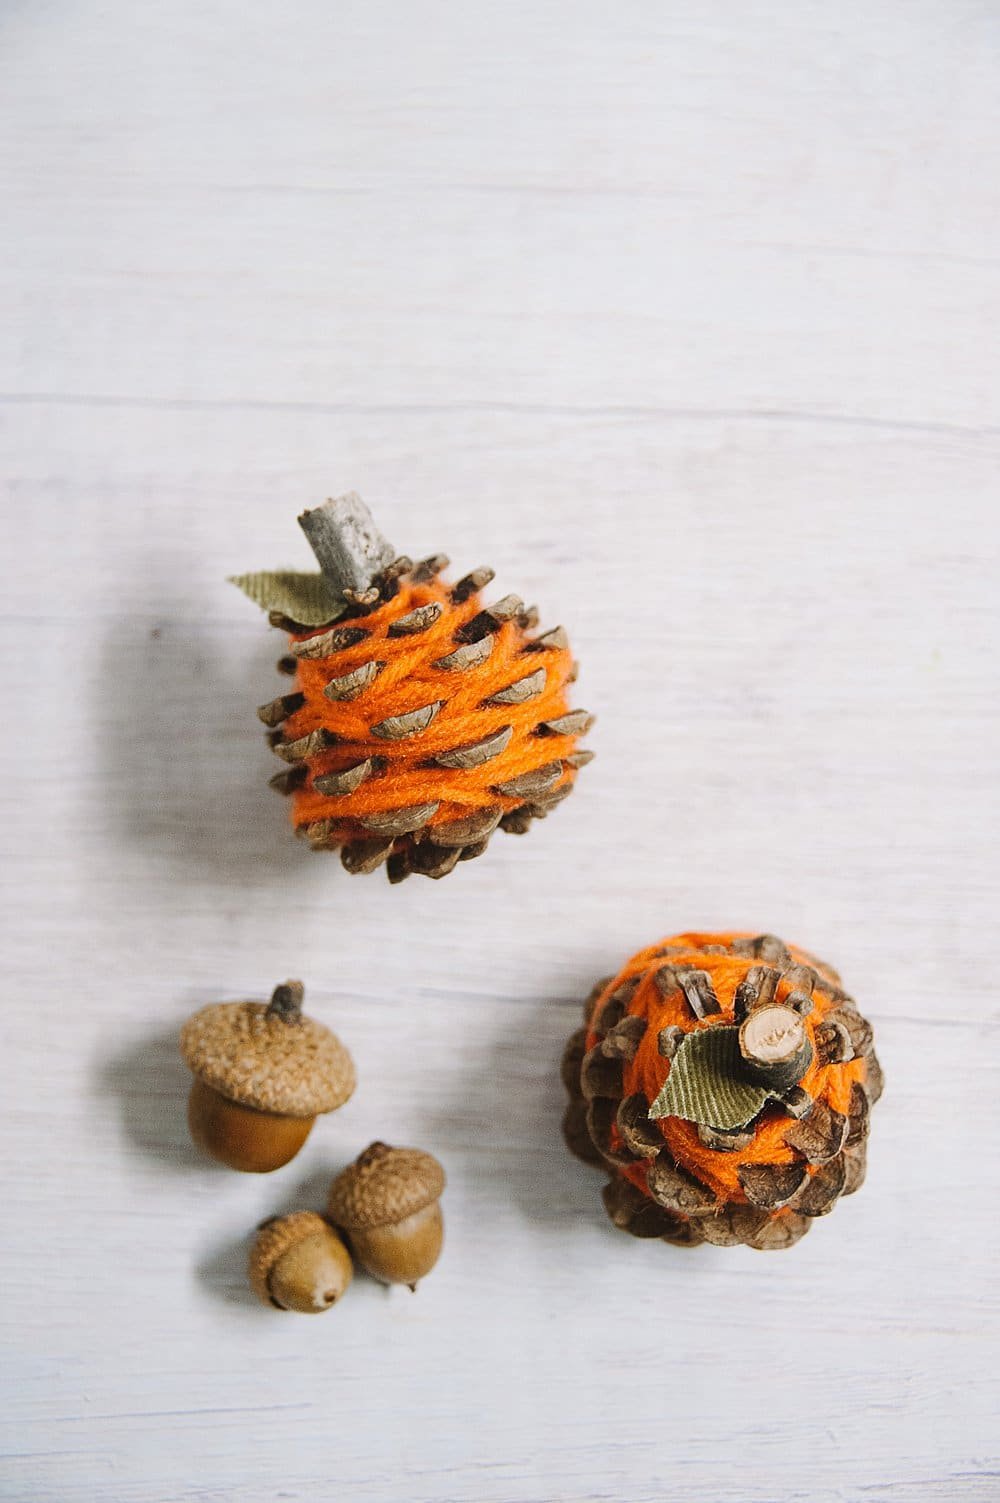
If you're looking for a fun and easy fall craft project for kids, or just to do yourself, these yarn-wrapped pinecone pumpkins are a great choice.
They can be made with supplies you likely have in your home and backyard (pinecones, yarn, fabric, a stick), and they can be made in minutes.
More Fall Crafts You'll Love


---
⭐️🧶 Did you enjoy this craft and want to see more like it? ✂️ Join our FREE email community and get inspiring craft ideas sent right to your inbox! 🧵 ⭐️
---

How to Make Yarn Wrapped Pinecone Pumpkins
Materials
- Pinecones
- Green Fabric
- Wooden Branch
- Scissors & Garden Clippers
- Hot Glue Gun & Glue Sticks
Instructions
- Step 1. Follow this yarn-wrapped pinecone tutorial to wrap the pinecones in the yarn of your choice.Also, cut small leaf shapes out of green fabric, and small sections from a tree branch.
- Step 2. Hot glue the green leaf to the top of the yarn-wrapped pinecone pumpkin.
- Step 3. Hot glue the piece of wooden branch (the stem) on top of the green leaf, and hold it until it's dry.Repeat for all your pinecones!
Notes
- You can use any type of pinecone - big or small, round or oblong. Round pinecones will look the most like real pumpkins.
- As long as the yarn is thin enough to wrap in between the pinecone's tines, you can use any type and color of yarn.
- Upcycle an old green shirt for the pumpkins' leaves to make this an eco-friendly craft project!
Leave a Reply