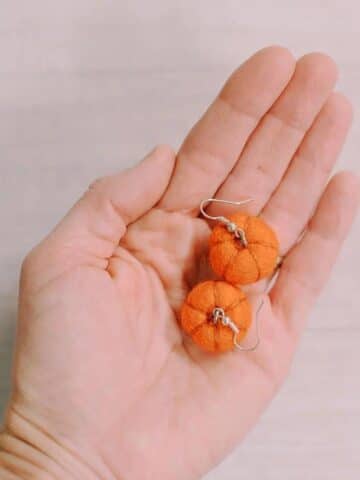
Learn how to make DIY yarn ball pumpkins using balloons, yarn, and glue in this fun DIY craft for the fall season! It's the perfect decoration for fall, Thanksgiving, or even for Halloween!
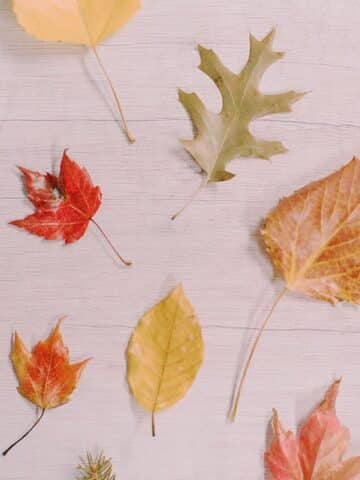
With fall arriving, it's time to bring out the fall decorations!
For me, that means the DIY spray painted pumpkins and gourds I made with dollar store finds, painted plastic pumpkins for the front porch, and DIY wooden pumpkins.
I wanted to add something new to my fall decor, so today, we are making yarn ball pumpkins!
Jump to:
Why You'll Love This Craft
- Yarn is one of everyone's favorite craft supplies because it's cheap, easy to find, and comes in endless colors and varieties. One skein of yarn makes many yarn balls!
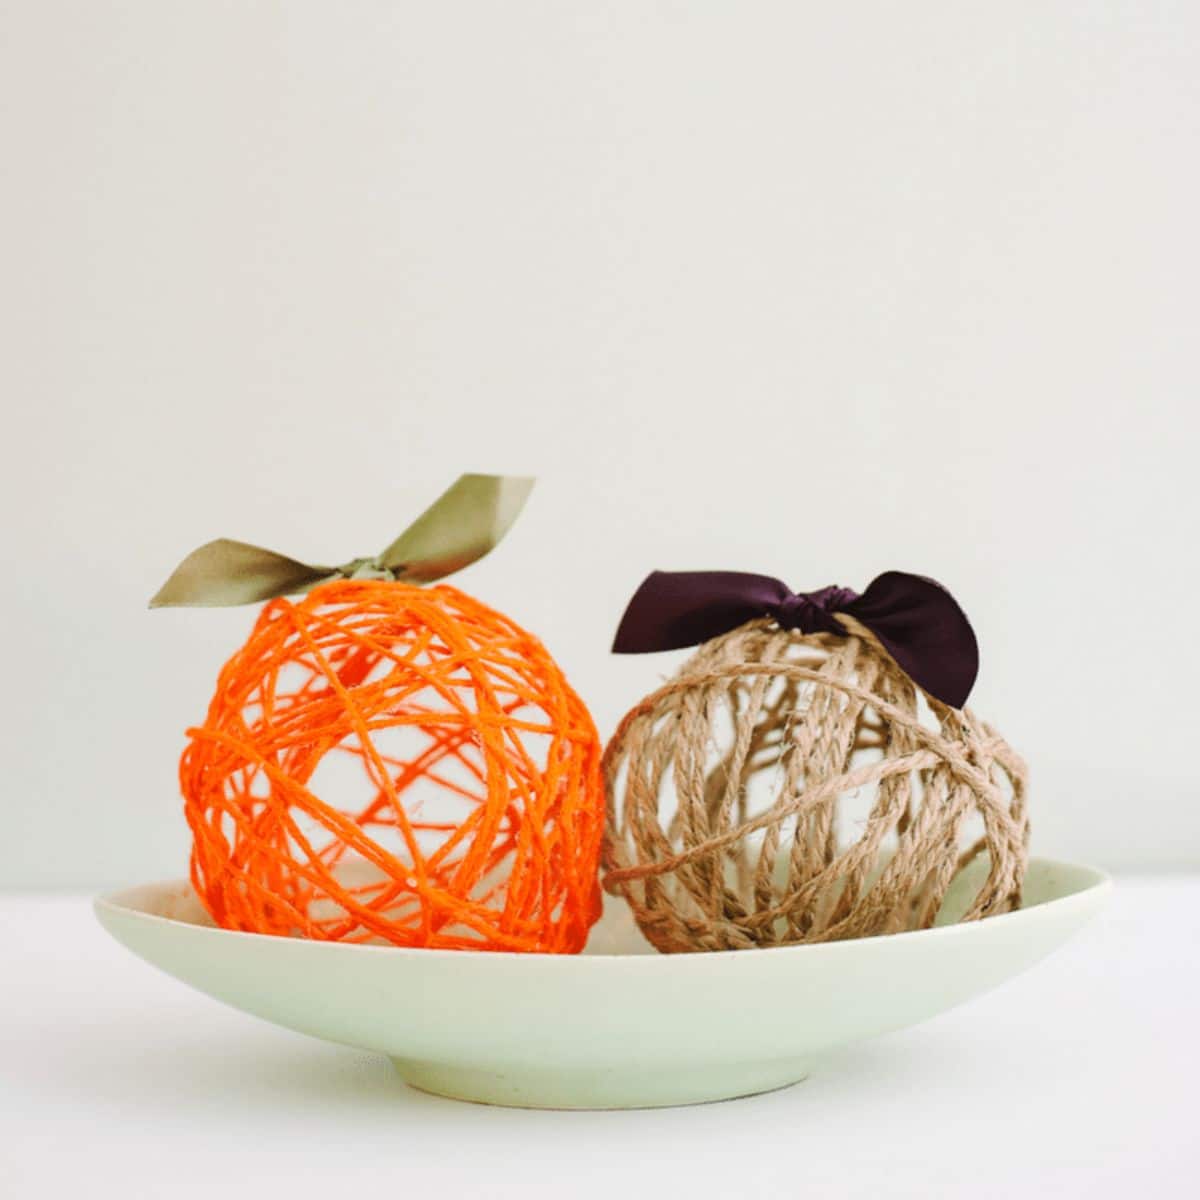
- You can use yarn, twine, or string of any kind to make these yarn ball pumpkins. We made some with yarn and some with twine for a more rustic look.
- Kids will love this craft - it's messy! The cleanup is easy, so the mess is tolerable. Make it easier by laying down newspaper or parchment paper so cleanup is a breeze.
Craft Supplies You Will Need
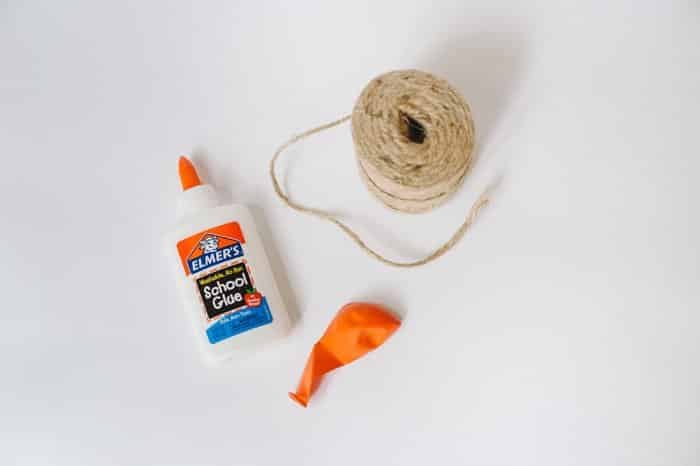
- Yarn or Twine - The color and thickness of the yarn, twine, or string you use will determine the look of your yarn ball pumpkins.
- Glue - I used Elmer's School Glue
- Balloons - We used simple round party balloons.
- Scissors or Knife - To pop the balloon.
- Ribbon - For the top of the yarn ball pumpkins.
- Yarn Ball Pumpkin Checklist - free in the Resource Library!
How to Make Fall Yarn Ball Pumpkins using Balloons
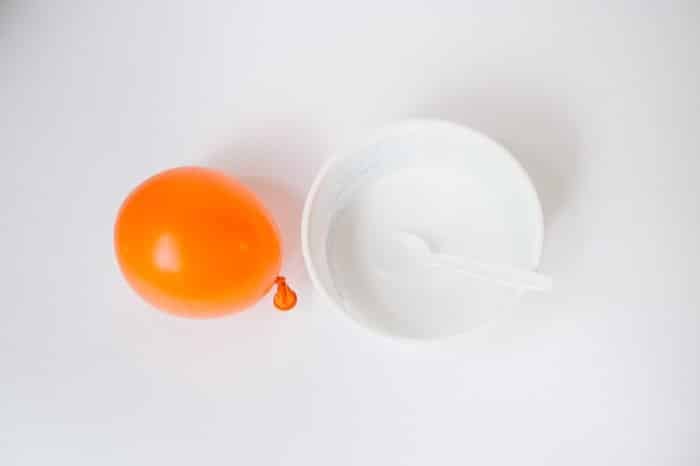
Step 1: Blow up a balloon to the size you want your finished yarn ball to be.
(I blew mine up so it was about 5 inches in diameter.)
Mix glue with a little water to make a runny mixture in a bowl.
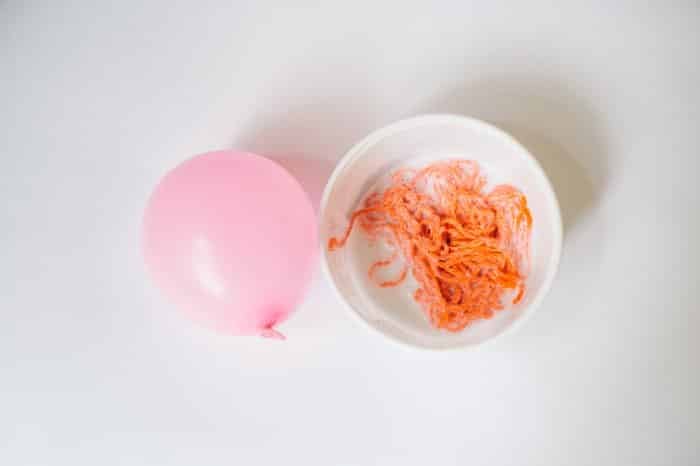
Step 2: Soak yarn, twine, or string in the glue mixture.
NOTE: For this tutorial, I cut one long piece of twine (several yards long) and laid it in the glue mixture.
Next time, I will cut multiple 1-yard pieces (instead of one long piece of string) so it's easier to wrap later in the project.
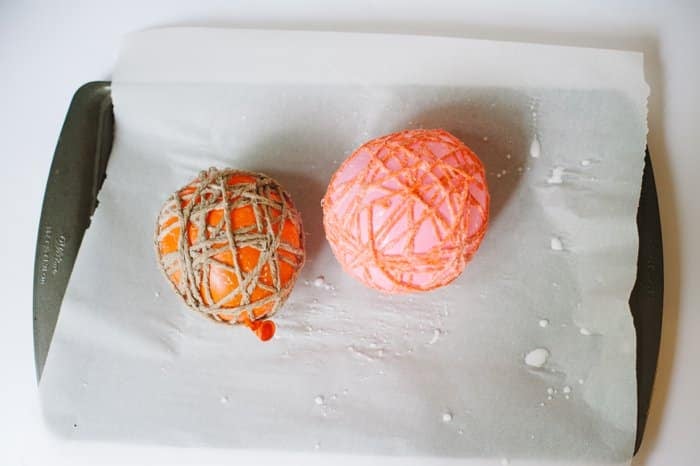
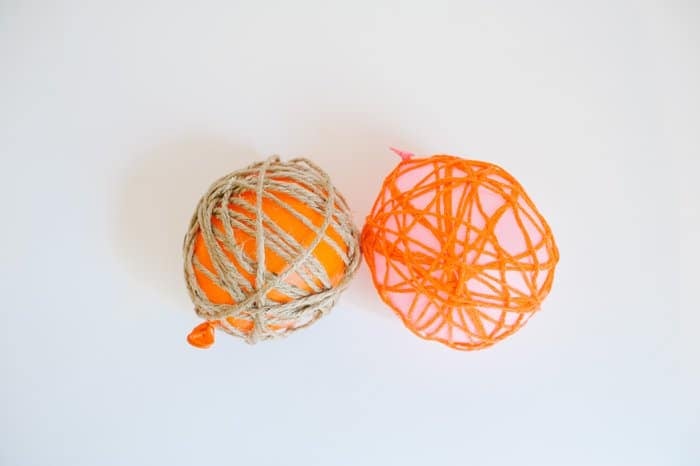
Step 3: Squeeze excess glue from the string and wrap it around the balloon in different directions.
(This is the messy part.)
I did it on top of a baking sheet lined with parchment paper, but it would have been even better with more newspaper.
Once you're done wrapping the yarn around the balloon, tuck the end under another yarn section to anchor it.
Step 4: Let them dry completely.
Depending on how thick and soaked your string is, as well as the humidity in your house, the drying time may vary.
Mine took two full days to dry completely. As they dry, the string will harden and get stiff.
After the first day, I turned the balls over so the bottoms could be exposed to air too.
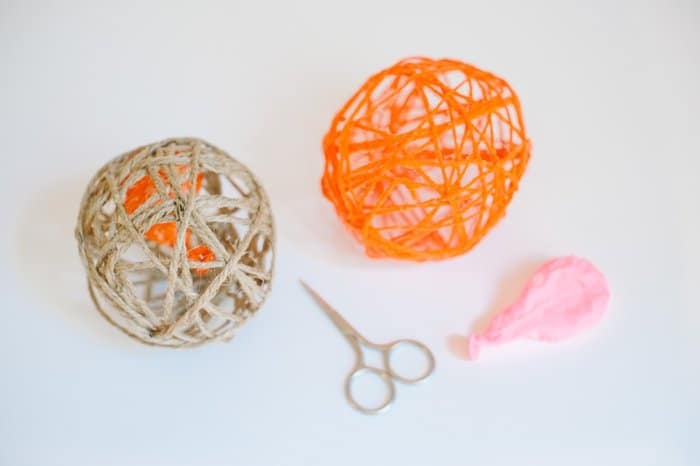
Step 5: Once they are completely dry, pop the balloon inside.
I used small scissors for this, but a knife would work too.
As the balloon starts to deflate, it might pull the yarn in with it and make your ball look shrunken and deformed because glue is sticking to the balloon a bit.
Once the balloon is fully deflated and removed, you can gently pop the ball back into its round shape.
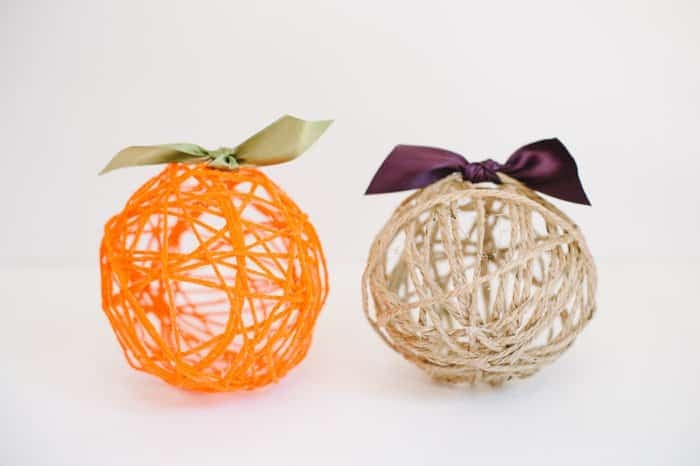
Step 6: Add ribbon "stems" to complete the pumpkin look.
Tie the ribbon around a stiff string section on top of each pumpkin, and trim the ends.
Common Questions
You can use yarn, twine, or any other string like thin rope, cording, or even bakers twine to make these cute pumpkins. Avoid very thick, heavy types of string because they will be harder to wrap and could be too heavy for the glue to hold its round shape.
A good rule of thumb is half water and half glue. Regular glue (without water) is too thick to soak the string in. If you add too much water, the yarn won't be sticky enough to hold its shape in the ball. You need to add just enough water to thin the glue to make it easy to stir and soak the string in. Shoot for a 50:50 mixture, but I'll be honest - I didn't measure.
If you have an older kid, let them do the whole thing! Spread newspaper outside and let them soak and wrap the string around their balloons. You can help younger children do each step with a little guidance, too. Aside from using a scissors or knife to pop the balloon once the yarn is completely dry, this is a very safe craft. Kids love it!
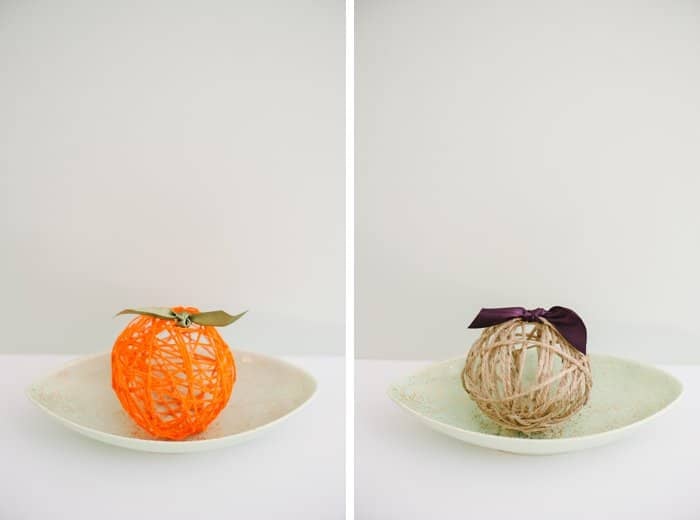
Yarn balls made with balloons and glue are an easy and cheap craft to make. They're messy, but they don't require many supplies to make and can easily be done with kids as a fun fall kids' craft.
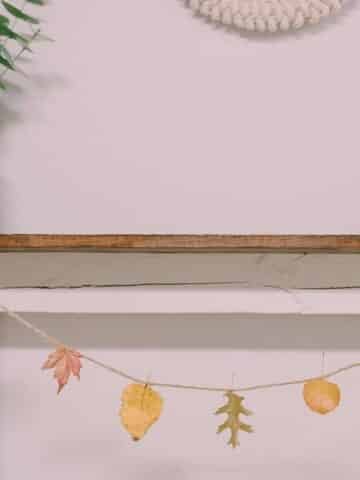
They can be made with any type of string, in any color, depending on the season or decor theme. You could also turn yarn balls into ornaments or a garland too!
Just remember, they are fragile so handle with care.
More Fall Crafts You'll Love
---
⭐️🧶 Did you enjoy this craft and want to see more like it? ✂️ Join our FREE email community and get inspiring craft ideas sent right to your inbox! 🧵 ⭐️
---

How to Make DIY Yarn Ball Pumpkins
Materials
- Yarn, Twine or String
- Elmers School Glue
- Balloons
- Scissors or Knife
- Ribbon
- Yarn Ball Pumpkin Checklist (find it in the Resource Library here!)
Instructions
- Blow up a balloon to the size you want your finished yarn ball to be.(I blew mine up so it was about 5 inches in diameter.)Mix glue with a little water to make a runny mixture in a bowl.
- Soak yarn, twine, or string in the glue mixture.NOTE: For this tutorial, I cut one long piece of twine (several yards long) and laid it in the glue mixture.Next time, I will cut multiple 1-yard pieces (instead of one long piece of string) so it's easier to wrap later in the project.
- Squeeze excess glue from the string and wrap it around the balloon in different directions.(This is the messy part.)I did it on top of a baking sheet lined with parchment paper, but it would have been even better with more newspaper.Once you're done wrapping the yarn around the balloon, tuck the end under another yarn section to anchor it.
- Let them dry completely.Depending on how thick and soaked your string is, as well as the humidity in your house, the drying time may vary.Mine took two full days to dry completely. As they dry, the string will harden and get stiff.After the first day, I turned the balls over so the bottoms could be exposed to air too.
- Once they are completely dry, pop the balloon inside.I used small scissors for this, but a knife would work too.As the balloon starts to deflate, it might pull the yarn in with it and make your ball look shrunken and deformed because glue is sticking to the balloon a bit.Once the balloon is fully deflated and removed, you can gently pop the ball back into its round shape.
- Add ribbon "stems" to complete the pumpkin look.Tie the ribbon around a stiff string section on top of each pumpkin, and trim the ends.
Notes
- You can use any type of string for this project including yarn, twine, cording, thin rope, or bakers twine!
- Use a 50:50 water and glue mixture, or something similar. If you don't dilute the glue enough, it will be too thick to work with. If you dilute it with too much water, the yarn will have a hard time holding its shape around the balloon.
- Lay parchment paper or even better, lots of newspaper, underneath your work area. Or do this project outside so the cleanup is even easier!
Leave a Reply