Learn how to decorate your front porch on a budget with these painted $1 plastic pumpkins! They are the perfect cheap fall porch decor idea, and you can use them for both Halloween and Thanksgiving!
Halloween decorations come in a wide array of choices. They can vary from cute and mildly spooky to downright creepy and gross.
Some people adore Halloween and love everything scary and gory. The more horrible the decorations, the better.
I, on the other hand, am not a fan of the blood and guts of Halloween. Any decorations I use have to be cute, not scary.
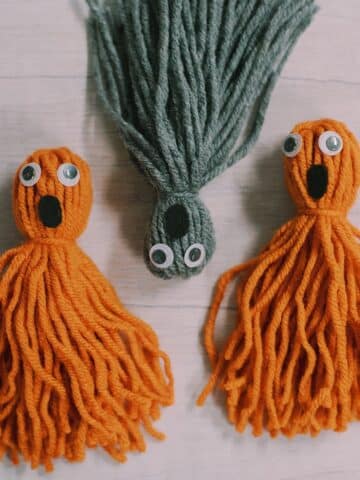
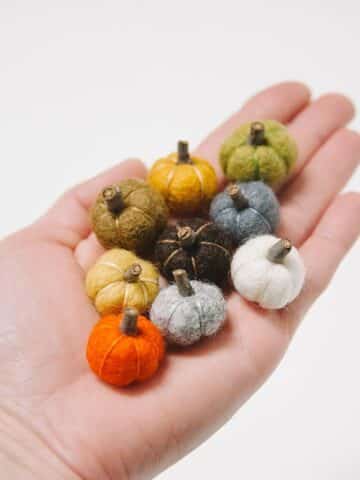
Give me pumpkins of any variety (like fabric pumpkins, felt ball pumpkins, or wood pumpkins) or goofy yarn ghosts, and I'm happy! If you're like me, you will love these painted plastic pumpkins.
Jump to:
Why You'll Love This Craft
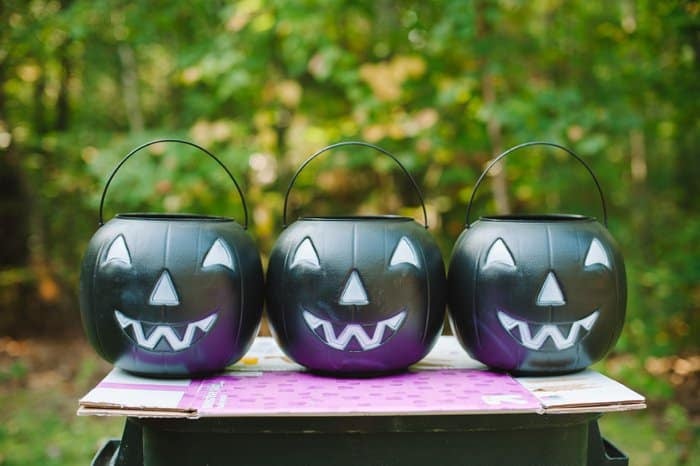
- This project uses simple plastic Halloween buckets - I bought these at Target for $1. You could even repurpose the Halloween buckets Mcdonald's gives out with their Happy Meals around the Halloween holiday!
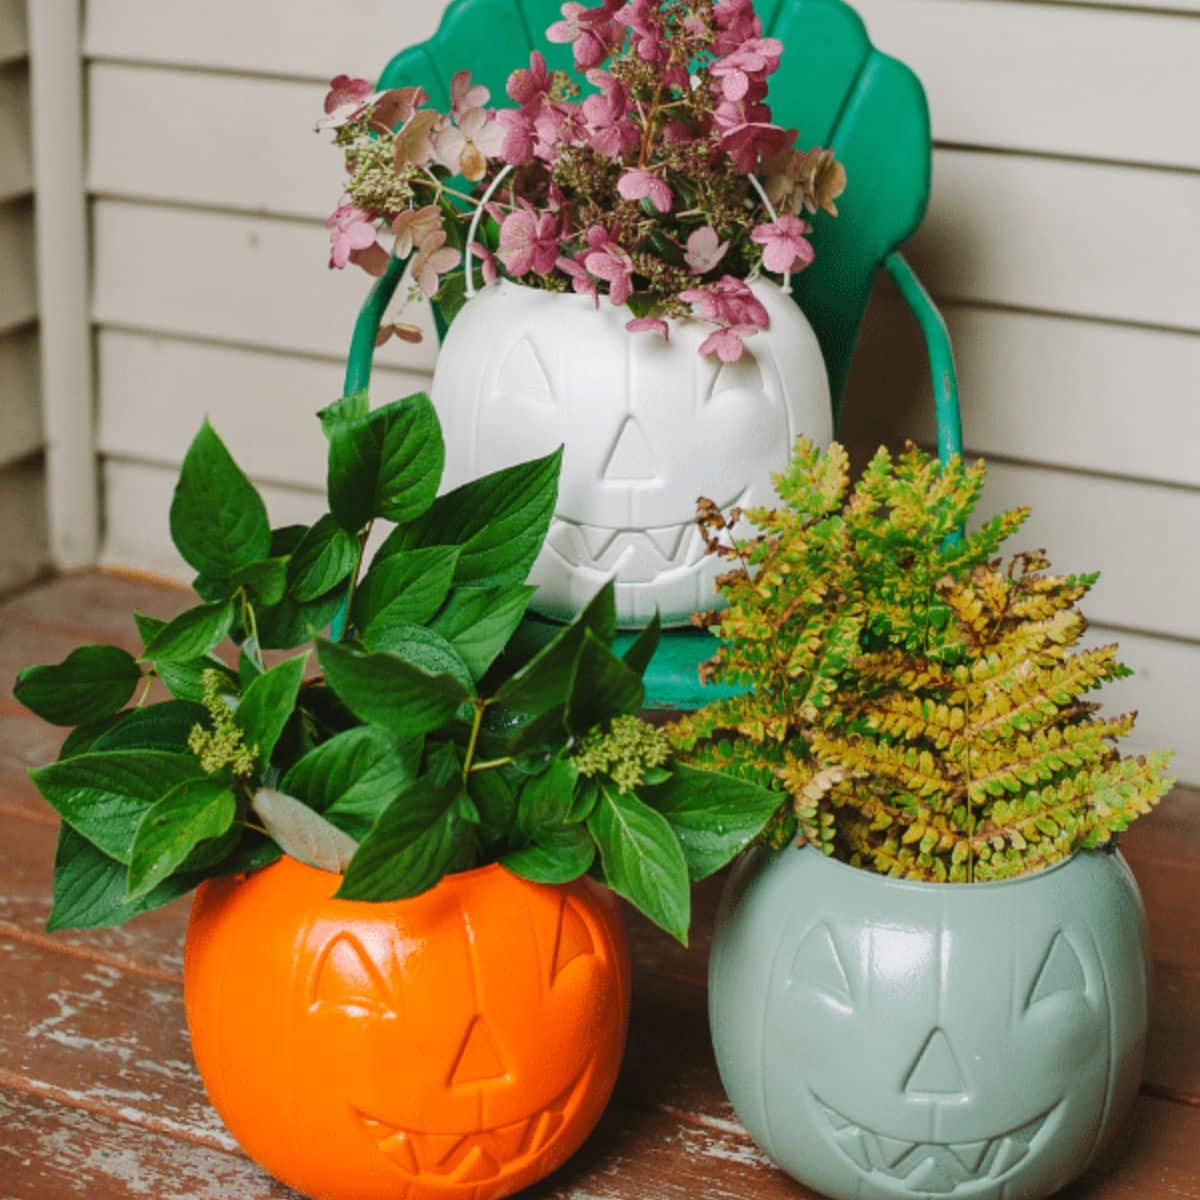
- You can customize your pumpkins with whatever color spray paint you want. Go traditionally Halloween with orange and black, or lean more "Fall" like I did with orange, green, and white.
- The best part is the backs of the pumpkins are smooth - they are only jack-o-lanterns on one side. That means after Halloween is over, all you have to do is turn them around to have a Thanksgiving decoration for your porch!
Craft Supplies You'll Need
- Plastic Pumpkins - I bought my pumpkins for $1 each at Target during the Halloween season. I have also seen them during the Halloween season at places like Walmart or Dollar stores. They are also available on Amazon throughout the year, but aren't as cheap.
- Spray Paint Primer - Primer designed for plastic is helpful to give your spray paint the best chance of sticking to the plastic bucket. It is optional if you use a spray paint that has a primer included, and it's rated for plastic.
- Spray Paint in your desired colors - You can use traditional Halloween colors like orange and black, or branch out like I did. My colors are still on point with Halloween but work with fall and Thanksgiving too. (I picked white, orange, and sage green.)
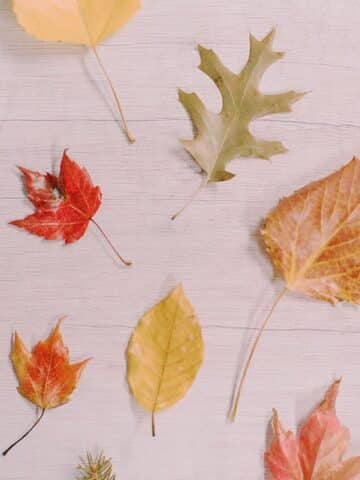
- Filler for the pumpkins - You can use sticks, branches, ferns, flowers, straw, weeds, or any other type of filler you have.
How to Make Painted Plastic Pumpkins
Step 1. Prepare the plastic pumpkins for painting.
Make sure all of the price stickers are removed; use a product like Goo Gone if you need to remove any leftover adhesive residue.
Wipe the pumpkins with a paper towel or baby wipe to remove any remaining dirt or dust.
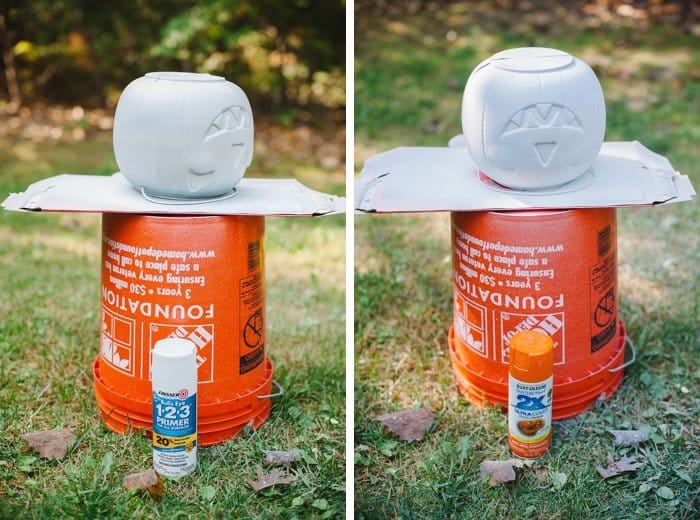
Step 2: Spray paint the pumpkins with a spray primer designed for plastic, starting with the bottom of the bucket first.
Once the bottoms are dry enough to turn over, flip the buckets right side up and paint the sides, top edge, and handle.
Let them dry.
PRO TIP: In the days since finishing my pumpkins, I realized that even with primer, the paint did not stick to the handle of my pumpkin buckets at all. I'm guessing it's because the handle is flexible, so it puts pressure on the paint and it chips and flakes right off. Next time, I would cut the handles off so they're completely gone before beginning painting. If you need a handle later, you could use twine and make a handle using the existing holes in the pumpkin.
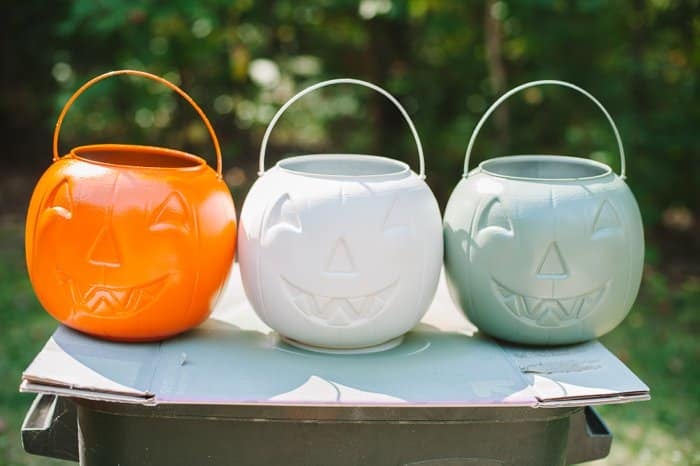
Step 3. Spray paint the pumpkins with your chosen colors.
Just like with the spray primer, start with the bottoms first, and once they're dry, flip the buckets right side up to do the sides and top.
Let them dry completely.
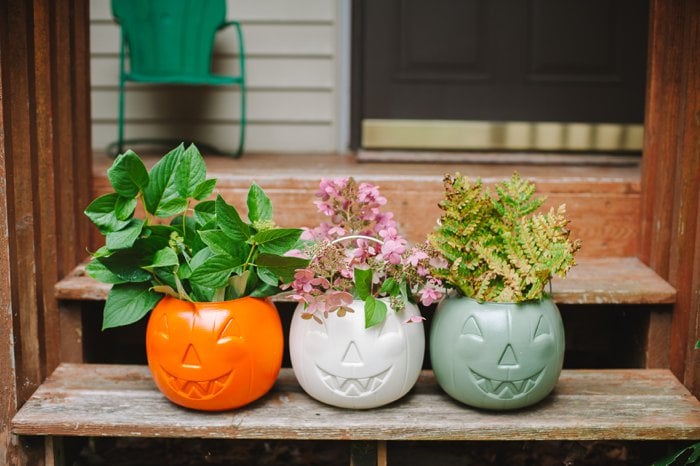
Step 4: Fill the plastic pumpkins!
You can fill them up with just about anything; sticks, weeds, plants, branches, ferns, flowers, straw... the sky is the limit.
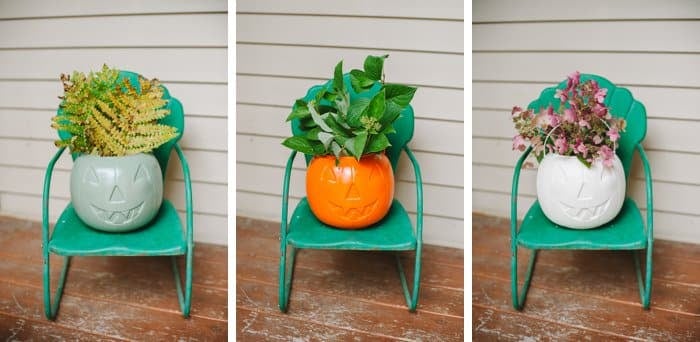
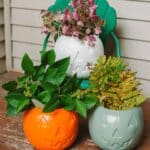
I used some clippings from my house's landscaping to fill the buckets to use on my front porch.
Common Questions
Plastic can be tricky to spray paint; if you don't use the right type of spray paint, it might not stick very well. Make sure you use spray paint that is designed to be used on plastic, and use a spray primer (also designed for plastics) too. This will give you the best chance of your paint sticking to the plastic surface.
You can also roughen up the plastic surface with fine grit sandpaper to help to paint stick, if you want.
An easy way to spray paint something is to begin by spraying the bottom first. Place the item upside down on newspaper, cardboard, or other paint-ready surface, and spray the bottom side first. Typically, the bottom will only need one coat since you aren't going to see it much.
Once the bottom is dry, you can flip it right side up and concentrate on the sides and top - this is the part you'll see. You shouldn't need to move it anymore now that the bottom side is painted, so there should be minimal reasons to smudge the paint.
If you are a fan of spooky, scary Halloween decor, maybe you'll want to use traditional Halloween colors like orange, black, and even purple. If you want to make something more mild, cute, and versatile (and use them for Thanksgiving too!), you can use "Fall" colors like orange, green, and white like I did.
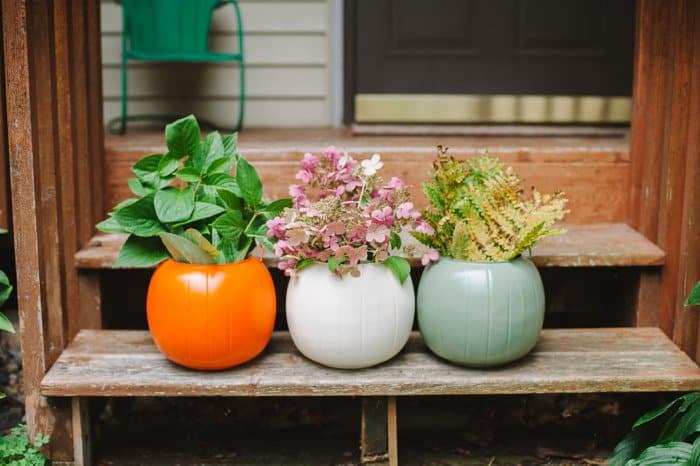
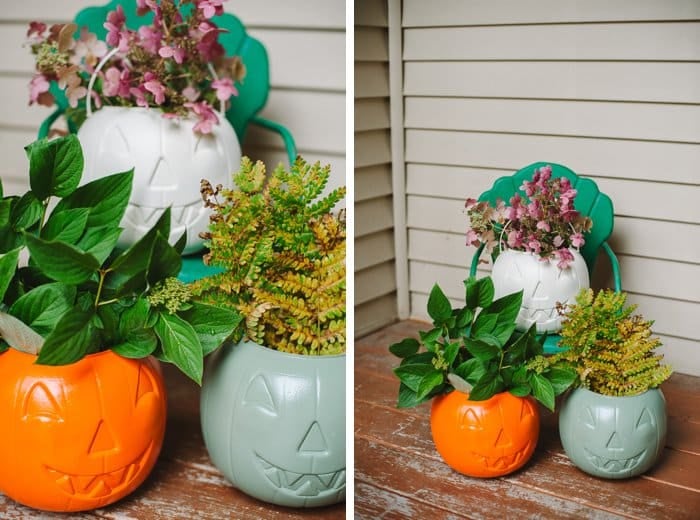
For Halloween, arrange the plastic pumpkins with the jack-o-lantern faces visible. They make fun, festive decorations, while still looking cute and classy.
Once Halloween is over, turn the pumpkins around and use the smooth back sides for fall-inspired Thanksgiving decor!
That means you can decorate your front porch in two different ways using the same craft project. That's a win in my book!
More Halloween Crafts You'll Love
---
⭐️🧶 Did you enjoy this craft and want to see more like it? ✂️ Join our FREE email community and get inspiring craft ideas sent right to your inbox! 🧵 ⭐️
---
DIY Painted $1 Plastic Pumpkins
Materials
- Plastic Pumpkins
- Spray Paint Primer
- Spray Paint
- Filler of some kind (flowers, sticks, ferns, plant clippings etc.)
Instructions
- Prepare the plastic pumpkins for painting. Make sure all of the price stickers are removed; use a product like Goo Gone if you need to remove any leftover adhesive residue. Wipe the pumpkins with a paper towel or baby wipe to remove any remaining dirt or dust.
- Spray paint the pumpkins with a spray primer designed for plastic, starting with the bottom of the bucket first.Once the bottoms are dry enough to turn over, flip the buckets right side up and paint the sides, top edge, and handle. Let them dry.
- PRO TIP: In the days since finishing my pumpkins, I realized that even with primer, the paint did not stick to the handles of my pumpkin buckets at all. I'm guessing it's because the handle is flexible, so it puts pressure on the paint and it chips and flakes right off. Next time, I would cut the handles off so they're completely gone before beginning painting. If you need a handle later, you could use twine and make a handle using the existing holes in the pumpkin.
- Spray paint the pumpkins with your chosen colors.Just like with the spray primer, start with the bottoms first, and once they're dry, flip the buckets right side up to do the sides and top. Let them dry completely.
- Fill the plastic pumpkins! You can fill them with just about anything; sticks, weeds, plants, branches, ferns, flowers, straw... the sky is the limit.I used some clippings from my house's landscaping to fill the buckets to use on my front porch.
Notes
- Make sure you use spray paint designed to stick to plastic, and use primer to increase your chances of the paint sticking to the plastic buckets.
- Spray paint the bottom of the bucket first, let it dry completely, and then flip it right side up so you can focus on painting the sides and the top. This way, you shouldn't have to move the bucket again so you decrease chances for smudging.
- Have fun with your spray paint colors! Go traditional Halloween or more fall-inspired. Or try something totally out of the box like bright neon colors just for fun!
Leave a Reply