Pine cones are a staple in fall home decor, and they carry over to winter too. I've made cinnamon pine cones, as well as spray painted them, and turned them into simple painted pine cone ornaments.
I simply cannot walk around outside and not remark about the beautiful pine cones I spot on the ground... "Look, those pine cones are so pretty! I could make something so cool with them!"
We’re on Day 20 of The 30 Days of Ornaments Project, where we are making 30 handmade ornaments in 30 days.
Today, we are going to hot glue small pearl beads onto the ends of a pine cone to create a DIY pine cone Christmas tree ornament!
The little pearl beads will be the "ornaments" and the pine cone will be the "tree."
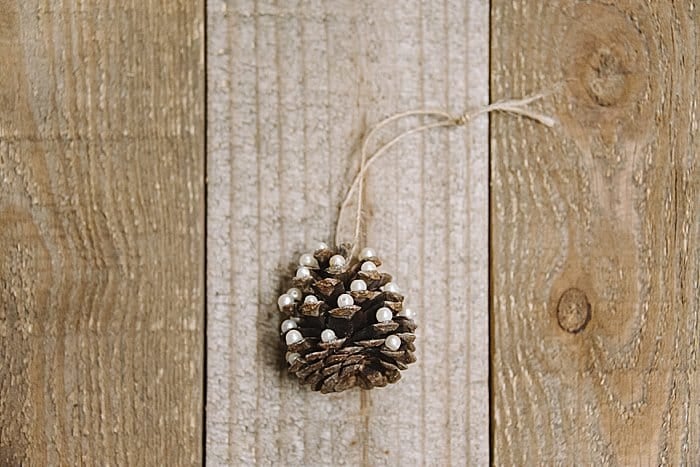
Let's make it!
Day 20: How to Make a Pine Cone Christmas Tree Ornament
DIY Pine Cone Ornament Craft
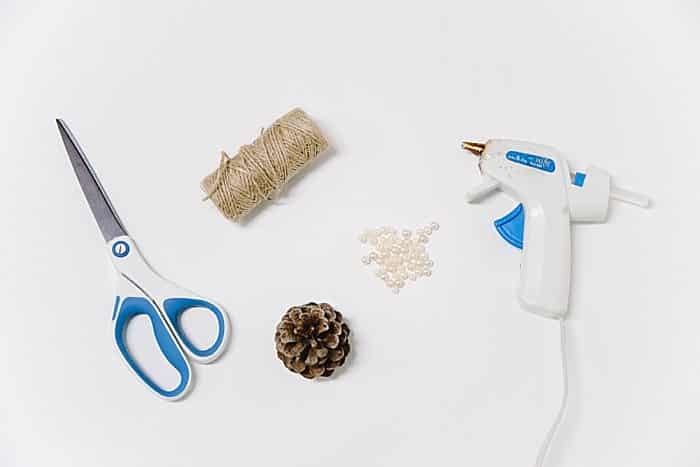
Step 1. Gather supplies.
Supplies needed:
- Pine Cone (cleaned and preserved if you collected it from the ground yourself)
- Pearl Beads
- Twine
- Scissors
- Hot Glue Gun and Glue
Step 2. Cut a 12" section of twine as a hanging string and set aside.
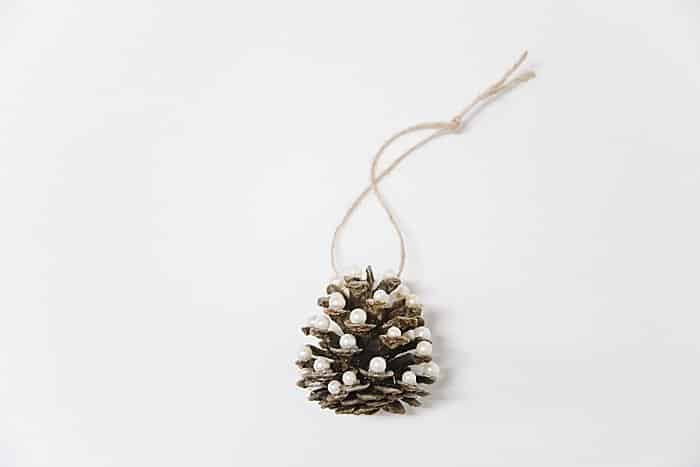
Step 3. Hot glue pearl beads onto the ends of the pine cone spikes.
Step 4. Continue until the majority of the spikes around the whole pinecone are embellished.
Step 5. Fold hanging string in half and knot two ends together.
Step 6. Hot glue hanging string to the top back of the pine cone.
Step 7. Inspect pine cone Christmas tree ornament and hang!
If you want a more colorful pine cone tree, you could use colored beads or even teeny tiny pompoms.
You could take it a little further and experiment with adding "garlands" to the tree with string, and maybe a star to the top.
However, like all of the ornaments in The 30 Days of Ornaments Project, I prefer a simple, rustic look, so cream pearls are the way to go for me!
Save the idea for later by pinning the photo below to Pinterest!
. . . . . . .




Leave a Reply