
Along with one of nature's best gifts: pine cones, acorns are a treasure from nature that makes my craft brain spin. So many project possibilities!
After collecting them and cleaning the acorns, that's where the fun begins. What should we make?!
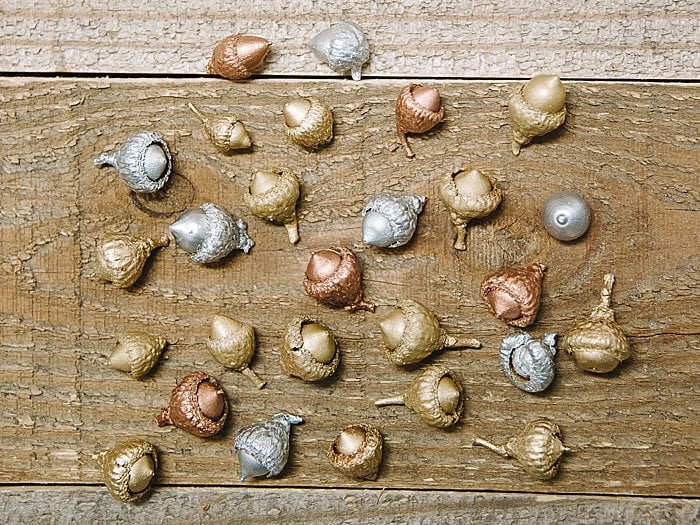
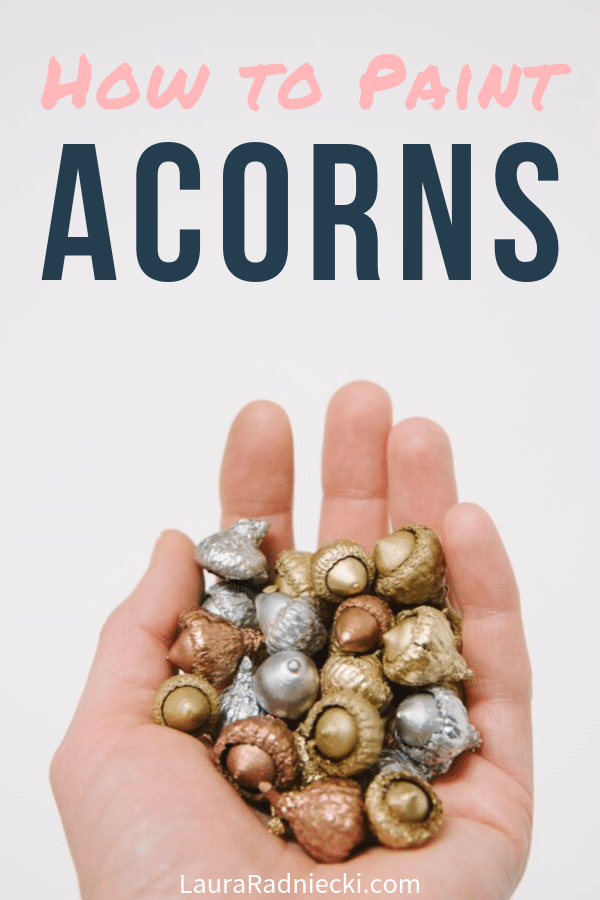
Acorns can be displayed in their natural form in bowls, baskets, vases, or jars for a rustic fall look. Or they can be painted in any color imaginable! They can also be used in endless craft projects from wreaths to Christmas ornaments.
Here’s how to easily and quickly paint acorns to use in all of your home decor or craft project plans.
How to Paint Acorns for Crafts and Decorations
Step 1: Gather Supplies
Supplies Needed:
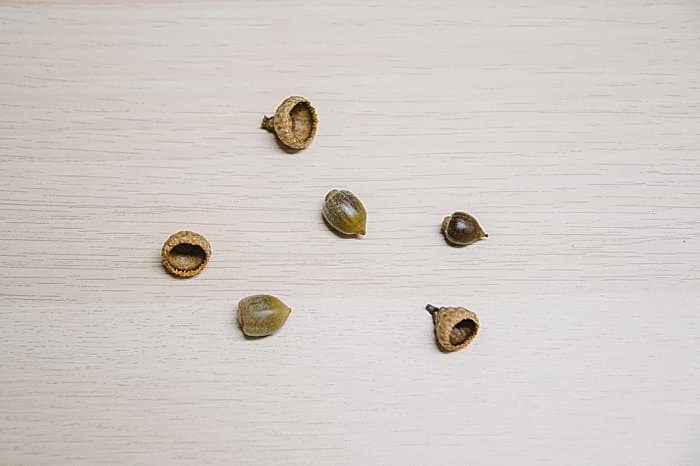
- Clean, dry acorns (here's how I clean and prepare my acorns for craft projects)
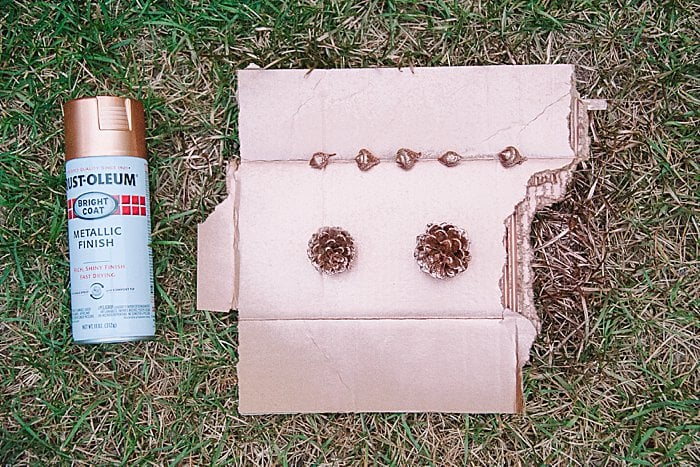
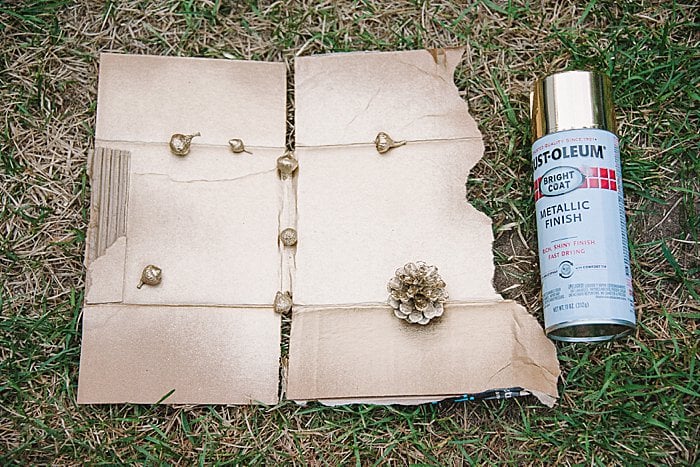
- Spray paint (my favorites are gold, silver, and copper Rustoleum)
- Hot glue gun and glue
- Clear Acrylic Sealer (optional)

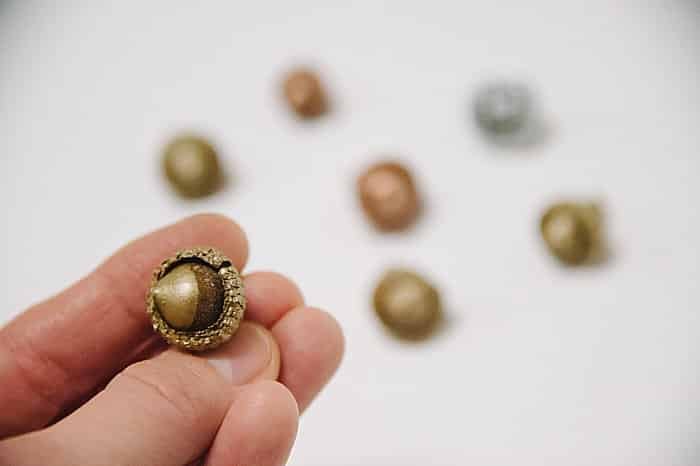
**A NOTE ABOUT ACORNS and CAPS: As clean, dry acorns sit, the caps will likely continue to loosen up. If possible, it's best to hot glue the caps onto the acorns you plan to use for crafts, to ensure they don't come loose later. Even if the caps appear to be tight on the acorns now, they will likely come loose down the road if they aren't glued. You can pop the caps off yourself and use glue to reattach them. So, glue them on before you start any crafts so they're secure and ready to go!
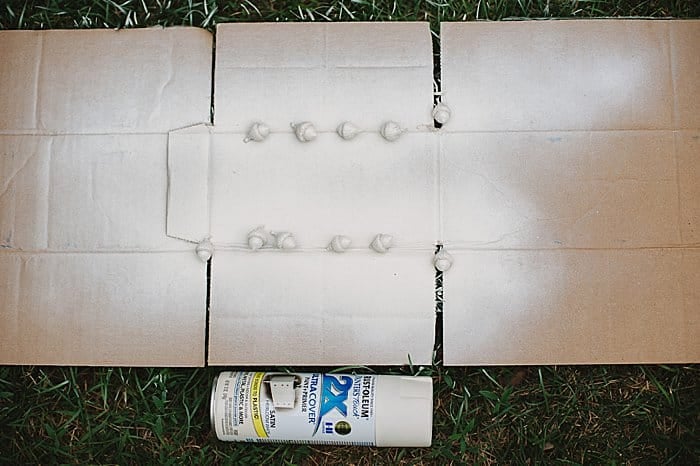
Step 2. Prepare your painting surface.
Get your work surface ready to paint.
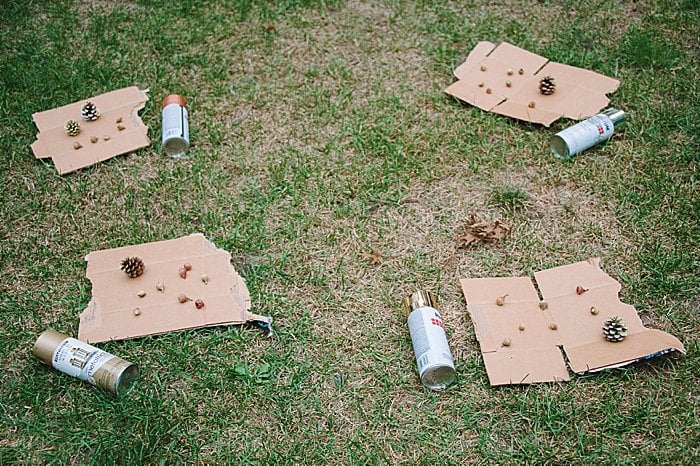
Step 3. Spray paint acorns with first coat.
Following the directions on the spray paint can, spray the acorns with the first coat. Don't go too heavy.
Let the first coat dry per the can’s instructions.
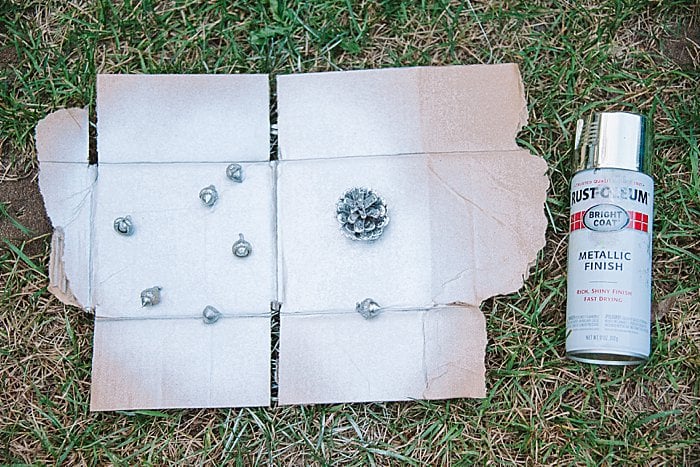
Step 4. Rotate the acorns to expose other side.
Once the acorns are dry, turn them over to expose the other side and spray another coat.
Let dry.
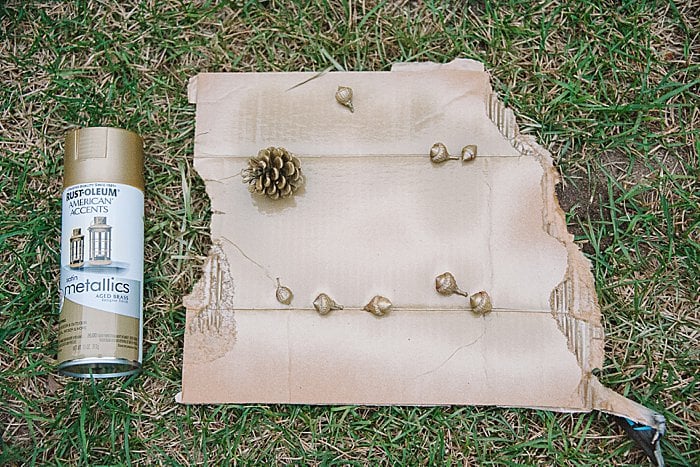
Step 5. Turn acorns over and spray again.
Once dry, turn the acorns over again so you can give the first side a second coat.
Let dry.
Step 6. Repeat second coat on other side.
Once dry, flip the acorns again and give the other side a second coat.
Let dry.
In most cases, two coats should be enough to cover the acorns. But if it's not, repeat the process until the acorns are coated. Then let dry completely.

Step 7. Glue any additional loose caps back on using hot glue.
If any more caps come loose, use a small dab of hot glue on the inside of the cap to reattach it to the acorn.
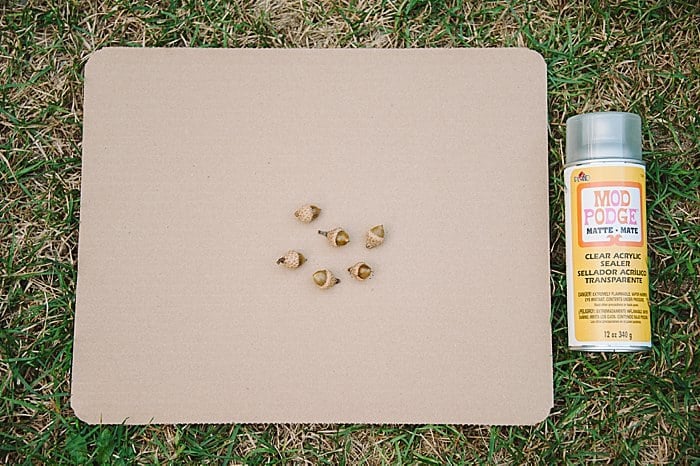
Step 8. Coat with Clear Acrylic Sealer (optional)
If you want to give your painted acorns an added layer of protection, you can spray them with a coat of clear acrylic sealer once they are fully dry.
The spray paint can will specify how long it takes for the paint to fully cure; usually it’s several days.
Once the spray paint has fully cured, spray them with a coat of clear acrylic sealer to further protect and preserve them.
(Clear acrylic sealer can be used to protect plain acorns as well as painted acorns.)
Step 9. Use the painted acorns in home decor and crafts!
Painted acorns can be used in a ton of different ways; the simplest being to display in bowls, jars, vases or baskets.
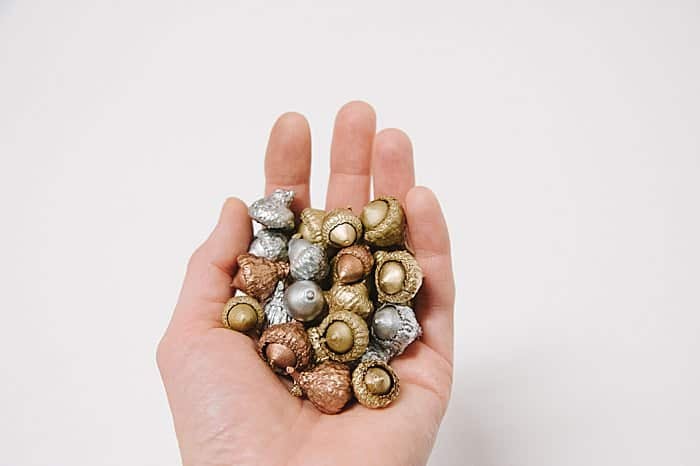
They can also be used to make things like Christmas tree ornaments and even wreaths.
Who knew something so simple could look so striking when it's covered in metallic spray paint?!
Acorns aren't only for squirrels anymore!
Save this idea for later by pinning the photo below to Pinterest!
Leave a Reply