


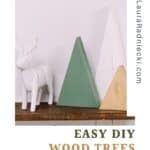


Learn how to make DIY wood trees for Christmas with wood boards and spray paint. These wooden Christmas trees are a simple, rustic, humble holiday decor idea, perfect for your mantel.
Scrap wood is a DIYer's dream and for good reason! It can be turned into so many things (like DIY wood pumpkins), and there's something awesome about using wood that would otherwise be destined for the junk pile or burn pit.
Today, we are using scrap wood and turning it into DIY wood trees for Christmas. All we need is a way to cut the wood, sand it, and paint it!
Jump to:
Why You'll Love This Craft
- These DIY wood Christmas trees are the perfect way to use up scrap wood you have leftover from other projects. You can even recycle old pallet wood too!
- This project does require cutting the wood with a saw, but only in a straightforward, basic way. You don't need any advanced woodworking skills at all.
- You can make these wooden trees in any size and color you want, which makes them easy to customize to fit your Christmas decorations!
Craft Supplies Needed
- Wood Boards - You can use leftover scraps from other projects, or salvage old wood from pallets etc. You could also buy blocks of wood from the hardware store or craft store.
- Saw - This lets you cut your boards into triangle shapes.
- Spray Paint - You can also use acrylic craft paint or even house paint, with a brush.
- Sandpaper or Orbital Sander - This is how you smooth out the triangle shape, and how you distress the painted edges.
How to Make DIY Wood Trees for Christmas
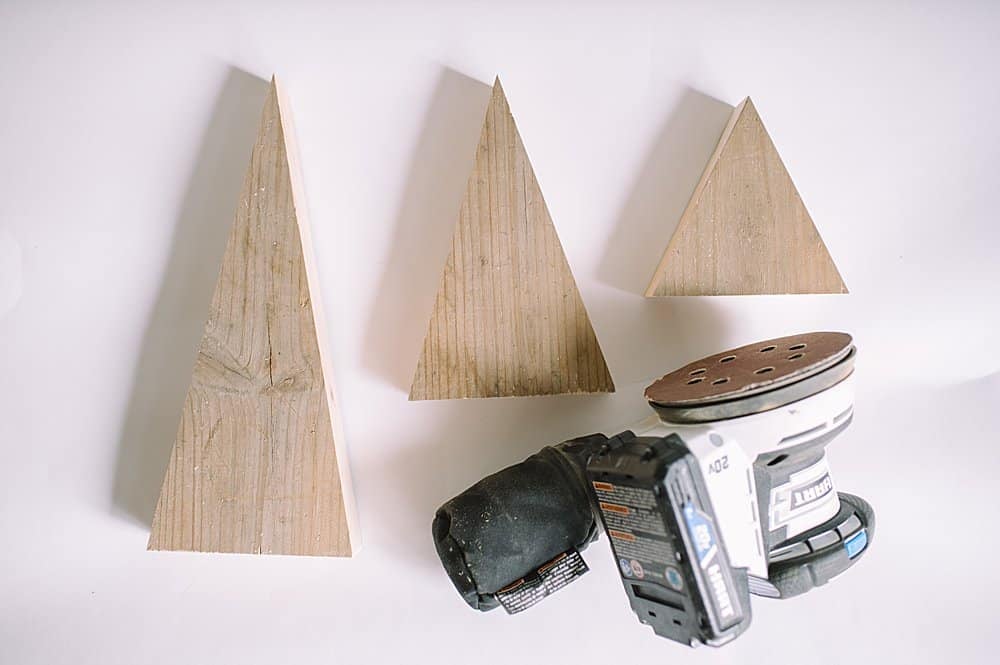
Step 1: Use a saw to cut wood boards into triangles of varying sizes.
We used 5" wide boards and cut them into three triangles that are 12 inches, 8 inches, and 5 inches tall.
Use sandpaper, a palm sander, or orbital sander to smooth out the cut edges, corners, and flat surfaces of the wooden triangles.

Step 2: Choose the colors for your wooden trees.
You can paint them with a brush, or with spray paint.
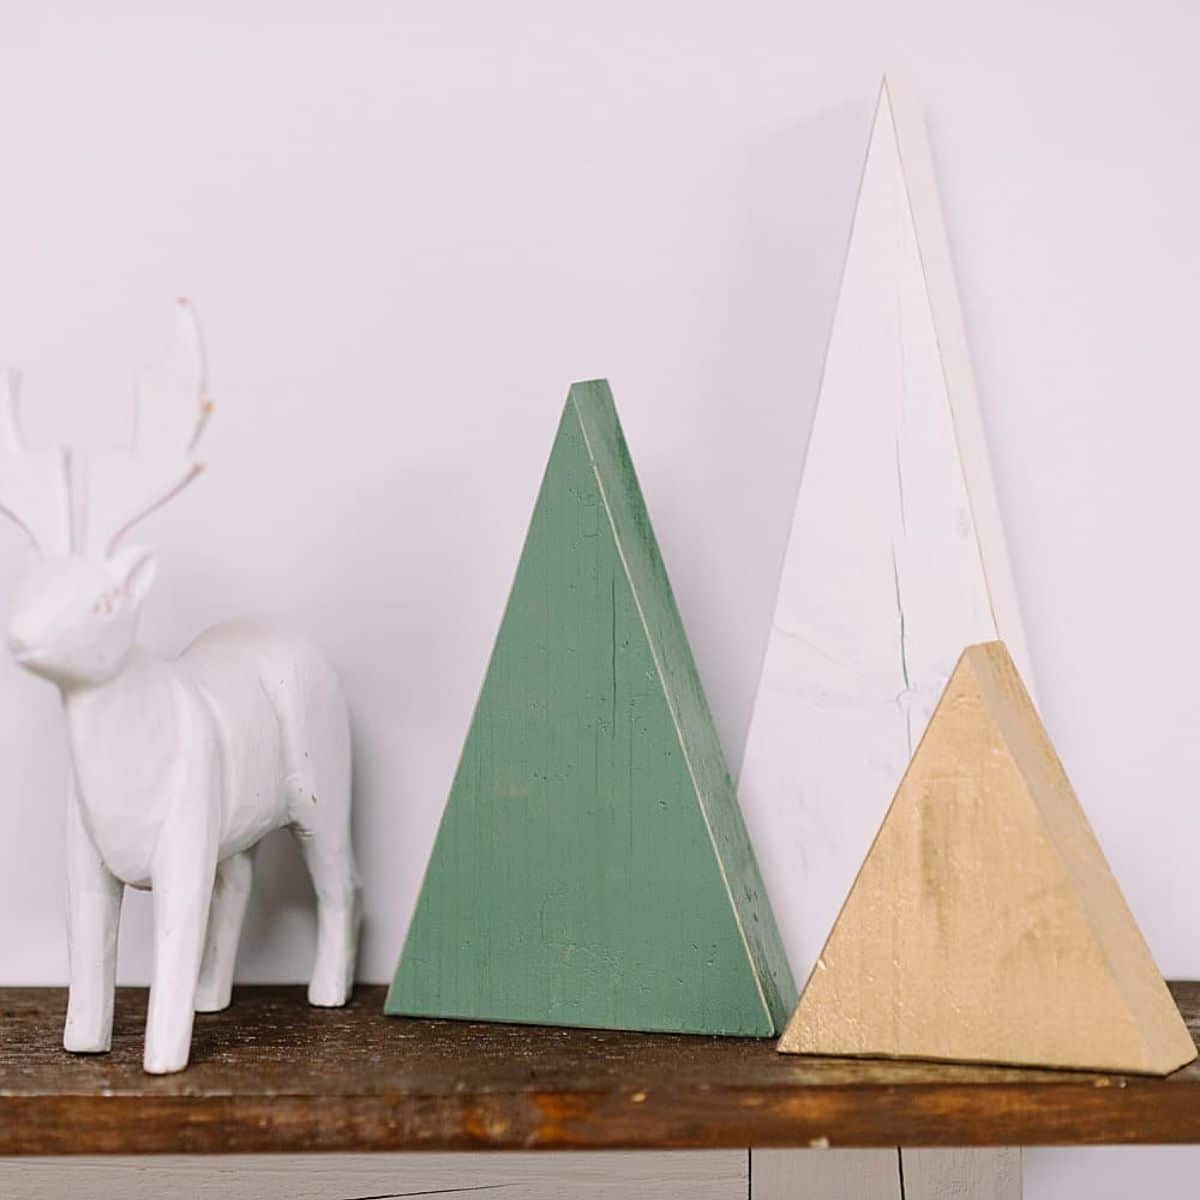
We used white, sage green, and gold spray paint.

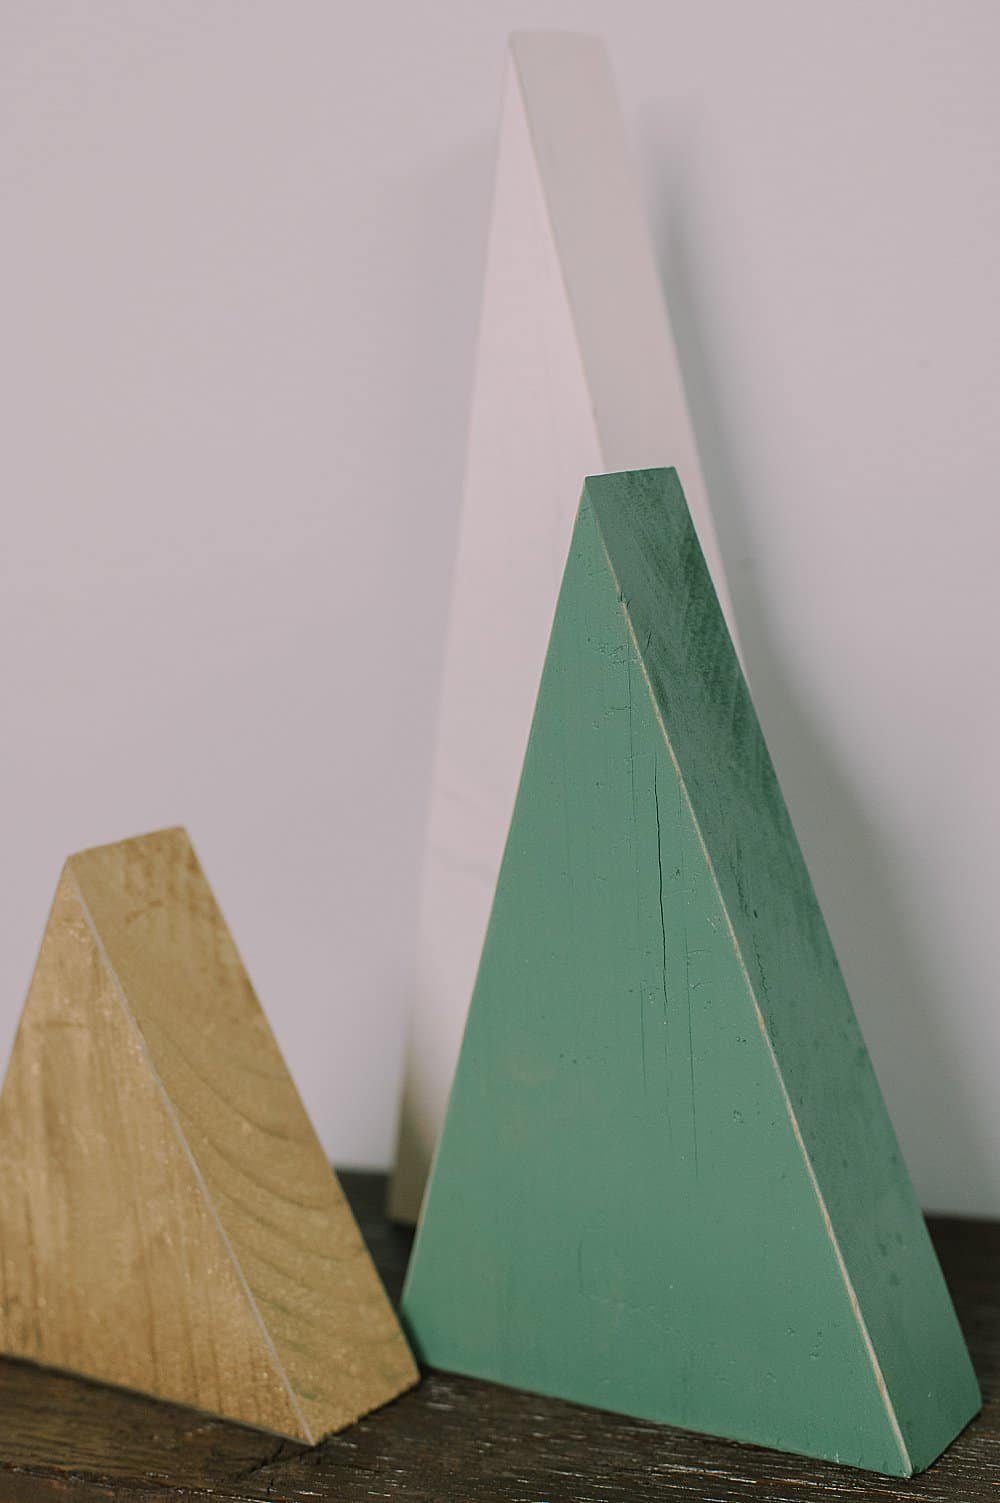
Step 3: Sand the trees to give them a distressed look.
You can sand all sides and edges of the trees, or you can sand the edges only.
The more you sand, the more distressed your wooden trees will look.
I sanded the edges only.
The pieces of wood should be at least ¾" thick to ensure the trees can stand up on their own once they're cut into triangles. The width of the wood boards doesn't matter too much as long as you like how they look. I used a wooden board that was 5 inches wide. You decide how tall your triangles are based on how long you cut each section. I cut mine at 12", 8" and 5" long.
I used a piece of lumber I had stored in my shed. You can use scrap lumber, pieces left over from other projects, or even salvaged wood. As long as the boards are thick enough so your trees will stand up on their own once they're cut, you're good to go!
No, you don't have to sand the wood if you don't want to. Just be careful of splinters.
I decided to lightly sand all of the surfaces of my newly cut triangles before painting anything. I wanted to prevent slivers and also make a nice smooth painting surface. Then, once the paint was dry, I sanded the edges to give a slightly distressed look.
Simple, rustic Christmas decor is a crowd favorite, and for good reason; it is classic, and never goes out of style, no matter how the trends change.
That is why we love projects like yarn-wrapped Christmas trees, pinecone pom pom Christmas trees, and fabric-wrapped Christmas trees.
Scrap wood gets new life in this easy project; how to make DIY wood Christmas trees!
More Christmas Crafts You'll Love


---
⭐️🧶 Did you enjoy this craft and want to see more like it? ✂️ Join our FREE email community and get inspiring craft ideas sent right to your inbox! 🧵 ⭐️
---

How to Make DIY Wood Trees for Christmas
Materials
- Wood Boards
- Saw
- Spray Paint or Acrylic Paint & Brush
- Sand Paper
Instructions
- Step 1: Use a saw to cut wood boards into triangles of varying sizes.We used 5" wide boards and cut them into three triangles that are 12 inches, 8 inches, and 5 inches tall.Use sandpaper, a palm sander, or orbital sander to smooth out the cut edges, corners, and flat surfaces of the wooden triangles.
- Step 2: Choose the colors for your wooden trees.You can paint them with a brush, or with spray paint.We used white, sage green, and gold spray paint.
- Step 3: Sand the trees to give them a distressed look.You can sand all sides and edges of the trees, or you can sand the edges only.The more you sand, the more distressed your wooden trees will look.I sanded the edges only.
Notes
- You can use scrap wood, salvaged wood, or buy blocks of wood from the hardware store or craft store.
- The dimensions of your triangles don't matter too much as long as the wood is at least ¾" thick. This ensures the wood triangle trees will stand up on their own.
- If desired, sand the wood triangles before painting. Once the paint is dry, distress the edges and optional flat surfaces - depending on the amount of distressing you want the wood Christmas trees to have.

Leave a Reply