Learn how to make DIY Christmas trees with paper cones and fabric for the holidays.
DIY Christmas trees can be made in so many ways, by wrapping different types of string around paper cones or styrofoam cone forms.
We made trees of wrapped rope, jute, and twine, and mini Christmas trees wrapped in yarn, and chunky yarn-wrapped trees.
Today, we are making handmade paper cones, and wrapping them in fabric to create a new variety of DIY Christmas trees!

DIY Christmas Trees with Paper Cones and Fabric
Step 1: Gather Supplies
Supplies Needed:
- Cardstock - I used 9x12 sheets and 12x12 sheets.
- Scissors
- Hot Glue Gun and Glue
- Fabric
Step 2: Make paper cones with cardstock.
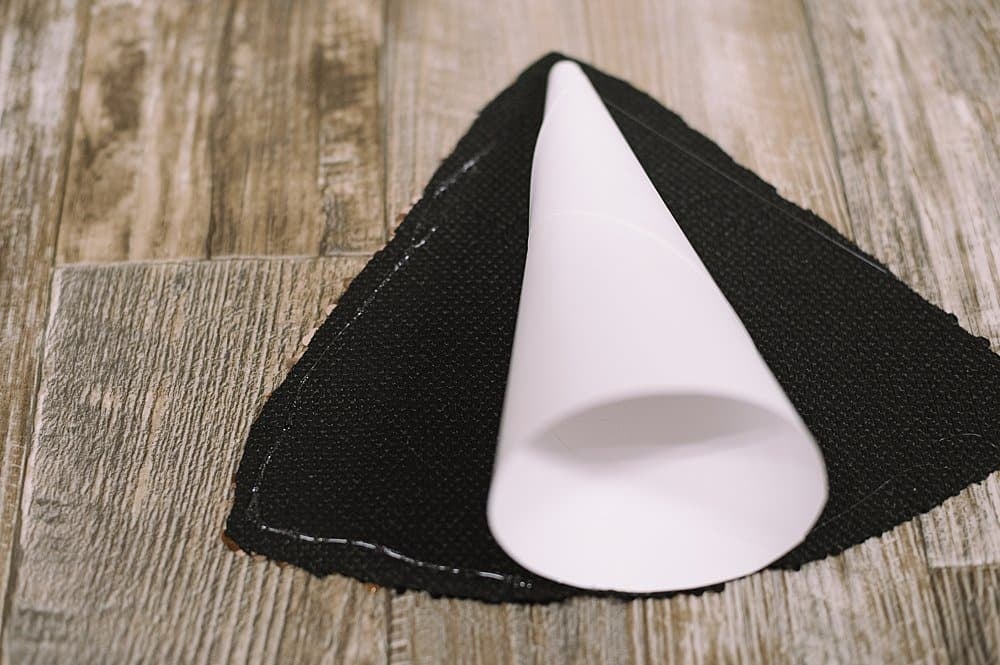
Step 3: Hot glue fabric around the paper cone.
Step 4: Finish the top of the cone tree.
The cardstock cone will have a hole at the top of it.
To finish it off, first, fold the tip of your fabric and glue it down over the hole.
Then glue the remaining edges together to finish off the fabric Christmas tree.
Trim off any visible cardstock from the bottom of the tree.
Repeat for all of your fabric choices.
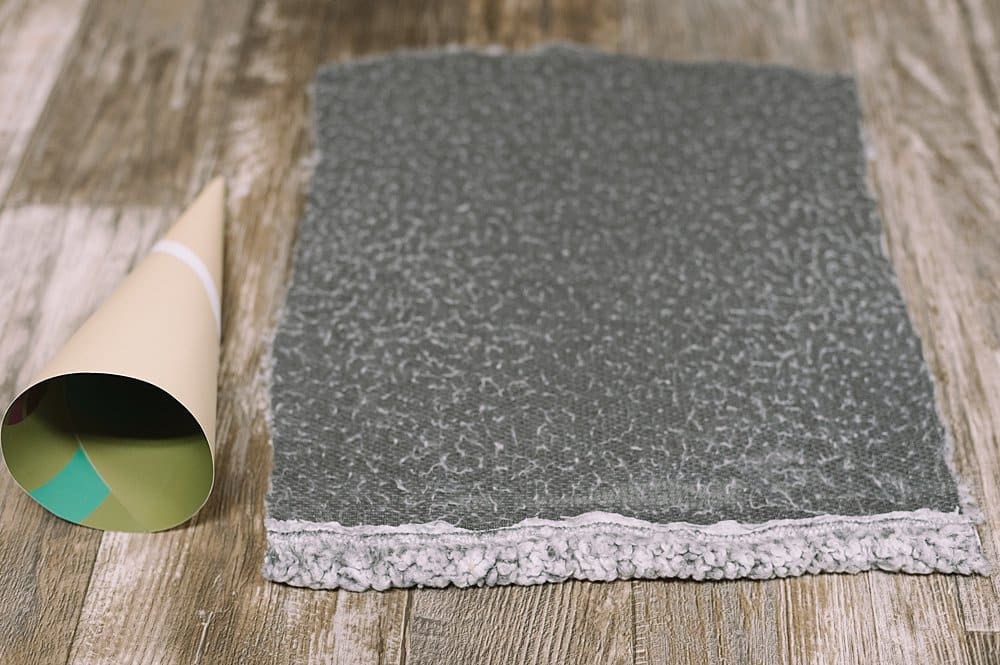
I used a 12"x12" sheet of scrapbook cardstock to make a large cone, below.
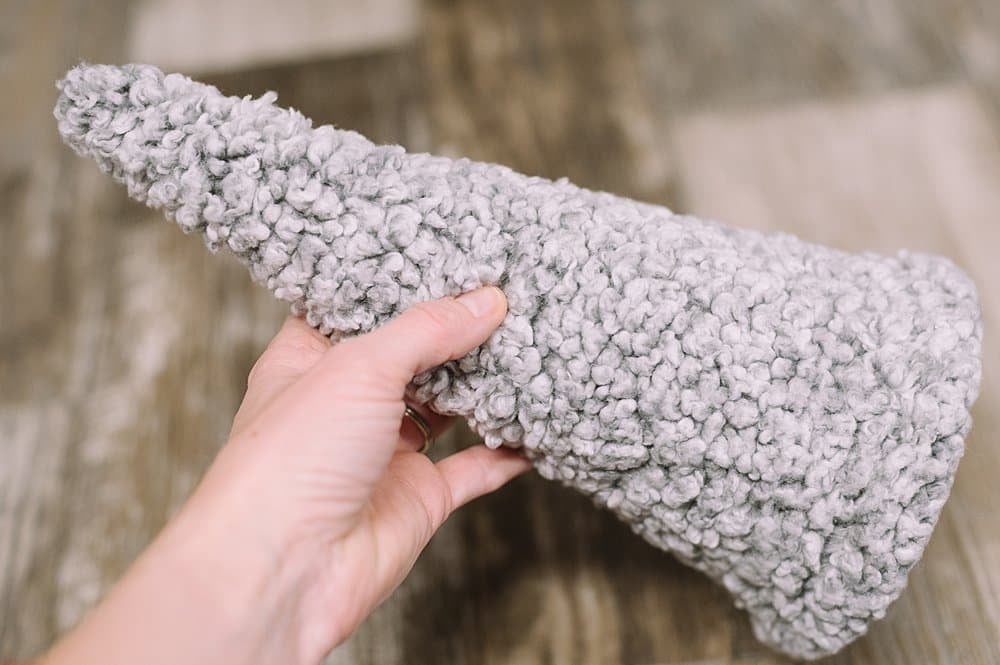
I bought a sherpa sweatshirt at a thrift store to use for this fabric tree.
This is also a great way to repurpose worn-out, stained, or damaged clothing.
I cut fabric from the thrifted shirt, and glued it around the large cone.
You can create paper cones of different sizes to wrap in fabric, and create a fabric Christmas tree forest!
Chances are you already have cardstock, glue, and fabric in your craft supplies.
You can easily make DIY Christmas trees using paper cones and fabric, and have affordable, cute Christmas decor for the holidays!




















Leave a Reply