Everyone always says fashion is cyclical and it takes one look through any clothing store to see that's true.
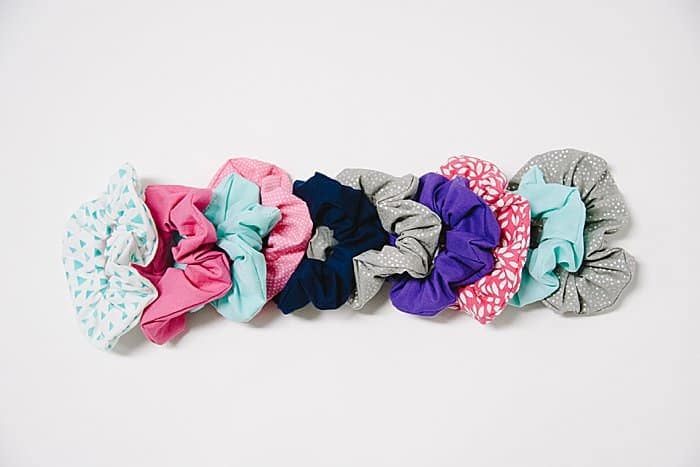
Many of the staples from the 90's are in style again and the scrunchie is no exception. They are back with a vengeance!
You can buy scrunchies everywhere from Amazon to high end stores like Anthropologie, or you can go the DIY route and make your own.
They are so simple (and fun) to make, it seems like a shame not to make some!
All it takes is a scrap of fabric, a piece of elastic, and a sewing machine (or needle and thread if you want to hand sew it), and you can make one in less than 10 minutes.
A note about how to make DIY scrunchies before we get started:
There are so many different ways to make a DIY scrunchie and I tried them all.
They range from using hot glue to make a no-sew scrunchie, all the way to an elaborate but time-consuming method that results in professional scrunchies with handsewn hidden seams.
My favorite method, and the one I'm outlining here, is the easiest and fastest method, and results in good looking, durable scrunchies.
It is the best of everything.
In a world where craft time is precious and my motto is "done is better than perfect," this is my favorite method for making a DIY scrunchie.
How to Make DIY Scrunchies
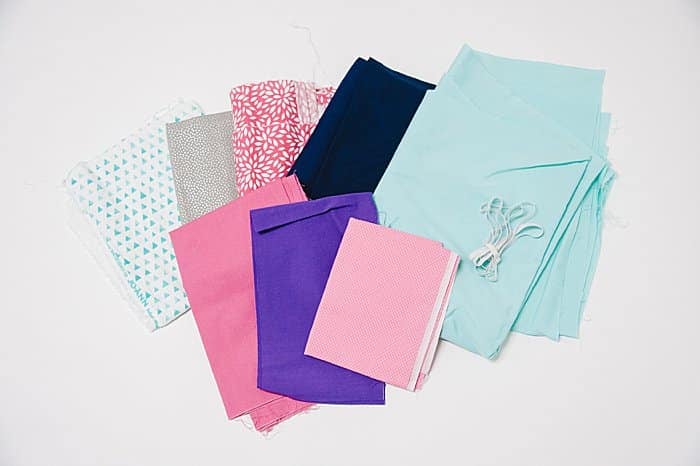
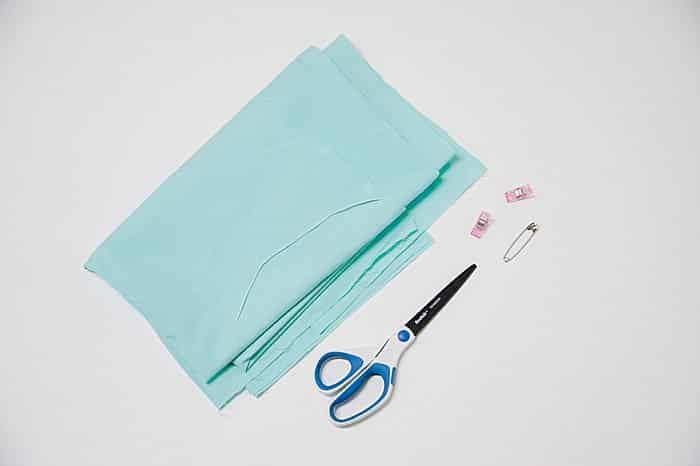
Step 1. Gather Supplies
Supplies Needed:
- Fabric
- Elastic (¼" flat elastic or elastic cording)
- Scissors
- Rotary Cutter and Cutting Mat
- Quilt Clips and Safety Pins
- Sewing Machine
- DIY Scrunchie Project Checklist (free in The Resource Library!)
- Optional: Iron, Ironing Board, Straight Pins
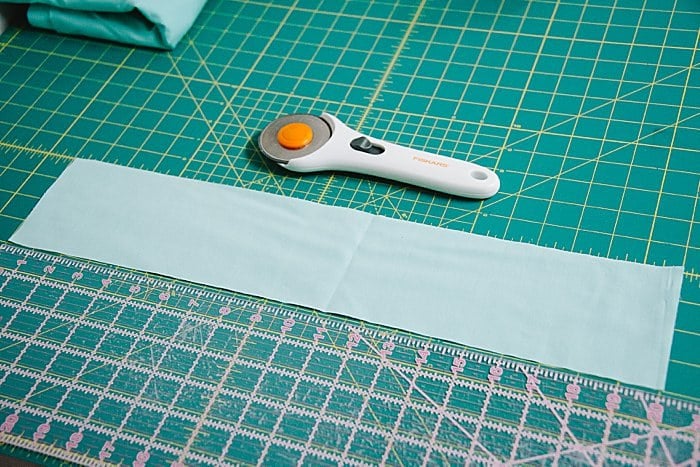
Step 2. Cut a long, rectangular fabric strip, and a piece of elastic.
If you looked at 10 scrunchie tutorials, you'd see 10 different sizes for the perfect fabric rectangle.
The bottom line is that the exact measurements of your rectangular fabric strip DON'T MATTER.
You have A LOT of wiggle room here.
I made scrunchies using strips that were 4" wide and anything from 20" to 24" long, and they all turned out great.
The longer your rectangular strip is, the more "scrunch" or bunching you'll have in your scrunchie.
Most of the scrunchies I made were with fabric measuring 4"x20" and elastic that was 8" long.
I also made some that were 4"x24" with 8" elastic that turned out great too; just with slightly more scrunch.
Use your fabric as a guideline. Use dimensions that allow you to maximize your fabric and make the most scrunchies.
My most commonly used fabric strip measurements:
4"x20" (up to 24" for more scrunch), and 8" elastic.
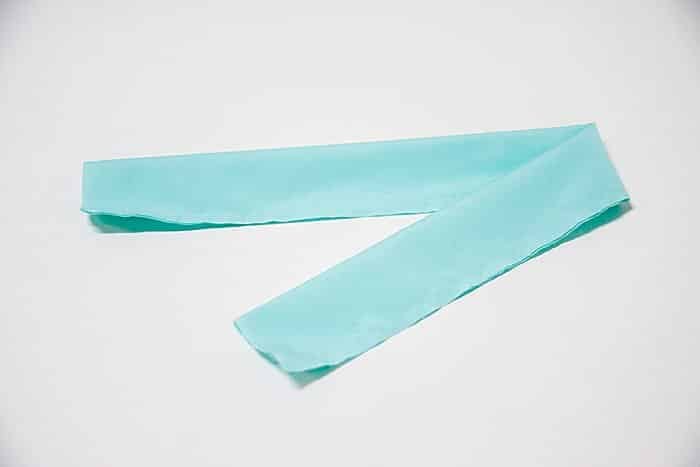
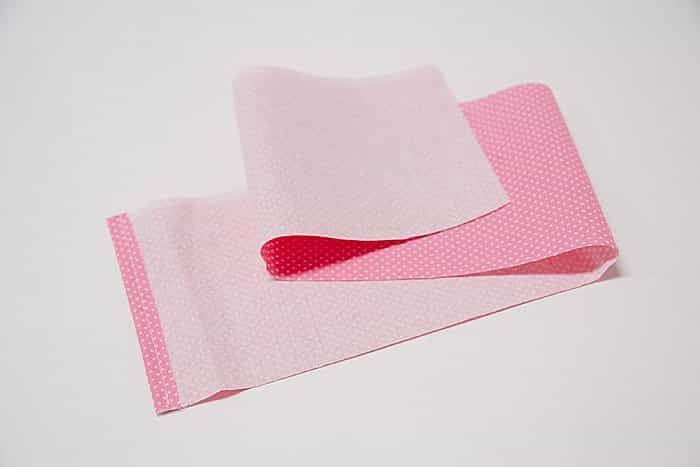
Step 3. Fold rectangle in half (the "hotdog" way, so the two long edges line up), with RIGHT SIDES together on the inside; sew a seam down the long side.
You can pin it if you want. Precision is not required here though, so I don't usually use pins.
Sew down the long edge to form a tube, using approximately a ¼" seam allowance, backstitching at the beginning and end to prevent unraveling.
Your seam allowance doesn't need to be exact. No perfection required!
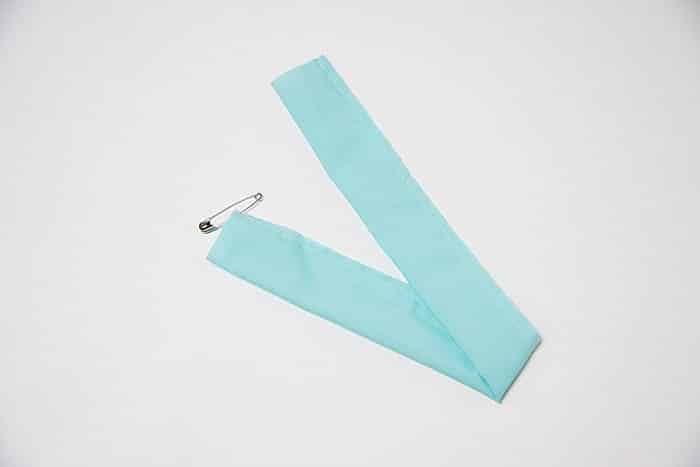
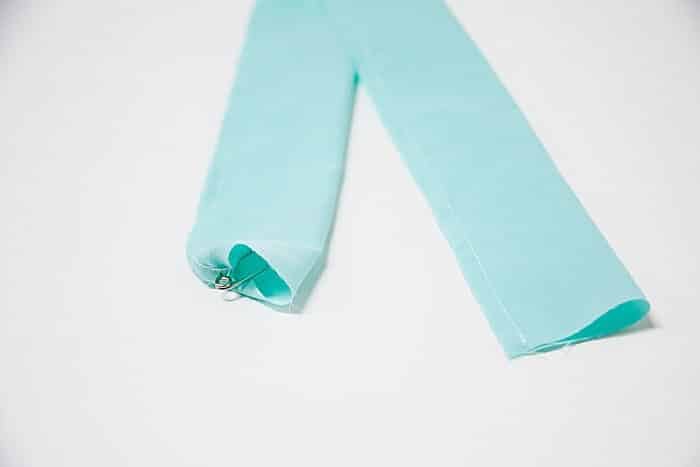
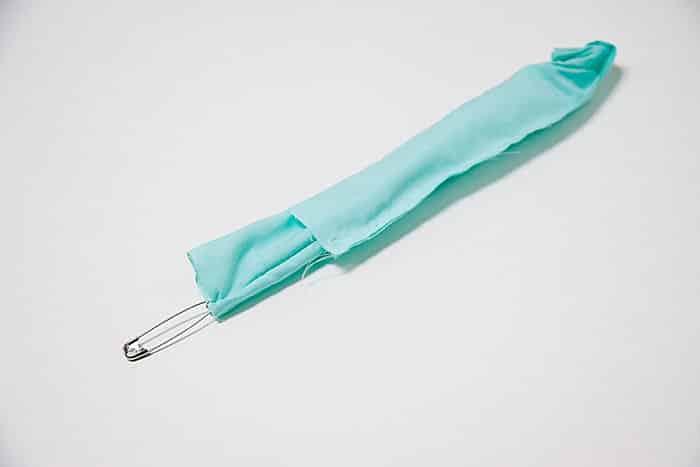
Step 4. Attach a safety pin to one end of the tube, and use it to turn the tube right side out.
Take a safety pin and pin it to one end of the fabric tube.
Insert the safety pin into the opening of the tube, and feed it carefully through to the other end.
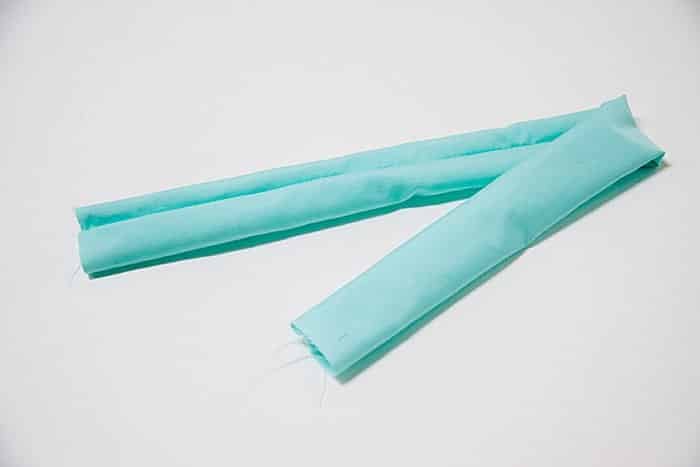
Turn the tube right side out.
Step 5. Feed 8" piece of elastic through the fabric tube.
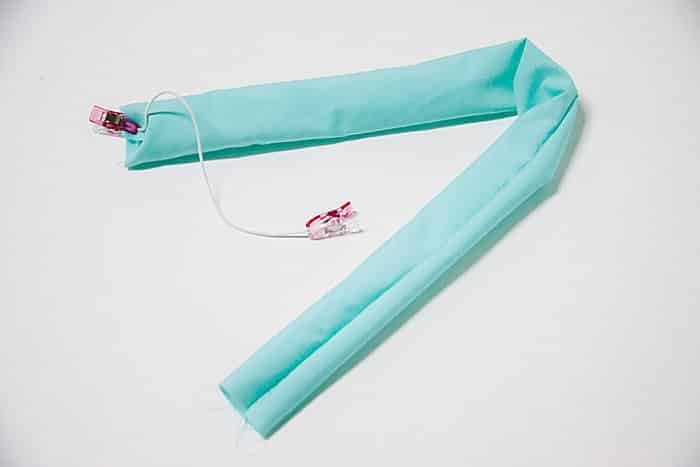
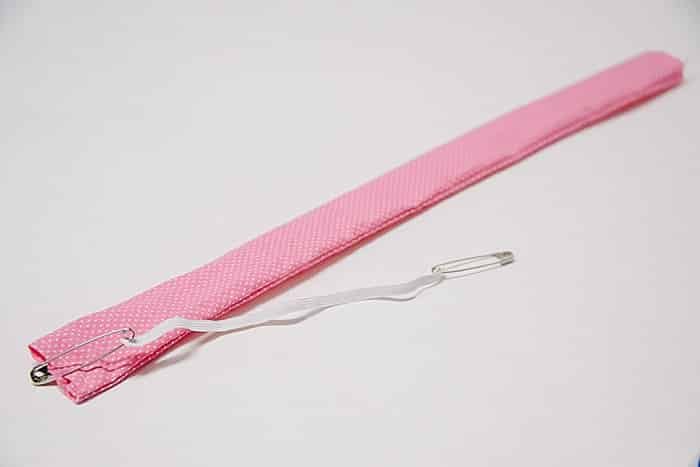
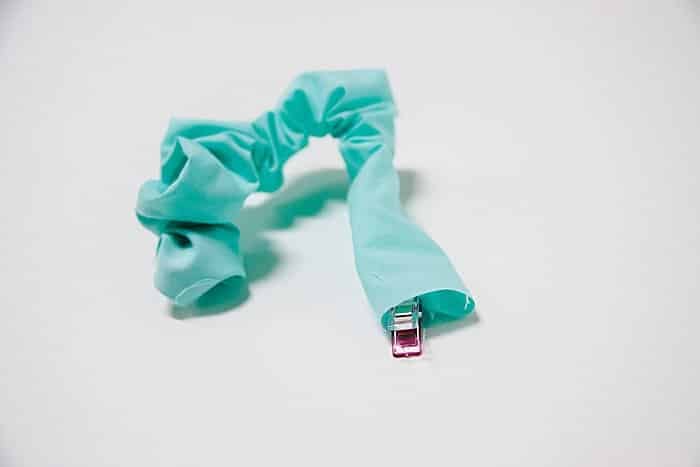
Using a quilt clip if you're using elastic cording, or a safety pin if you're using ¼" flat elastic, clip one end of the 8" elastic piece inside one end of your fabric tube.
This will anchor the elastic as you feed it through the tube.
Attach another clip (or safety pin) to the other end of the elastic. This is what you'll feed through the tube.
Carefully, feed the clip through the inside of the tube until you can pull it out the opening on the other end.
If you are using safety pins, this part is easy. You don't have to be delicate.
If you are using quilt clips like I did, you have to work carefully because if you pull too hard, you can pull your clip off the elastic cording and have to start over.
Gingerly work the clip through the fabric tube until you can pull it out the other end.
Step 6. Secure the two ends of the elastic together.
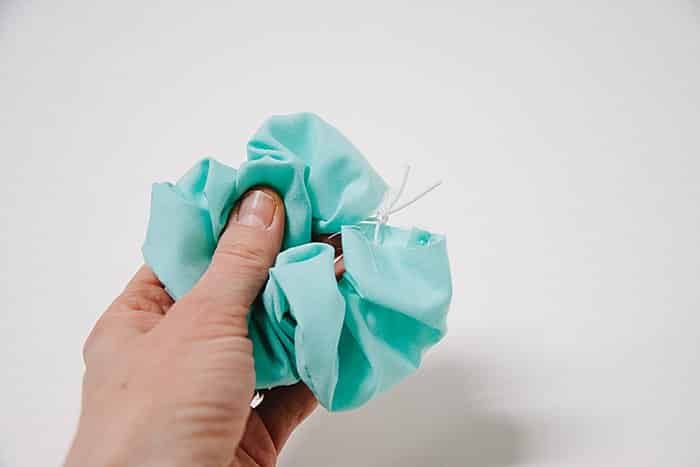
Once you've fed the piece of elastic through the scrunchie tube, you can carefully remove the clips or safety pins, and secure the two elastic ends together.
The main reason elastic cording is my favorite type of elastic to use is because it's super easy to tie into a knot.
If you are using ¼" elastic, you can also tie it in a knot but it's harder to manipulate.
If you can't tie the ¼" elastic, you can sew the elastic ends together with your sewing machine or by hand.
Step 7. Fold one end of fabric tube under, insert other end inside, and sew to finish off scrunchie.
Before you go any further, inspect your fabric tube and make sure it's not twisted anywhere.
I ended up with a weird looking scrunchie once because the fabric tube had one big twist in it. I had to seam rip the final seam out and do this step again, in order to make the scrunchie wearable.
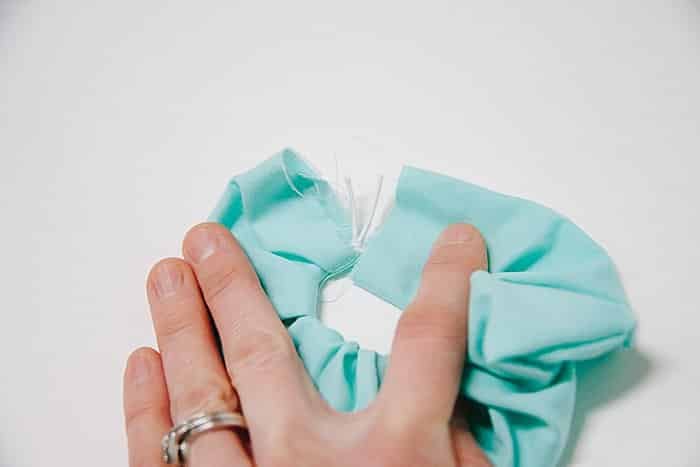
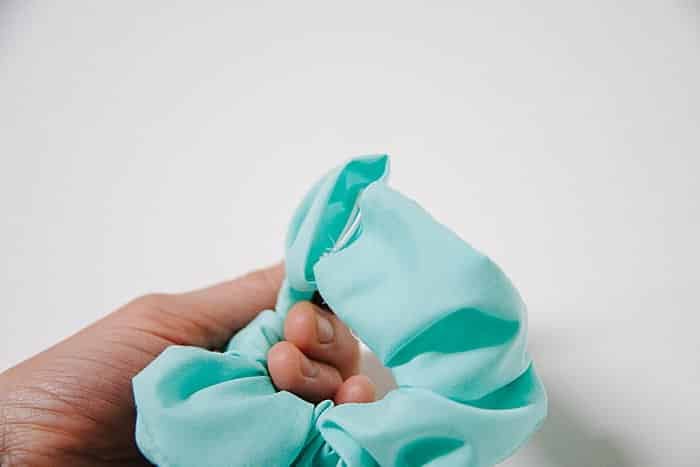
Next, fold the fabric of one open end of the tube in about ½".
(The left end is folded in on the photo below.)
Then, take the other raw end and insert it into the finished end of the tube.
(The raw right end of the scrunchie tube is inserted into the folded left end in the photo below.)
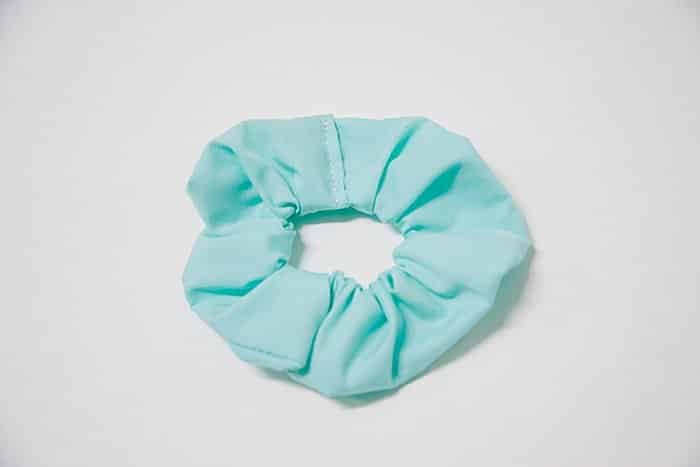
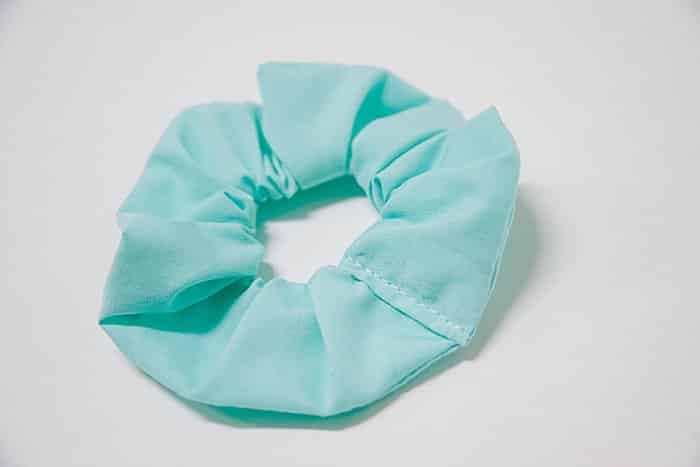
Sew carefully in a straight line where the two ends overlap, anchoring the scrunchie tube.
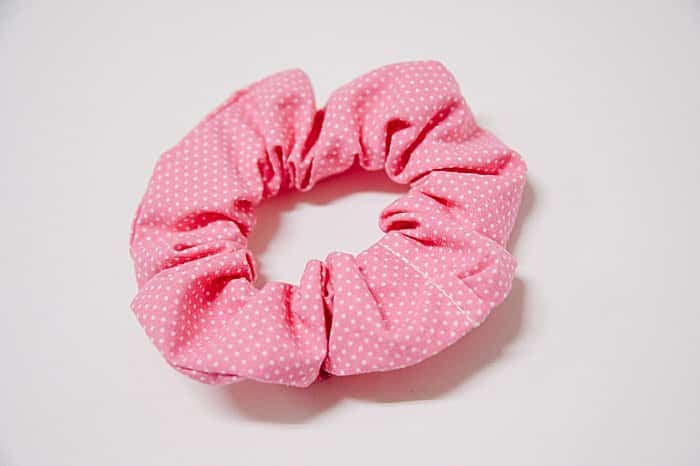
The front side:
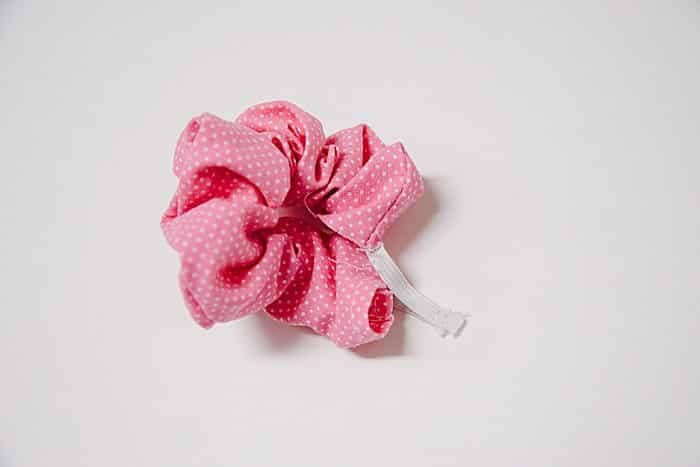
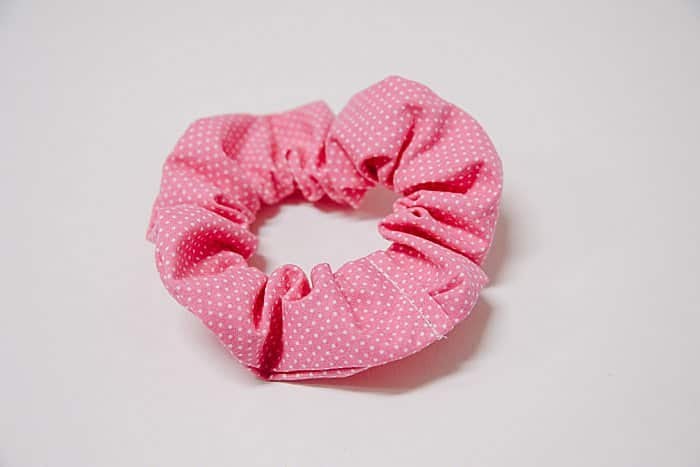
The back side:
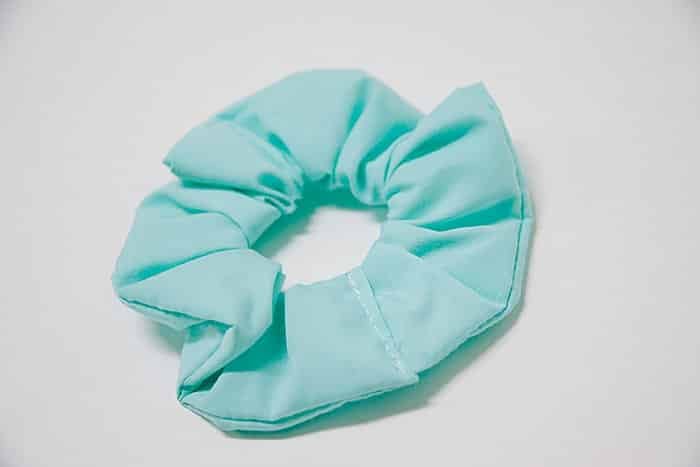
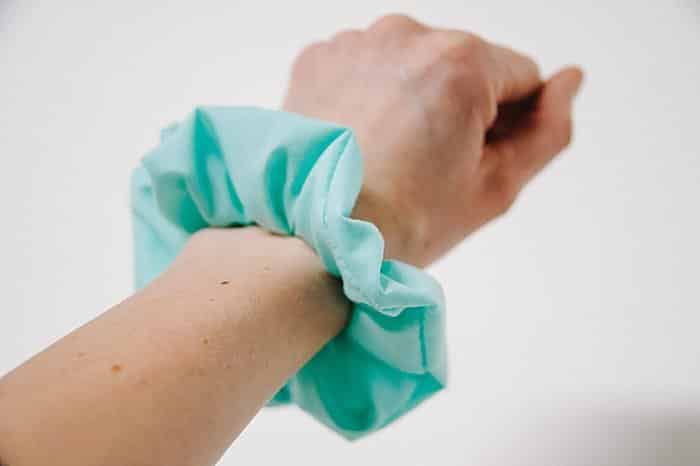
Your handmade scrunchie is DONE!
That's all there is to it.
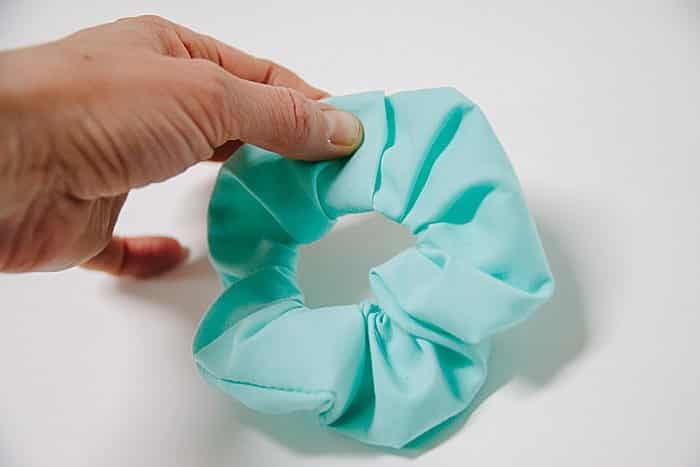
You can fluff the scrunchie up a little bit, and it's ready to wear.
PRO TIP: A lot of the tutorials for how to make DIY scrunchies suggest that at the start you sew one short end of your fabric rectangle first by folding the fabric over ½" and sewing a line down that short end.
This becomes the clean edge of your scrunchie tube that you will insert the other raw end into, in step 7.
I understand the reasoning and this works ok, but in my experience, the resulting scrunchie looks more sloppy doing it this way.
When you sew the last straight seam to anchor the two ends of the tube together, you follow that original seam on the front side, and things look great all matched up.
But when I would flip it over to look at the back side, my stitch lines never lined up right. (See photo below.)
Things always looked messy when I did it this way (especially if the fabric wasn't patterned), so I stopped sewing that short side and left both of the edges raw until step 7 when I simply folded one under.
If you wanted to be more precise, you could IRON one end over ½" at the beginning, which would make it easier in step 7 to fold it under, because you'd be using the previously ironed crease.
I wouldn't recommend sewing it though. I don't think it helps that much, and it just makes the finished scrunchie look a little sloppier with multiple lines of stitching.
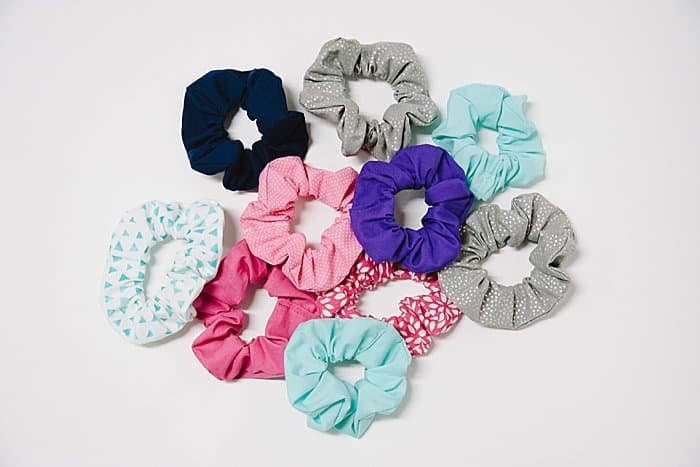
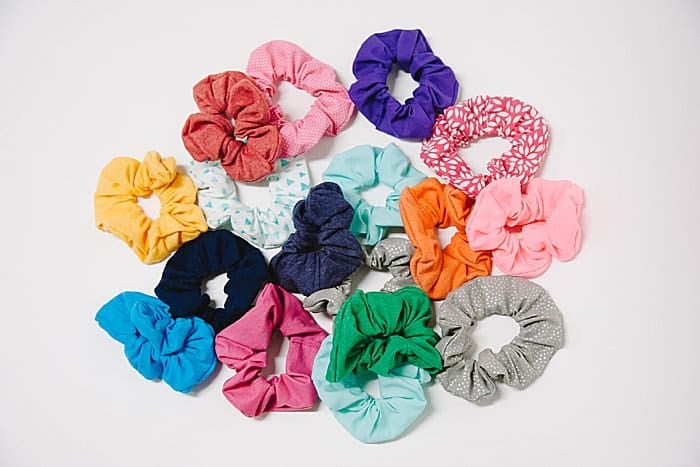
DIY scrunchies are the perfect sewing project to use up the fabric scraps all of us crafters seem to accumulate.
You can splice smaller pieces of fabric together to make the long 4" x 20" (or longer) fabric rectangle if needed.
Any type of fabric will work for a scrunchie too; you can even use old t-shirts or other clothing items you have saved.
Once you see how fast and easy they are to make, I guarantee you will want to make a bunch more.
Roll up your sleeves and get to work. There are DIY scrunchies to make!
-


Leave a Reply