Scrunchies are all the rage right now, being spotted everywhere from the fashion runway to the wrists and hair of students in most every school in the country.
It is super easy and fast to sew your own DIY scrunchie with a strip of fabric, a piece of elastic and a sewing machine (or needle and thread if hand sewing is more your style.)
But what if you don’t know how to sew?
Can you make a scrunchie without sewing?
The answer is YES. Yes, you can.
Sure, sewing is the fastest way to make the most durable scrunchie, but if you don’t want to (or can’t) sew, you can still make DIY scrunchies with fabric, elastic, and glue.
Here’s how to do it!
NOTE: This no-sew scrunchie tutorial follows the same basic steps as the DIY scrunchie tutorial I wrote recently. The only difference is that with the no-sew version of the scrunchie, you are using glue instead of sewing it.
How to Make a DIY No Sew Scrunchie
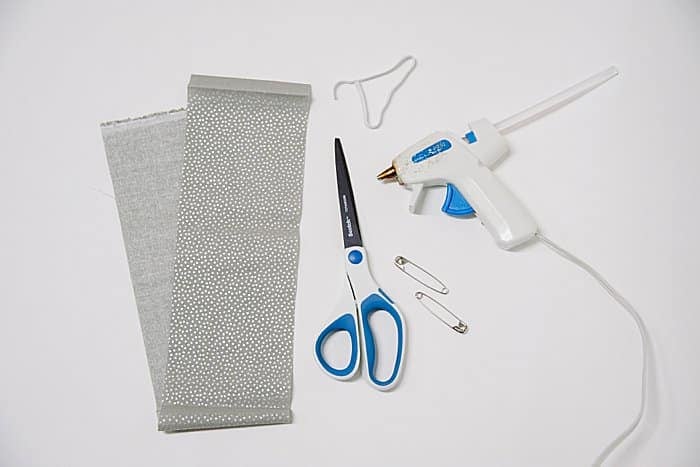
Step 1. Gather Supplies
Supplies Needed:
- Fabric
- Elastic (¼” flat elastic or elastic cording)
- Scissors
- Rotary Cutter and Cutting Mat
- Hot Glue Gun and Glue (or a fabric glue like Fabri-Tac)
- Quilt Clips or Safety Pins/Straight Pins
- DIY No Sew Scrunchie Project Checklist (free in The FREE Resource Library!)
Step 2. Cut 4"x20" Fabric Rectangle.
My most commonly used fabric strip measurements: 4″x20″ (up to 24″ for more scrunch.)
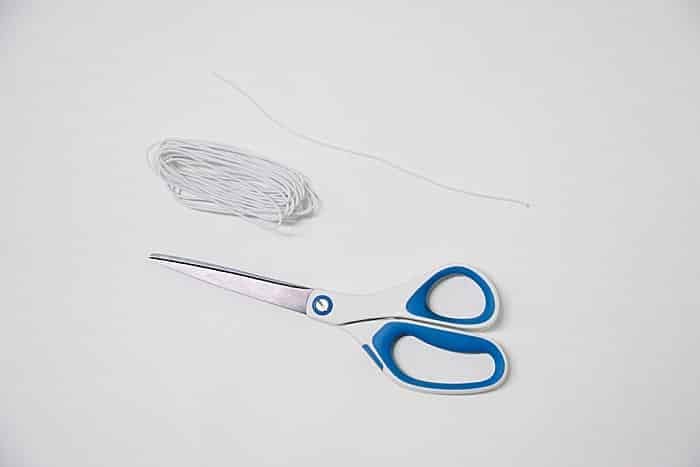
Step 3. Cut 8" Elastic.
My preferred elastic length: 8"
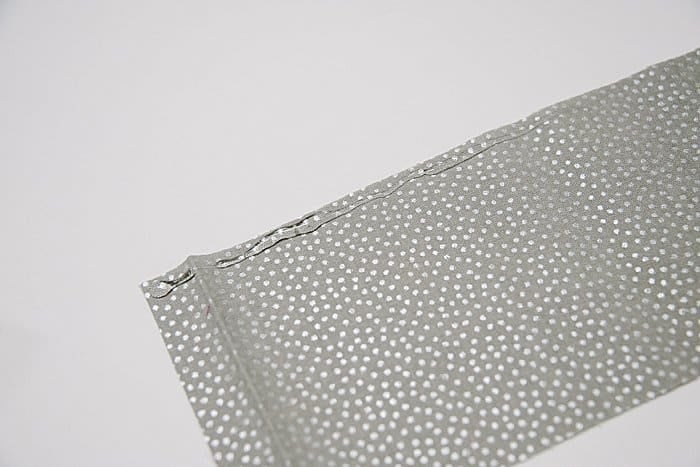
Step 4. Fold rectangle in half (the “hotdog” way, so the two long edges line up), with RIGHT SIDES together on the inside; and glue along the long side.
My glue preference is hot glue because of how fast it dries.
But hot glue will come apart if the fabric is pulled on with too much force.
You can use different types of fabric glue too with likely a stronger bond. You will just have to let the glue dry a lot longer before moving onto the next steps.
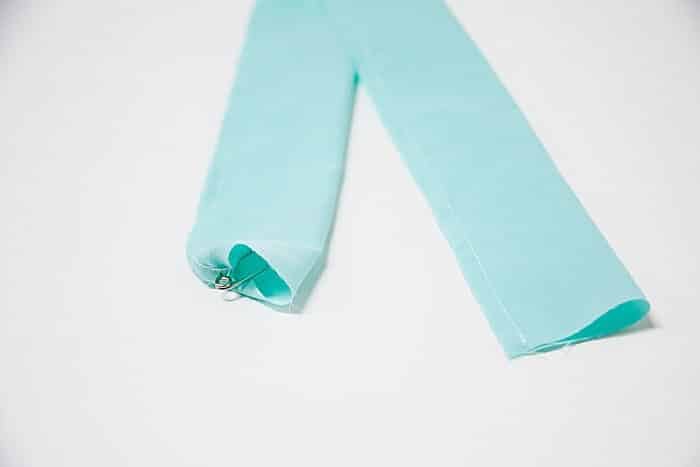
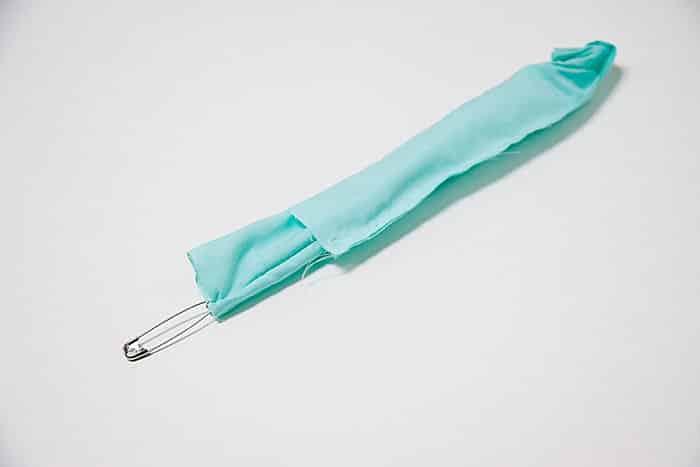
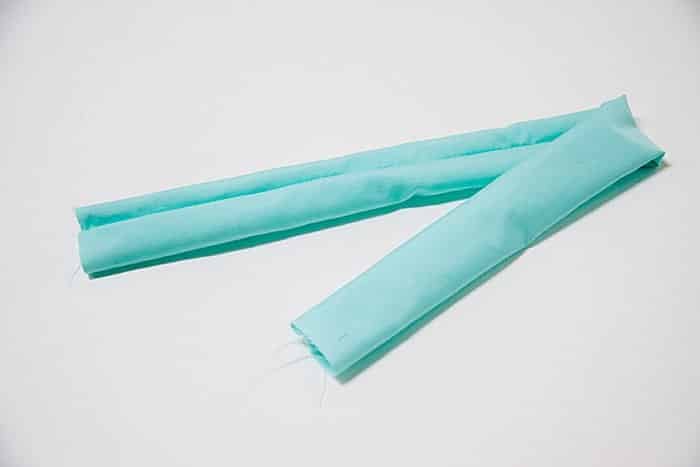
Step 5. Once completely dry, use a safety pin (pinned to one end of the tube) to turn it right side out.
Following the same instructions from the DIY scrunchie tutorial (depicted in the photos below of a teal sewn scrunchie), turn the glued tube right side out.
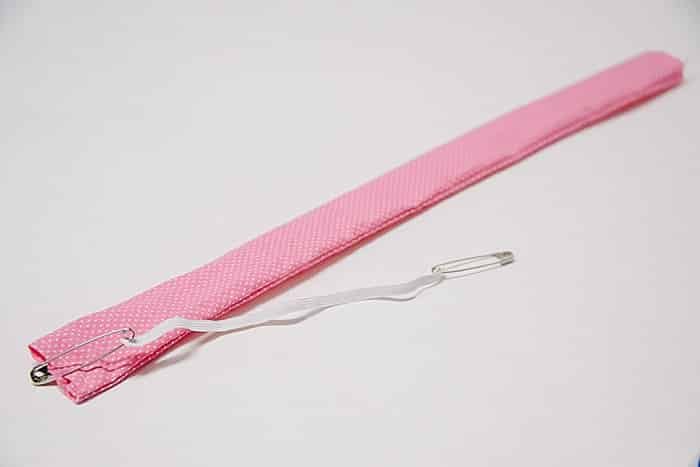
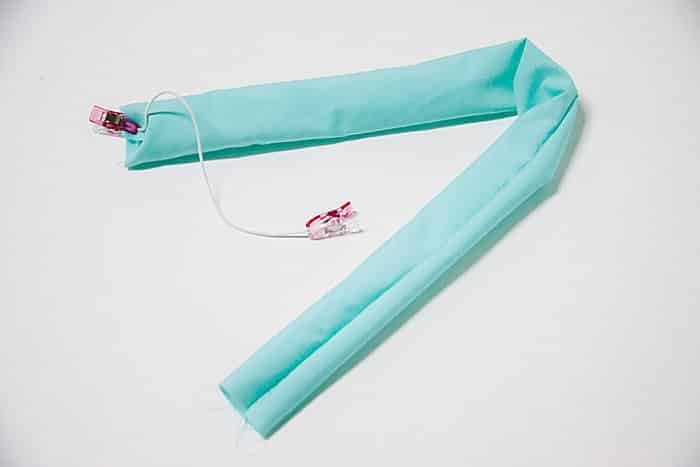
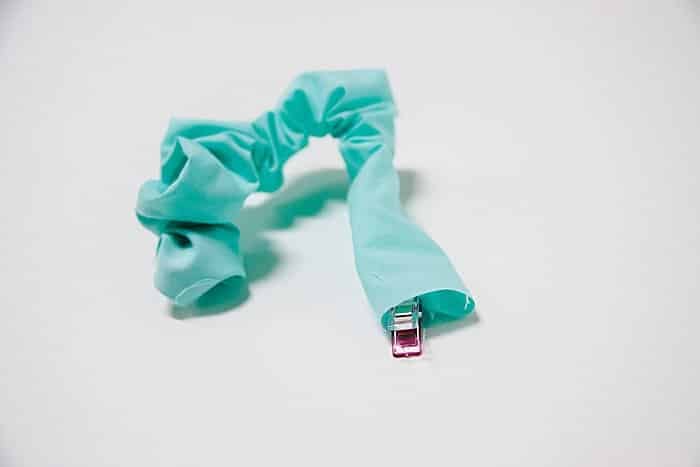
Step 6. Pin or clip one end of elastic to one end of tube, and feed elastic through the tube.
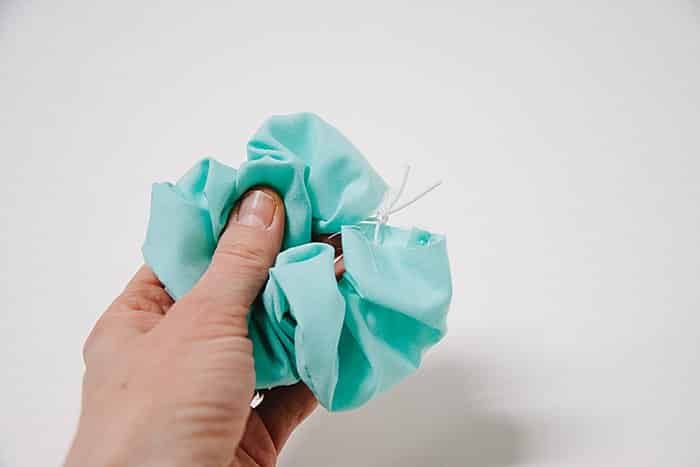
(Photos below are of step 6 on sewn scrunchies. This step is the same in a no-sew version.)
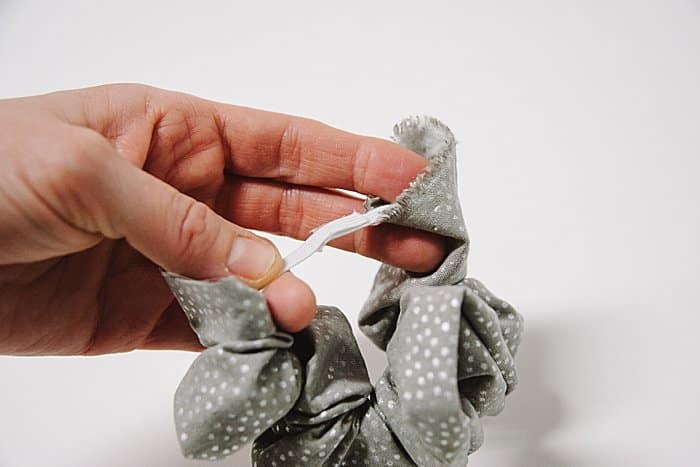
Step 7. Tie elastic together in a knot, or use hot glue to secure the two elastic ends together.
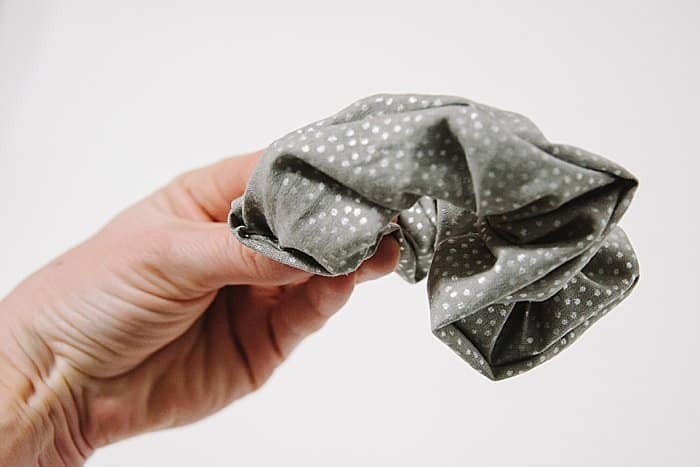
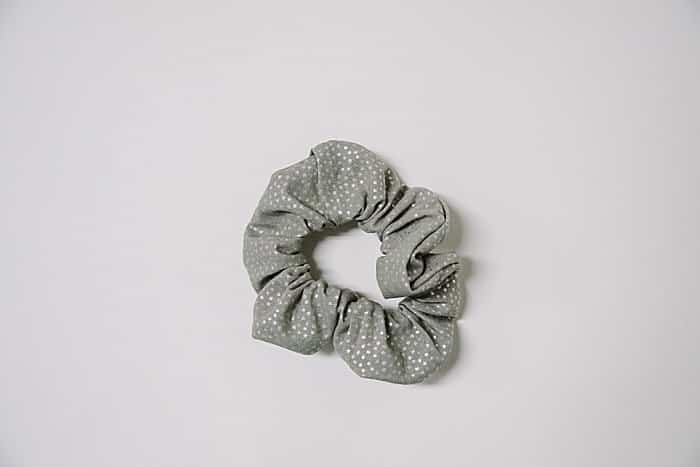
In the photo of the gray no sew scrunchie below, the two flat elastic ends are overlapped ½" to ¾" or so, and hot glued together.
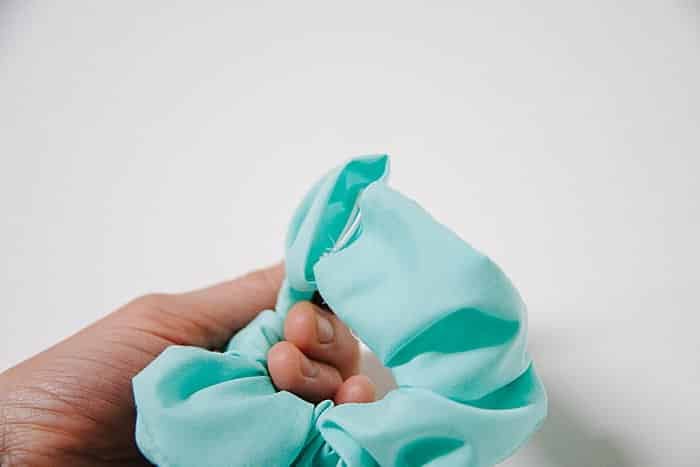
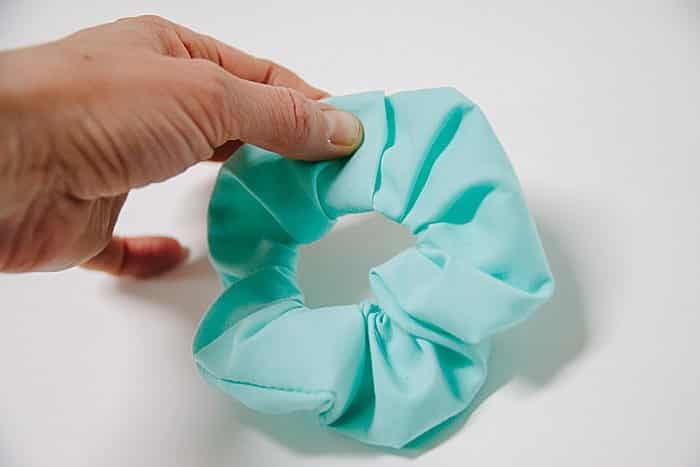
Step 8. Turn the fabric of one end of the tube over to create a clean edge, and insert the other raw edge into the tube. Glue to secure.
Follow the same method for turning one end over, described in the handmade scrunchie tutorial.
(Teal scrunchie photos below are from the DIY sewn scrunchie tutorial, but the same method is used in the no-sew version, just with glue instead of sewing.)
Instead of sewing where the two ends join, hot glue on both sides to secure it.
Step 9. Inspect, test the DIY no sew scrunchie to see if any of the seams need additional glue, and you’re done!
That is it! Your no sew scrunchie is finished!
PRO TIP: It is important to mention that sewing a scrunchie is the best way to make sure it’s durable. Glue can and likely will come apart if pulled too hard. So, you should be gentle when you use no-sew scrunchies.
But it IS possible (and so easy!) to make scrunchies WITHOUT sewing!
You can use hot glue, or a fabric glue of your choice, and you'll be surrounded with scrunchies in no time!
-




Leave a Reply