


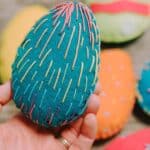


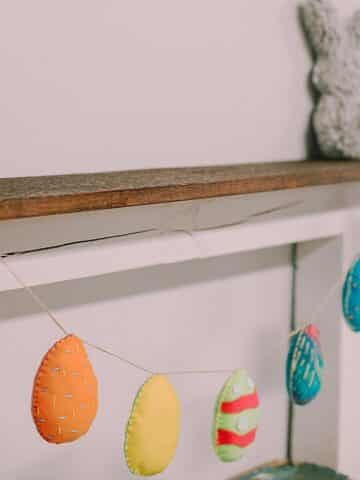
Learn how to make felt easter eggs in this DIY craft tutorial! Made out of egg-shaped pieces of felt and a simple blanket embroidery stitch, this spring egg craft is an easy alternative to the traditional easter egg!

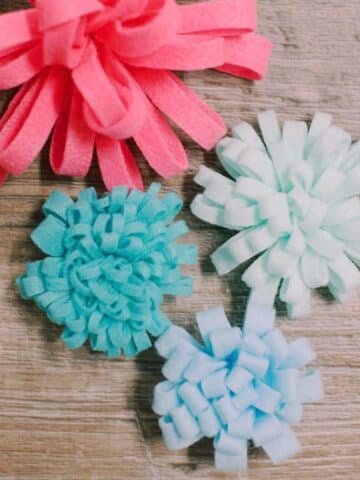
Felt is a fantastic fabric; it's easy to use and fun to make colorful projects like this Lightbulb garland for Christmas, DIY felt flowers, or felt Christmas tree ornaments.
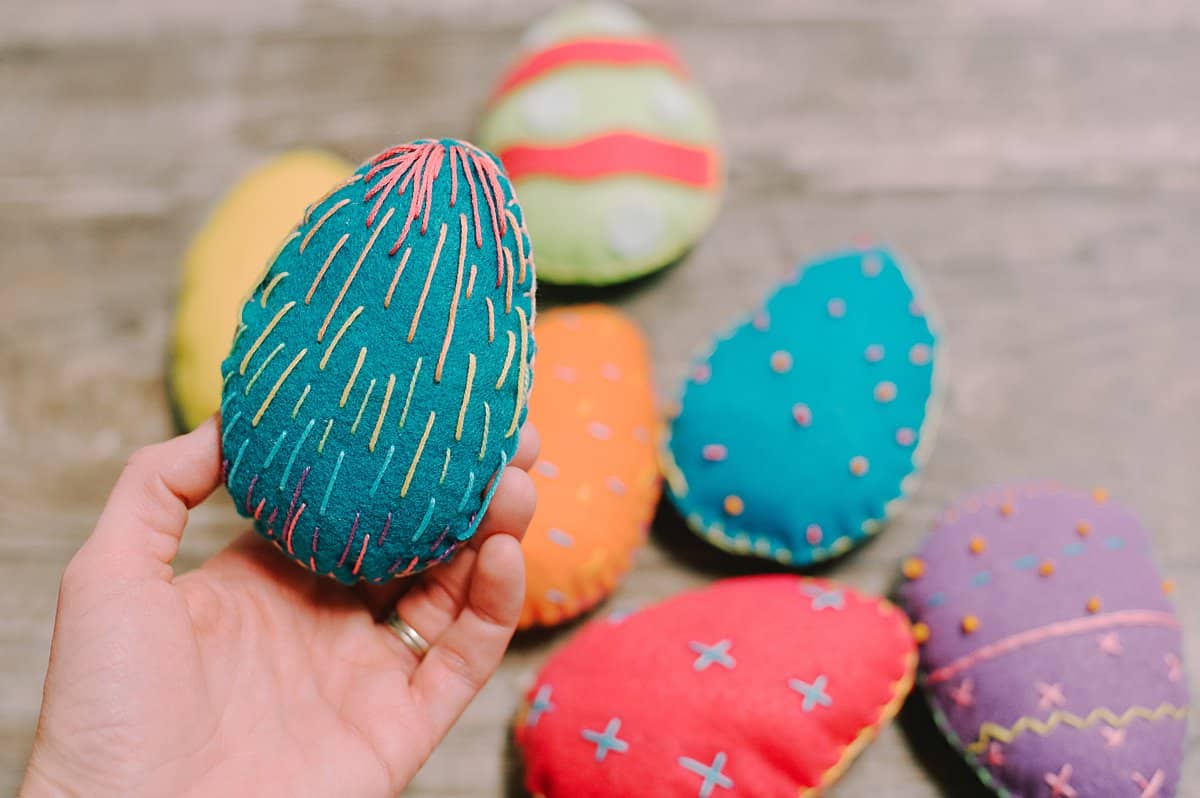
Today, we are using bright-colored felt in a modern spin on traditional easter eggs - felt easter eggs!
Jump to:
Why You'll Love This Craft
- We are using felt for these eggs. Felt is sold at every craft store and online retailer, and comes in a huge range of colors, qualities, and price points.
- You can decorate these felt eggs as much or as little as you want, depending on the time you want to spend on this craft. It can be a fast, simple project, or a more labor-intensive one (perfect for an evening catching up on Netflix!)
- These are 3D eggs and get stuffed with polyfil. That makes them even more cute and fun! (We used poly-fil to make our DIY stuffed bunny and homemade stuffed cat too!)
Craft Supplies Needed
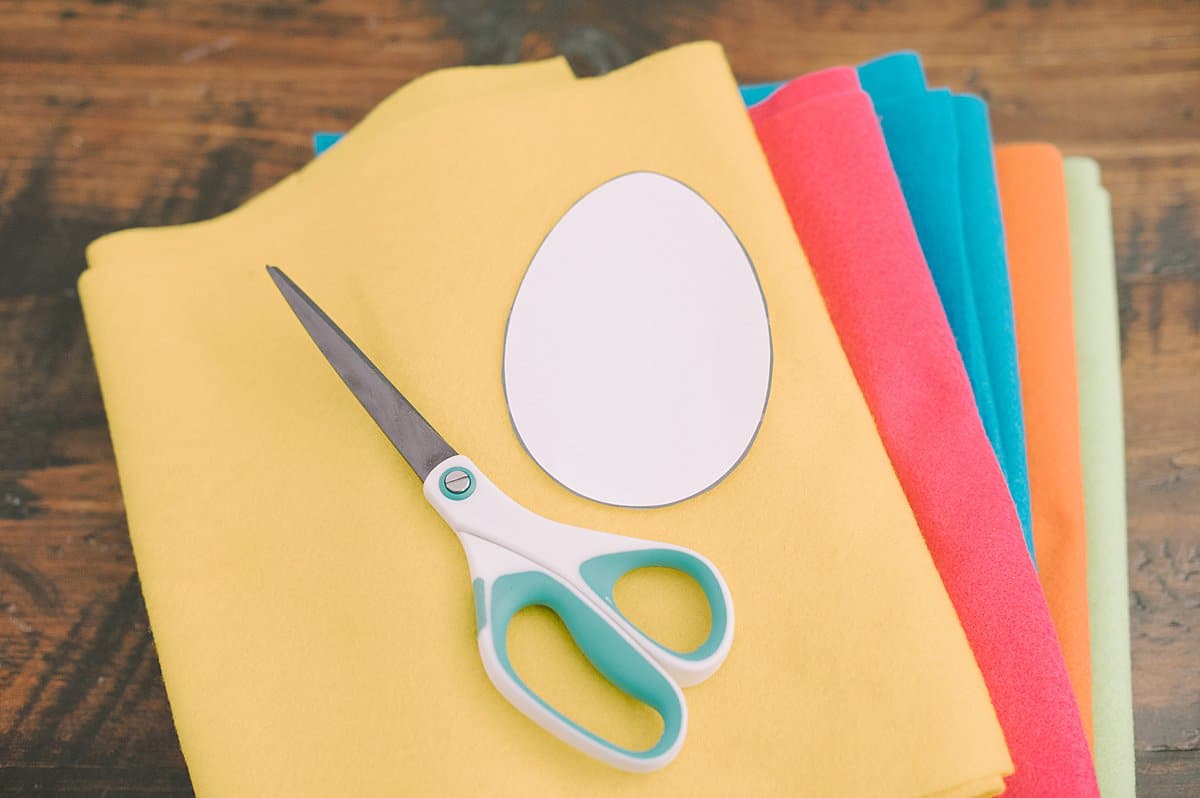
- Felt - You can use basic felt from the craft store or higher-end choices found online. Look for your favorite colors and use what you find.
- Easter Egg Template - Found here in our FREE Resource Library
- Fabric Marker with Disappearing Ink - This helps you trace the egg template onto your felt, and cut accurately-shaped felt eggs. You can also use a pencil or carefully hold the paper template onto the felt while you cut.
- Embroidery Needle - You want an embroidery needle with a large enough hole to thread embroidery floss through easily, but not so big that you have trouble sewing through two layers of felt. You also want a needle that is sharp enough to sew through felt. A very blunt embroidery needle would not be a good choice for this project because it won't easily sew through felt.
- Embroidery Thread - Choose embroidery thread colors to either match or contrast your felt colors. I chose contrasting embroidery floss so it would add to the colorful feel of the Easter eggs.
- Stuffing - I used Poly-fil to make my eggs 3D. It's easy to use and a bag lasts a long time.
How to Make Felt Easter Eggs
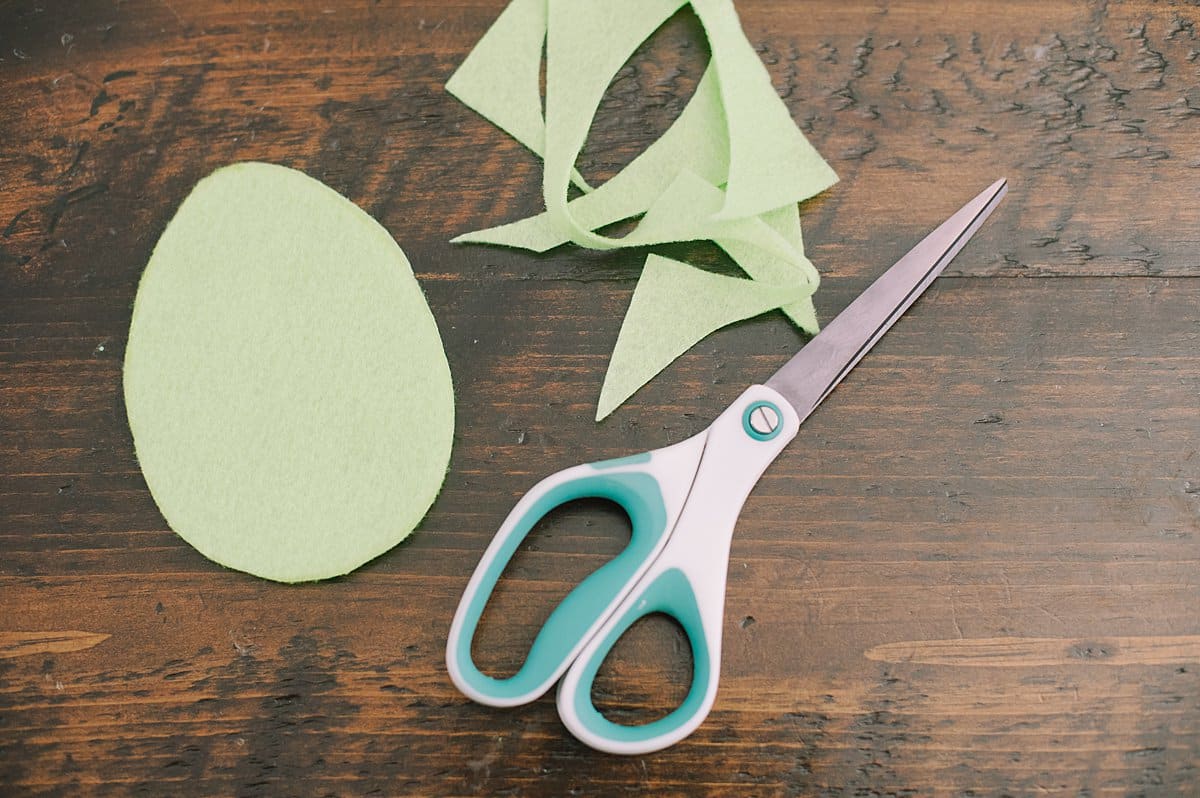
Step 1. Use the Easter Egg Template from the resource library to trace egg shapes onto the felt. You need two felt pieces to make one 3D felt egg. Carefully cut out the egg shapes.
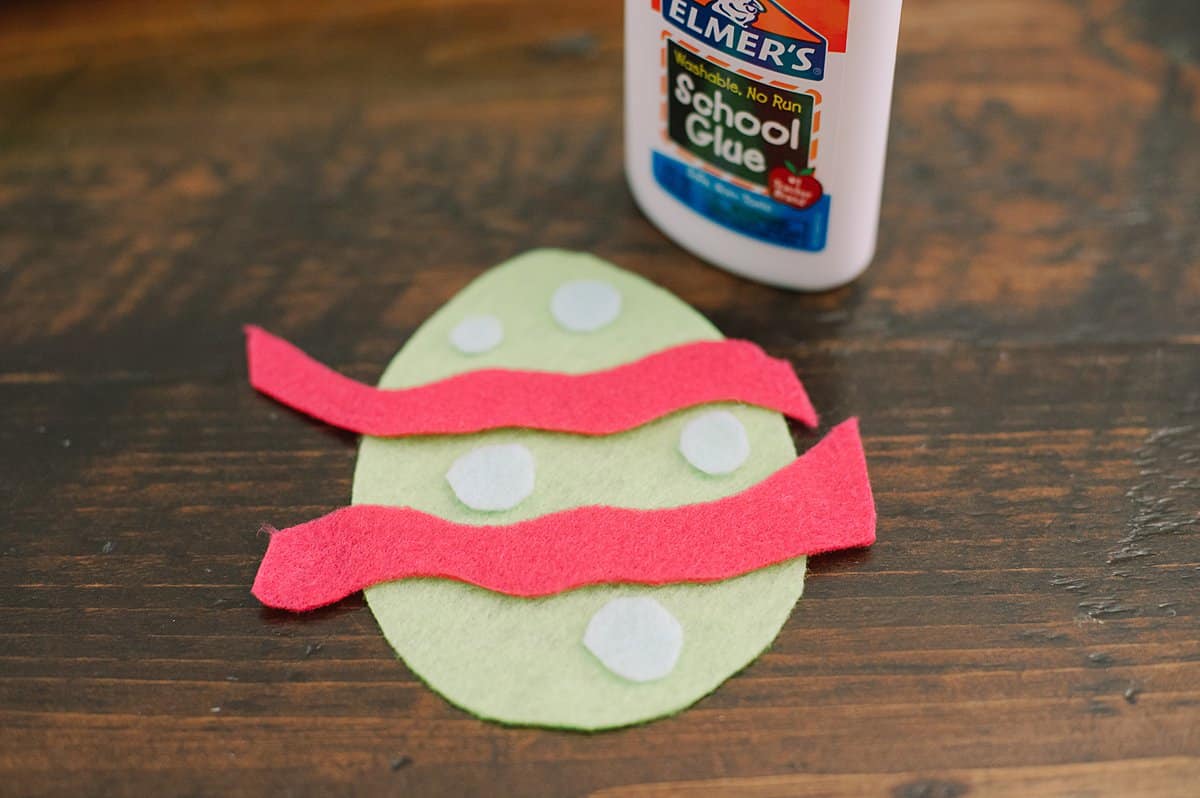
Step 2. Decorate the "front" egg pieces if you'd like. You can cut pieces of felt and glue them on with school glue or fabric glue. You can also add patterns onto the felt with different types of embroidery stitches.
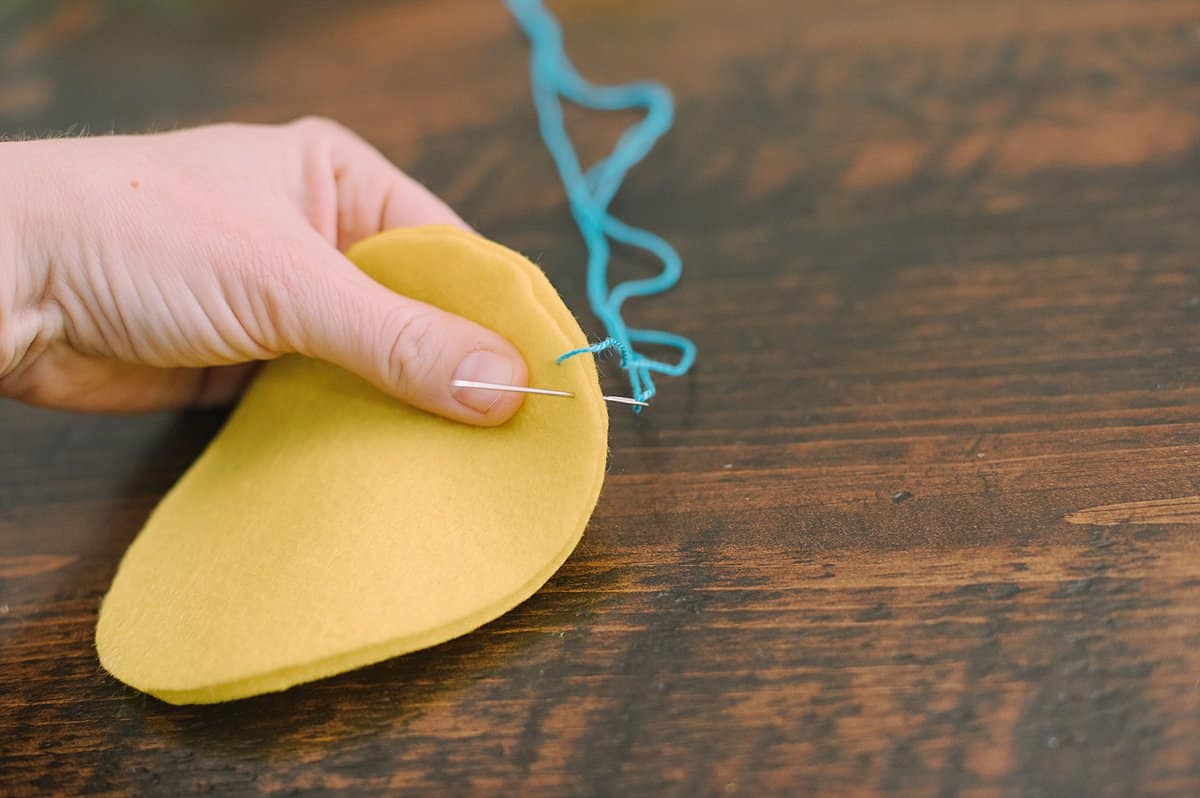
Step 3. Sew a blanket stitch around the perimeter of two stacked felt egg shapes.
To do a blanket stitch, start on the back of the fabric and push the needle toward the front.

Step 4. Push the needle from front to back, through the loop that forms. Pull tight.

Step 5. Again, the needle goes from the back of the fabric through to the front. Pull almost all of the slack out, leaving just a small loop.
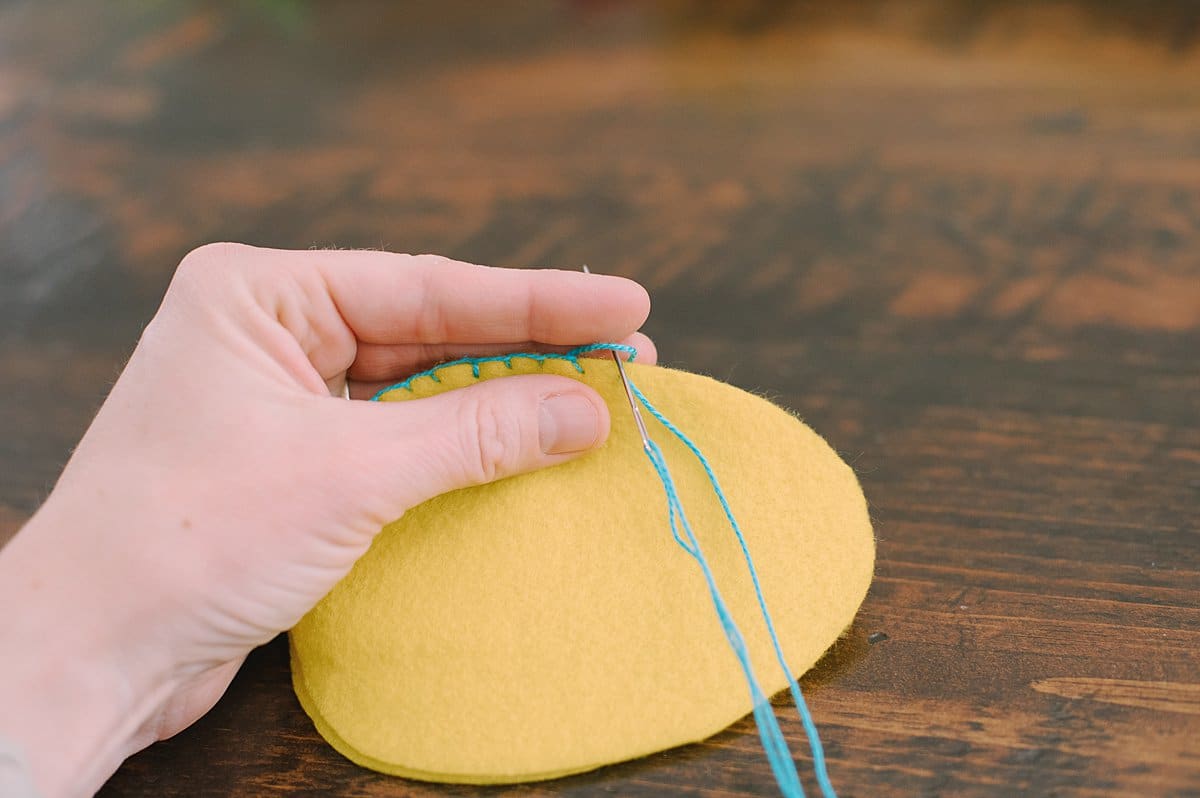
Step 6. Push the needle from the front to the back, through the small loop, and pull the remaining slack out.
Each time you do this, your blanket stitch should tighten up.
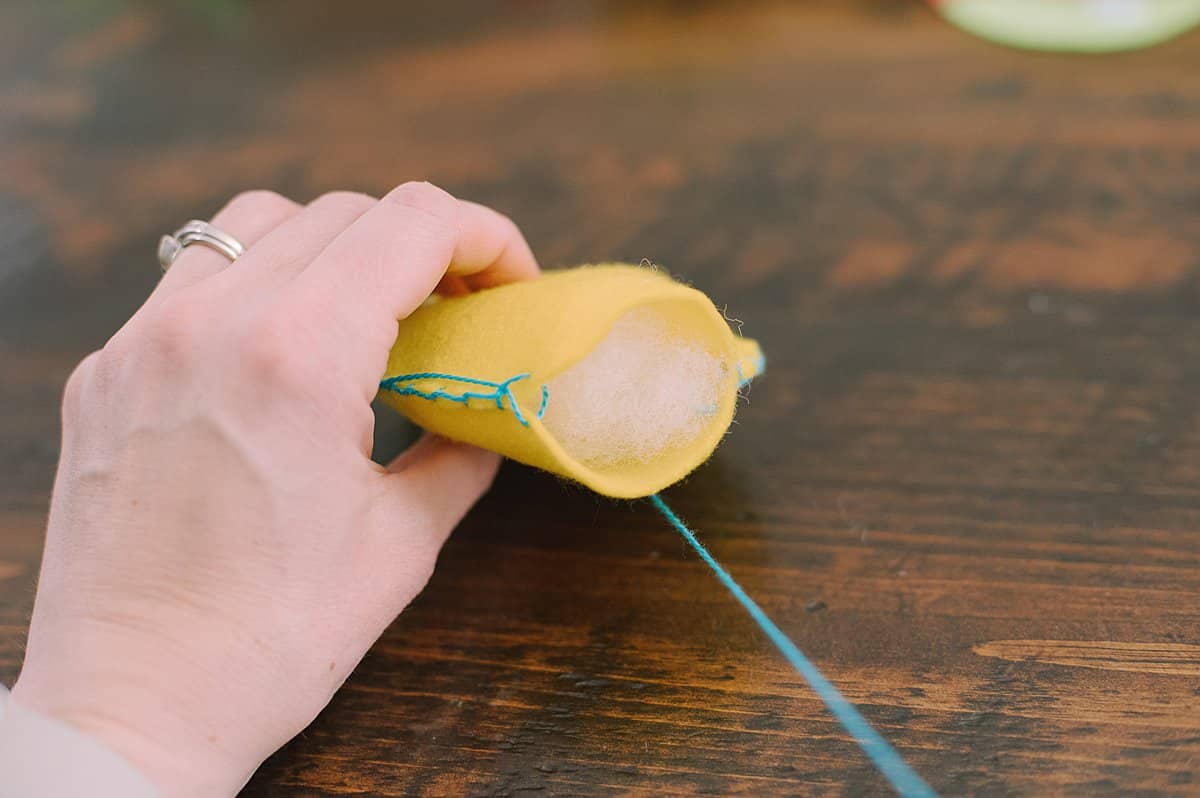
Step 7. Leave a space open to add stuffing to the egg. Once the egg is stuffed, continue the blanket stitch around the perimeter until it's completely closed. Knot and clip the excess thread.
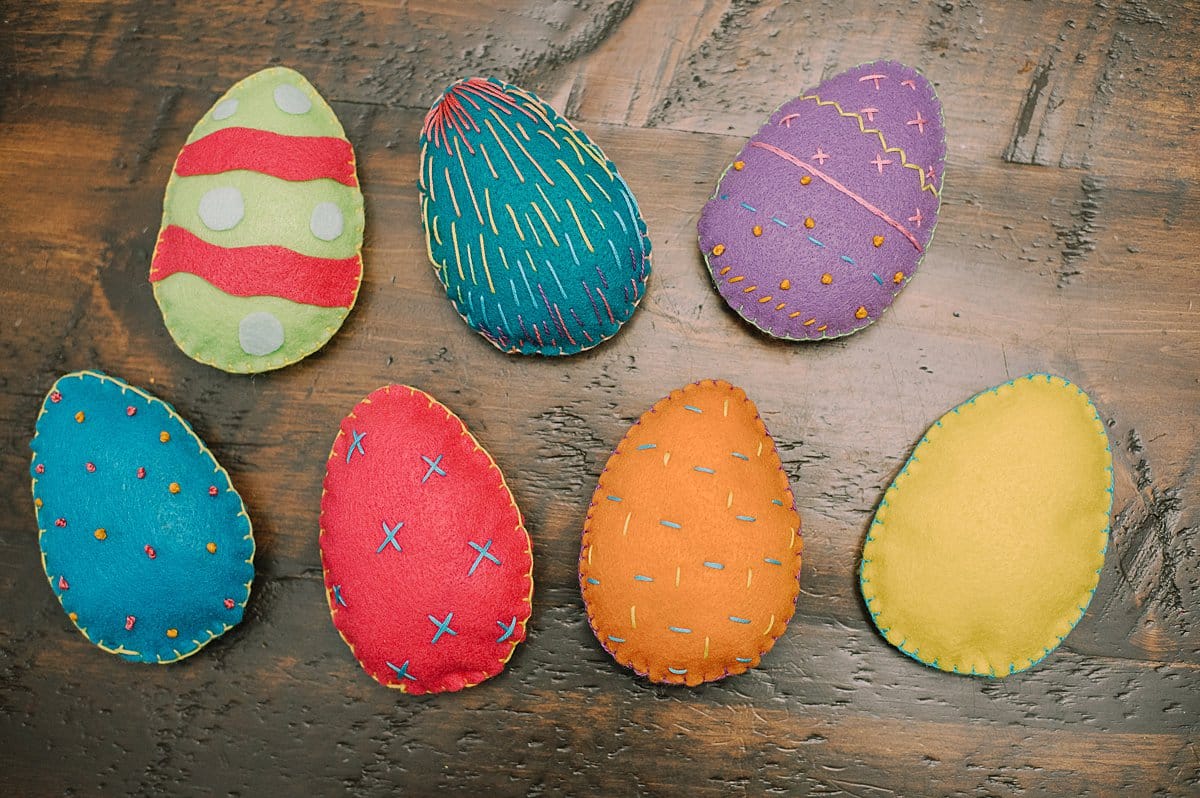
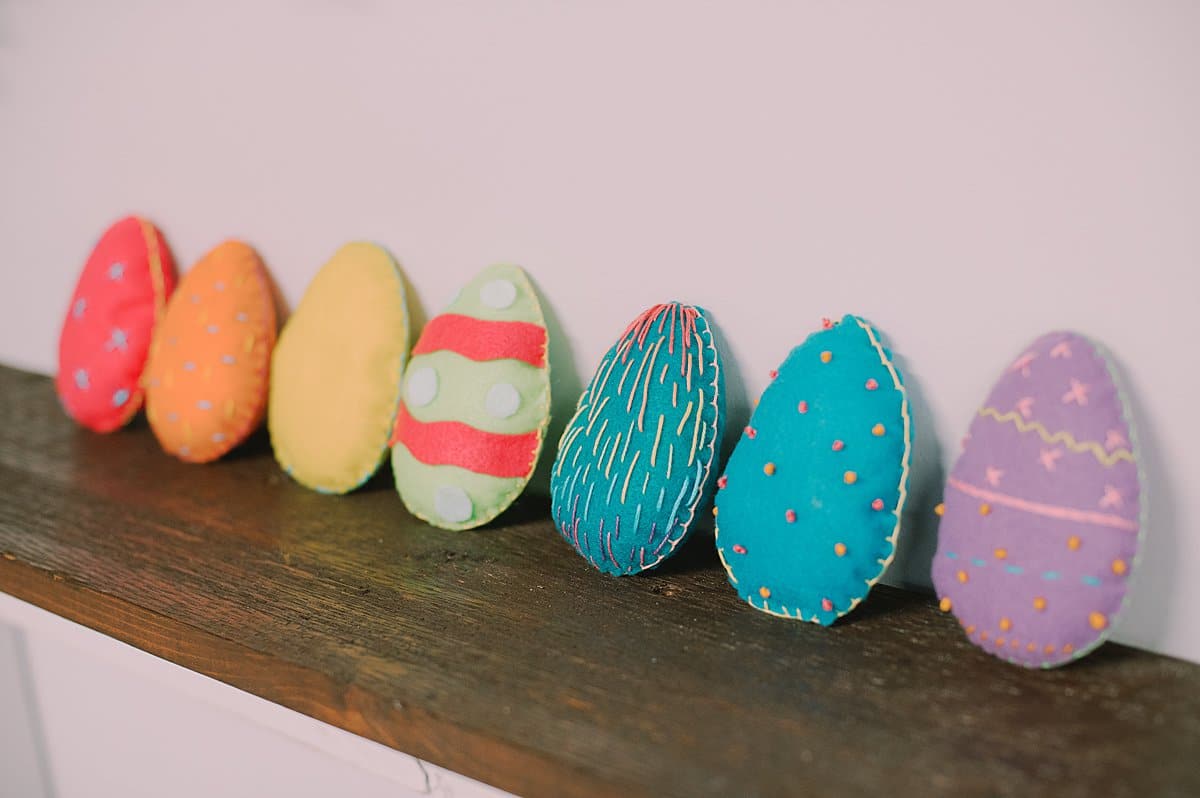
Step 8. Continue for all of your felt egg pieces, and that's it! Your DIY felt eggs are done!

Common Questions
We used felt for this project because it's easy to work with, cuts well, doesn't unravel on the edges, and comes in tons of different colors. But sure, you can use any type of fabric for this project! You can try fleece, flannel, denim, or any other fabric you have.
You can even upcycle old clothing and recycle them into your DIY easter eggs!
Poly-fil will give your eggs a soft, squishy, symmetrical 3D shape. Stuffing the eggs with something else may not give you a similar look, but yes, you can stuff the eggs with fabric scraps or even crumbled paper in a pinch!
We used a blanket stitch around the perimeter and decorated most of our eggs with simple embroidery stitches. You can leave all of your egg fronts plain and just stitch around the edges if you want to save time, and if you don't want to stitch at all, you can try making these using hot glue instead of sewing. The eggs will look different but they should still work!
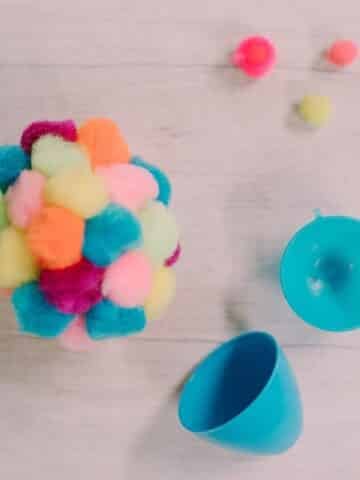
If you're looking for an alternative to typical easter eggs, these DIY felt eggs might be perfect for you! (You can also try this Easter craft - hot gluing pompoms onto plastic eggs!)
These eggs are easy to make, give you the perfect excuse to practice your embroidery stitches, and are completely customizable. You can make them in any color, size, and design you want.
Kids love to play with them, and you can string them onto twine to make a beautiful felt Easter egg garland too!
More Easter Crafts You'll Love
---
⭐️🧶 Did you enjoy this craft and want to see more like it? ✂️ Join our FREE email community and get inspiring craft ideas sent right to your inbox! 🧵 ⭐️
---

How to Make Felt Easter Eggs
Materials
- Felt
- Easter Egg Template Found in our free Resource Library.
- Fabric Marker with Disappearing Ink
- Embroidery Needle
- Embroidery Thread
- Stuffing
Instructions
- Use the Easter Egg Template from the resource library to trace egg shapes onto the felt. You need two felt pieces to make one 3D felt egg. Carefully cut out the egg shapes.
- Decorate the "front" egg pieces if you'd like. You can cut pieces of felt and glue them on with school glue or fabric glue. You can also add patterns onto the felt with different types of embroidery stitches.
- Sew a blanket stitch around the perimeter of two stacked felt egg shapes.To do a blanket stitch, start on the back of the fabric and push the needle toward the front.
- Push the needle from front to back, through the loop that forms. Pull tight.
- Again, the needle goes from the back of the fabric through to the front. Pull almost all of the slack out, leaving just a small loop.
- Push the needle from front to back, through the small loop, and pull the remaining slack out.Each time you do this, your blanket stitch should tighten up.
- Leave a space open to add stuffing to the egg. Once the egg is stuffed, continue the blanket stitch around the perimeter until it's completely closed. Knot and clip the excess thread.
- Continue for all of your felt egg pieces, and that's it! Your DIY felt eggs are done!
Notes
- We used felt because it's easy to work with, cuts well and doesn't fray, and comes in tons of different colors. If you don't have felt, you can try fleece, flannel, denim, or upcycle old clothing to make these eggs.
- Poly-fil is our top choice for stuffing. If you don't have any, you can try stuffing your eggs with fabric scraps or even bits of crumpled paper in a pinch. Just know your eggs won't be as soft and squishy as they would be with poly-fil inside them.


Sandy L. Harms
Where do I find the template for the felt Easter egg? I checked the resource libray and nothing comes up....
Laura
Hi Sandy! The Resource Library has been updated and the felt egg template is live! Thank you for catching that for us! Enjoy!